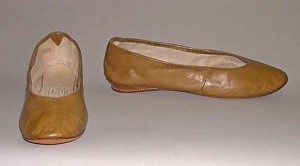
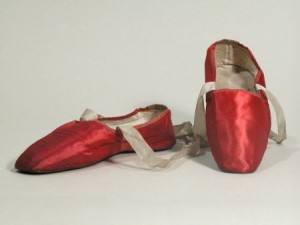
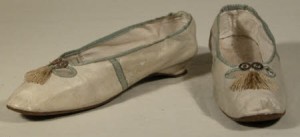
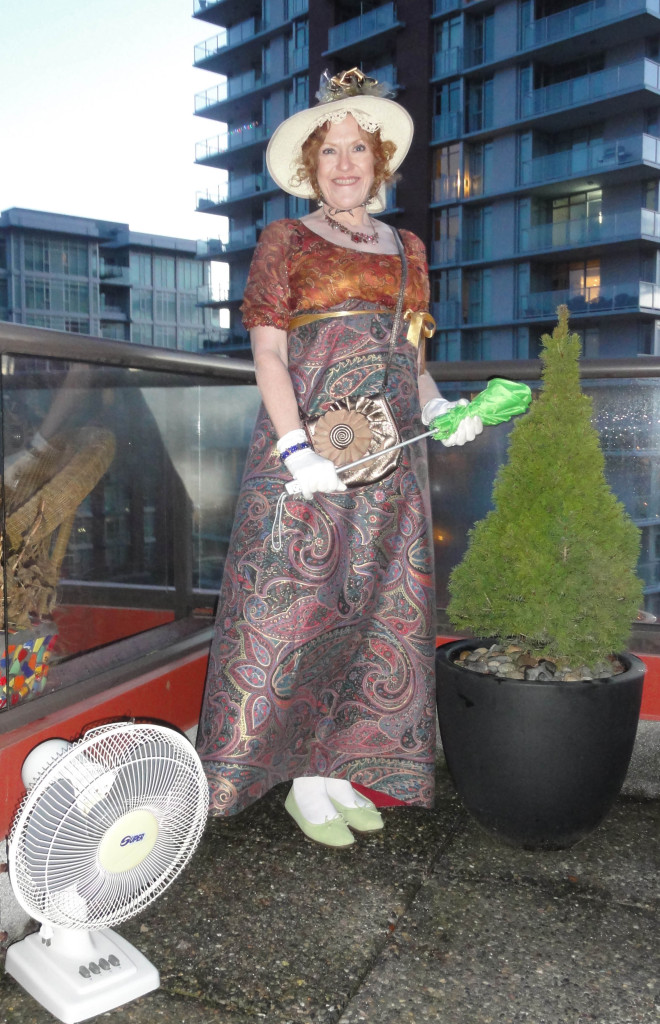
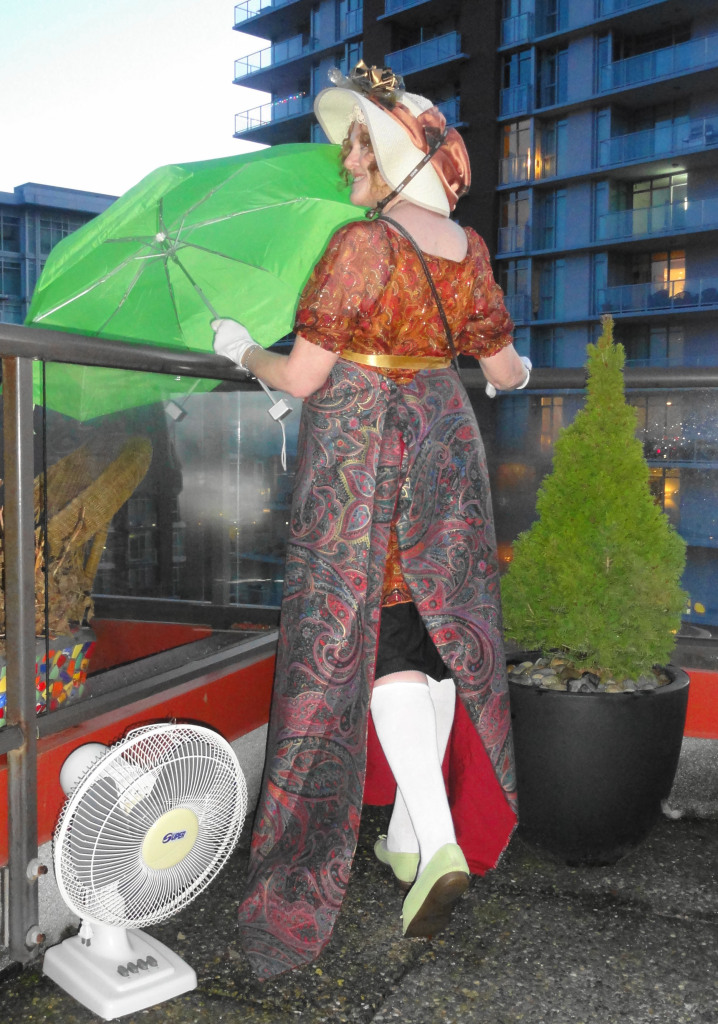
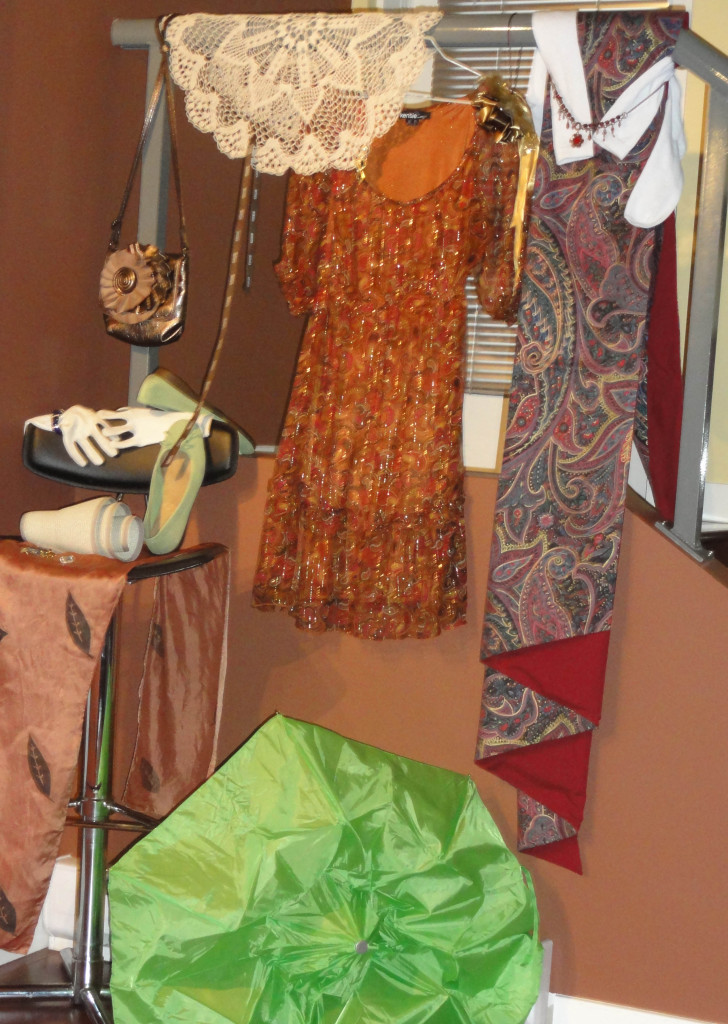
Grandma Lauder’s eulogy ended with: “And girls—you can never have too many pairs of shoes!” No wonder a pair of light green flats were my first purchase for The Thrift Shop Regency Costume Experiment! They have a smoking slipper shape, slightly pointed toes, 1/8” heel, gold thread embroidery, and a small medallion. They were $7.99 from Value Village and, because of the lack of scratches on the soles, I think they’re new.
This part of the costume should be the easiest to obtain for two reasons: the little ballet flats that are in fashion right now tend to be close enough to the Regency look that they’ll do quite well, and low, flared-kitten-heel shoes with pointed toes from a few years back will work well, too. So raid your closet!
The ideal ballet flat will be a fully-closed shoe with a longer toe box, in materials not too far away from the texture of silk or kid, with minimal embellishment and no cut-outs or cut-aways. I got a pair of simple burgundy-coloured fabric ones on sale for $5 at Walmart. They’re fine plain, but appropriate bold dots and stripes work. Almost any colour will do—shoes and stockings tended to be colourful against the white gowns of the Regency!
When exactly was the Regency Period that these styles come from? There are a number of considerations to answer that question. The broadest application is 1795-1820, which includes the Directoire and Empire periods as well, because social customs and clothing conventions were similar, compared to neighbouring times. The true Regency was from 1811-1820, from the time the Prince Regent was put in place as the monarch of England on behalf of his insane father, King George III, until the father died and the prince became George IV. Some people like to narrow their costumes to the Austenesque time period of 1811-1817, when Jane Austen’s books were published, and some aim for 1811-1812, when Pride and Prejudice was set.
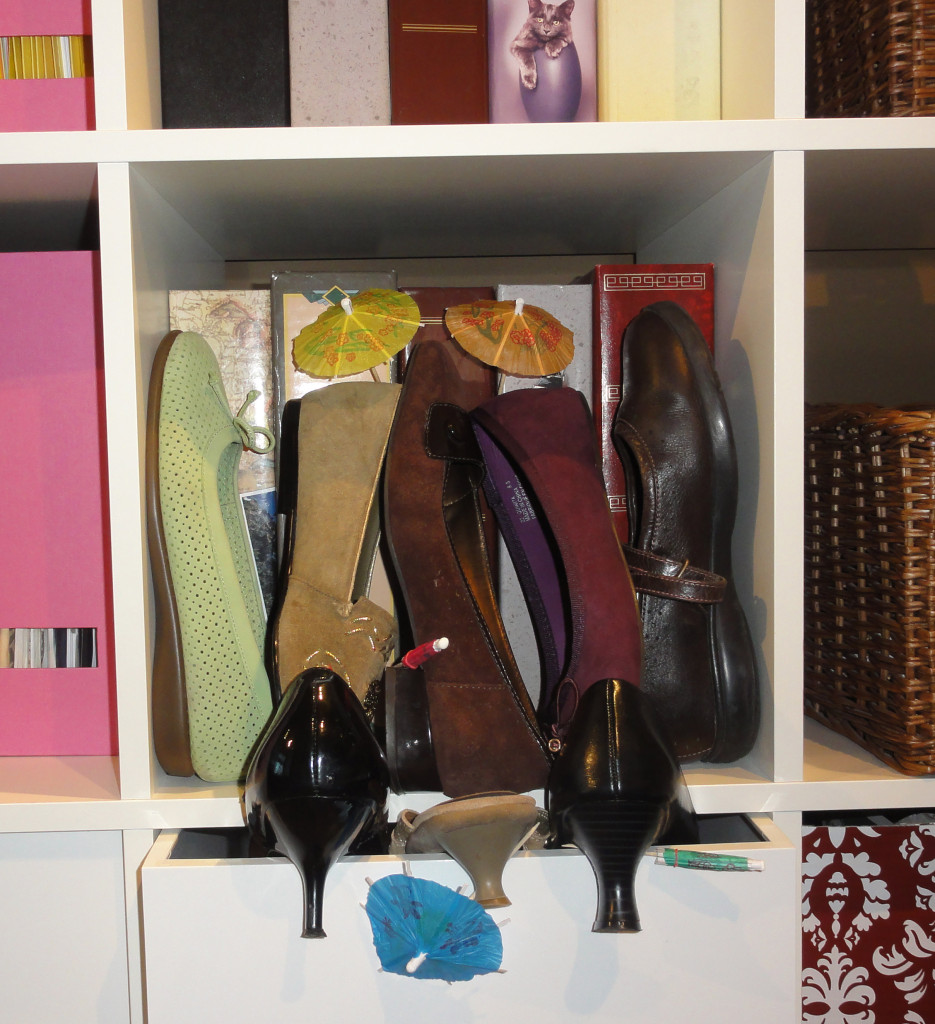
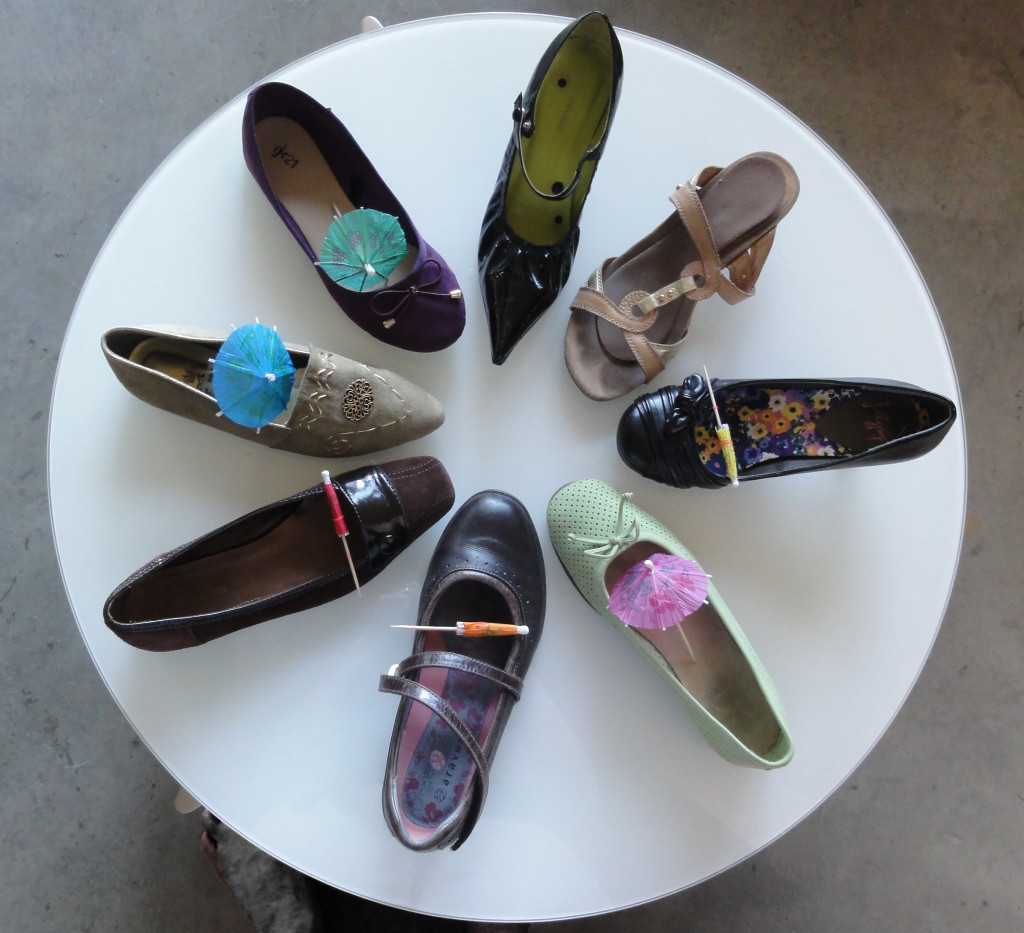
I’ve taken a few of my own stash to demonstrate shoe shape. The shoes with an open parasol in the photos are good Regency look-alikes for the aspect of the photo; those with closed parasols are acceptable, but have flaws, and no parasol indicates the shoe won’t work.
Before 1800, shoes had higher heels, and around 1810, heels began to go flat. Any heel much over 1/2” should be a spread kitten heel, and it should not be much higher than 1”. After about 1812, a look like a real ballet flat is best, including leg ties, but early Regency ones tended to have a thin heel. An ideal heel (and sole) would be leather, but we’re accommodating and allow synthetics if they aren’t too obvious. As you can see, the rubbery sports heels are a no-go. I’ve approved the low kitten heel for its shape only.
The toe can have almost any shape, but won’t have raised seams as on moccasin loafers or Toms. Sharp points to rounded and square toes are fine, and even pointed with a slight upward curve. Sharp points are the older style from the late 1700’s to 1800. Squared and softer points are seen as the fashionable shoe changes to include rounded toes until the clear preference is a rounded ballet toe by about 1815.
In the examples from my closet for toe shape, all but the sandal are a reasonable shape. The shoes below with an obvious left and right foot are compromises, as Regency shoes were both the same, and had to be worn to shape to the foot. The pointy-toed patent leather shoes have been ruled out due to their material and the elastic at the toe.
Materials of construction are important: no heavy leather, patent leather, printed leather, animal print, fur, canvas or coarse woven fabrics, hemp/jute, or metallic. I’ve seen snakeskin, cotton, and lace slippers from the extended Regency period, though most are fine leather (kid being the most popular) or silk.
Decoration before 1810 included printed fabrics or solids with elaborate embroidery and gathered ribbon and lace on the toe, but after that, it became minimal, with no decoration behind the side seam (which was sometimes covered with contrasting narrow trim) other than the print of the shoe fabric, and sometimes narrow trim around the top opening. Simple trim on the toe could be a ribbon bow, fringe, tassels, or feathers, perhaps with a smaller medallion or similar object. Ribbon straps up the legs were seen on many round-toed shoes.
There were no heavy embellishments, e.g., no large buckles, studs and the like, and no heavy leather straps, leather fringe, or shaped leather designs. Elastic and usable rubber had not been invented yet. Cut-outs or cut-aways were not used. The full foot was covered, thus the sandal, sling-backs, or mules, won’t work. I did see a Van Dyke cut smoking slipper front on one shoe, and a narrow Mary Jane strap near the toe of another, though, so some leeway must be allowed for the fact that originality has always been part of fashion.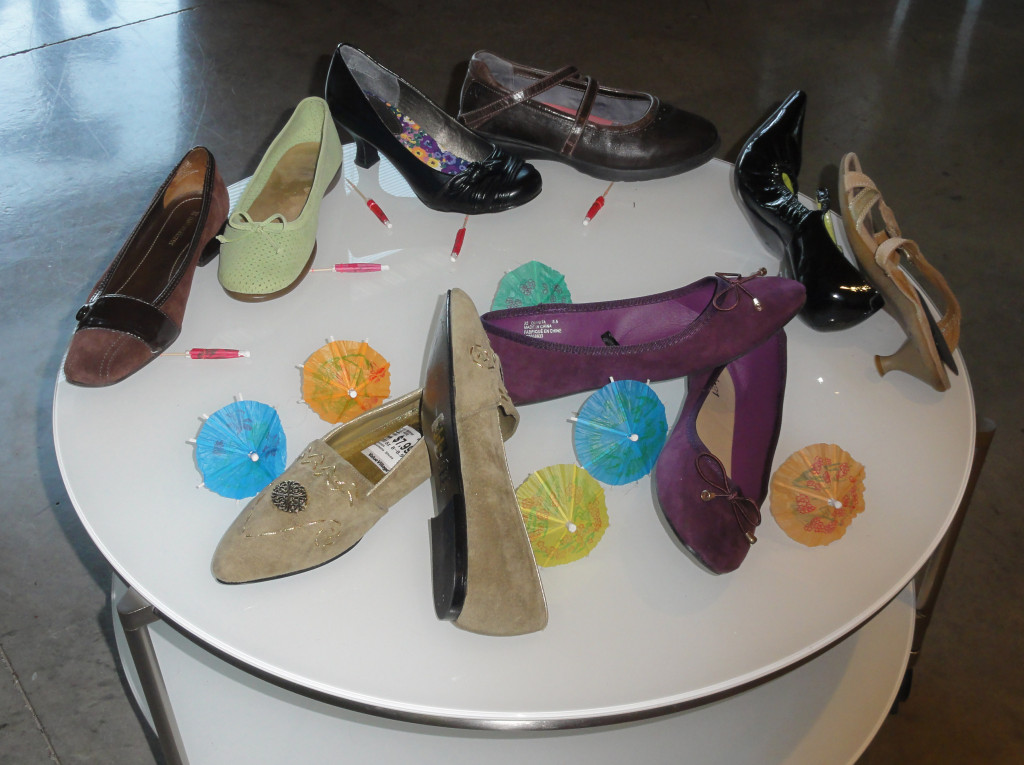
As you can see by the parasol party, I’ve narrowed down the shoes to the two pairs I bought! I apologise that the photo makes the green shoes look tan and the burgundy look grape; they’re a very soft sage and a pinot noir!
The reason I showed four other pairs of shoes as possibilities when they have strong non-Regency features is because some people need certain attributes in their shoes, and shoes similar to the four shown would be a reasonable compromise, with a little more work.
The Mary Janes are expensive walking shoes, and people who need support or wear orthotics shouldn’t feel they can’t wear these, just know the heavy cut, type of leather, and sports sole are a compromise. Since mine are porous enough leather, it may be possible to paint them to look prettier. The lime green Aerosoles fall into the same comfort category, and the colour is okay, so they could be treated just like the other ballet flats, and the rubber sole and hole pattern forgiven. In fact, the visible part of the rubber soles could be painted black (a felt marker works for this) to camouflage them.
A shorter person who likes their heels might decide to paint the leather strips on the toes of the 1-1/2” kitten-heeled shoes so they look like ribbons, or glue ribbons over them in the same pattern, leaving a loose bow. Similarly, some wearers need a low but not flat heel, yet balk at the narrowness of even the kitten heel. The patent leather part on the loafer could be covered or painted, and the button disguised with a ribbon bow or medallion of sorts. To be truly authentic, the suede could be covered, too, but it can remain as a compromise. In both cases, care would need to be taken to keep the covering from being too bulky-looking.
You can cover a simple-shaped, smooth shoe that’s made from the wrong sort of material if you can cut neat lines and have a steady hand to glue heavy silk fabric on smoothly. The fabric would be cut to align with the sole, with a side seam (see examples). The extra would then be tucked over and cut off at the top, then trimmed with narrow braid or ribbon.
Spray-on glue is good for this. You can spray each surface and let them dry separately, then do a test run, because it works like Post-it notes when dry. If you’re satisfied with the outline of your fabric, you can re-spray and then align the fabric on the shoe at the sole. Be sure to use lots of newspaper in the area where you’re working, and use it to mask off the sole or any area you’re not covering. Note that the Regency shoe has a side seam rather than a back seam, and it’s a desirable look to attach trim over that seam and at the top of the shoe, just not at the base.
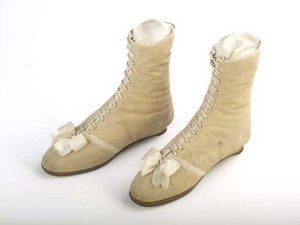
Another shoe option is the half-boot, which became popular during the Regency. I have not been able to find any boots with light enough soles and leather to be used.
There are certain new shoes available on the Internet that claim they are a Regency style. The ads compare 2000s shoes to Regency shoes, and then claim their shoe design has filled the gaps and is a Regency-correct shoe. In all honesty, these shoes still look like 2000s pumps, and are a rip-off. Closer matches can be purchased at regular stores for less than half the price, including kitten-heeled pumps with a more authentic-looking toe shape.
I went to work at making my two pairs of shoes look Regency. The sage shoes need no additional trim. Martha Stewart types will roll their eyes at my attempts to decorate the two Wal-mart shoes, but I’m not crafty!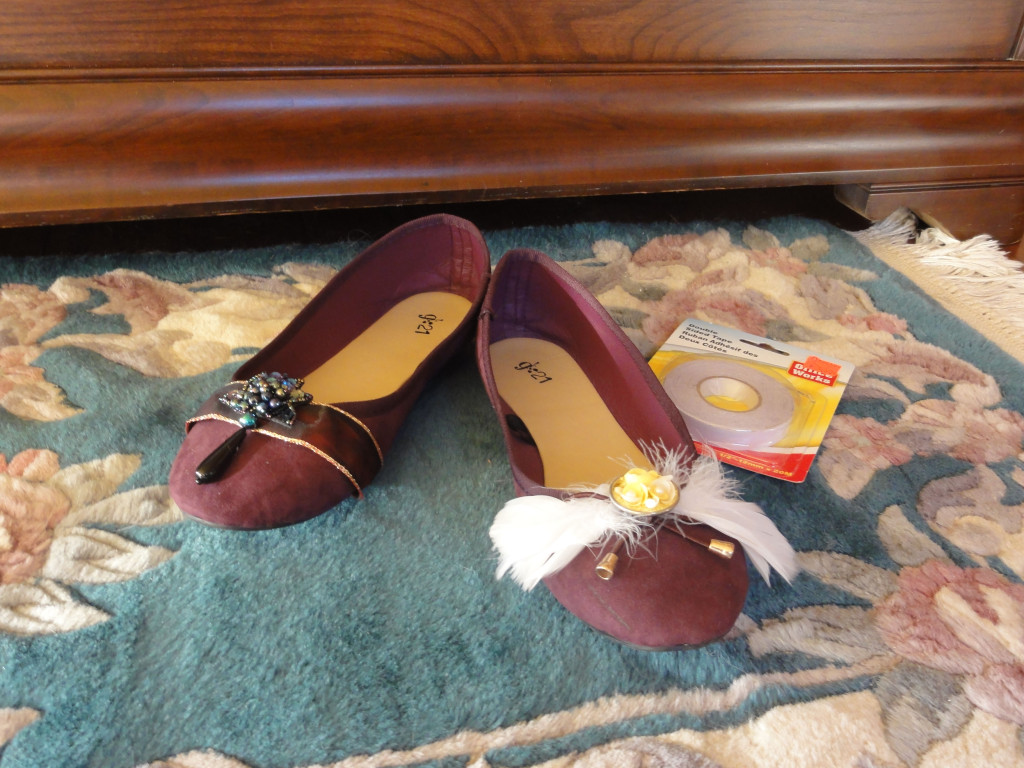
It looked like it wouldn’t be easy to remove the little bows cleanly, so I left them on. I took advantage of it on one shoe, threading goose feathers into the loops. The bag of maybe 25 goose feathers was $1.99. I added a clip-on earring from a set that sold for $3 at Salvation Army.
To decorate the shoe on the left, I used a short length of ribbon I already had at home, and a pierced earring from a $1 Salvation Army pair . Pretty ugly as earrings, but not bad on a Regency shoe!
I didn’t permanently attach these details yet, as I want to decide which dress I wear with which shoes first, and then work with trim colour to coordinate with the dress. I’ll use double-sided tape to attach the trim. I might try a folded ribbon effect for the final shoe. It would have to be sewn before attaching it to the shoe, or iron-on fabric tape used in lieu of sewing to keep the folds in place.
To see an excellent selection of Regency shoes, go to the Metropolitan Museum of Art searchable web site.
Next post: Propping up the Girls: Ideas for foundation wear on a budget.

