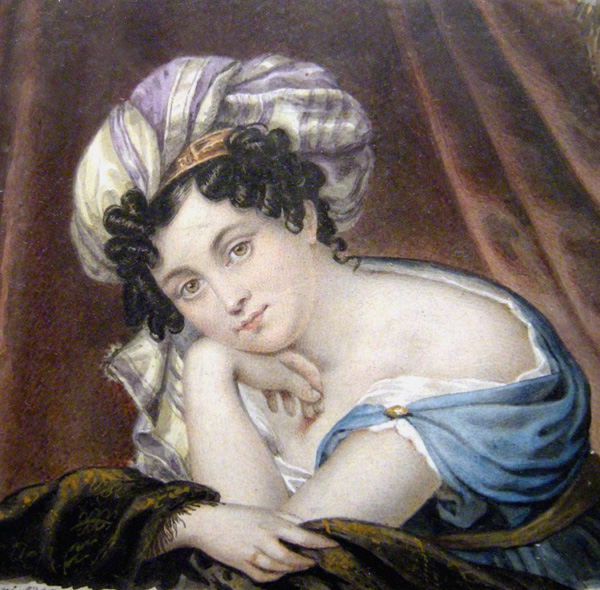
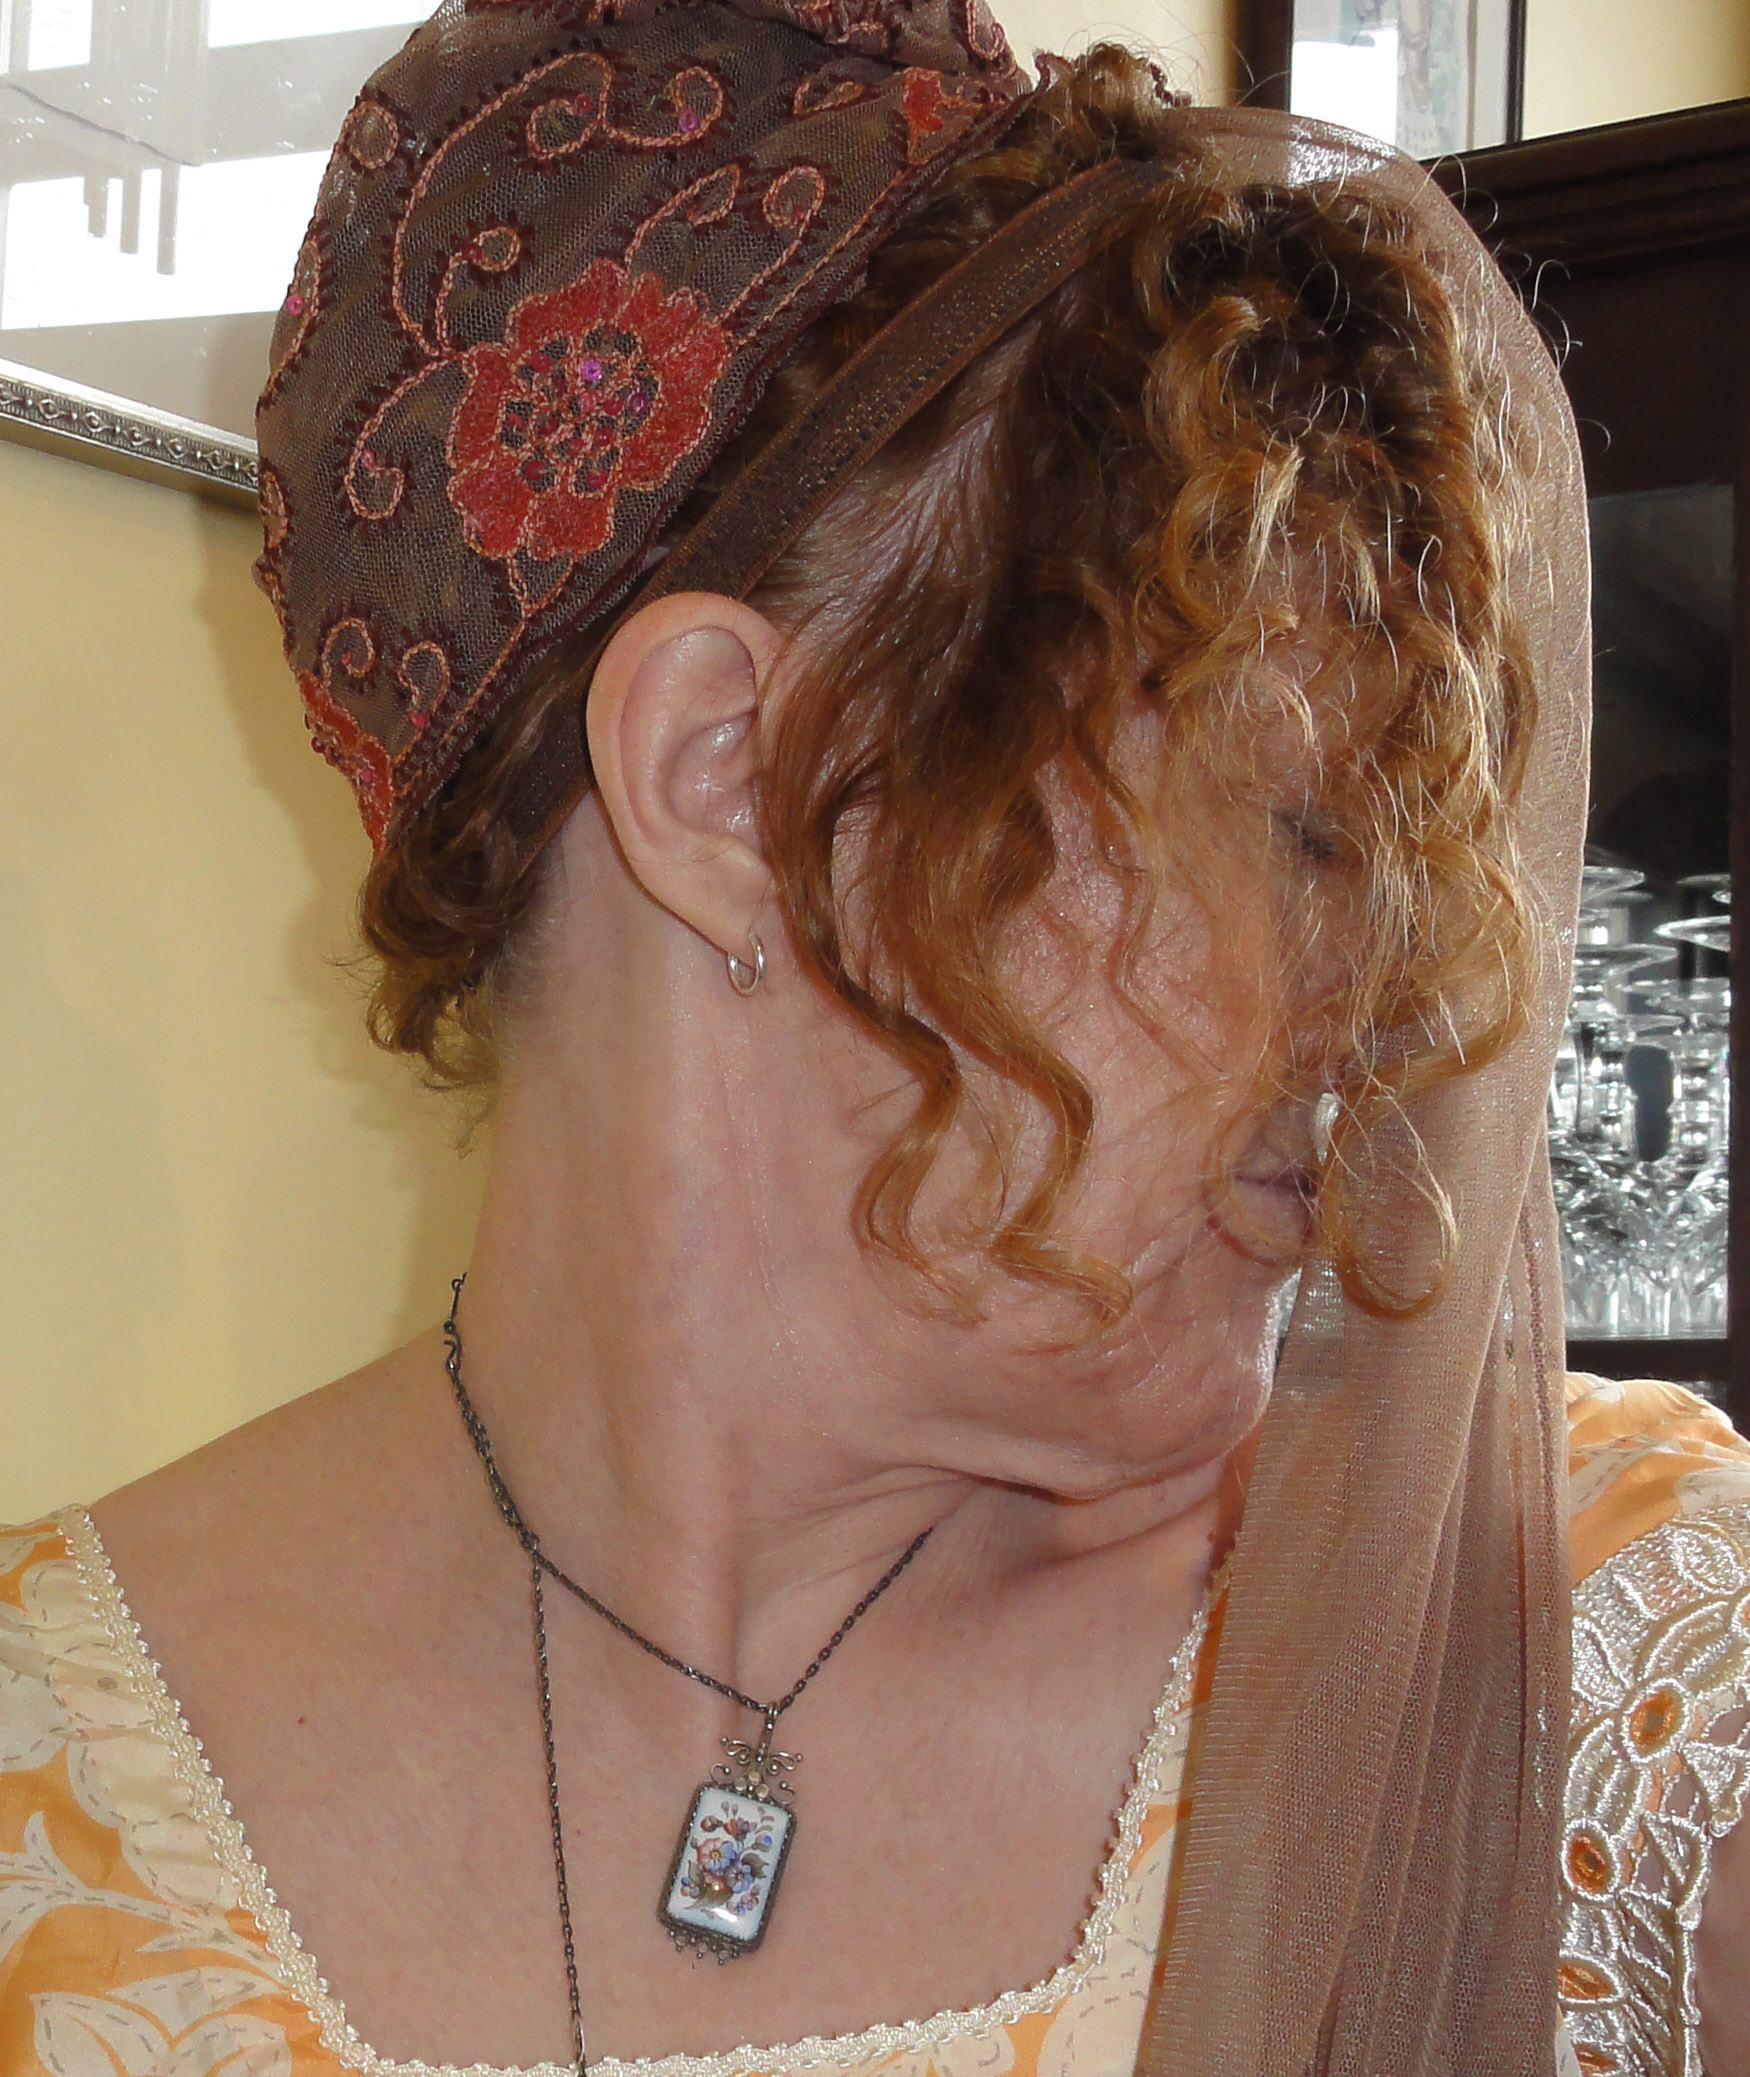
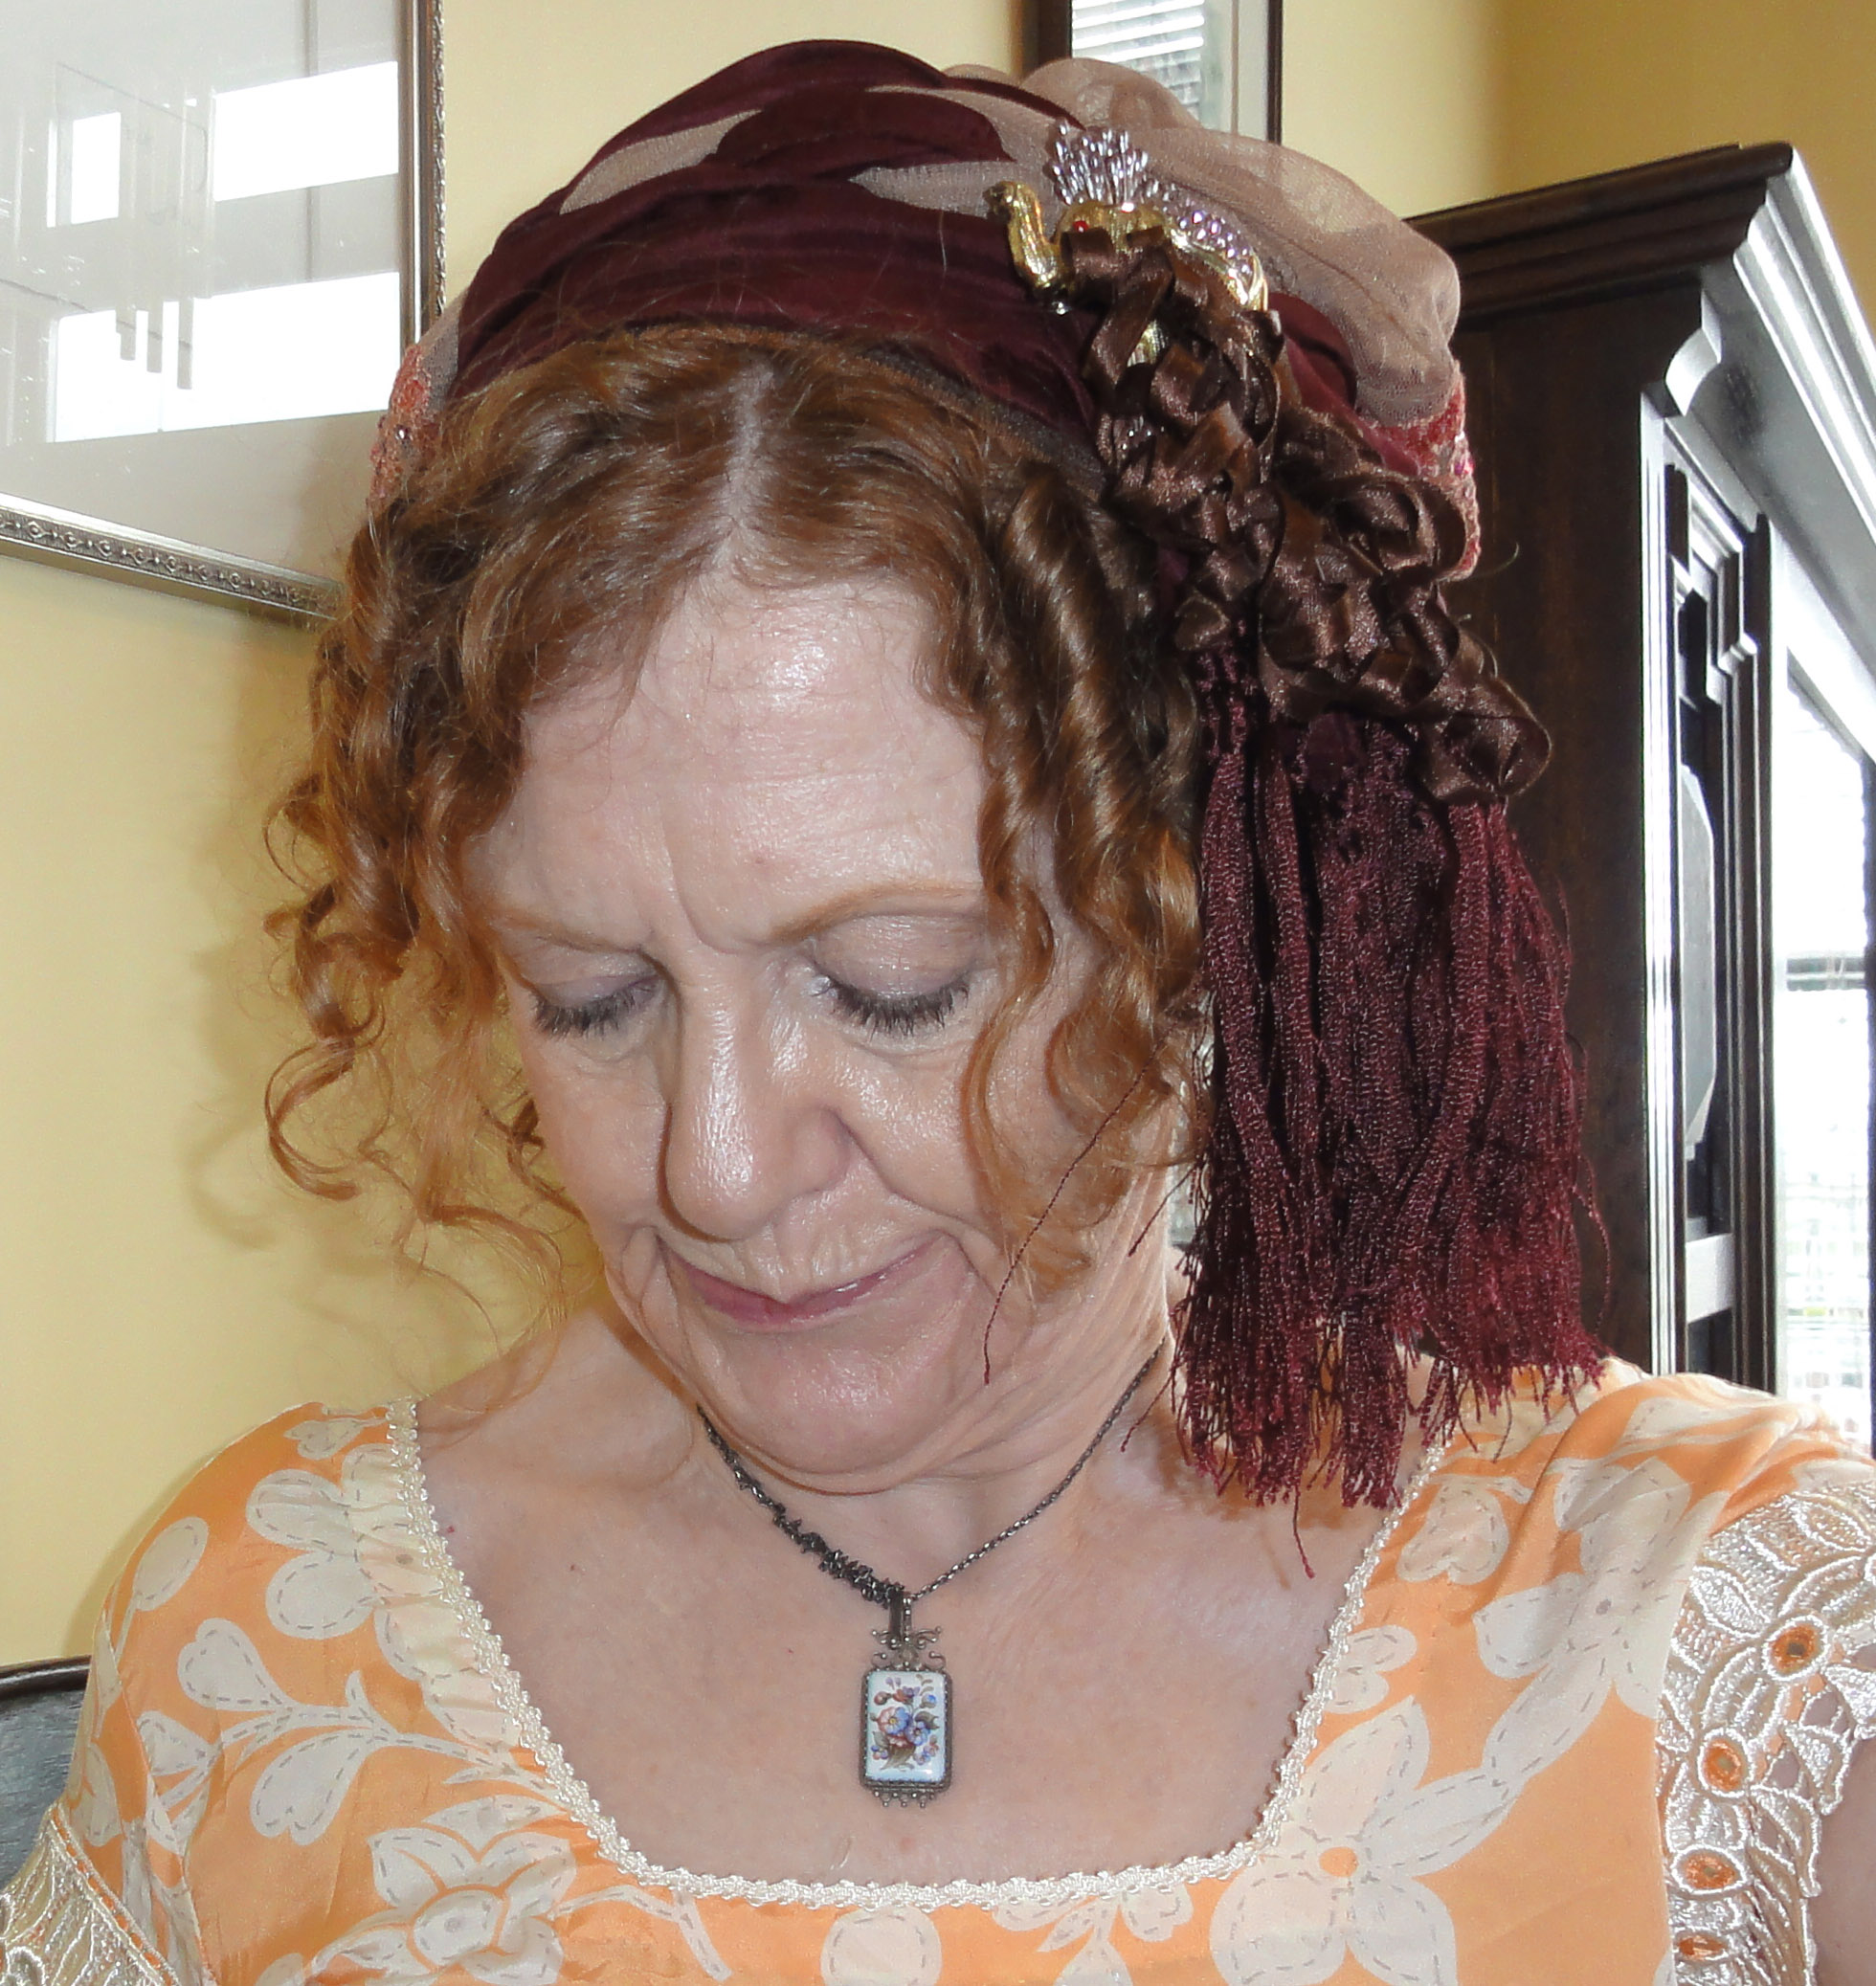
I read bodice rippers! In the steamy scenes, the Regency hero is forced to wade through layers upon layers of underthings as he tries to seduce the heroine. The poor guy might find an overdress or an underdress as part of the gown. Once he had dispensed with that, he would first find petticoats and/or drawers/pantalets, then a corset or stays, and finally, a chemise and stockings under that enticing gown.
Okay, it’s not twenty layers, but I’m sure it seemed so to the impassioned, impatient fellow!
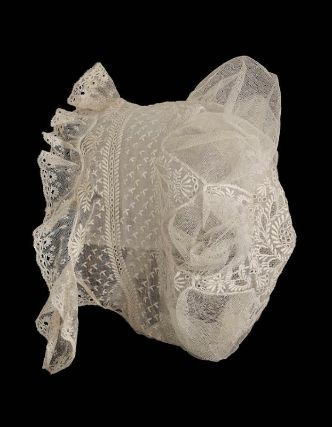
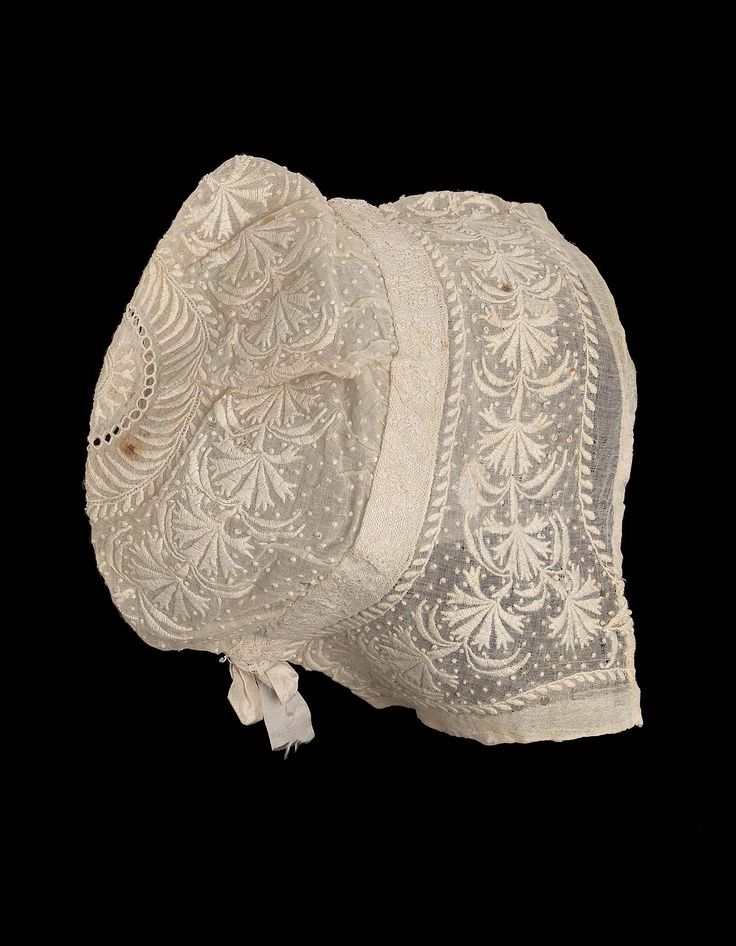
Chemises, petticoats, and drawers:
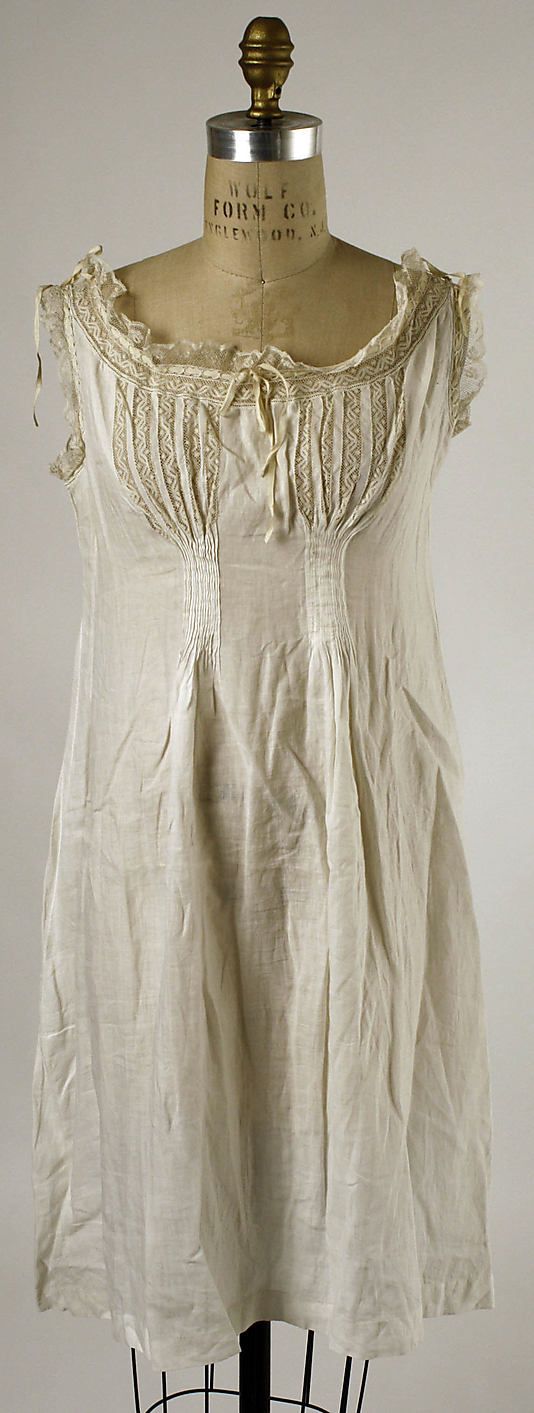
Chemise

Chemise, 1820 to 1830
We start closest to the body, with the chemise (shift). It’s like a light, straight full-slip, worn under the corset to prevent chafing. It often had short sleeves.

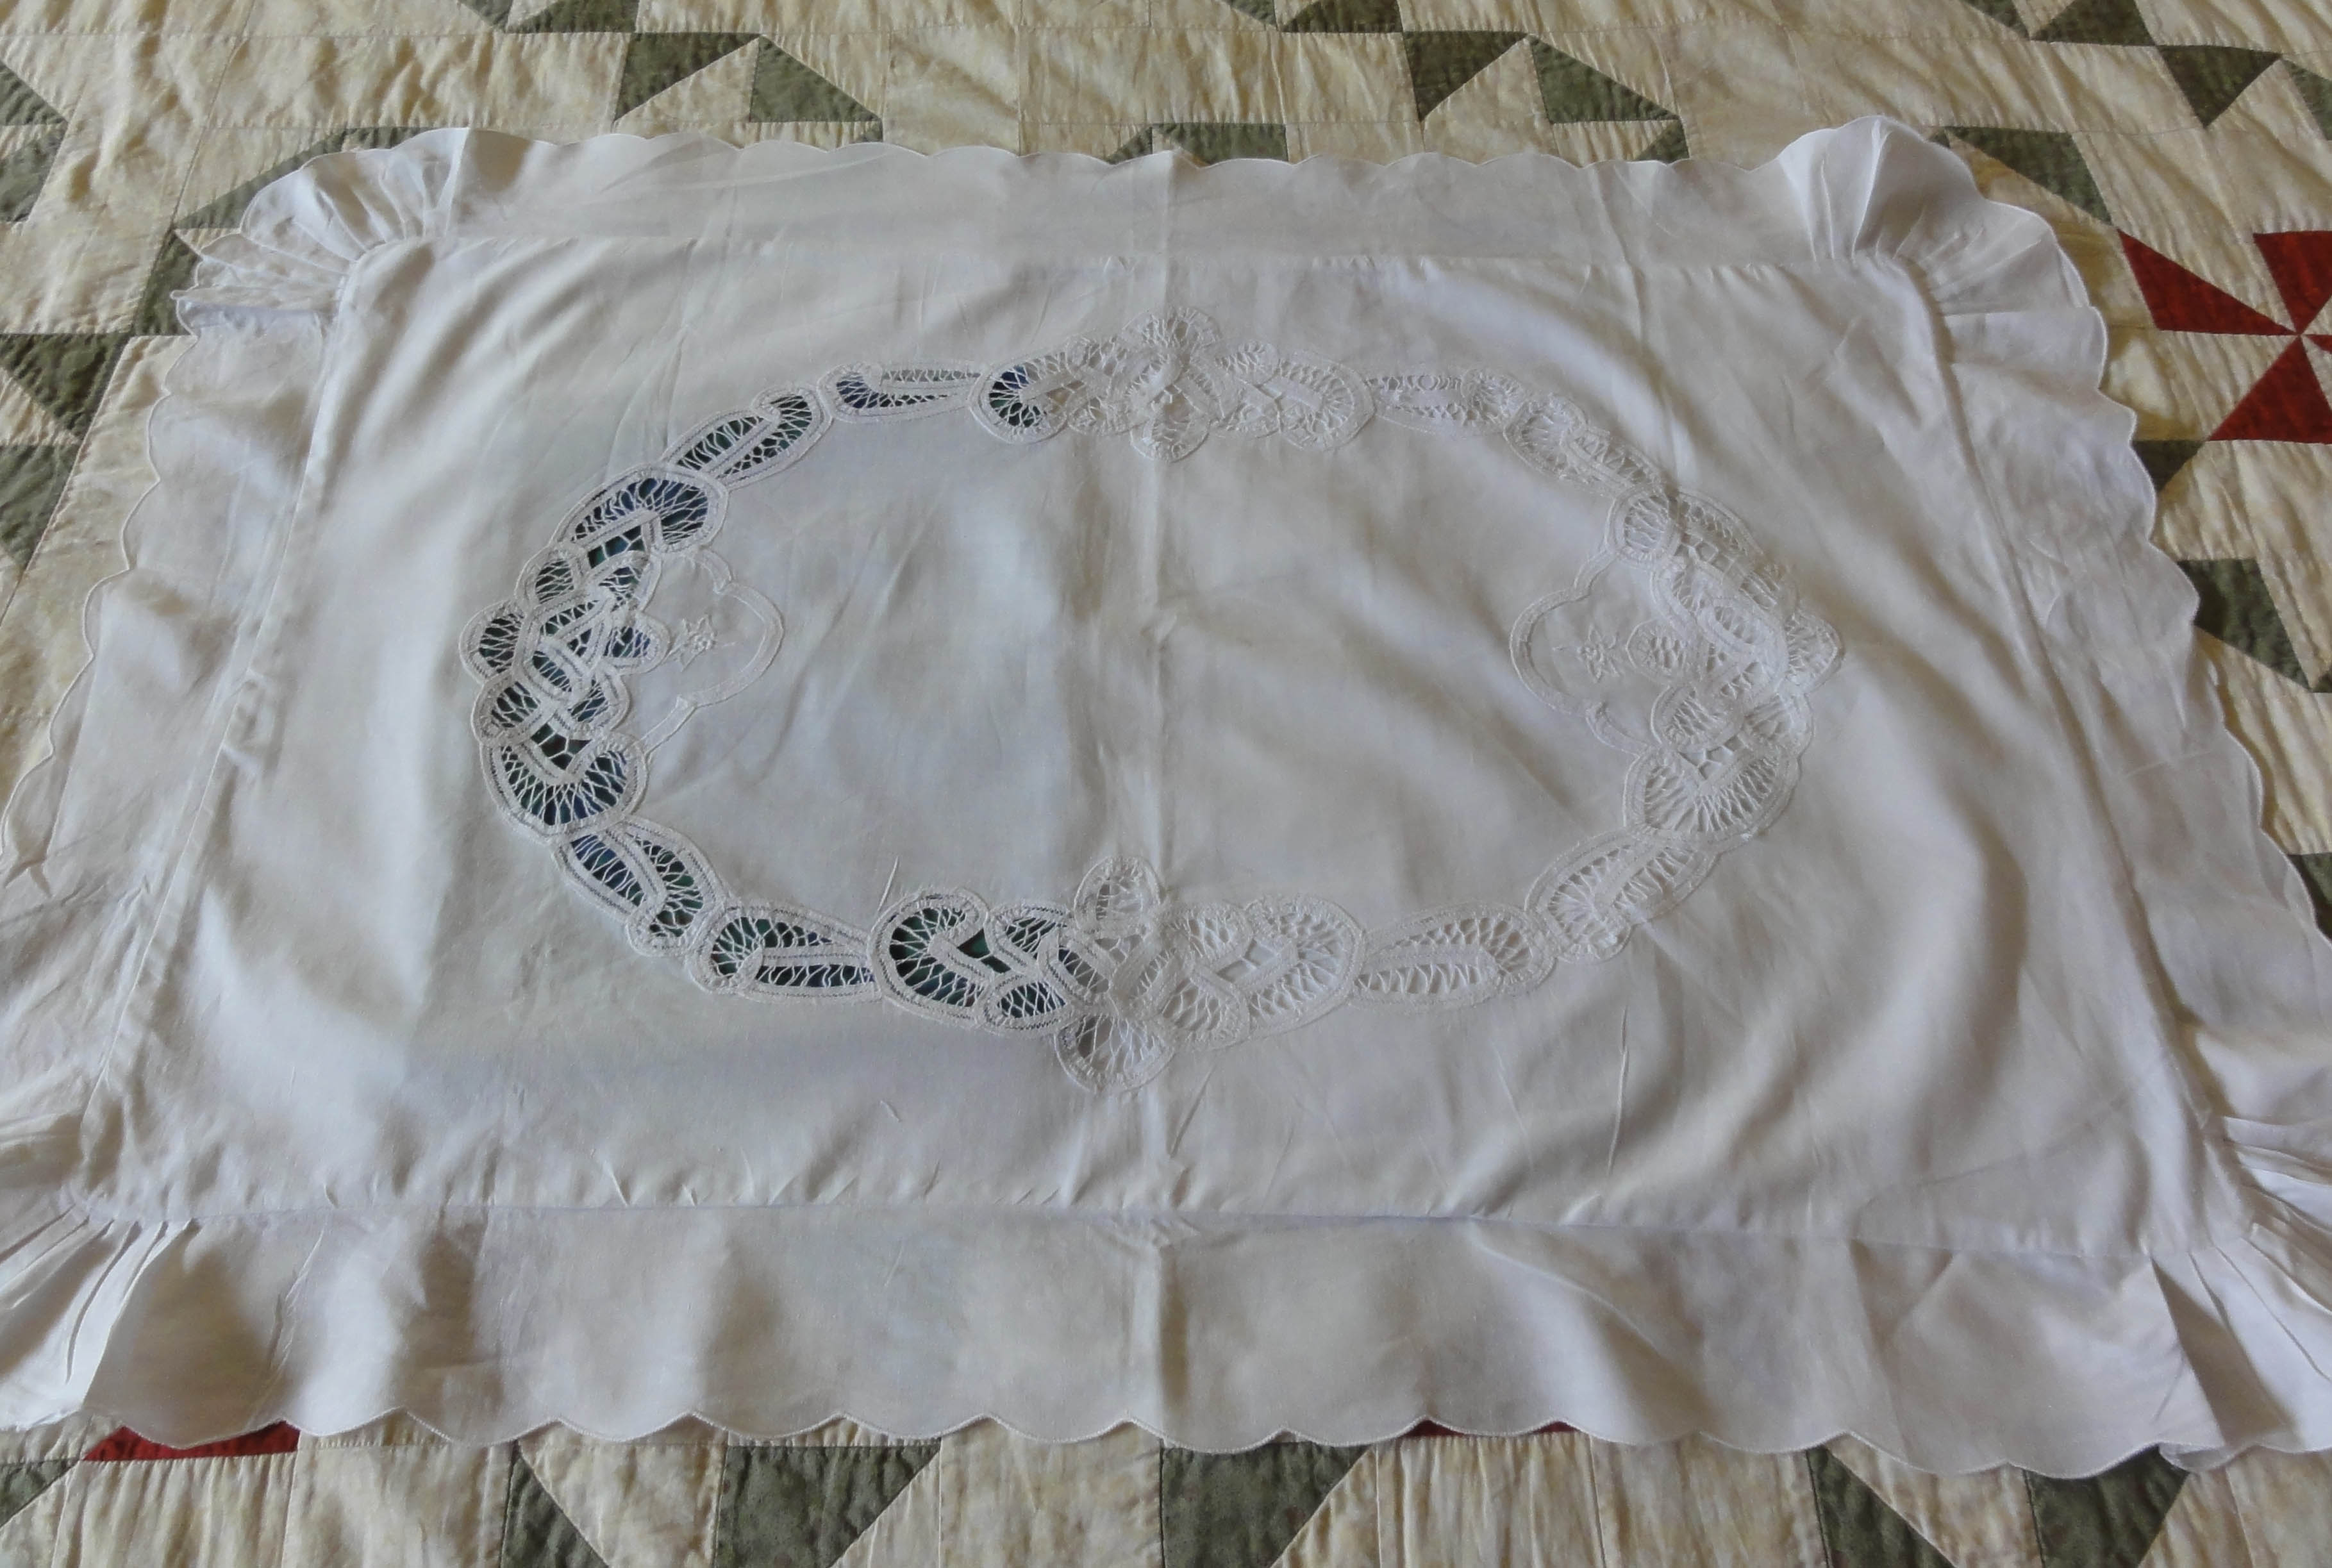
Petticoat, Metropolitan Museum of Arts
Regency petticoats are not heavy crinolines to pouf up the dress, rather, another slip, either a half- or full-slip. Worn over the stays or corset, the petticoat’s function is to make certain your soft, pretty skirt doesn’t bunch up around your legs. Some are heavily gathered and some are straighter, depending on the fabric and style of the dress they’re intended to shape.
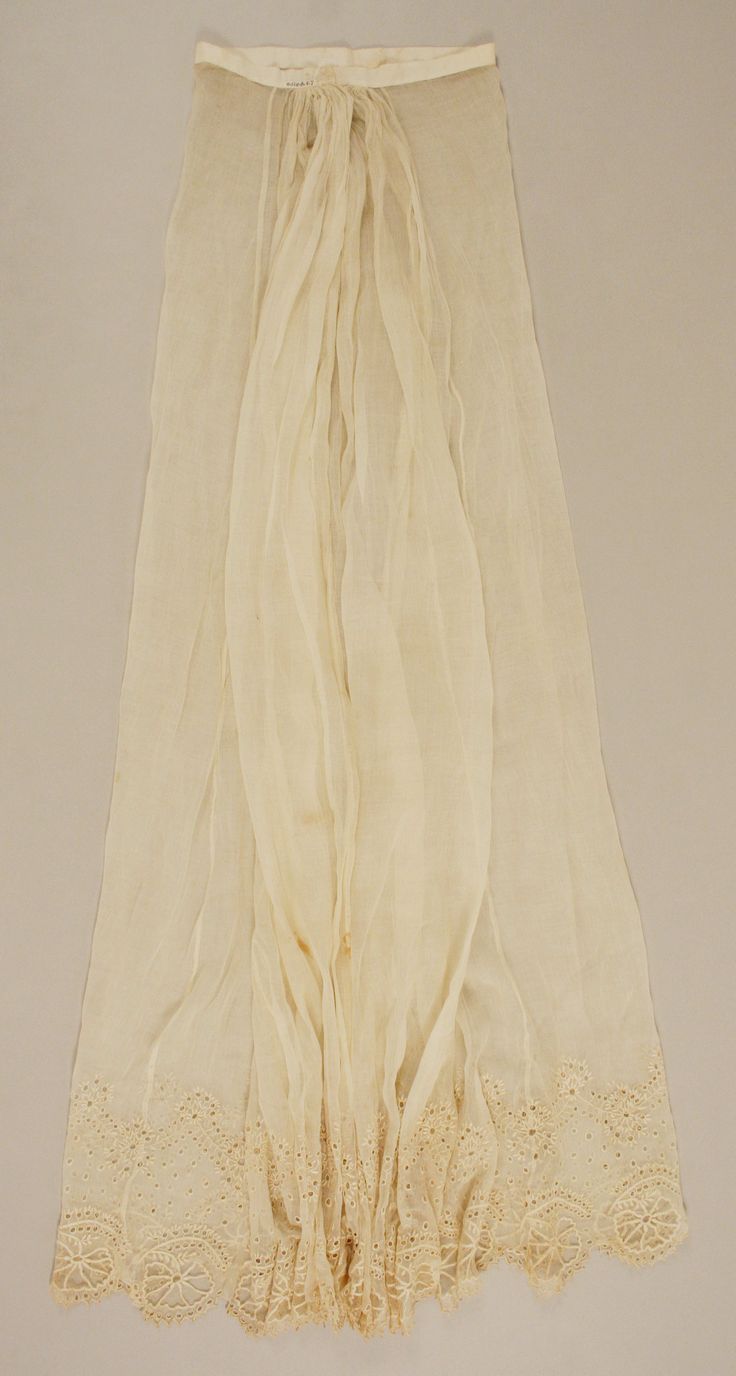
Early 19th Century Petticoats, Metropolitan Museum of Arts
Some Regency petticoats had stays built in; you can buy a new bodiced petticoat custom-made to fit you for $90 from vendors at sites such as Etsy. If you are a sewer, Merle Brown of the Victoria BC chapter of JASNA recommends La Mode Bagatelle pattern bodiced petticoats. She has made at least 6 of them.

1815 petticoat
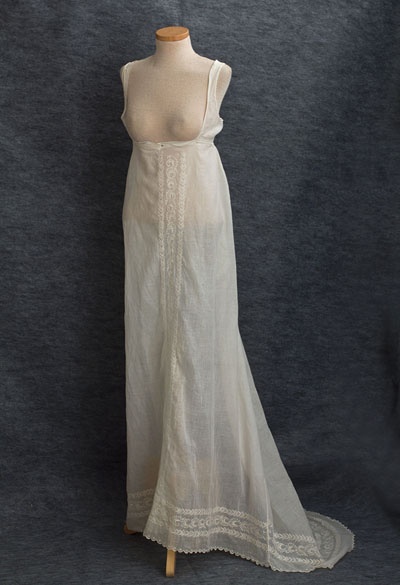
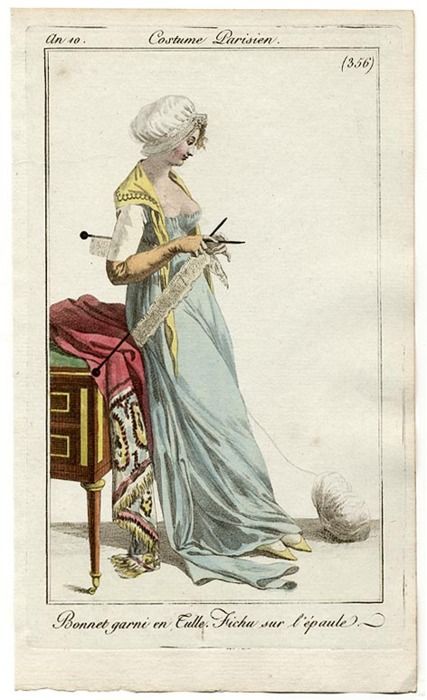
1810 underdress or overdress
Other petticoats were cut so they hung open-busted from narrow shoulder straps to the dress “waistline,” to ensure they did not show in the opening of the low-cut gown.
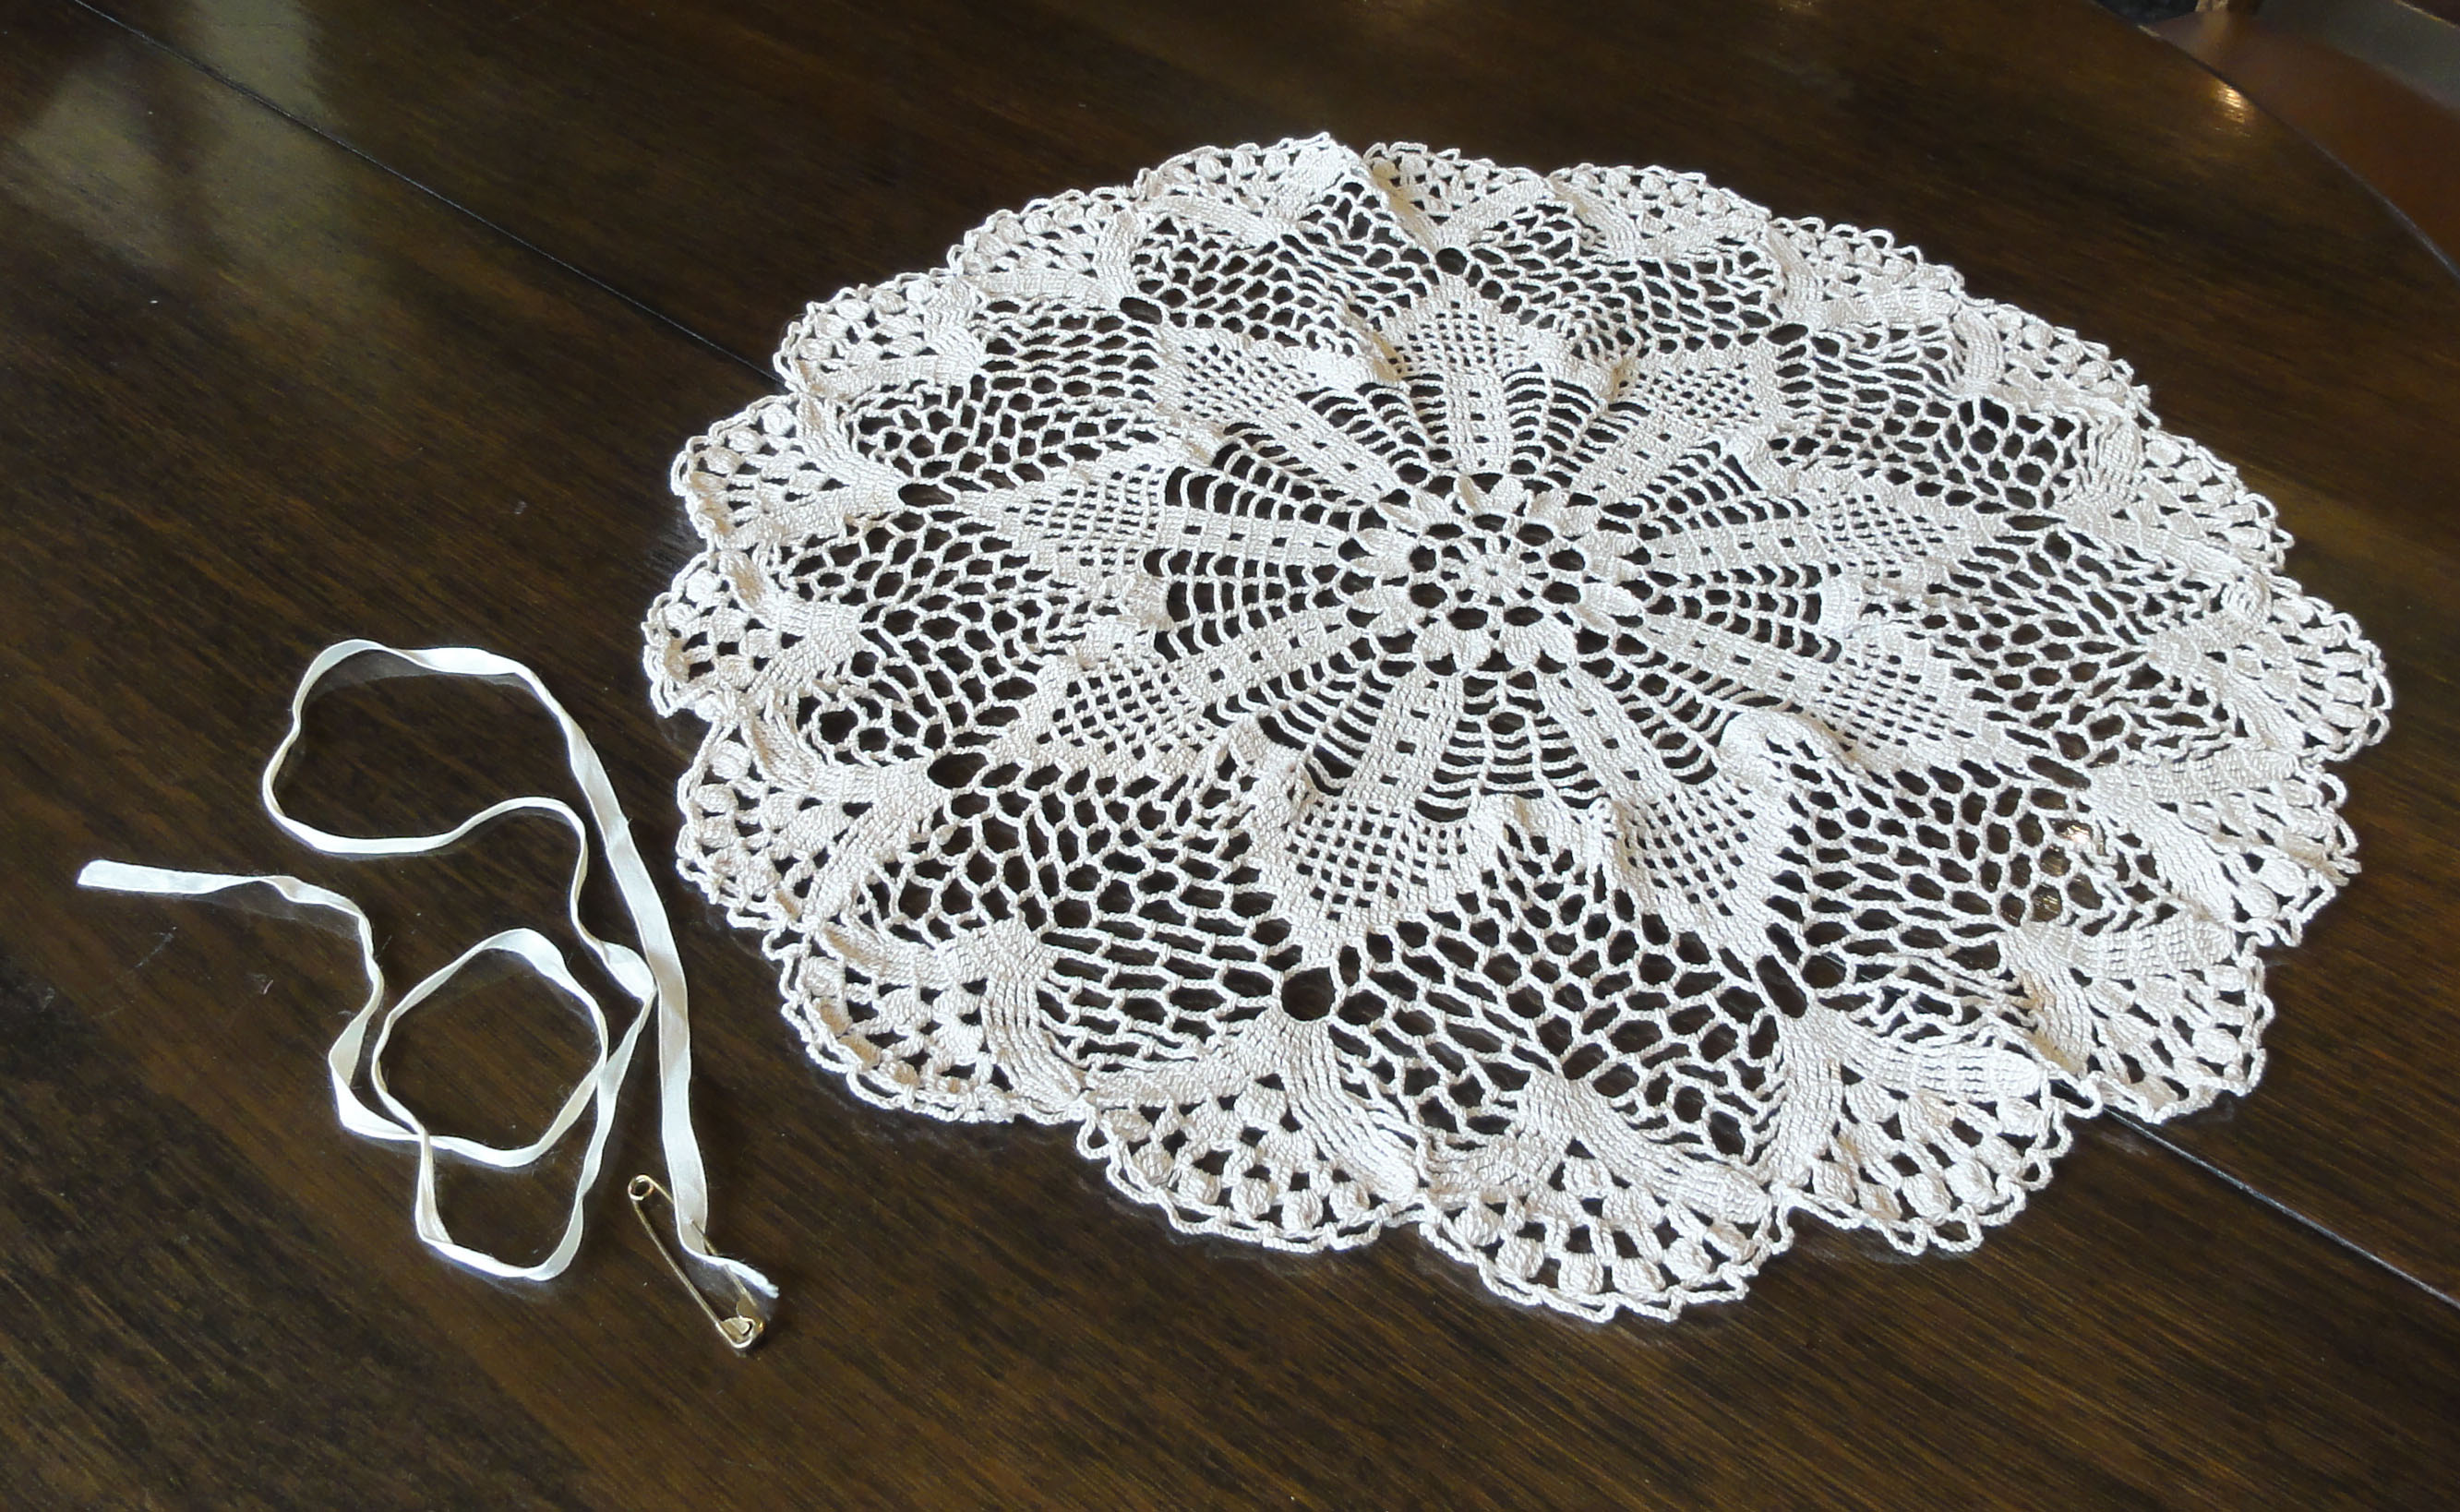
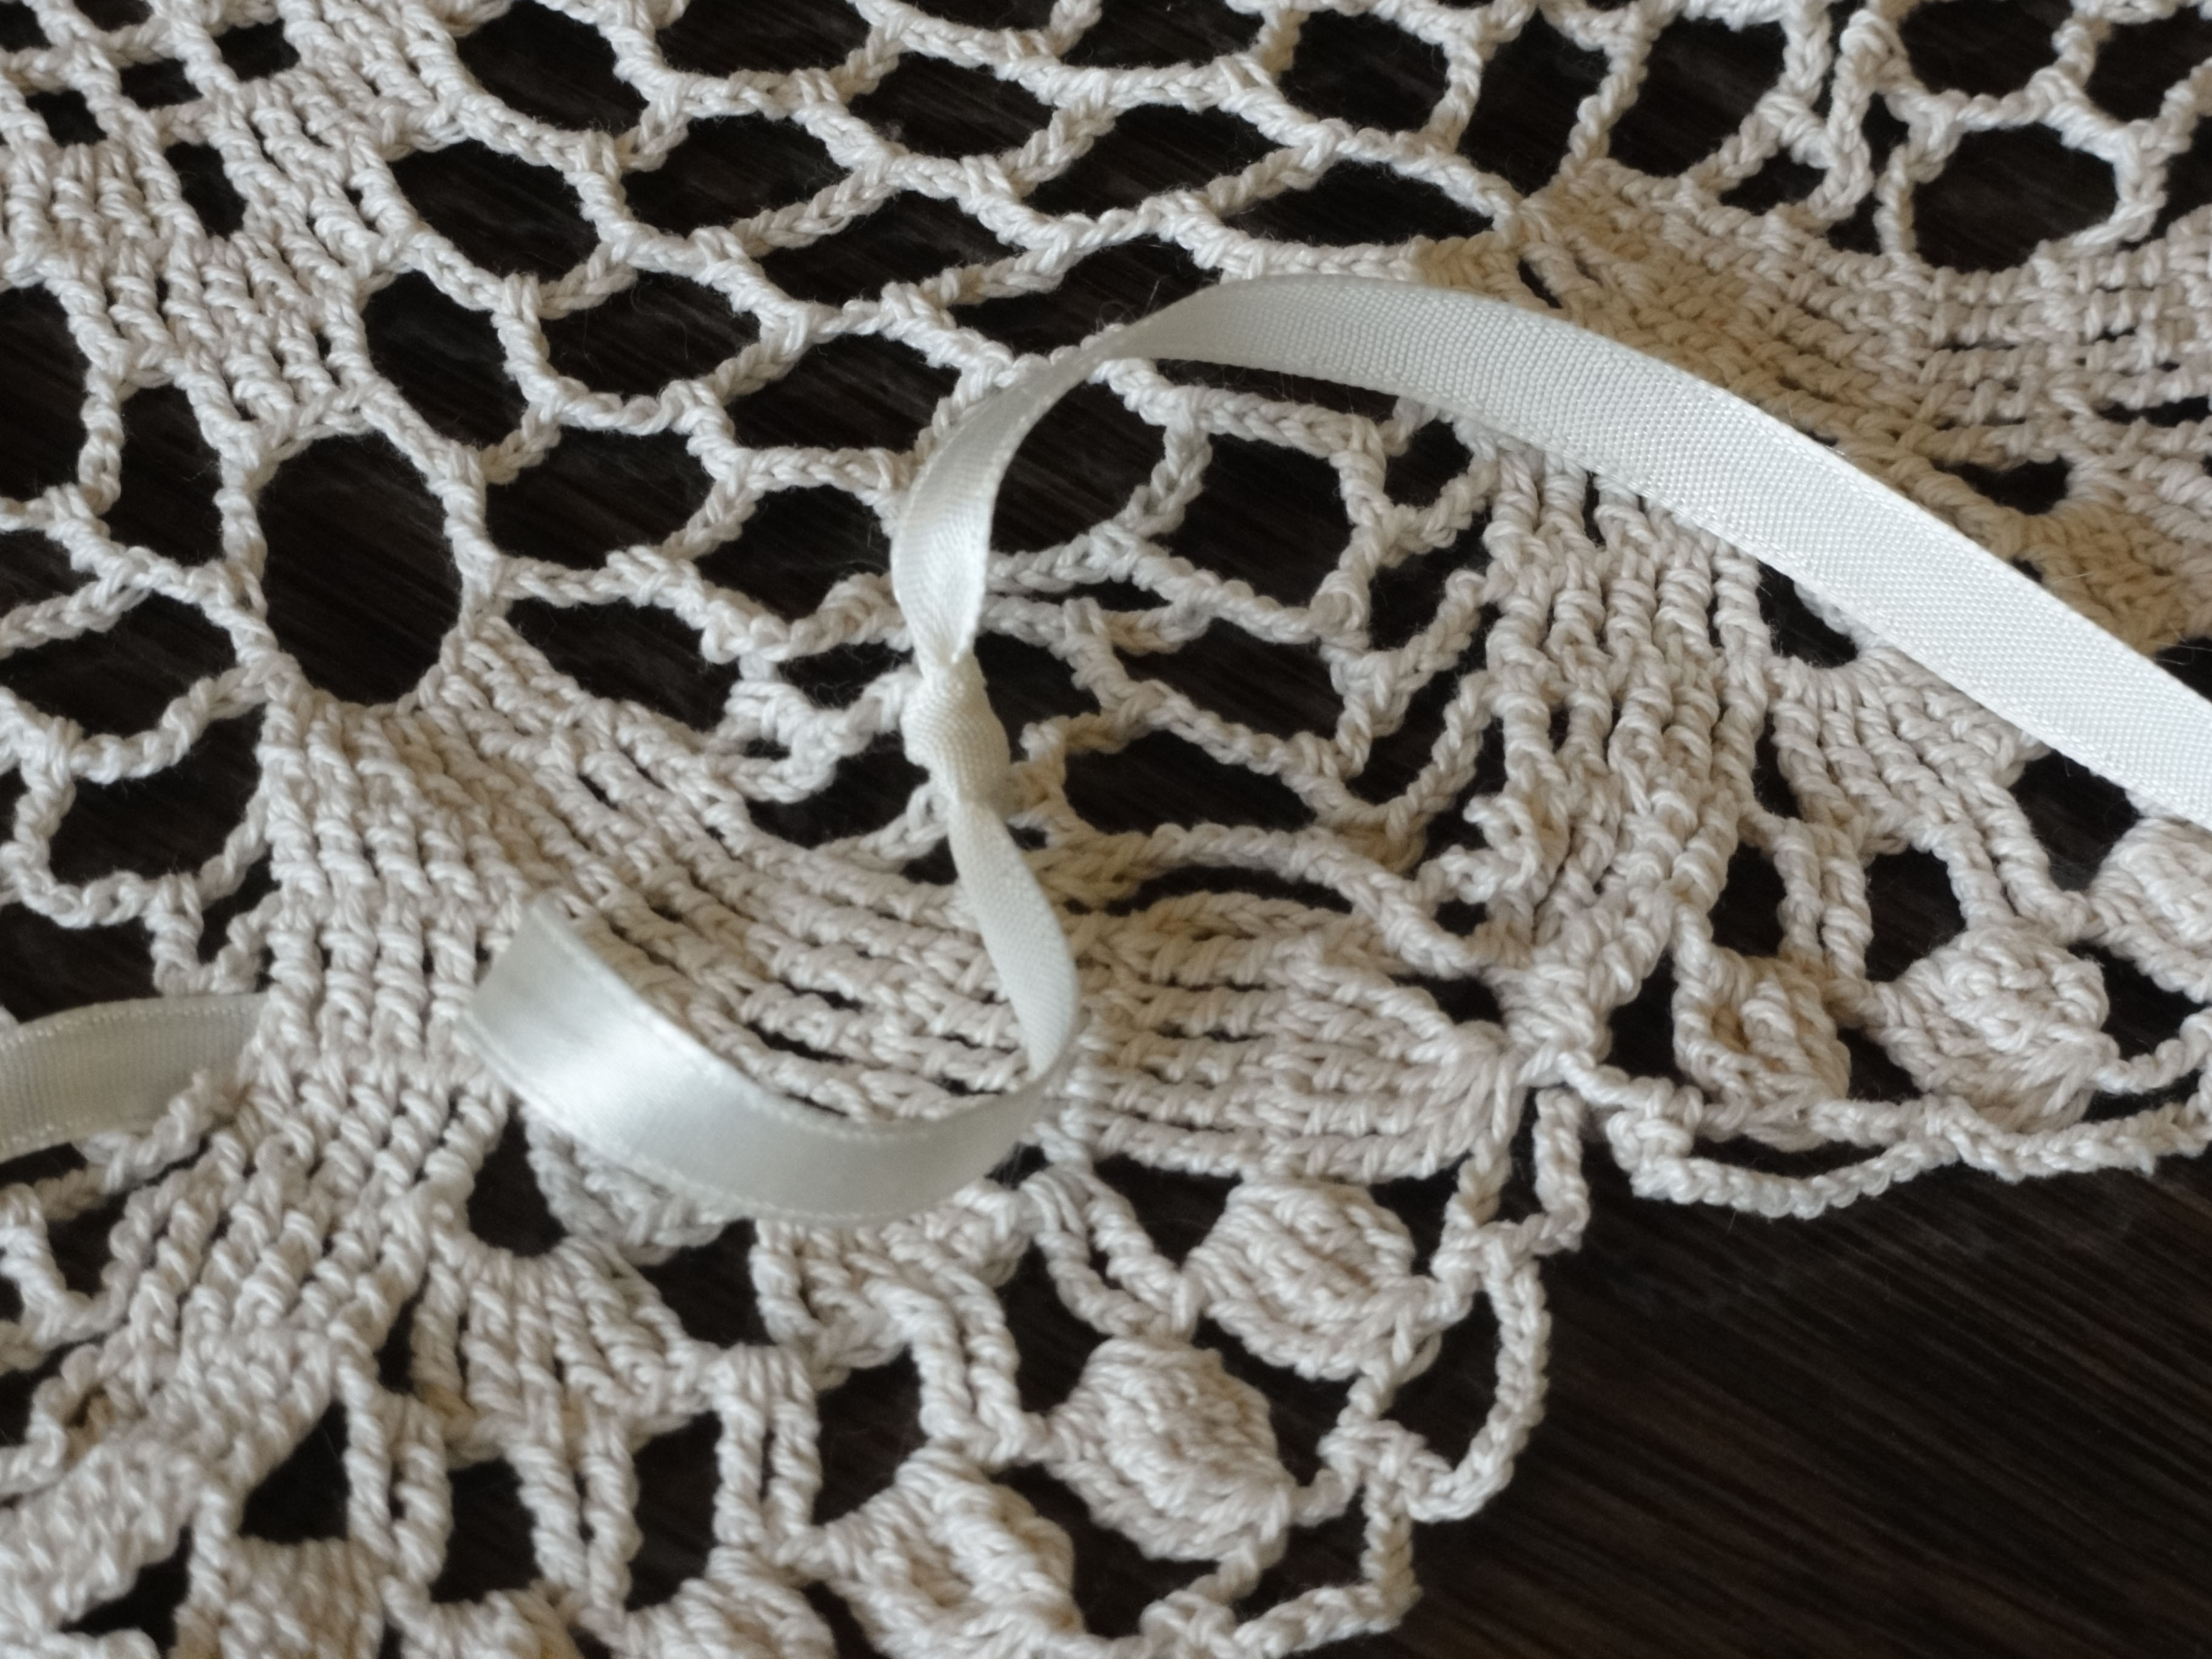
In the mid-Regency, when the gown length became shorter, the petticoat was intentionally longer than the gown, and had beautiful lace decoration on the bottom that was intended to be seen. If anything got dirty, as in Elizabeth Bennet’s case when she walked to Netherfield, it would be the petticoat, which easier to wash than the gown, and cheaper if ruined by a stain.
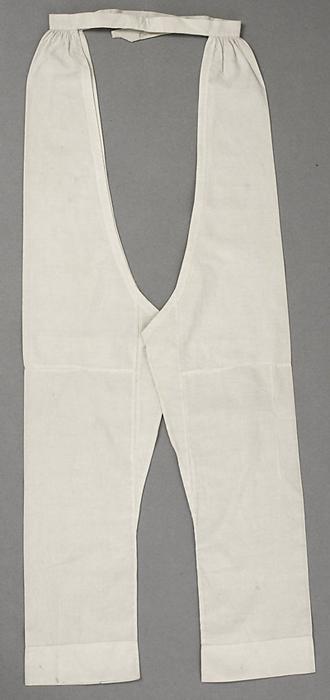
Pantalets, Metropolitan Museum of Arts
Drawers or pantalets are like a pair of legs of pants tied at the waist. They serve more or less the same function as the petticoat, and are in similar fabrics. Like the petticoats, their bottom lace trim was allowed to be seen at the bottom of the skirt.
The two legs weren’t joined at the top section until 30 years later, and briefs/panties/knickers as we know them didn’t exist until the 1930’s. (Even then, early panties were only used during menstruation!) For the pre- and post-Regency woman, this made sense, as the dresses had more layers of hoops and petticoats, and it made it easier to urinate if nothing had to be removed. I know, I know; you don’t want to imagine that!
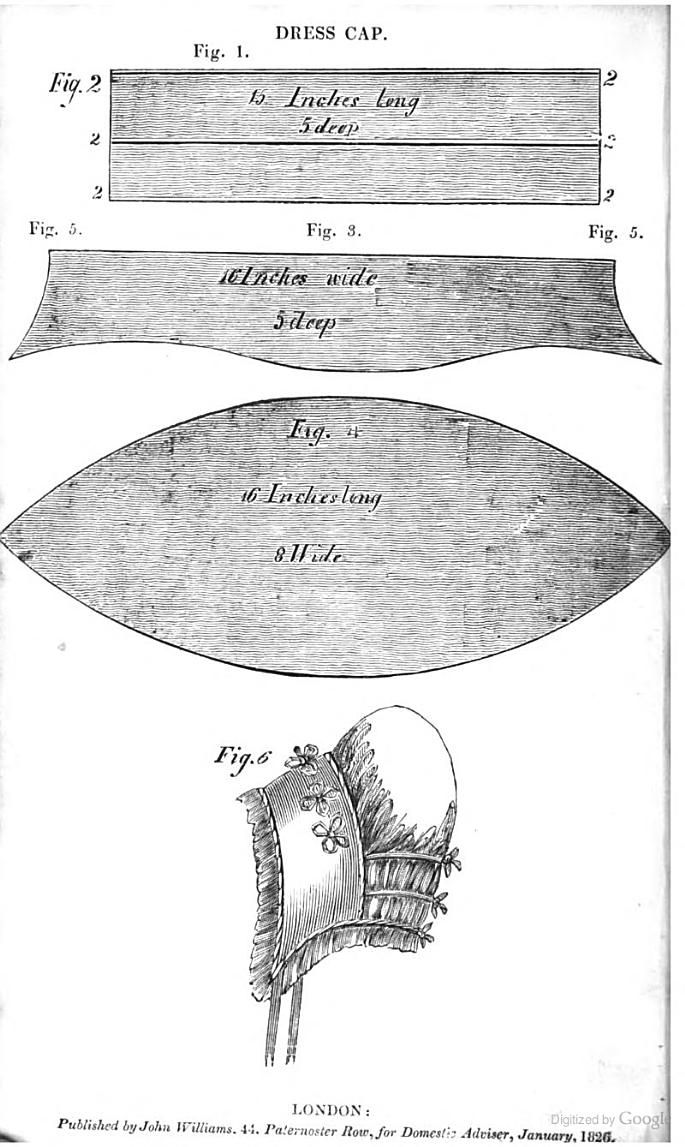
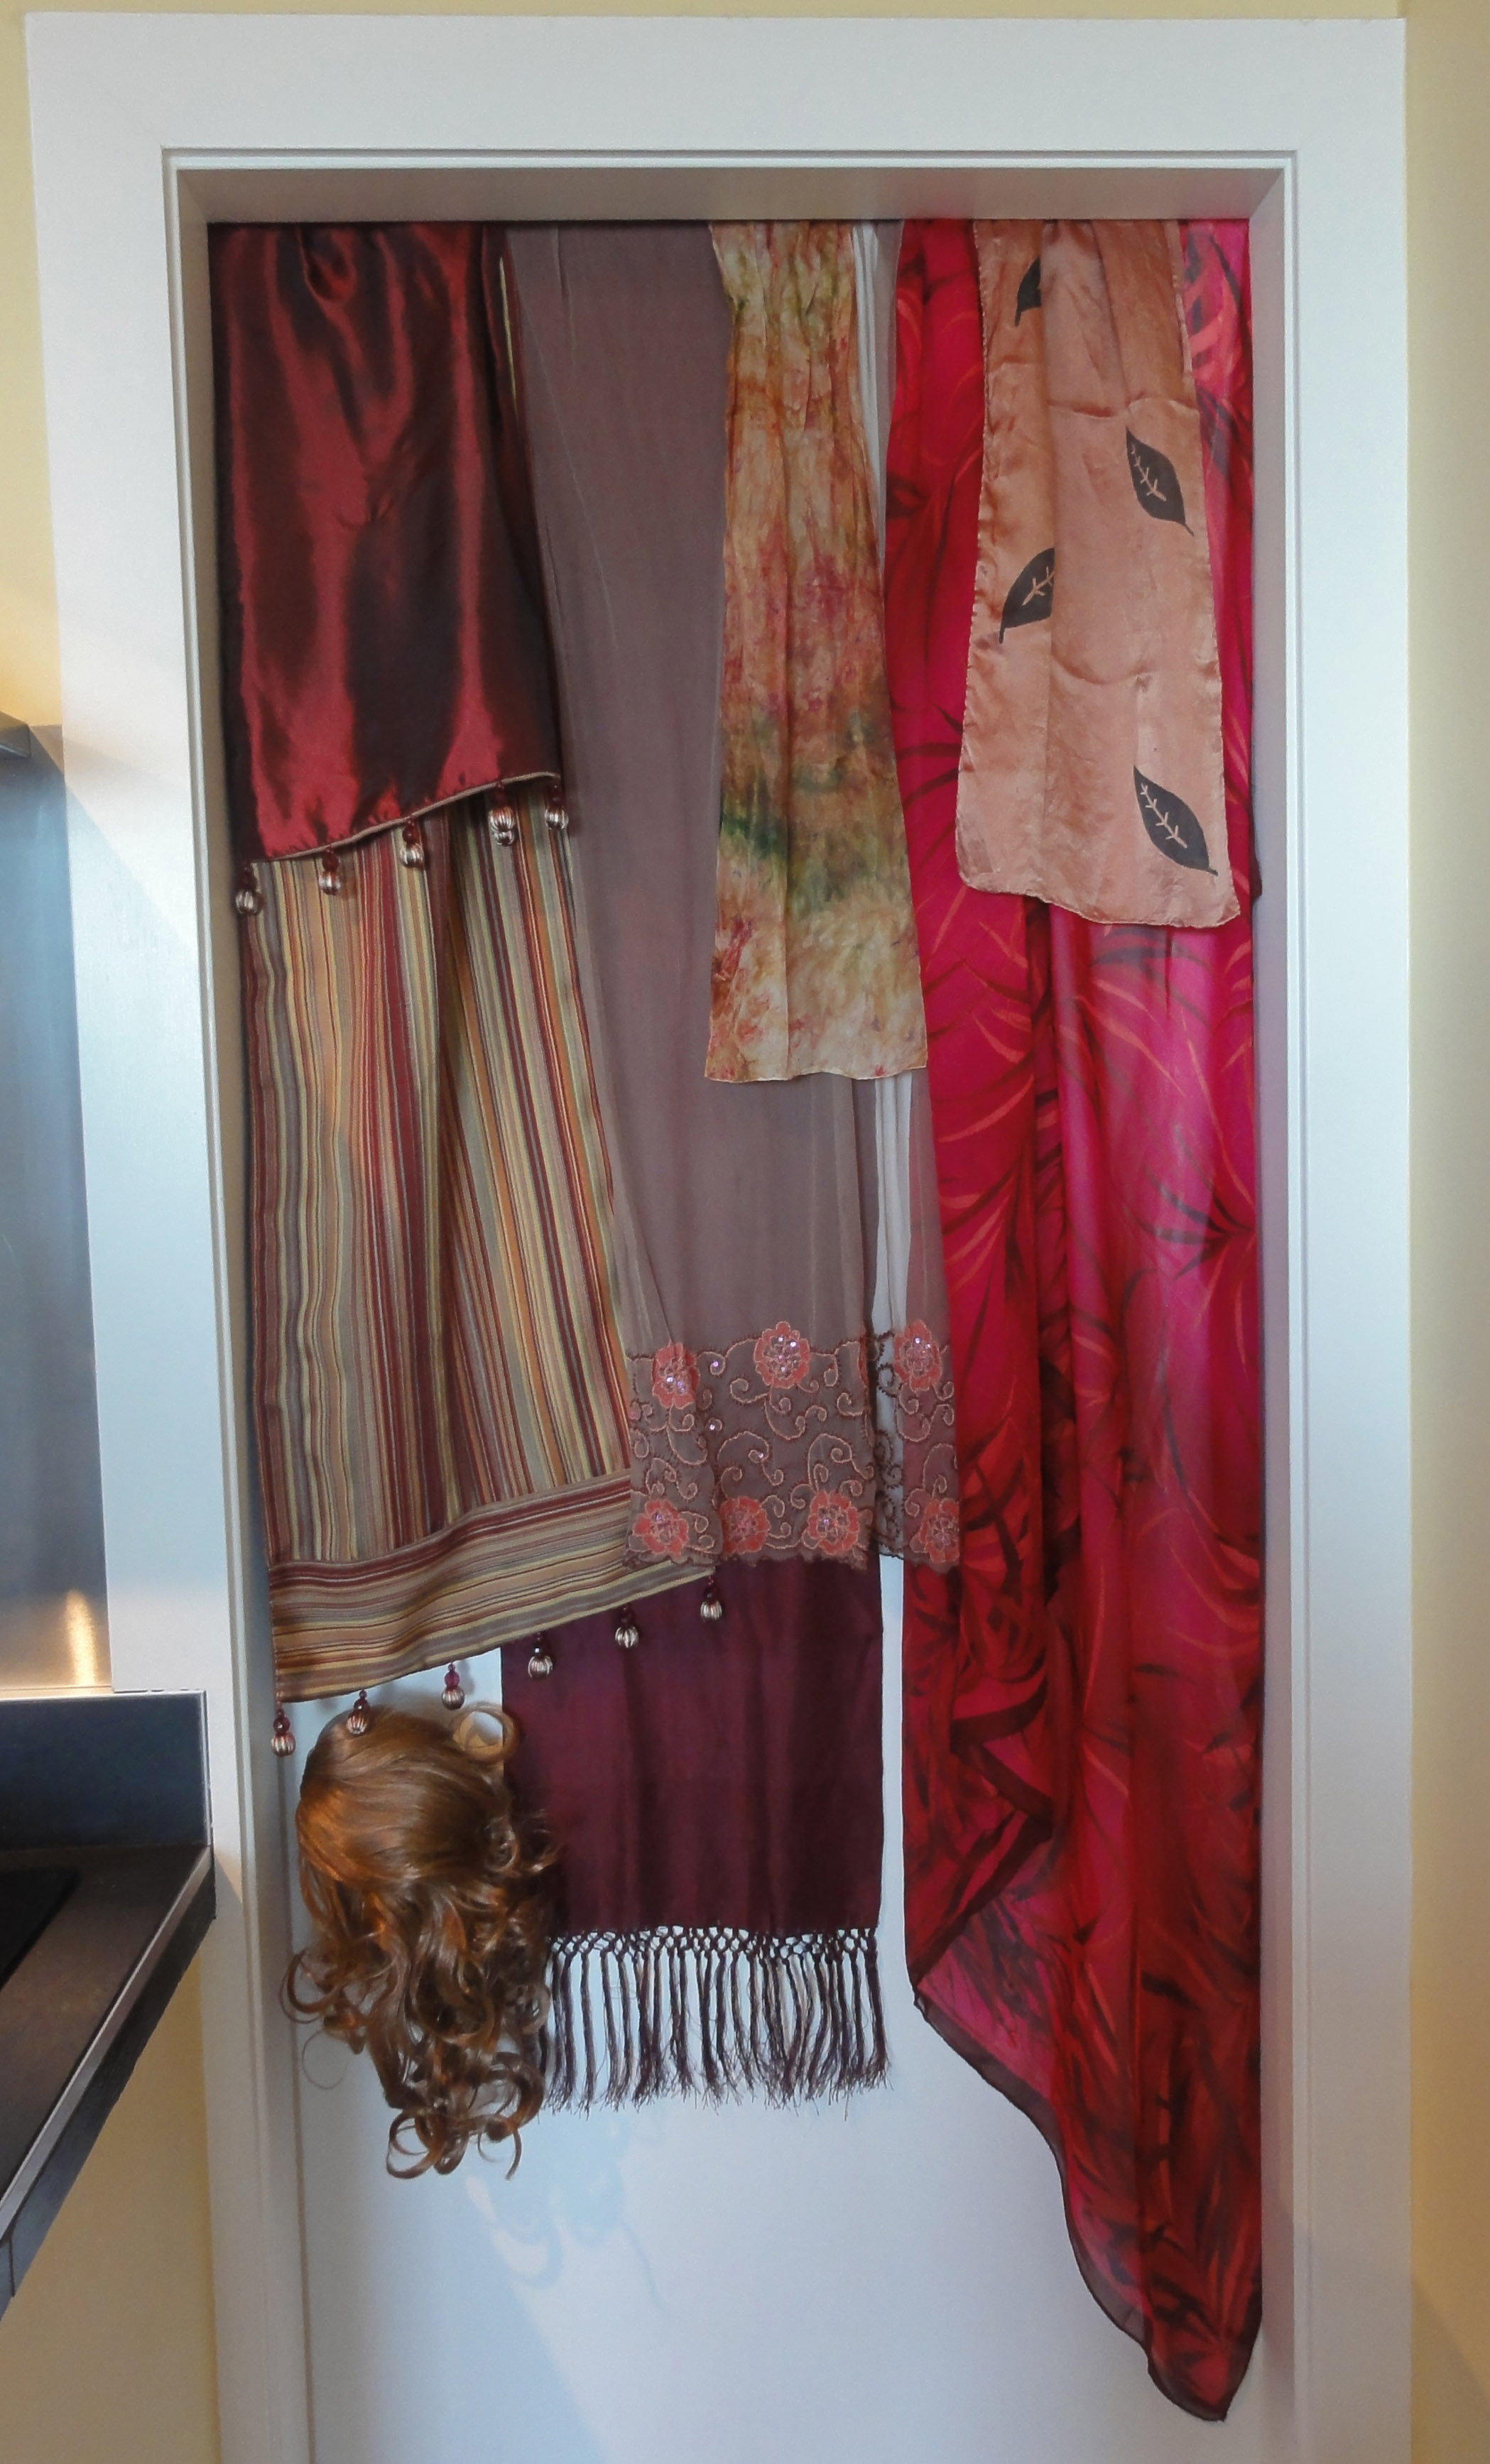
The alternative: A full slip
For the purposes of your Regency costume, a floor-length full-slip should perform the function of all three. (You can add whatever underpants and shapewear you’re comfortable with.) If you’ve chosen a corset that hasn’t been lined for comfort, you may want to wear the slip underneath, otherwise, it can fit over top.
Slips used to be ubiquitous: in the 20th century, every lady had so many, she needed a “slip drawer” to hold them all. The slips inside would include regular-length and floor-length full-slips and half-slips (skirt only). Some would be bra-slips, and have side slits or back slits, and there may be mini-slips or ¾-length slips, as well. In all likelihood, each would be duplicated in black, white, and écru, a beige-y colour.
They were the 20th century version of petticoats: they helped skirts to sit flat across the legs, so no indication of a split was evident. But that taboo has gone, and floor length full slips haven’t been sold in regular stores for a good 10 years.
If you can’t find anything in your closet or your mom’s, or in thrift or vintage shops, a very light dress or nightgown, or the lining of an evening gown will work as well. This is where that dress that didn’t have enough fabric for a gown would be useful! It should have enough fullness to the skirt to support the gown and keep it from draping between your legs.
The colour must not show under your dress, so with a sheerer gown, it should be a similar colour, with no pattern. The exception is where you have a sheer overdress and want this as an underdress of a specific colour.
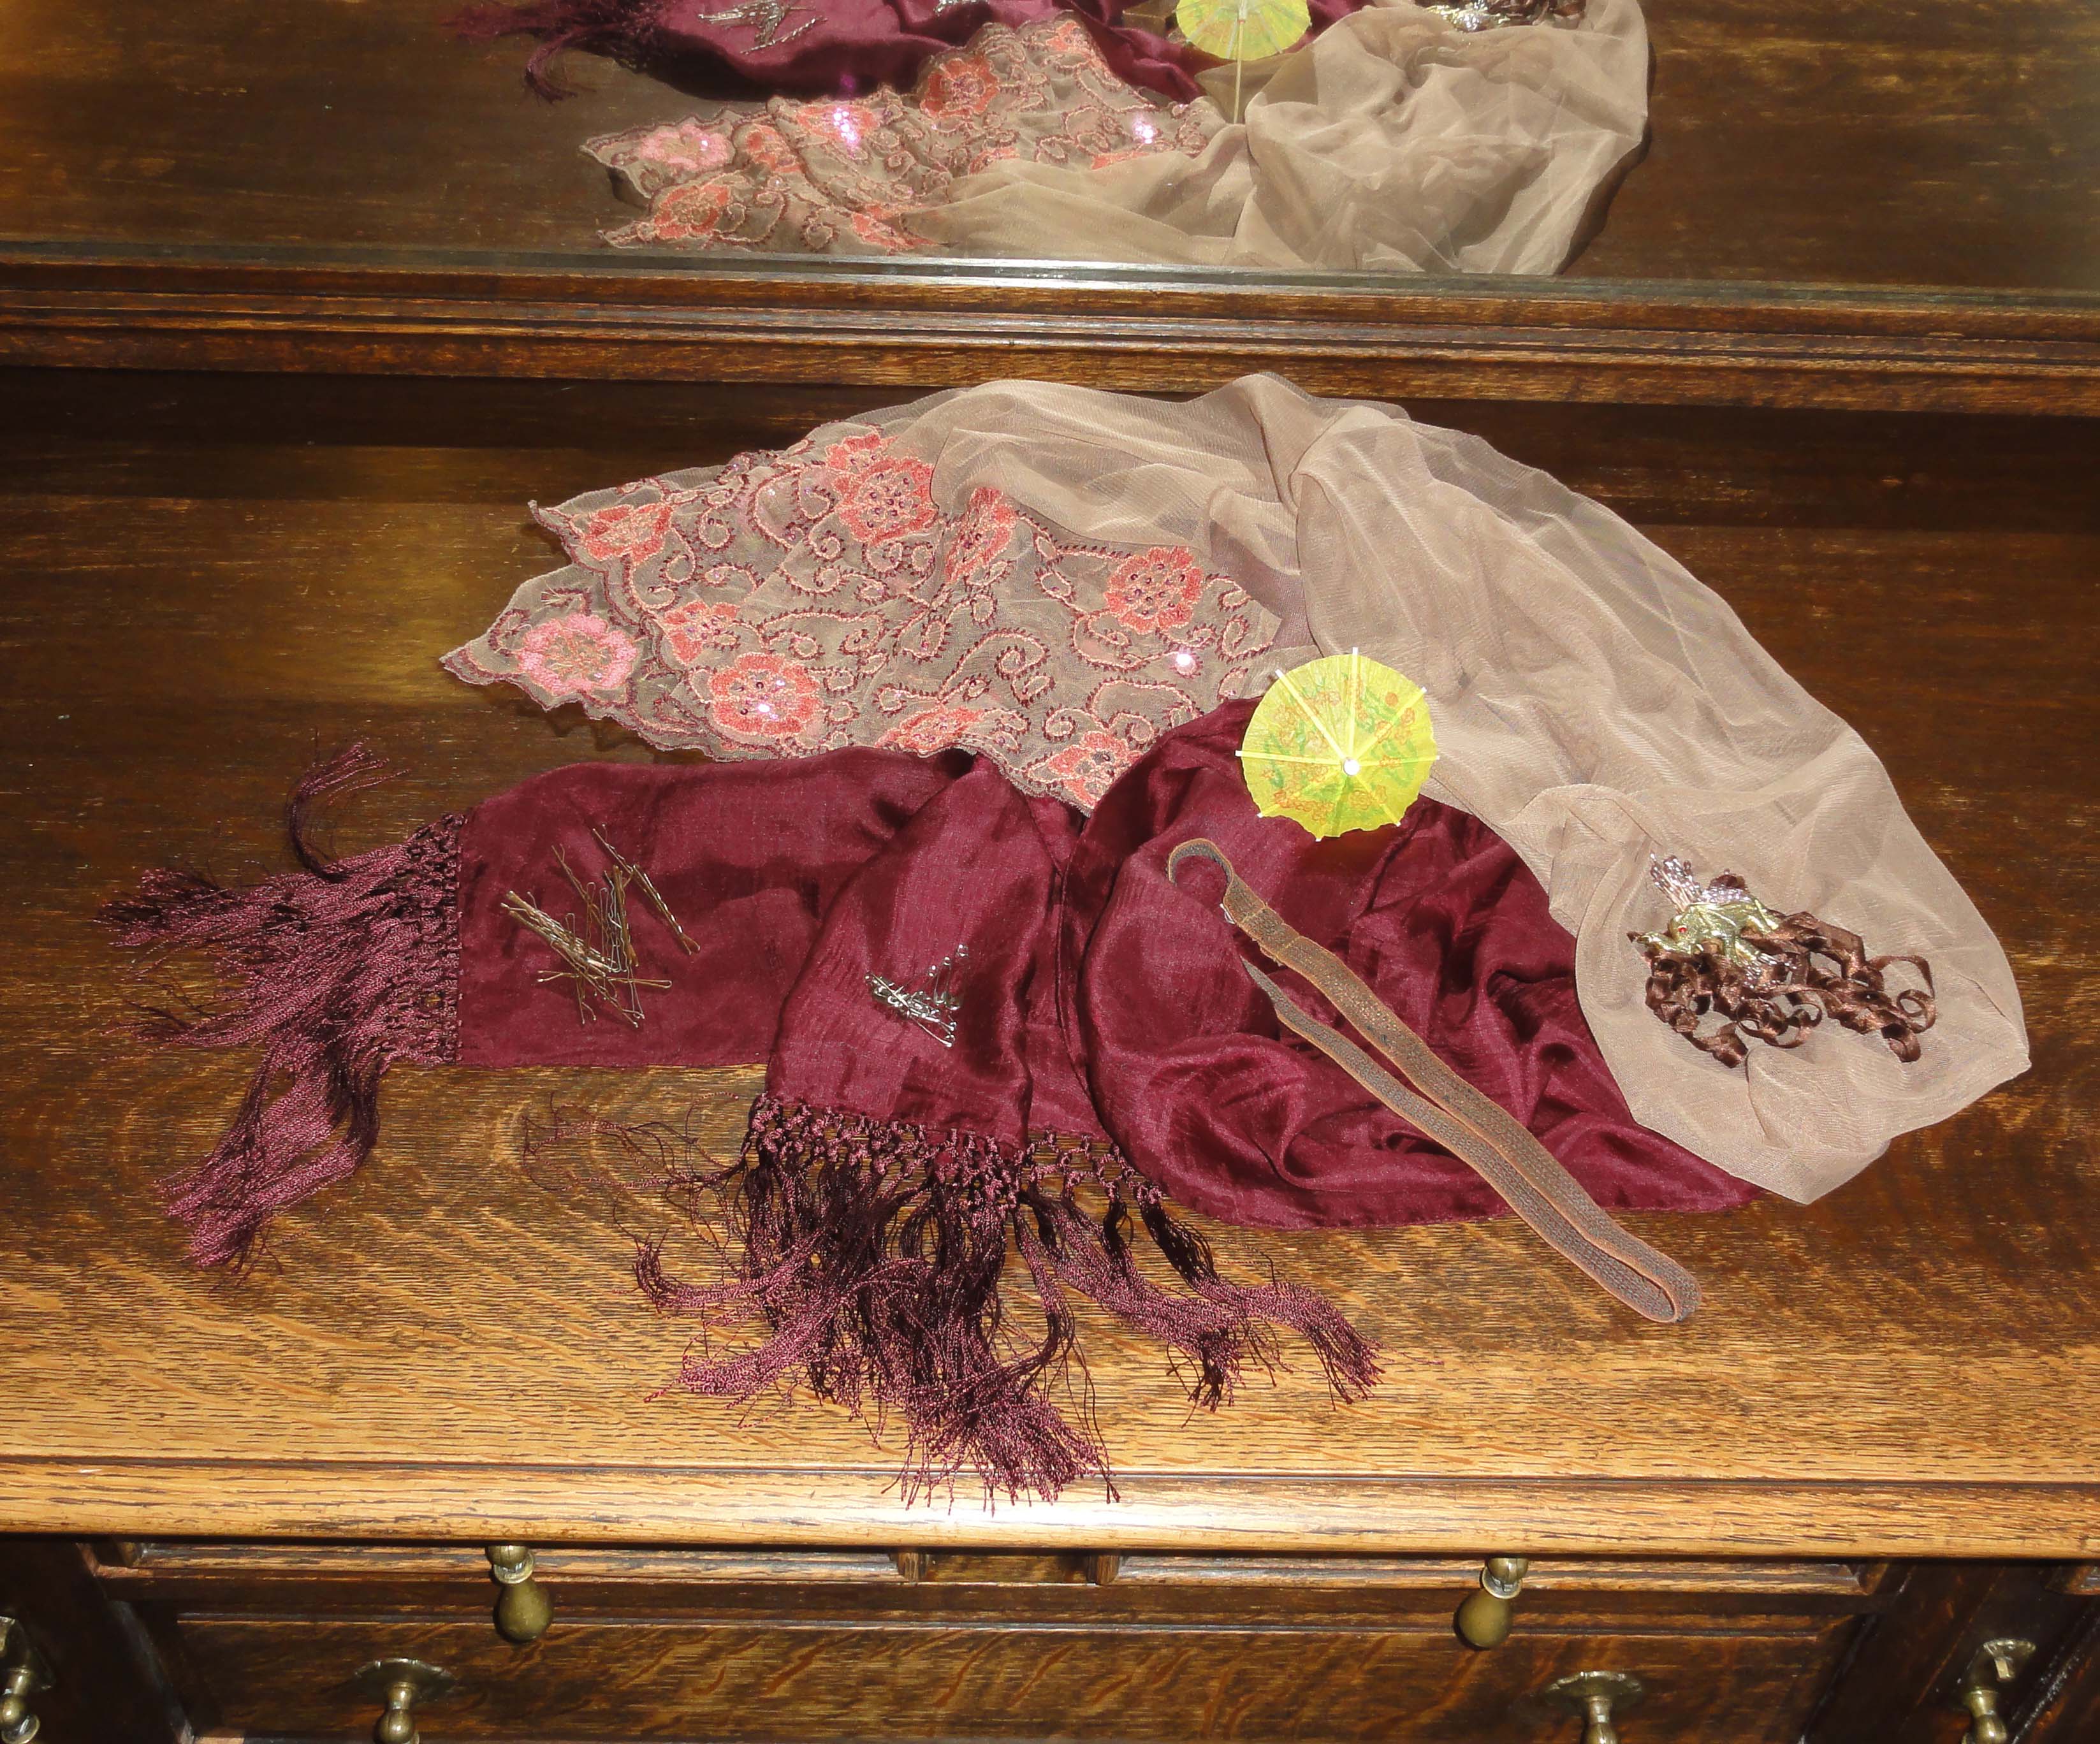
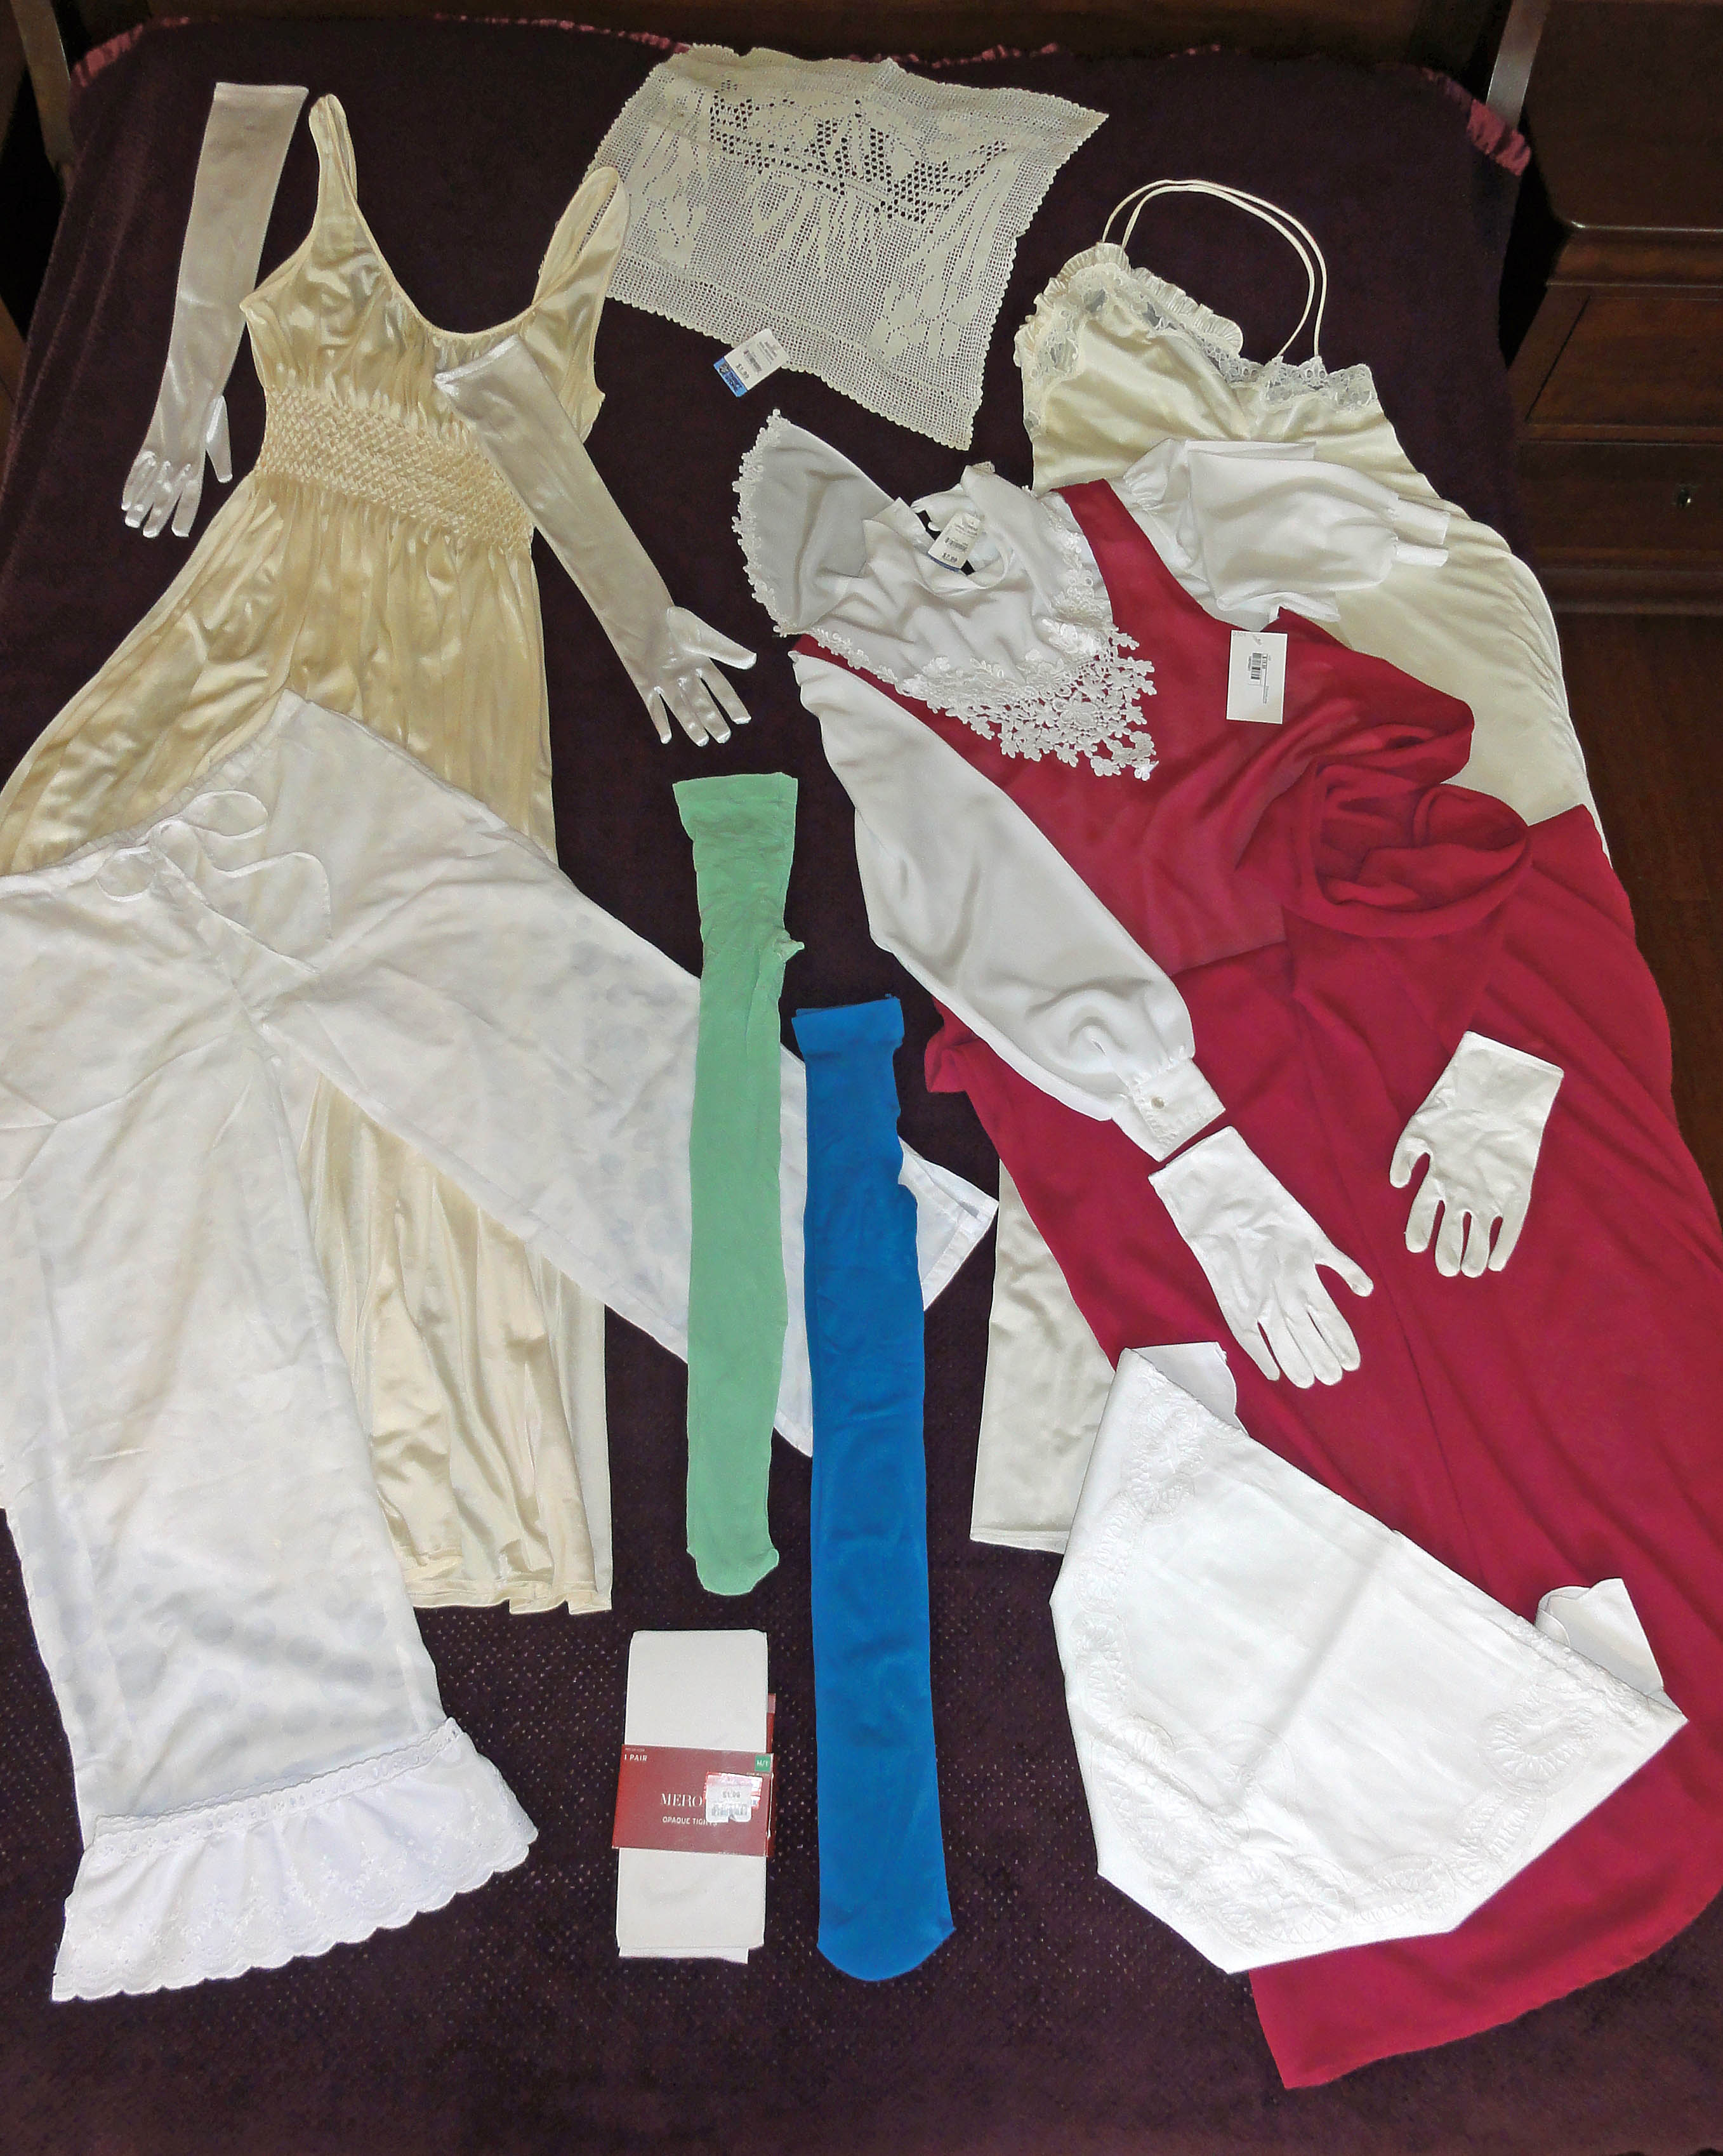
I purchased two cream-coloured nightgowns at small thrift shops for $9.99 and $7.99, and a fuschia slip-dress at a vintage store for $19.99, for use as an underdress.
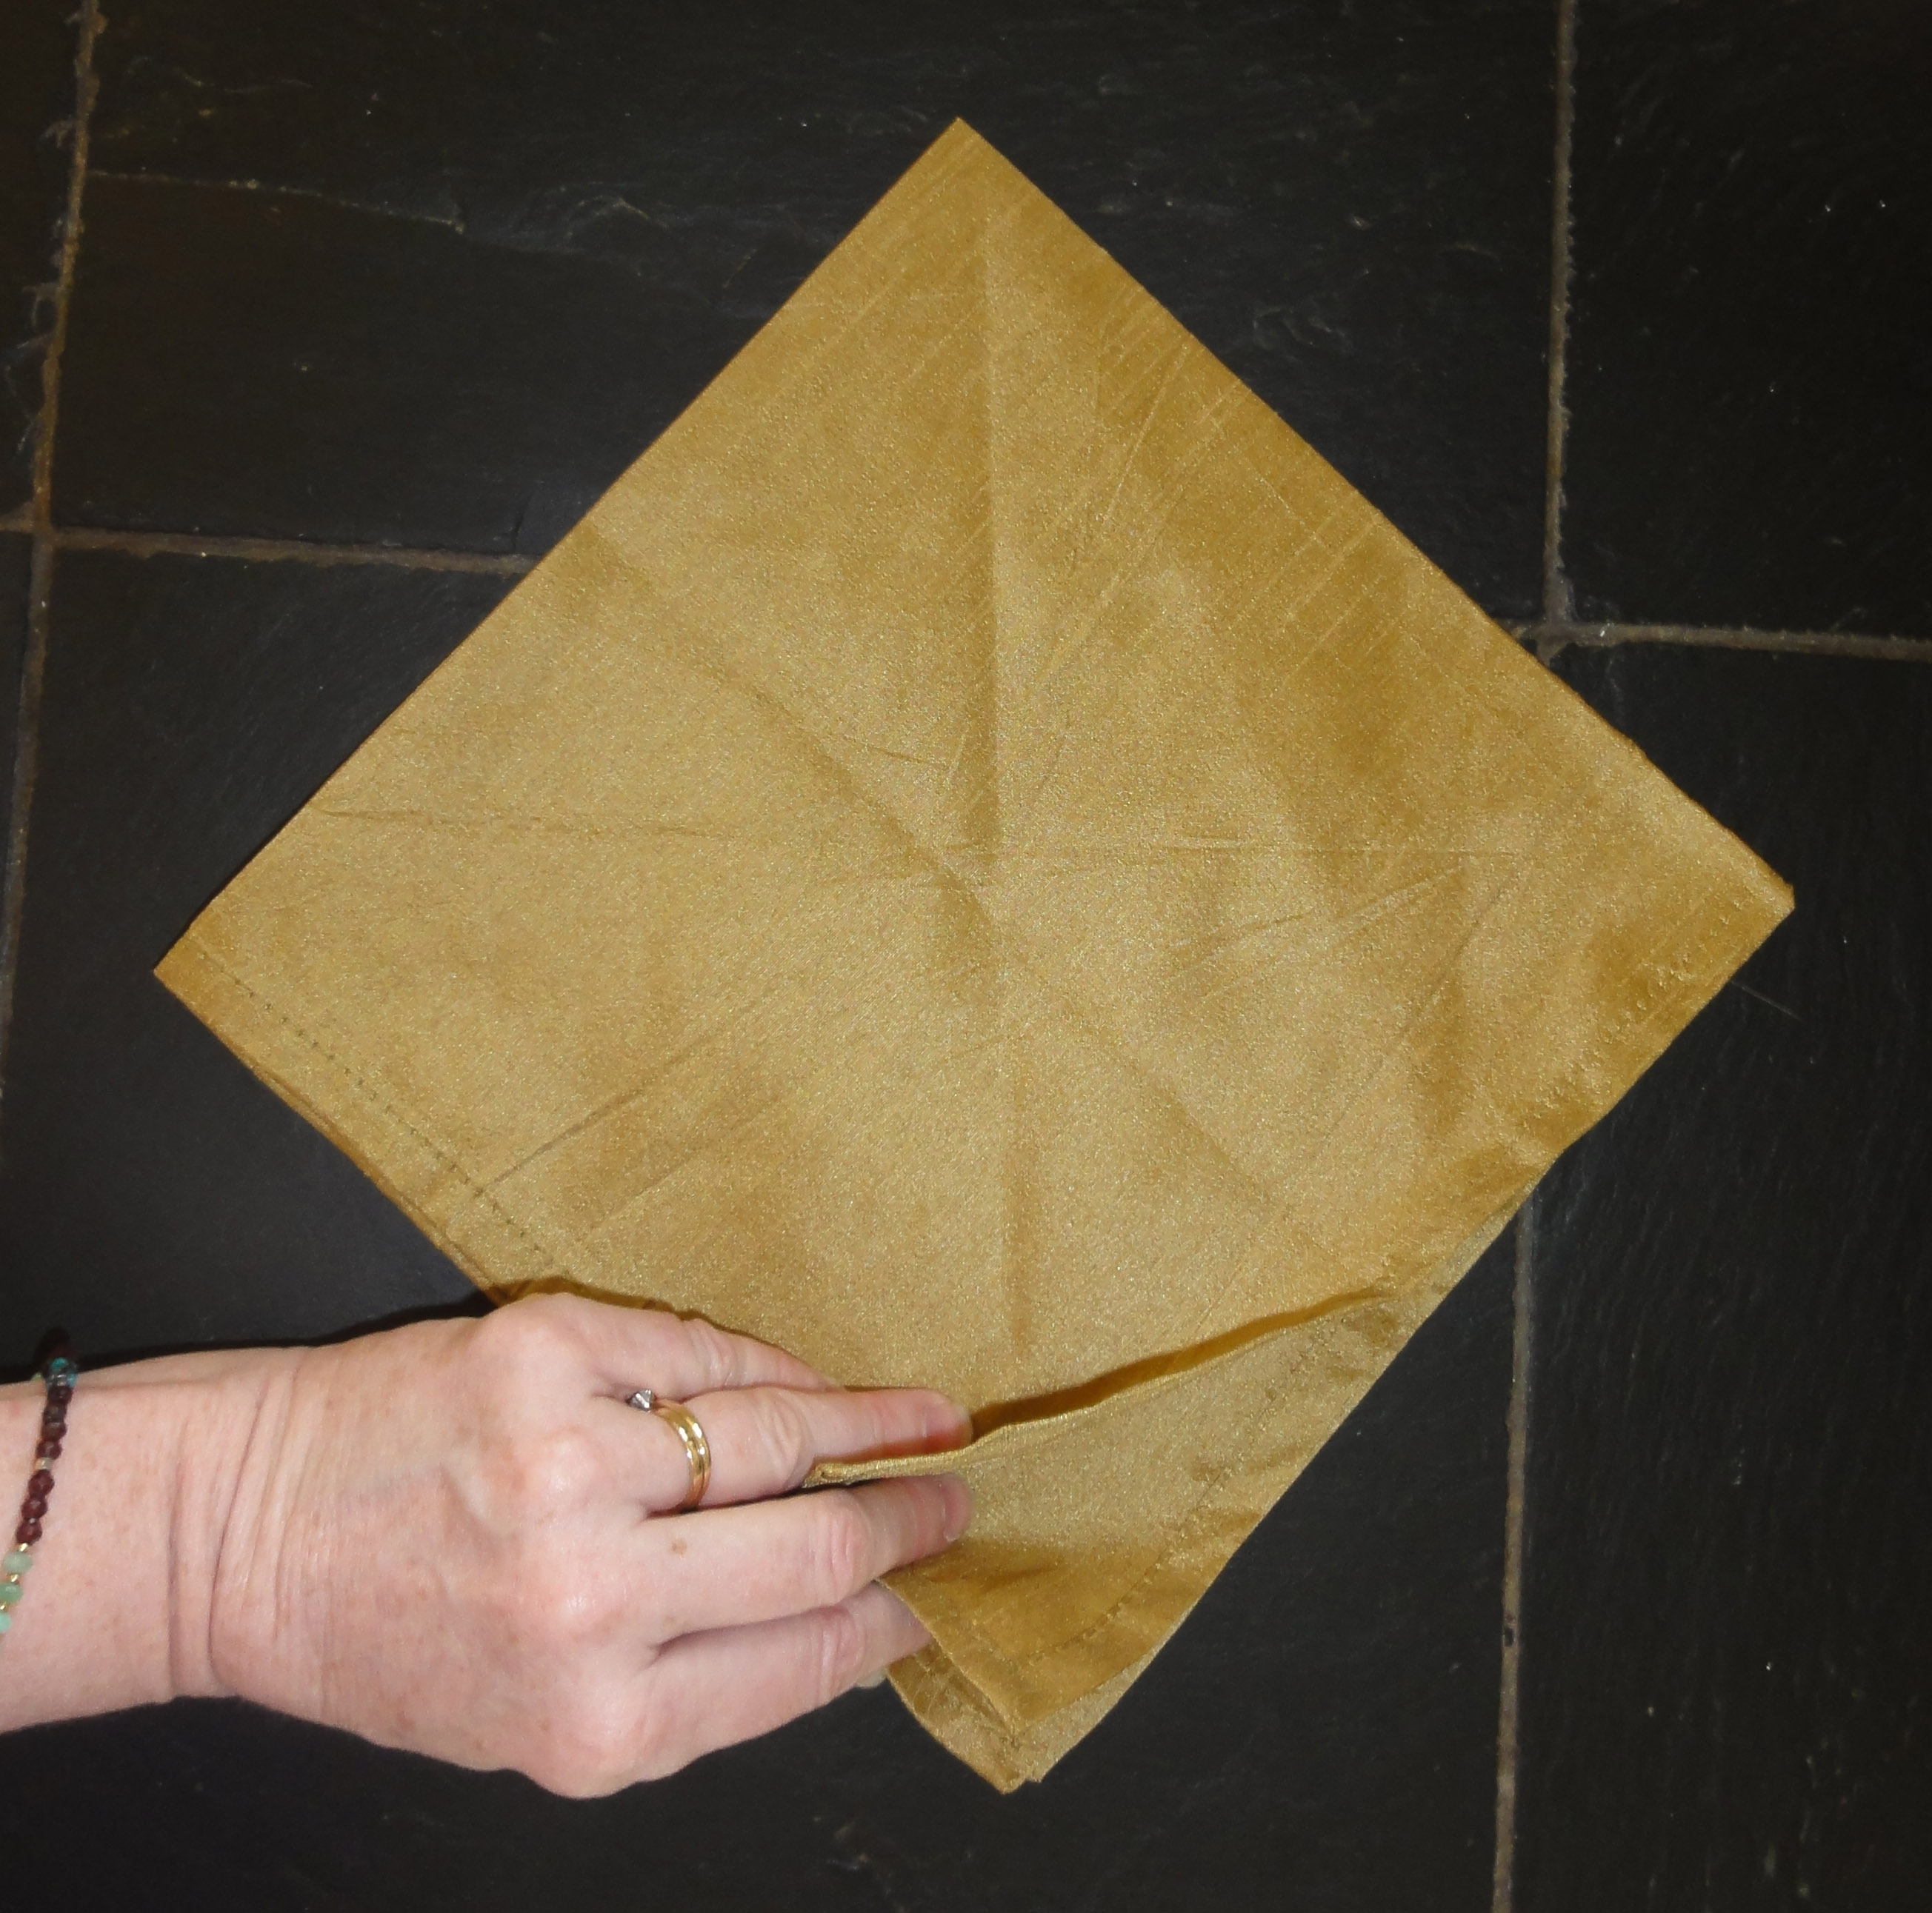
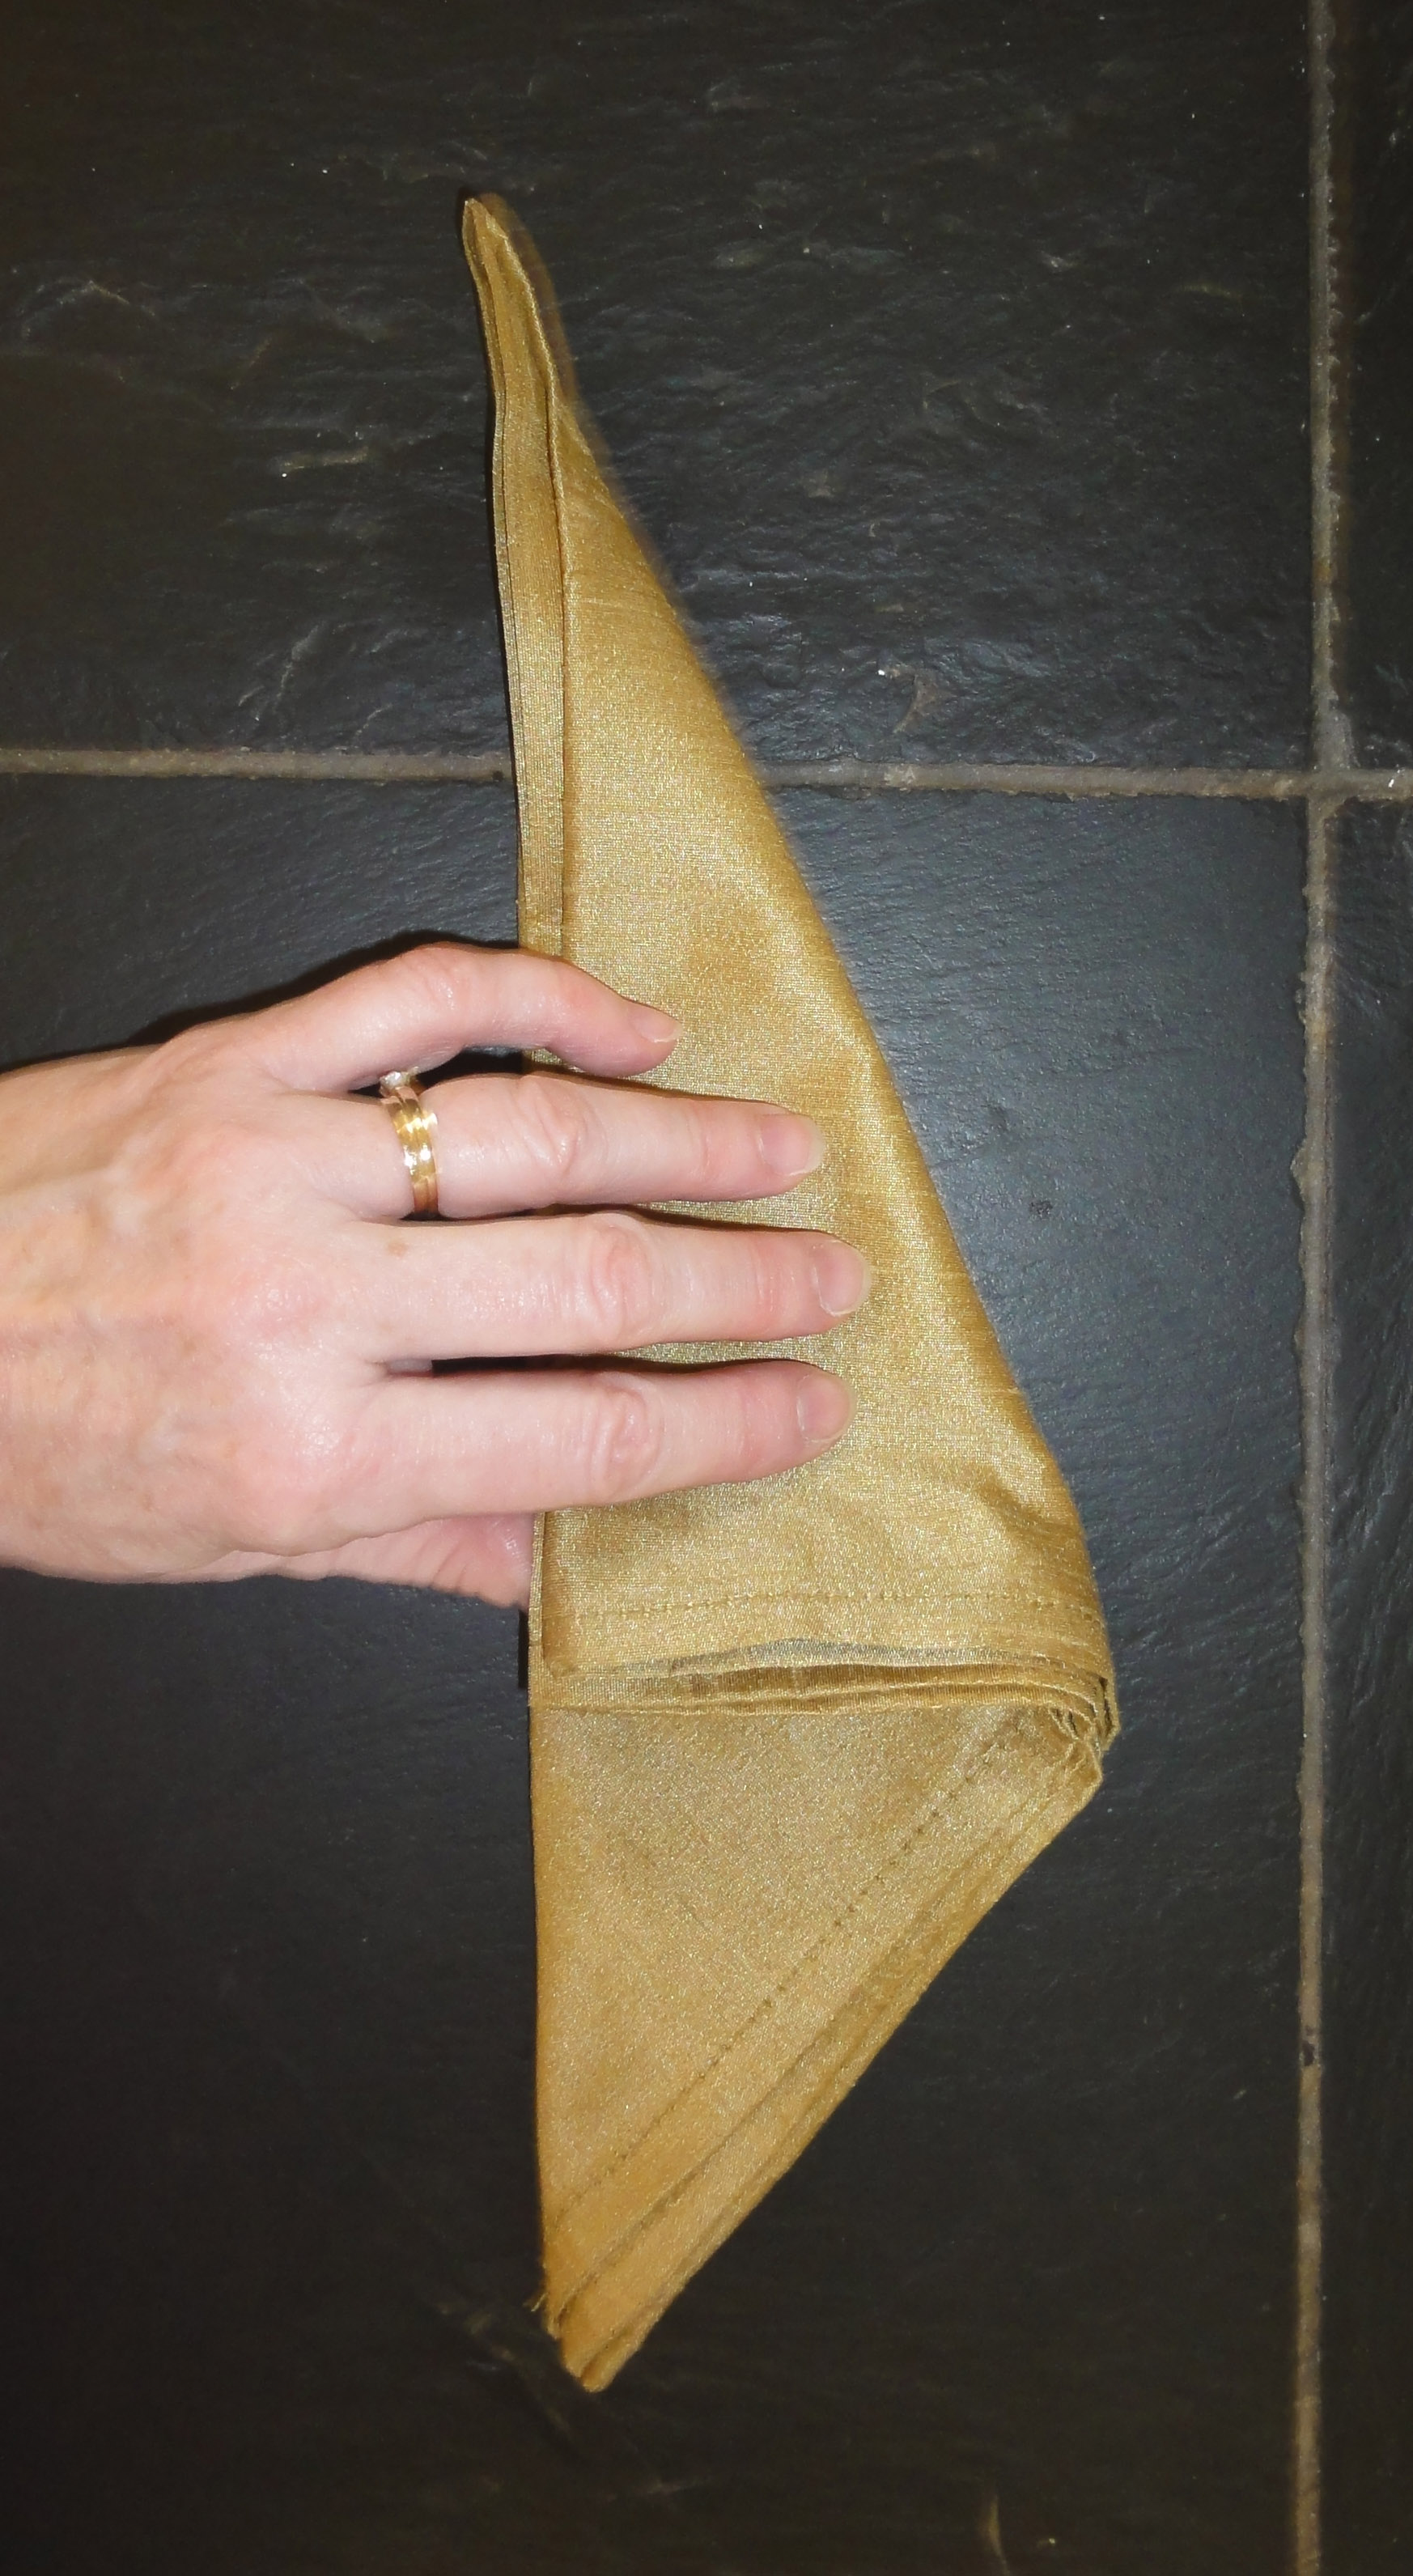
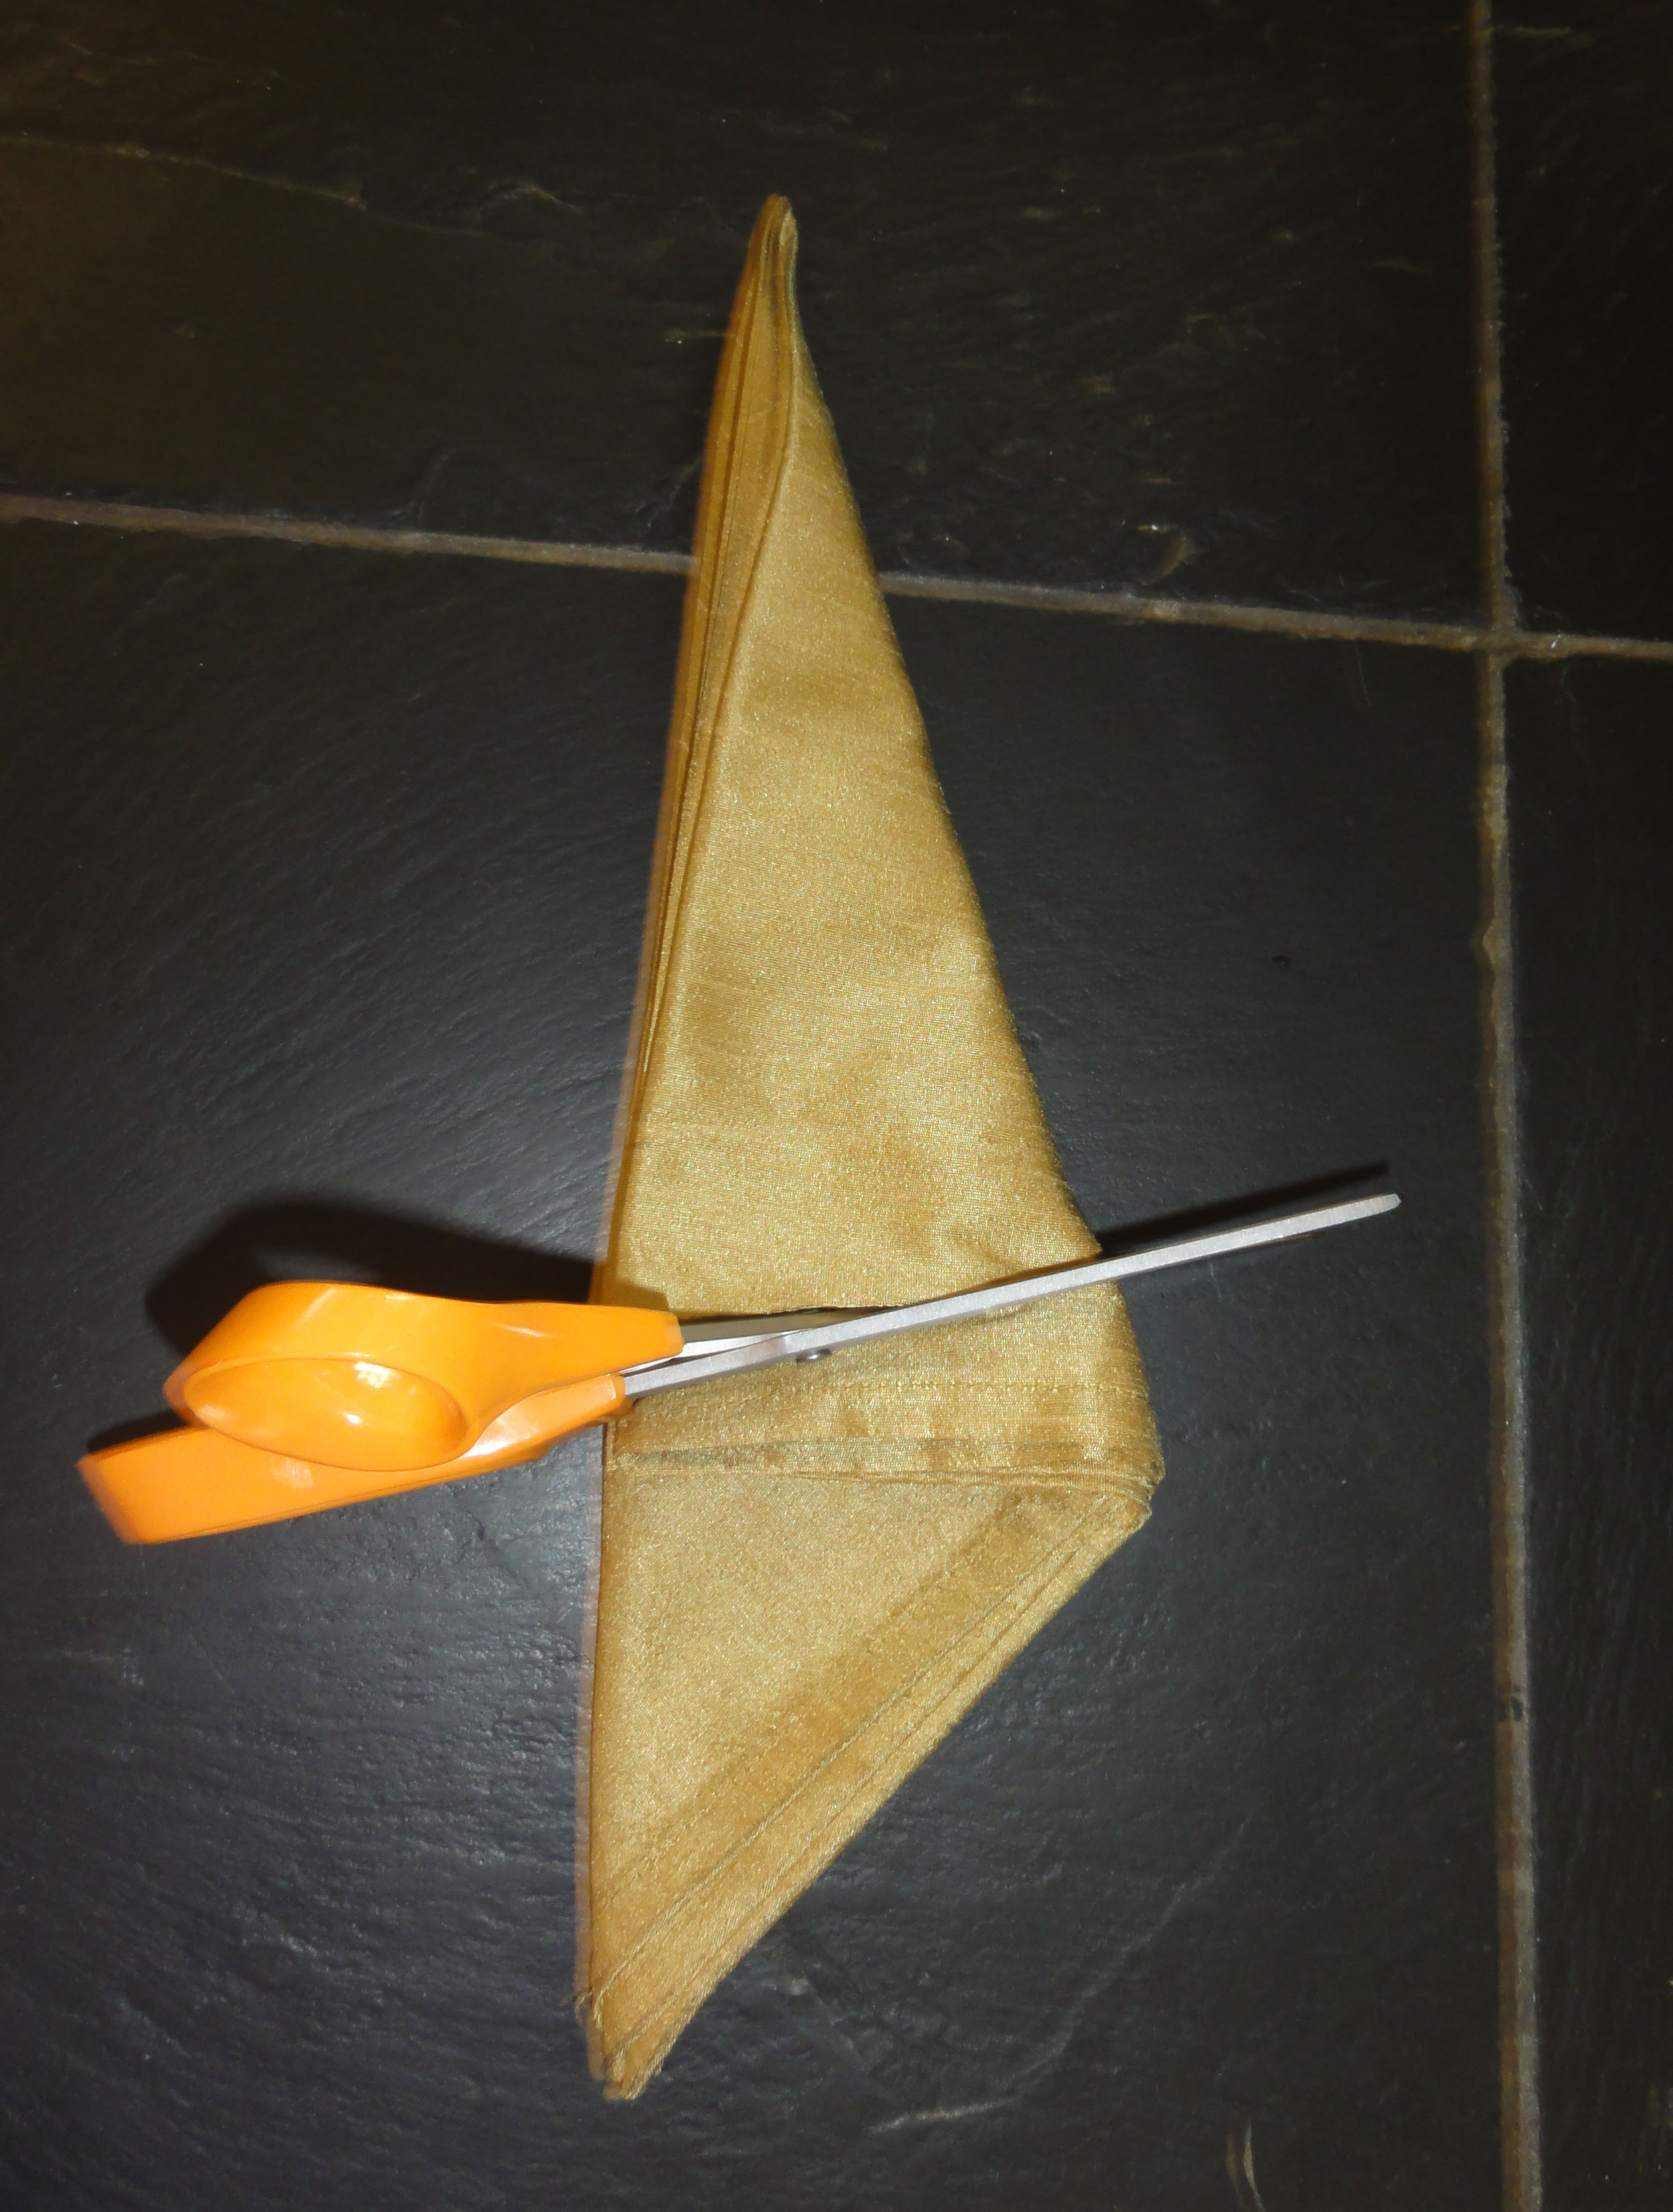
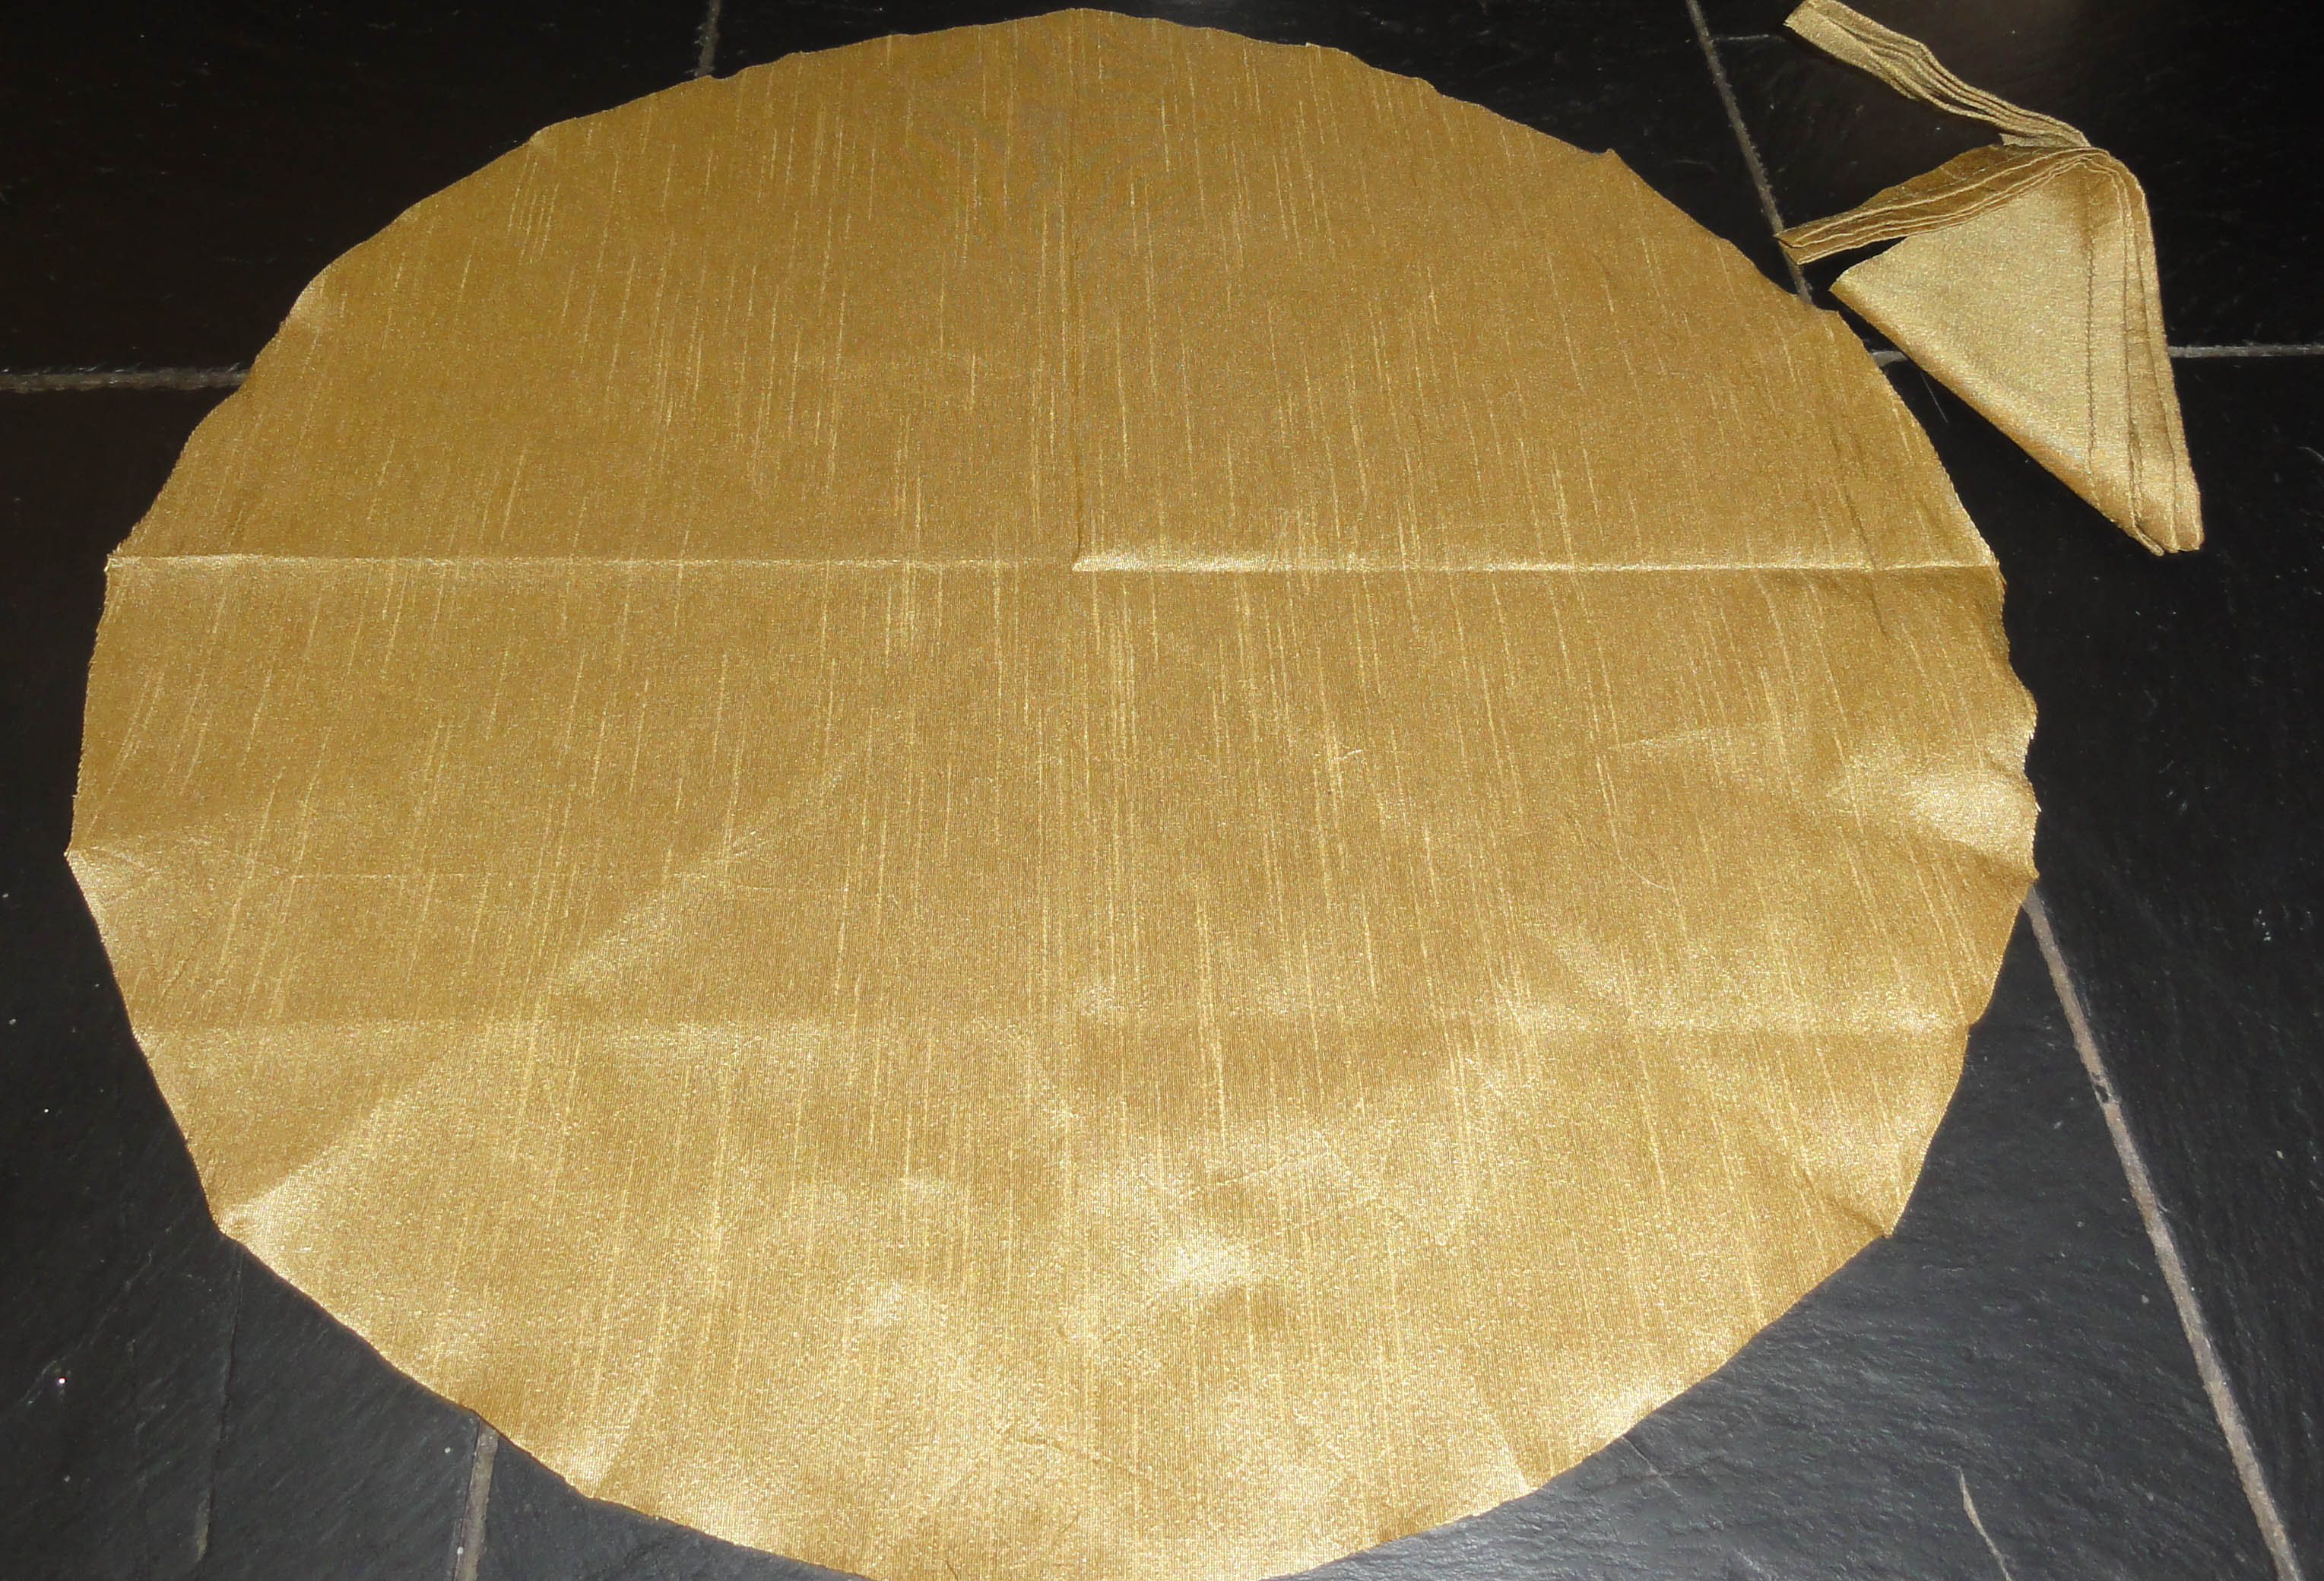
 The slip neckline must be at least one inch larger than the gown neckline so it won’t show, so you may have to cut it back. Lace, trim, or any heavy edges on the undergarment that could be lumpy under any fitted area of the gown should be removed as well. Any new edges should be finished.*
You could consider a common Regency petticoat cut, as seen above in the 1810 underdress/overdress: Remove the entire front to the empire waist except for an inch or two at the sides (clear of the neckline) as shoulder straps.
If it’s just petticoats you need (your bodice is lined or of heavier fabric, and your corset alternative does not chafe), a floor-length half-slip or lightweight skirt can be tucked under the bosom instead of at the natural waist. It may be on the short side, but unless you need it to show at the bottom of a too-short gown, it should serve the purpose. If you have some sewing skills, a ¾ slip can be trimmed and modified to fit.
A special alternative for pantalets:
If you normally wear pants all the time, and this dress is quite the stretch for you already, a pair of lightweight cotton pajama pants or loose-legged capris can be worn as if they were pantalets, instead of the slip. Any colour or pattern must not show through.
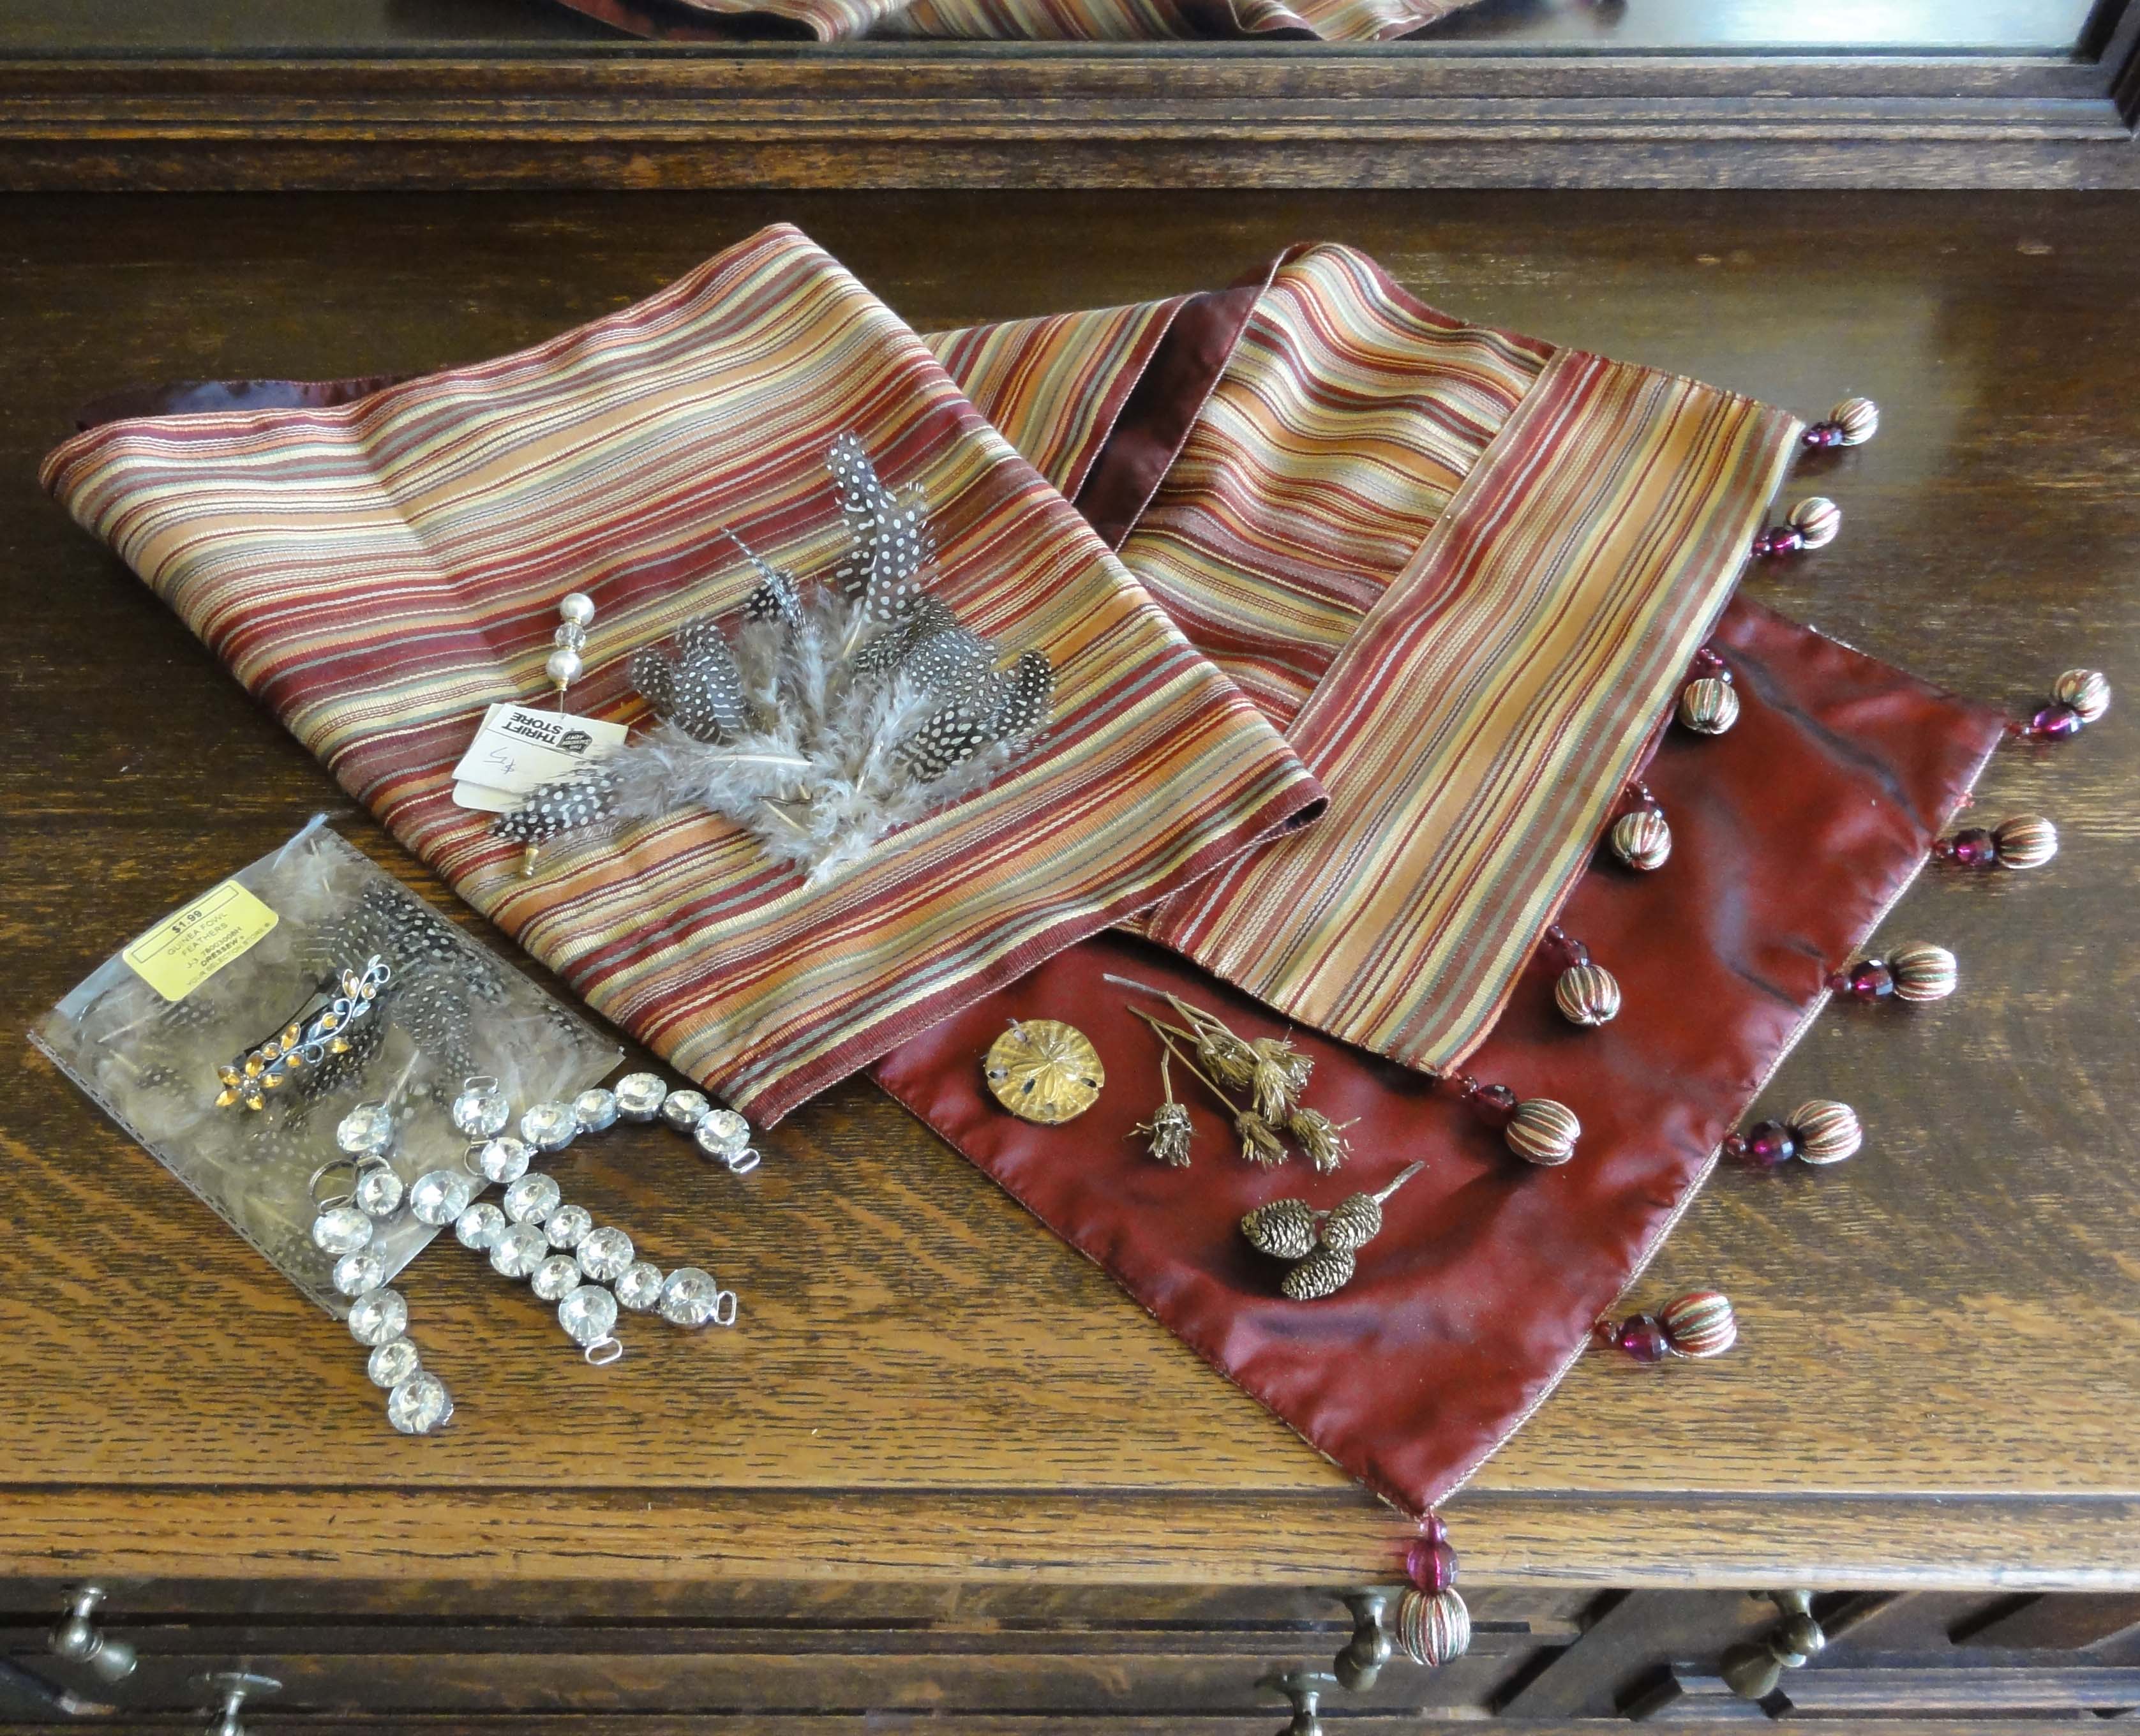
I found a pair of capri-length cotton pajama pants (above) for $1 (everything was 50% off!) at a charity thrift store, and some very wide lace trim from a fabric store in Mazatlán (as part of my $5 trim purchase spree there) will make them more Regency. I’m leaving the crotch sewn together; I’m not that much of a stickler for exact period correctness!
You can use a camisole or sleeveless/short sleeved blouse with the half-slip or pantalets if you see the need, e.g. if the fabric of your gown’s bodice is lightweight and light-coloured, or if you need something under a corset. It must be cut back to suit the gown’s neckline, similar to the slip instructions above.
Stockings:
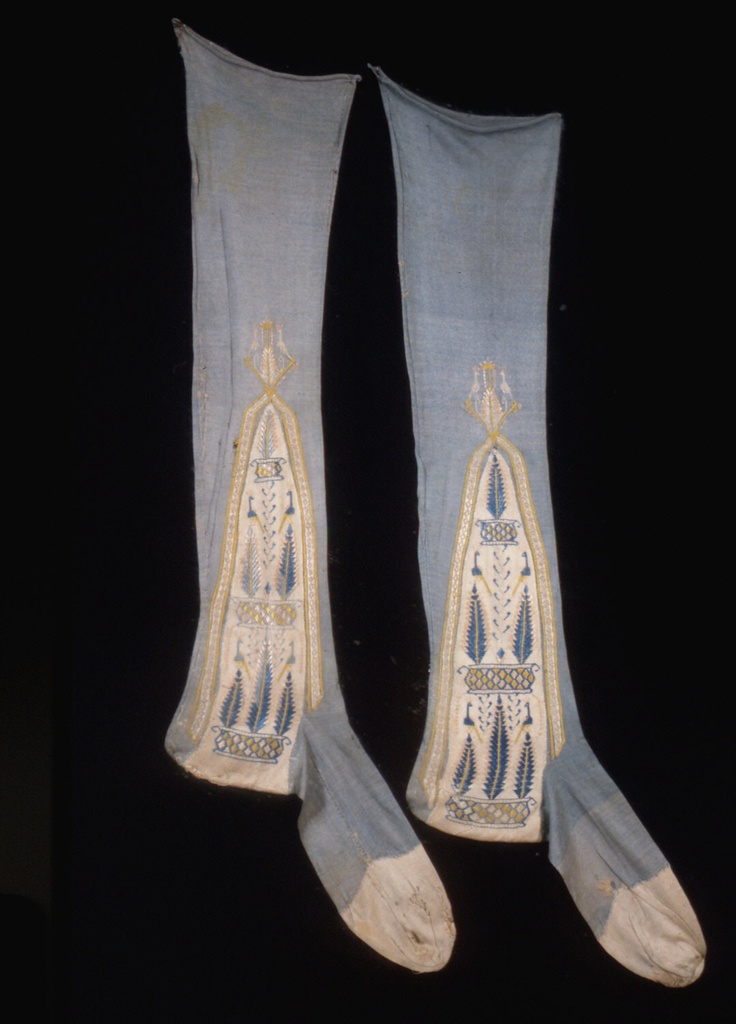

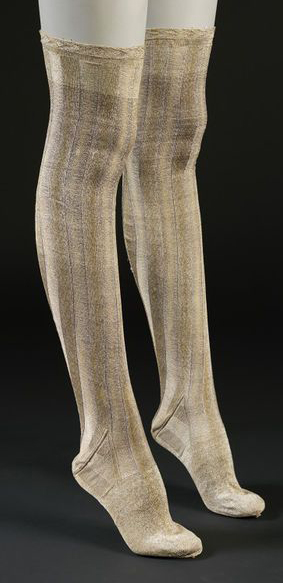 (Click on thumbnails for larger images.)
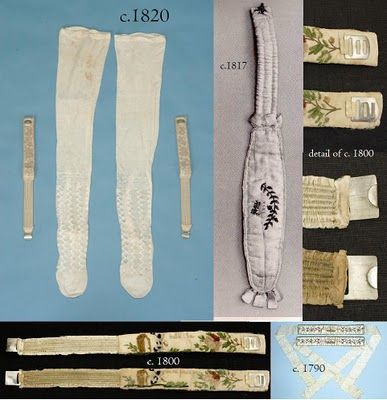
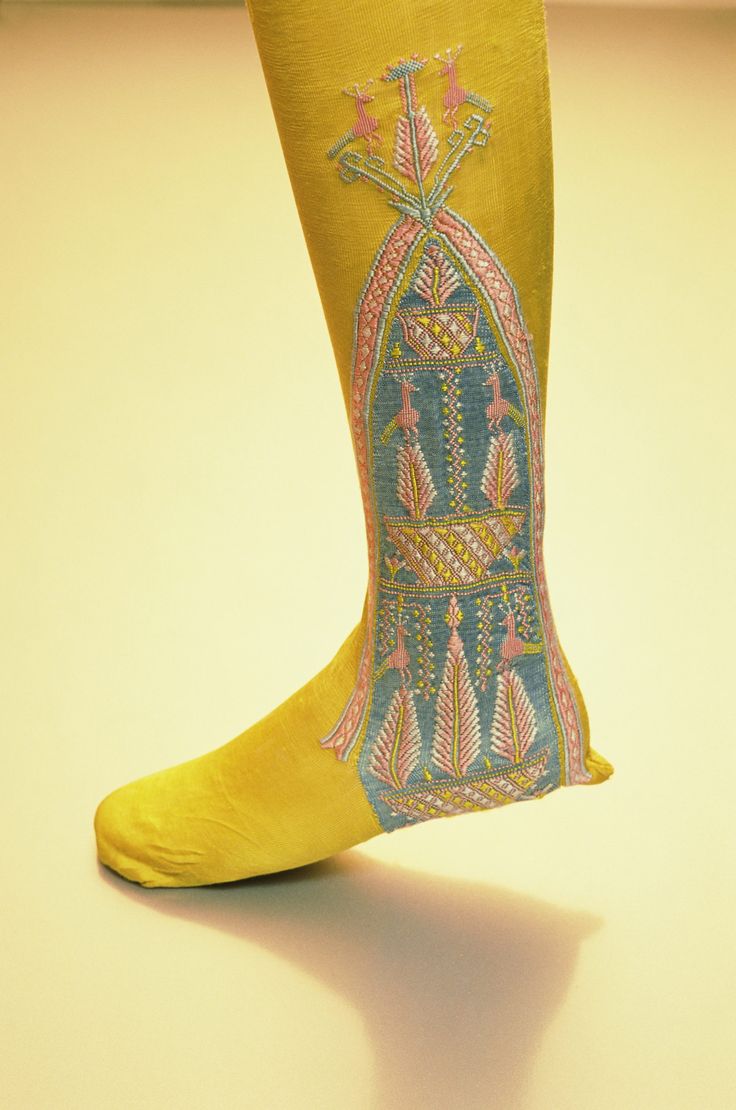
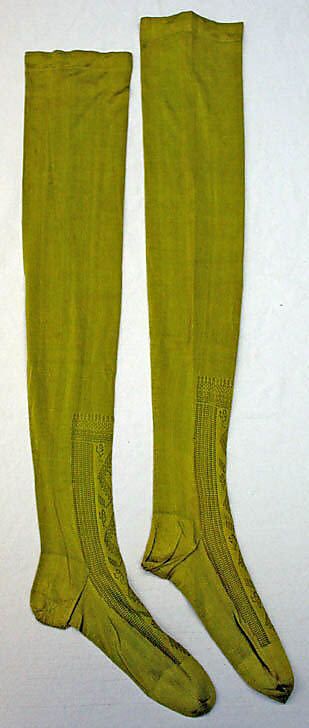
These went higher than the knee, and most were opaque, silk, and tied with ribbons or garters. There was no elastic of quality for this type of use for another 50 years or so. Many examples of Regency stockings in the museum photos have beautiful designs on them, and a wide range of colours are shown, similar to the shoes.
I plan to wear tights, and got three pair, as seen above. Since they were on sale for $1 at Joe Fresh, the colours of two pairs are pretty wild, and I may not find I have an outfit to wear them with, but they work for everyday in any case.
The third is white, bought on holidays for $1.99 brand new at the Goodwill in Portland, OR. Had I been successful in connecting with Meryton Press author Linda Beutler for dinner during the unplanned stop, I wouldn’t have had the time!
The tights could be trimmed to a more authentic length, but care would need to be taken to finish the edges well to avoid runs. In addition, I’m worried they’d keep falling down, and I don’t want to spend my entire time at any Jane Austen function trying to hike up my hose. I’m afraid I would look less than ladylike!
If I find time, I may try to transfer a simplified version of one of the designs onto the tights, and use fabric paint. If you like this idea, but don’t want to be crafty, Betsey Johnson has floral printed thigh-highs for $18 a pair!
~~~
NEXT POST: Make your evening gown convertible!
~~~
* For finishing edges or hemming where you have to adjust the product you buy or salvage at home, you can machine sew, hand sew, or use hemming tapes, which come in an iron-on type and a type that’s like double-sided tape. If the edge will be visible, a prettier edge will be achieved by attaching a very narrow lingerie ribbon to just cover the edge, in lieu of the hem.
Update for non-Upcycle (new) Products:
- Victoria’s Secret has a Heritage Cotton Gown (nightgown) that works as petticoats for $38.
- Sears sells Vanity Fair half slips and pants liners called “Snip-It” that can be used like the skirt of petticoats or pantalets, at $19.99.
- Various companies sell Regency-looking silk or cotton stockings for $25 and $15 respectively. Google “historical silk stockings” or “clocked silk stockings.” Please take care when looking at other products at these companies, and don’t purchase Victorian-era products or expensive shoes sold as Regency that don’t resemble true museum examples.