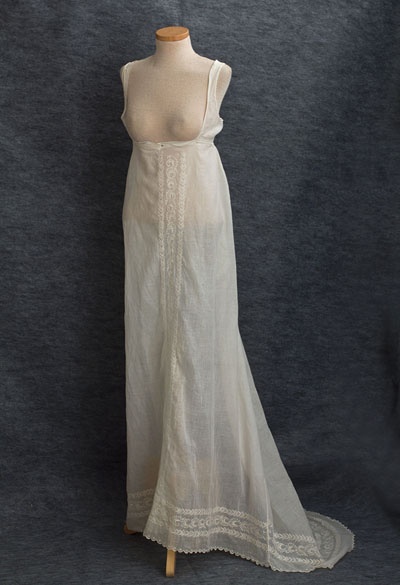
Slippers similar to ballet flats; several layers of underwear to enhance her bosom and disguise that she had legs; a gown appropriate for the time of day; stylish curls and a fancy but tidy up-do; a turban, bonnet, or hat, and perhaps a cap; a cherished piece of jewelry—what more could a Regency lady need?
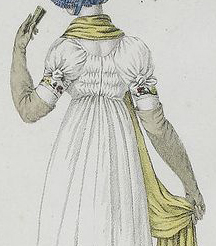
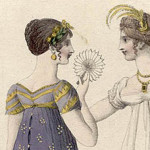
From Costume de Promenade, 1804-1805, opera gloves
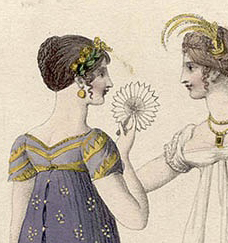
Accessories, of course! Heaven forbid if she left her home without her gloves, and she’ll die from the heat at a ball without her fan! On a morning promenade, her parasol will keep her delicate skin from growing coarse and brown in the sun.
This post is about how to obtain these accessories for your Regency costume.
~~~
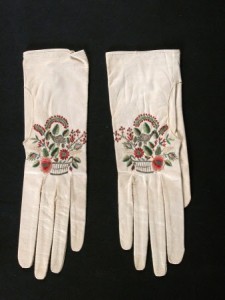
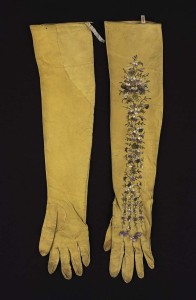
Dudmaston National Trust (Claire Reeves) — Embroidered kid gloves, circa 1800-1830
Gloves
Gloves were common apparel outside the home, though period art indicates they were not imperative during the day. It’s pretty simple to find Regency-appropriate gloves for day-wear: short, cotton gloves are acceptable, and stores carry them for hand care at a low price. I continue to watch for nicer ones, in finer cotton, and maybe with trim like seed pearls or lace, but simple will do. Of course, if you can obtain kid gloves, it’s even better!
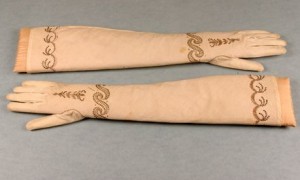
For evening wear, the sleeves were short and the gloves were long. Super long, much past the elbow. Opera-length.
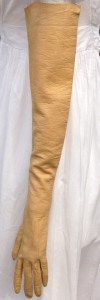
Circa 1810 kid leather, buff.
Not a problem, right? Long, synthetic, “satin” evening gloves are dirt cheap, and easy to find. One would think they’d pass for fancy ones from 1812. White sounds like the right colour, right? Unfortunately, they’re not the best choice.
Most Regency evening gloves were made of kid leather. They were often white, but also came in many colours, usually muted, softer tones. Though vintage kid opera gloves in cream, buff, bone, pale yellow, pale pink, ecru, and similar colours are common on Etsy and ebay, with bids starting at $25 and up, read the fine print: they tend to be size 6 or 6.5 when most women these days wear at least a size 7. (In case you don’t know your glove size, this is a handy link: Your Glove Size.)
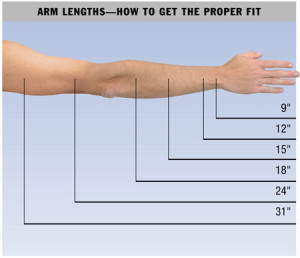
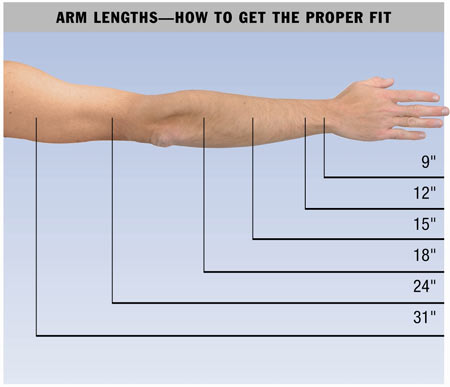
Glove lengths in inches.
Beware: many vendors will say their gloves are opera length, but they may be as short as 11 inches! A true opera-length glove goes past the elbow: a minimum of 19 to 21 inches on most women.
In addition, vintage kid gloves can be stained, torn, worn, or otherwise damaged, especially if unlined. The three-button wrist opening is Victorian, so don’t be tempted to buy gloves with that style.
“New” in-package vintage opera-length kid gloves start at $150 on ebay, but are in small sizes, too. Brand new kid gloves made for coming-out balls are $200-$300 in Regency colours and modern sizes. If that were not enough to make this accessory difficult, many Regency gloves had embroidery along the back!
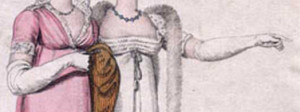
From La Belle Assemblee April 1808, Opera gloves
As seen in Regency art, the fit tended to be relaxed, which meant the glove fell so it drooped along the arms, yet still wound up falling higher than the elbow. To accomplish this, a minimum of a 12-button glove (24 inches long) would be required, and the example to the left is much longer.
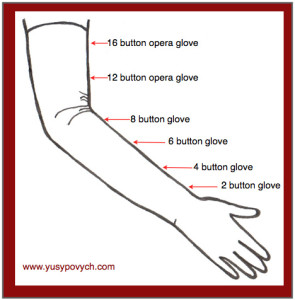
Glove lengths in “buttons.” Opera gloves are 12 buttons or longer.
An alternative, new lambskin gloves, come at reasonable prices ($25 starting bid on ebay for unlined 21-inch gloves) for black (mourning gloves in Regency), white, brown, or bright, saturated colours. Faux leather is about $10 for the same colour ranges.
Museum of Fine Arts, Boston–Women’s Gloves, early 19th century, silk.
Fabric evening gloves in the Regency were cotton or silk, and they weren’t shiny. If all you can find are those shiny satin ones (they are 19 inches long), some people use sandpaper them to dull them, then dye them if desired. The colour selections in dyes these days are bright, basic tones, so watch to limit dye time so the colour isn’t too saturated; though if I recall correctly, that type of fabric takes dyes poorly.
Cotton fabric embroidered gloves, circa 1790-1810, bias cut for stretch, gold and sequined scrollwork, pale pink floss silk detailing.
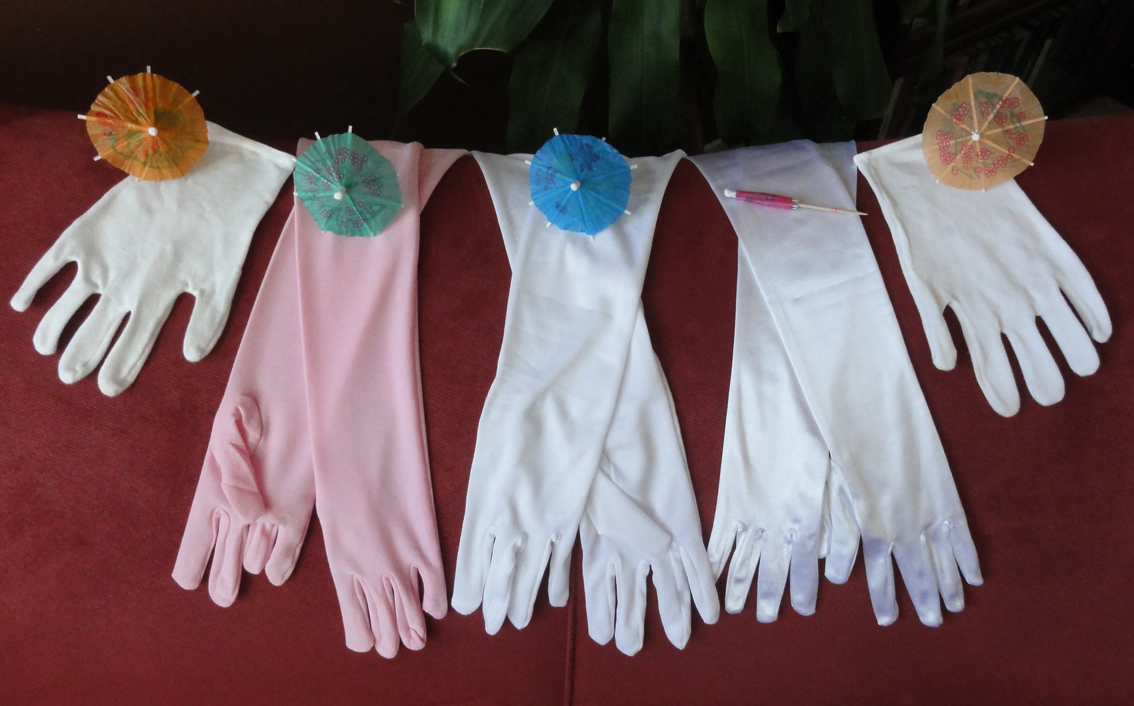
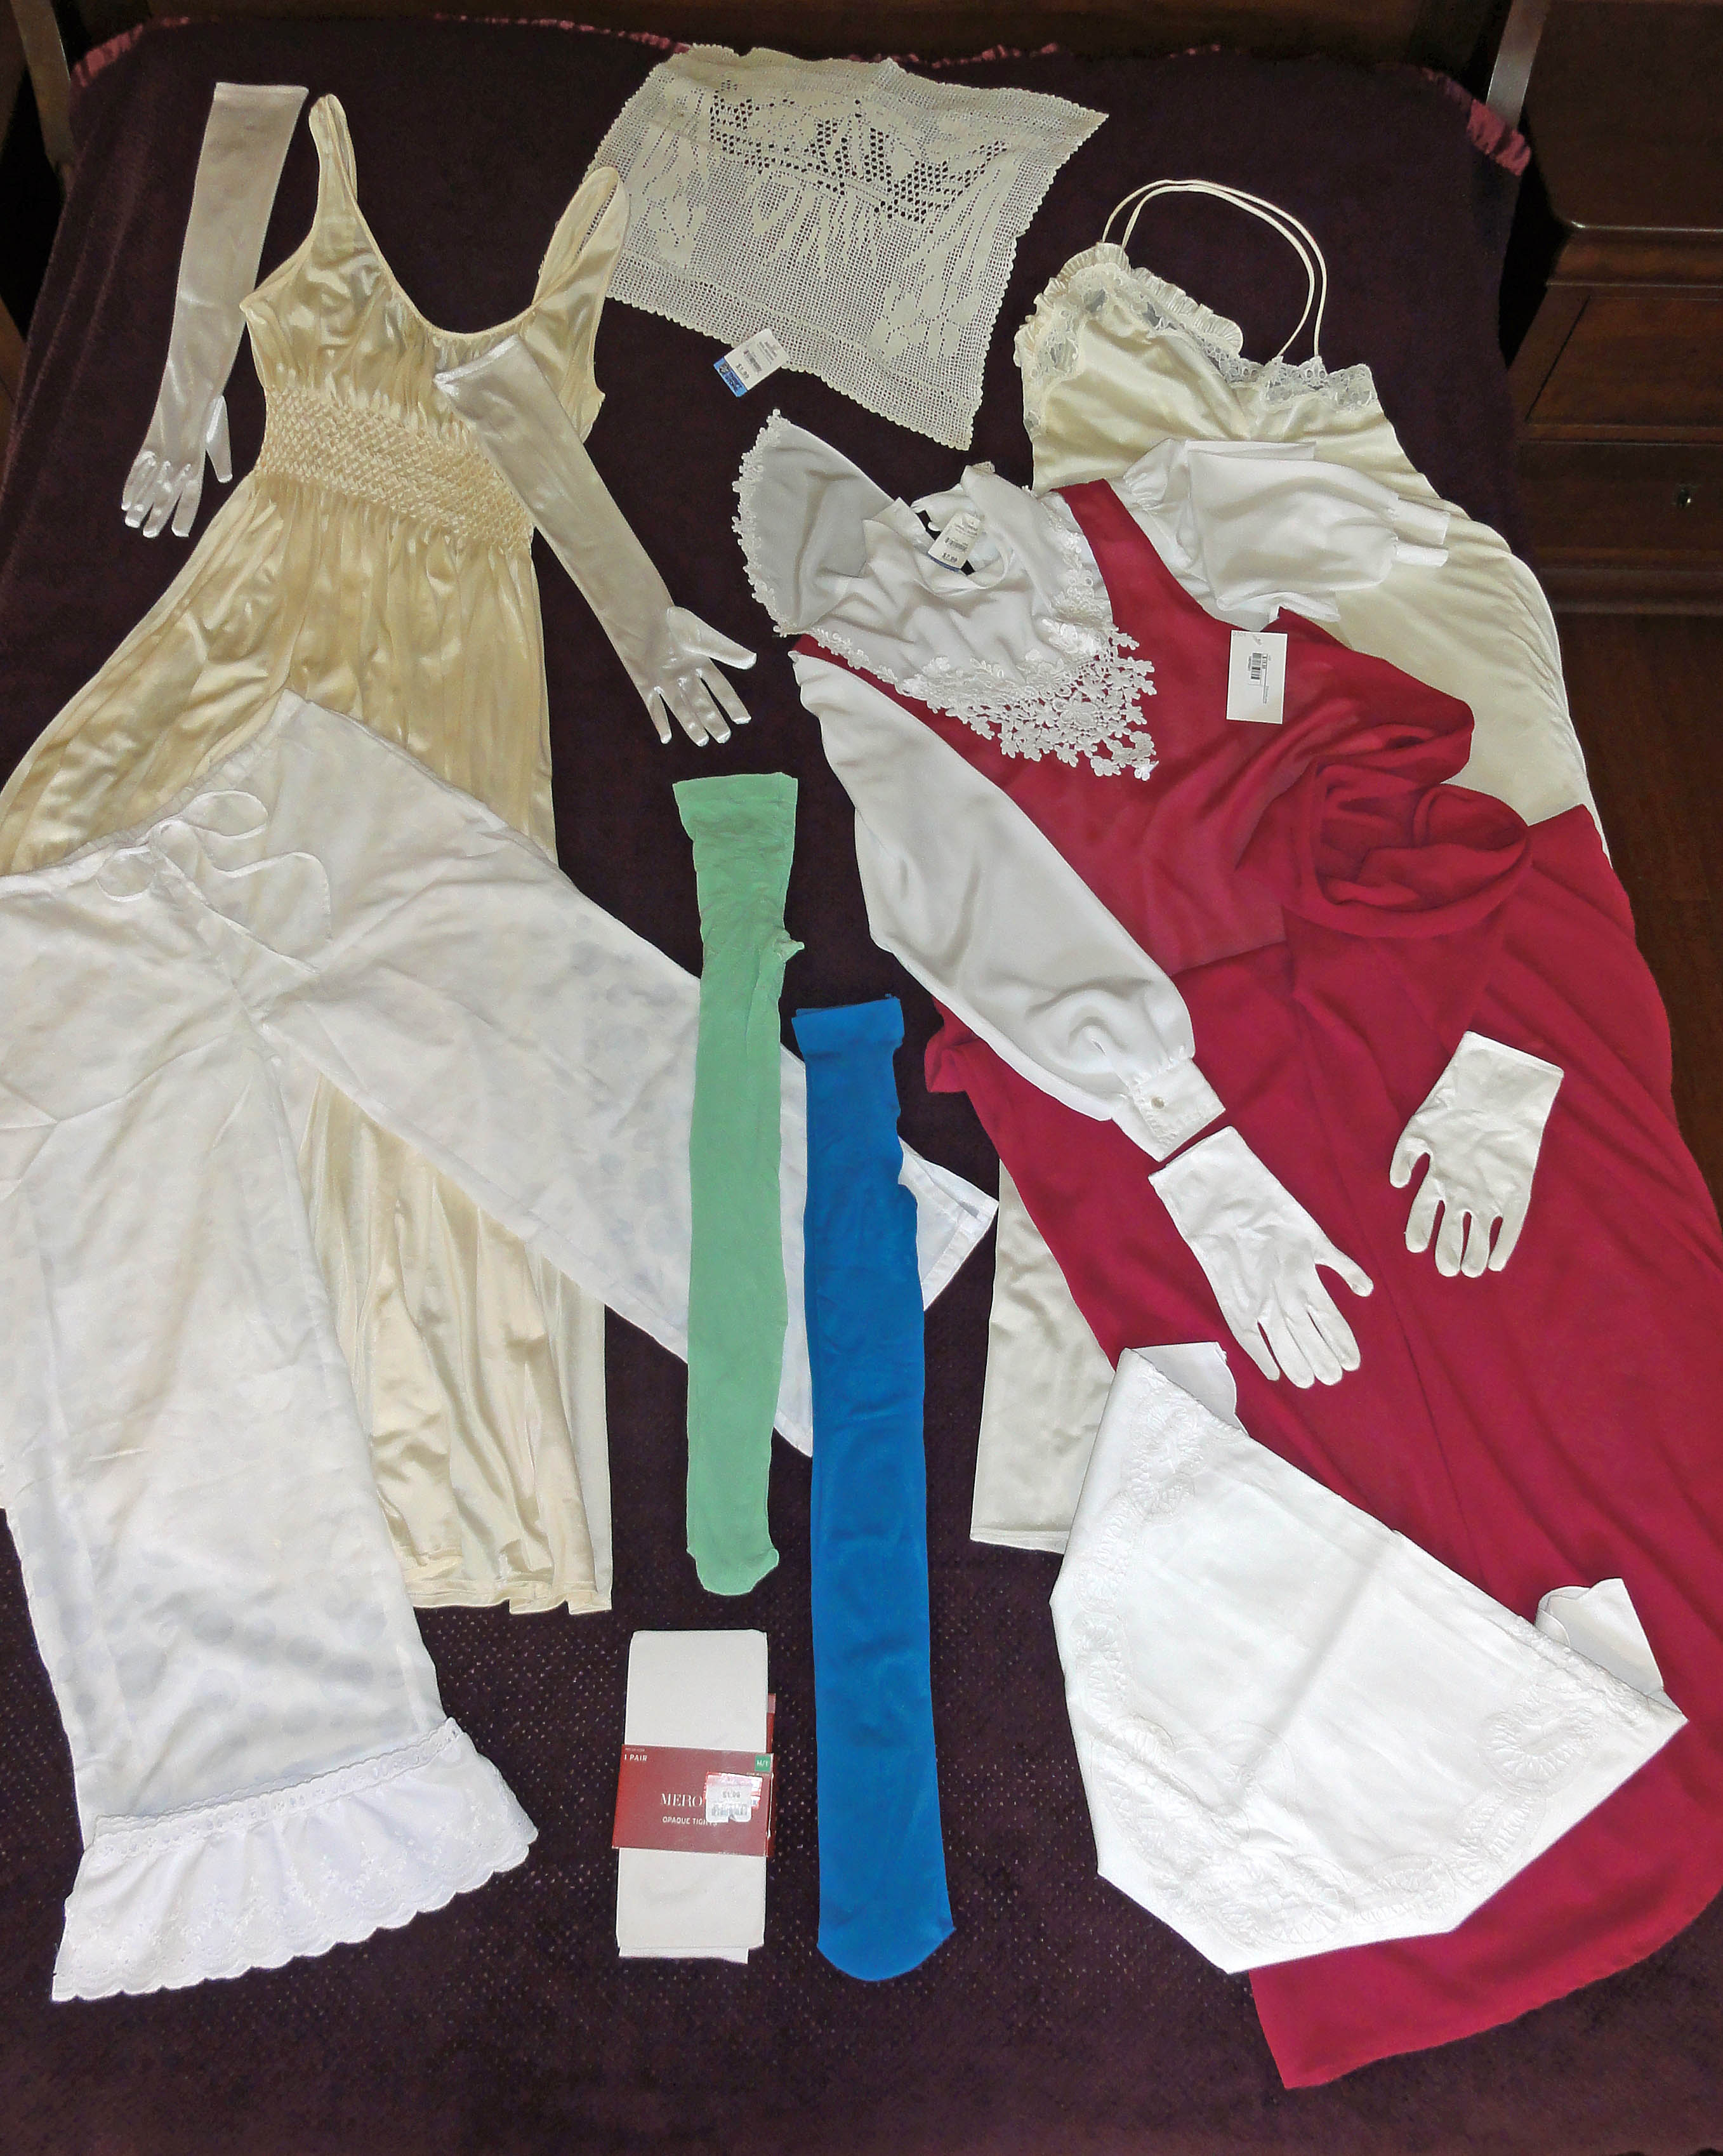
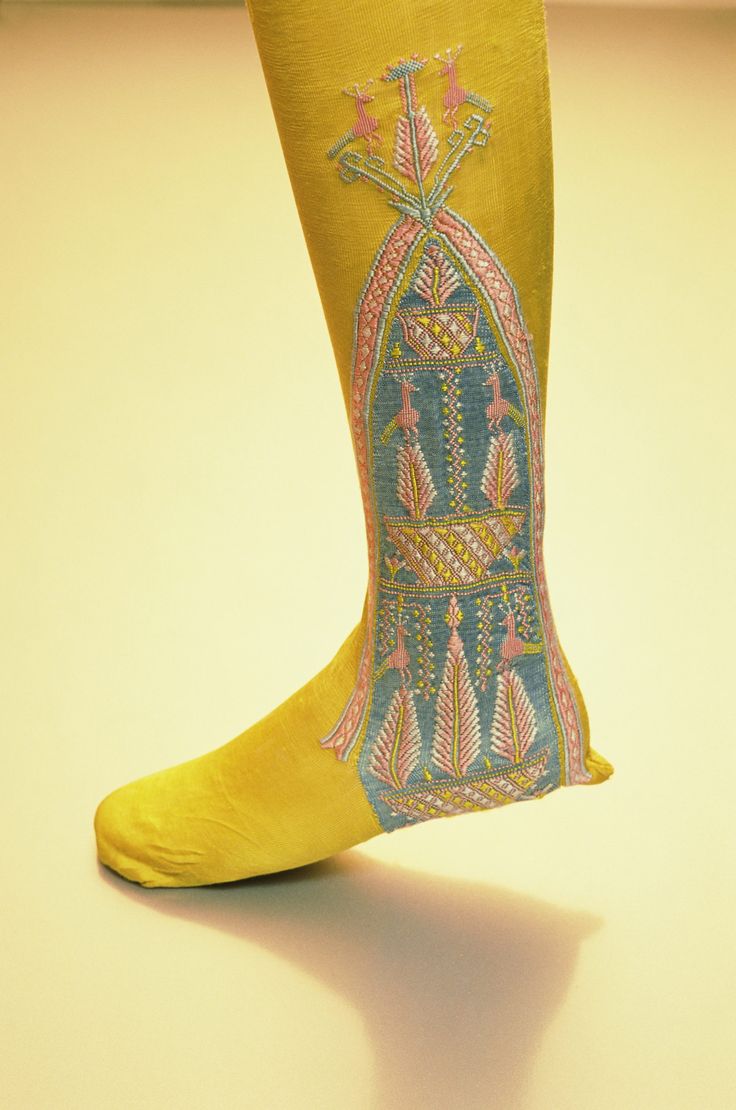
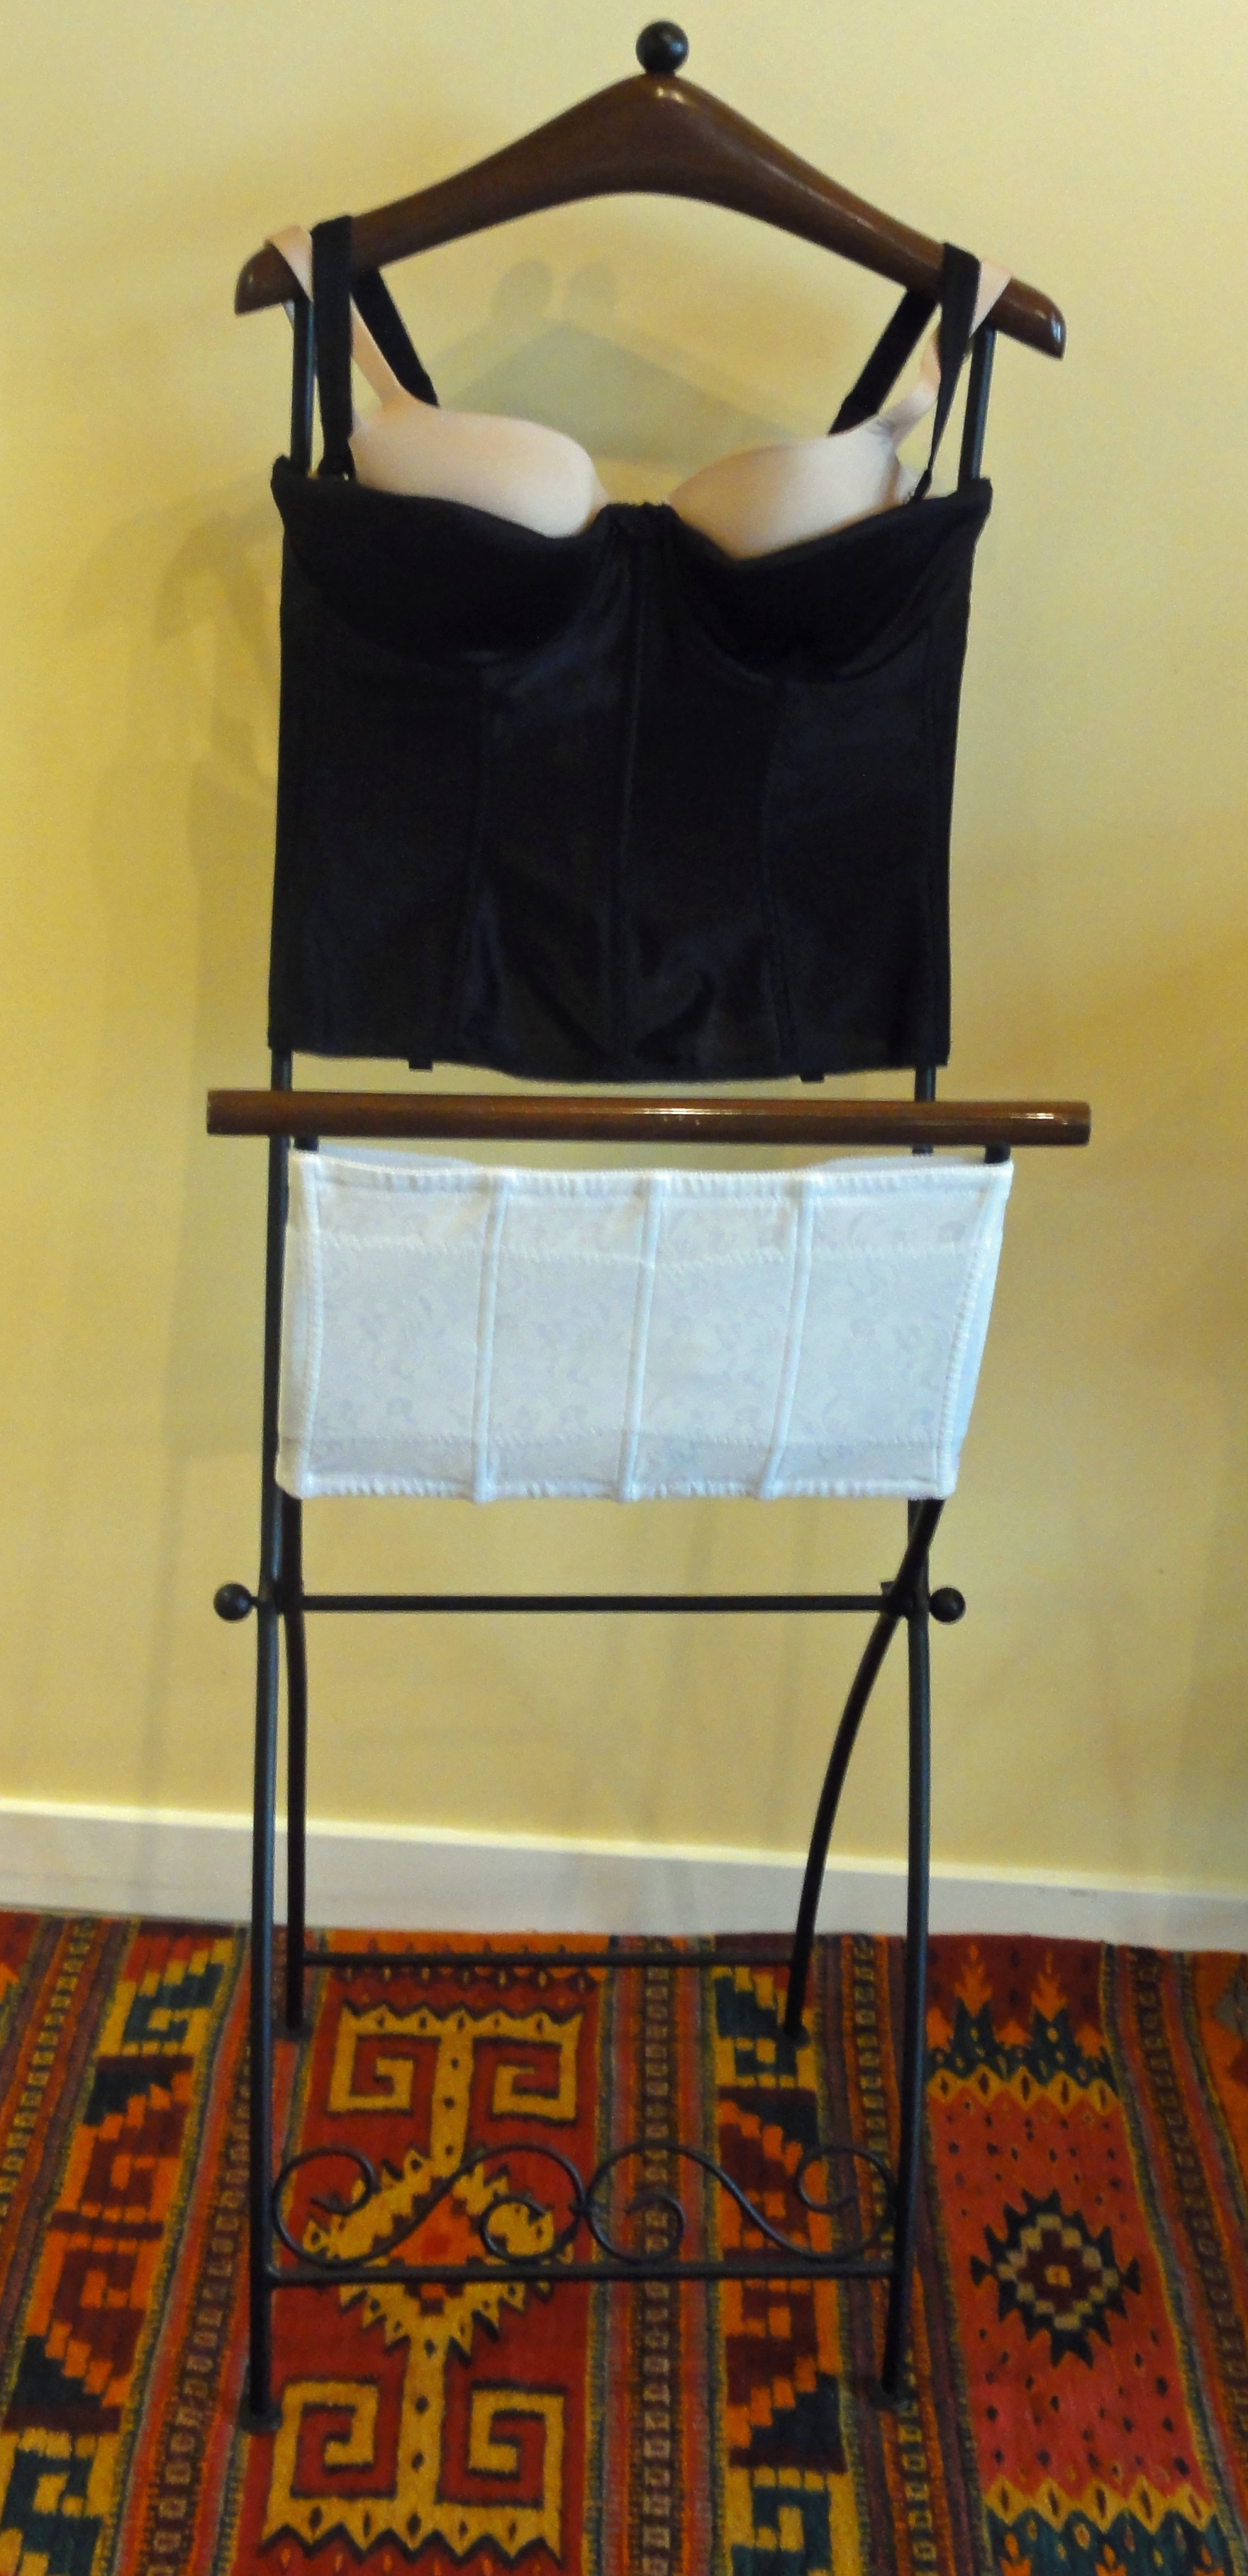
 I purchased 19 inch (8-button) matte-look synthetic gloves for $7.99 at Dressew in Vancouver, BC, in pale pink and white, on top of the original white satin pair. They also had purple matte, but I felt it was too bright. The nice buff yellow colour was only in the shiny satin finish. All these gloves fit the arm snugly, and just barely cover the elbow, but many Austen costume wearers feel they’re a reasonable enough choice. Like with my stockings, I may try to mimic an embroidered pattern using fabric paint.
In the meantime, I’m still watching ebay and Etsy for ball gloves in size 8 and any colour but black, brown, or loud! If I can get 16-button (31 inch) gloves in a nice soft yellow or cream, it will be like heaven! If they’re kid leather with no wrist buttons, I’ll have to pay more than I did for any of my dresses!
~~~
Fans:
A Regency ballroom can become very warm. Fans were a must-have accessory for one’s comfort. Chinatown, thrift, vintage, and budget stores are possible places to buy your fan.
The one fan I purchased was part of a $2.99 grab bag at Value Village. Though I adore it, it’s rather simple for its purpose: a medium-toned wooden brisé fan with a line drawing of a Chinese scene printed on the leaves, and a satin-looking sleeve.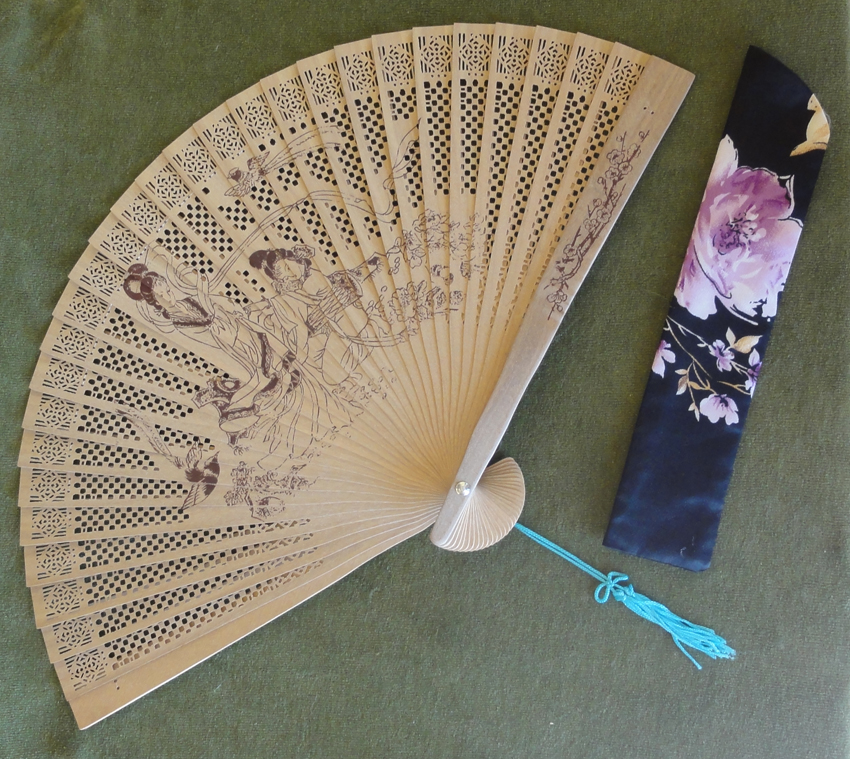 It took months to find this fan. The available fans were all cheap-looking or had non-Regency features. Most wood fans had paper leaves that were plain or had very Asian motifs, and pale, plain wood sticks. Fans with silk/satin leaves had sticks and guards made of cheap plastic, no matter how pretty or elaborate the painting on the leaves!
Ten or so years ago when I shopped for a gift for my sister, fans with dark, rich wood or enamelled sticks, with inlays such as mother-of-pearl on the guards, were available at a reasonable price, but I didn’t see one fan like this in months of searching. It doesn’t help that, though the Chinatown in my current city is the second-oldest on the West coast, it’s also the smallest, at two blocks long.
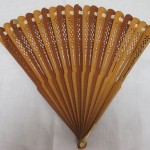
Brisé fan, circa 1790, wood.
Brisé minuet fan with blue silk. Dutch, 1810. Museum of Fine Arts, Boston.
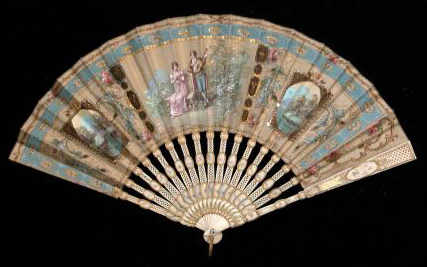
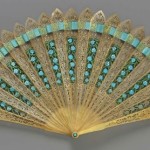
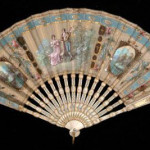
Regency fans came with sticks and guards made from ivory, mother-of-pearl, bone, tortoise shell, metal, ebony, and horn. Ribs and leaves could be of the same material as the sticks, or the fan could have leaves made from gauze, silk, paper, or feathers, and trimmed in gilt, lace, ribbons, or sequins. They could be inlaid or piquéd, painted, pierced in a pattern, or embroidered, and any scene depicted would be English. For full size images, click on the thumbnails.
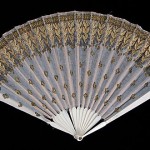
Battoir fan, 1800-1830. Silk, ivory, and metal. National Trust Collections, UK.
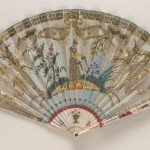
Fan, 1800-1815, French. Bone, silk, metal, wood. Brooklyn Museum Costume Collection at The Metropolitan Museum of Art.
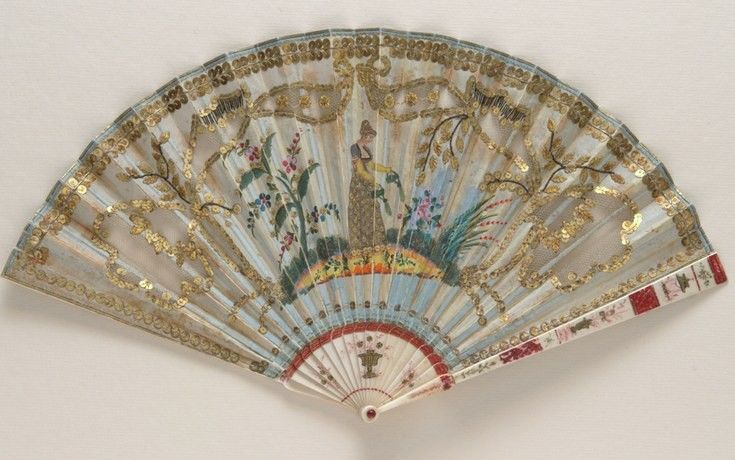
Folding fan of ivory sticks with a silk leaf, embroidered with sequins and painted with a female figure watering plants. English, circa 1810. Fan Museum, Greenwich.
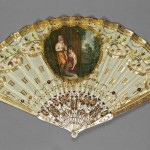
Folding fan. Carved, gilded mother-of-pearl sticks, silk leaf decorated with gold sequins, embroidery, mezzotint. Two girls with a cat. English, circa 1800-1820. Fitzwilliam Museum.
Cartouche fan, from a plate in Ackermann’s Repository for Art, 1808.
The coolest fans (not meaning efficacy, but in eye-catching quality) are the cartouche fans, which open to 360 degrees.
If you can find a fan with an attractive non-plastic material for the sticks and guard, and a pretty painted or embroidered design that isn’t too Asian, it will do well.
~~~
Parasol:
If you’ve followed this blog from the start, you’ll know one of my catch-phrases is “Parasol in a Ballroom.” This originates from a scene I wrote in the original Alias Thomas Bennet before posting it in serial form at A Happy Assembly.
While in London, Jane Bennet writes to her sister Elizabeth, who is at Hunsford:
“Mary and I attended a private ball at Miss Morris’ home and it was all that was spectacular. The ballroom was the largest I have ever seen, and the candles were so brilliant that the room was almost as bright as day. The ladies were in beautiful dresses and held lovely fans or parasols.”
Cassandra, the final cold reader, tagged the final word with a simple comment in a balloon: “At a ball?”
Indeed! Why would they use parasols indoors at night? In my mind, I could just see Cassie’s head-tilt! It’s been a joke between us ever since.
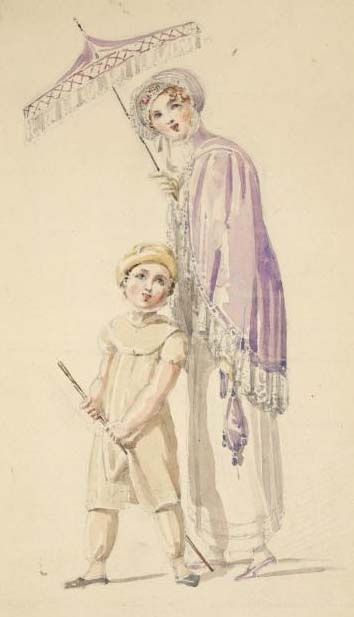
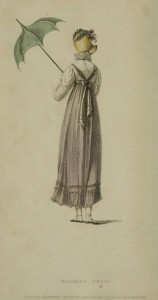
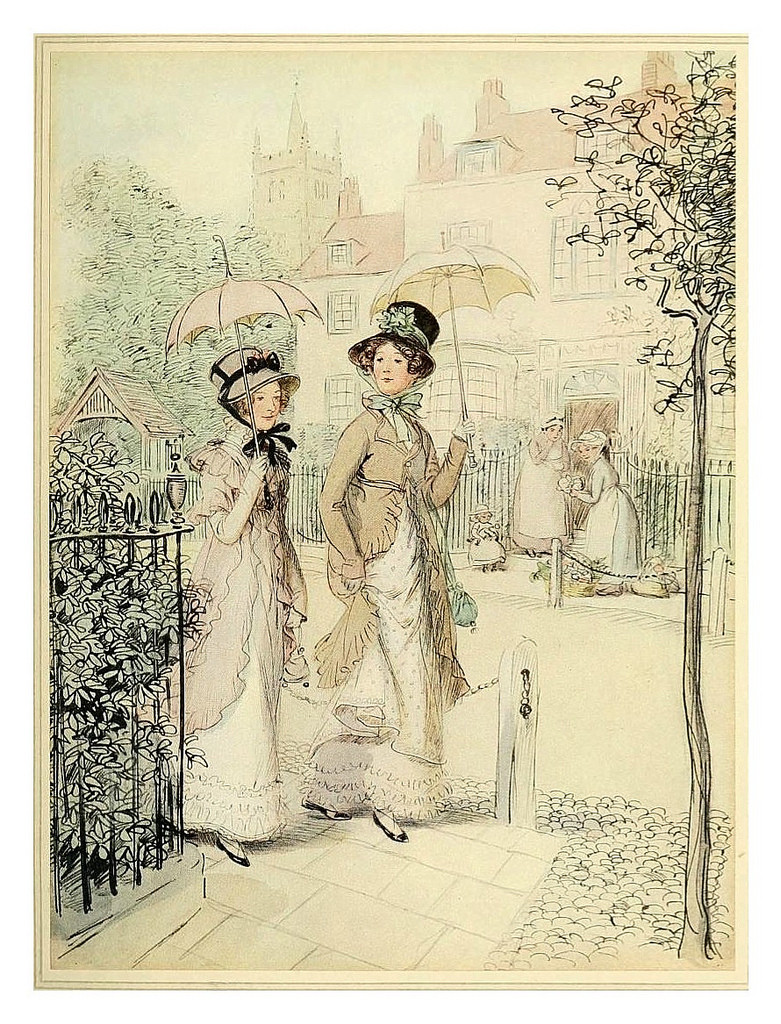 Although a parasol is an optional item, mainly for when the headwear doesn’t protect the Regency lady’s face from the sun, it’s seen in many fashion sketches of the time, leading me to believe it was for show, as well.
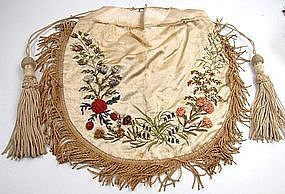
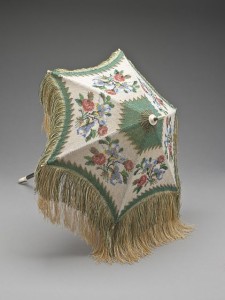
Walking dress, parasol with knotted tassel fringe, 1810.
This item comes in so many variations, it’s not nearly so difficult to procure something that is a good facsimile. Deep or shallow scallops between the ribs, either rounded or pagoda shaped, deep or shallow curve to the parasol body, but not flat: all are appropriate in almost any colour except black, unless you are in mourning.
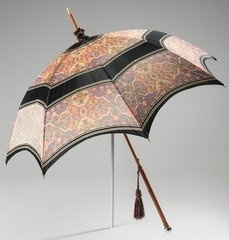
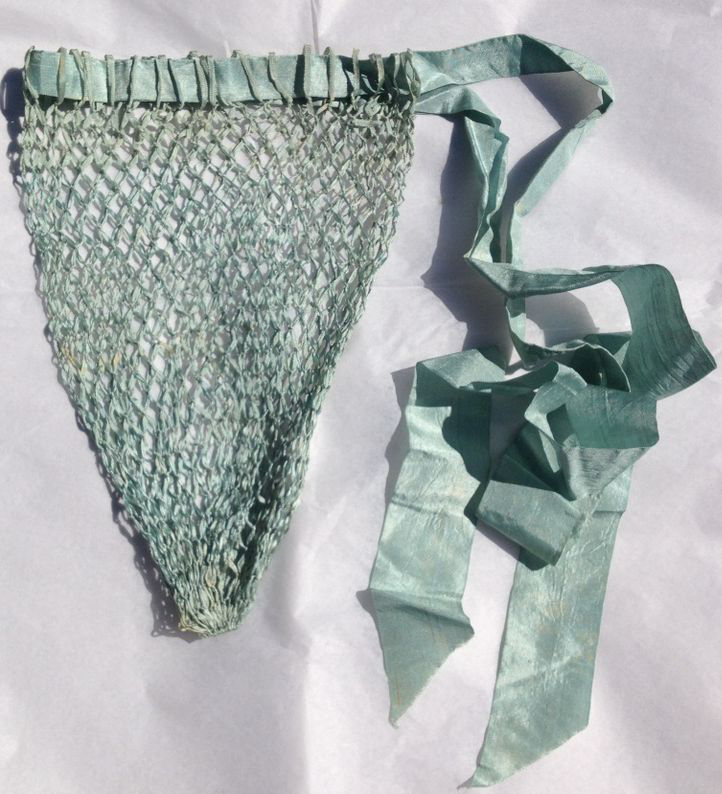
Parasol, 1805, Metropolitan Museum of Art
Parasol, European, circa 1805. Silk knit with glass and steel beads, wood, bone, and metal.
Multiple modes of decoration enhance the parasol cover, such as stripes, prints, tassels, embroidery, and all types of fringe: eyelash, brush, ball, and multiple-knot tassel fringe. Others are plain. Most handles were straight, though a few curved ones existed, and they were sometimes decorated and inlaid not unlike the guards on the fans. A fascinating Regency specialty is the hinged parasol.

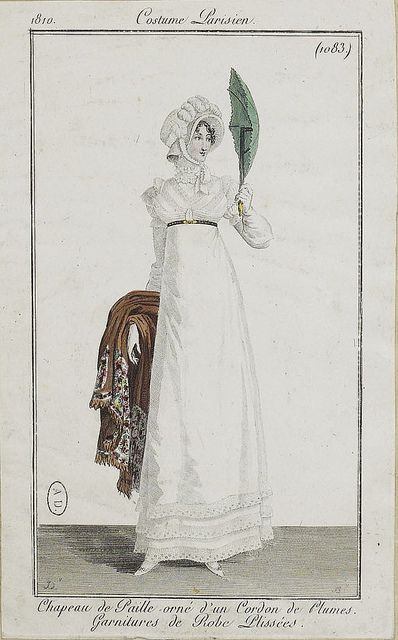
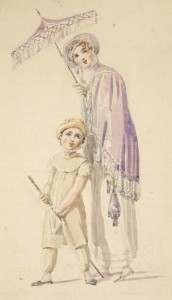
Hinged parasol, Costume Parisien, 1810
Lace is not common, though, and the ones I’ve seen with lace use it as trim similar to fringe. The Battenburg lace parasols sold as Regency are Victorian, so don’t waste your money!
Of course, a real Regency parasol frame is made from wood or baleen (whalebone), and the cover from silk. Modern Asian parasols of wood frame construction tend to have too many ribs; Regency ones had four to ten, though six to eight were most common on the plates I’ve seen, and many had seven.
Pagoda parasol from Ackermann’s Repository print, 1814
If you’ve followed this blog from the start, you know my obsession with the idea of a pagoda parasol, which has a second upward curve on the canopy of the parasol. They were common during the Regency period, in fact, up until the 1960s. Vintage pagoda parasols on Etsy and ebay are usually mid-20th century, with a metal frame and handle made from bakelite, a non-melting plastic that’s still used for items such as billiard balls today. The fabric is often in a “modern” pattern for the era, so it may not work well for a Regency costume.
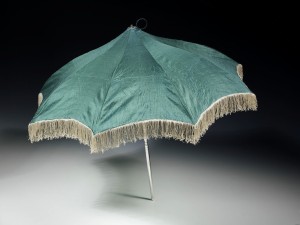
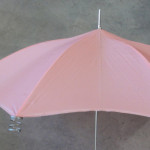
A vintage pink nylon-covered non-pagoda umbrella, with a matching fitted sleeve complete with a grommet for the spiked end, was purchased for $9.99 at WiN (Women in Need Vintage and Thrift Store). It has an interesting, curved, patterned aluminum handle. I’m not a pink person, yet I manage to repeatedly find the best items in pink!
Silk parasol, ca. 1811, Victoria and Albert Museum.
Two-inch wide white fringe was one of the items in my amazing budget purchase of multiple types of trim for $5 in Mazatlán, and the idea was to tone back the pink and make the umbrella look more like a Regency parasol.
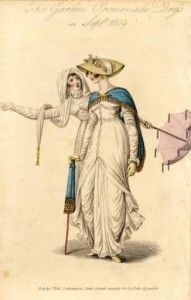
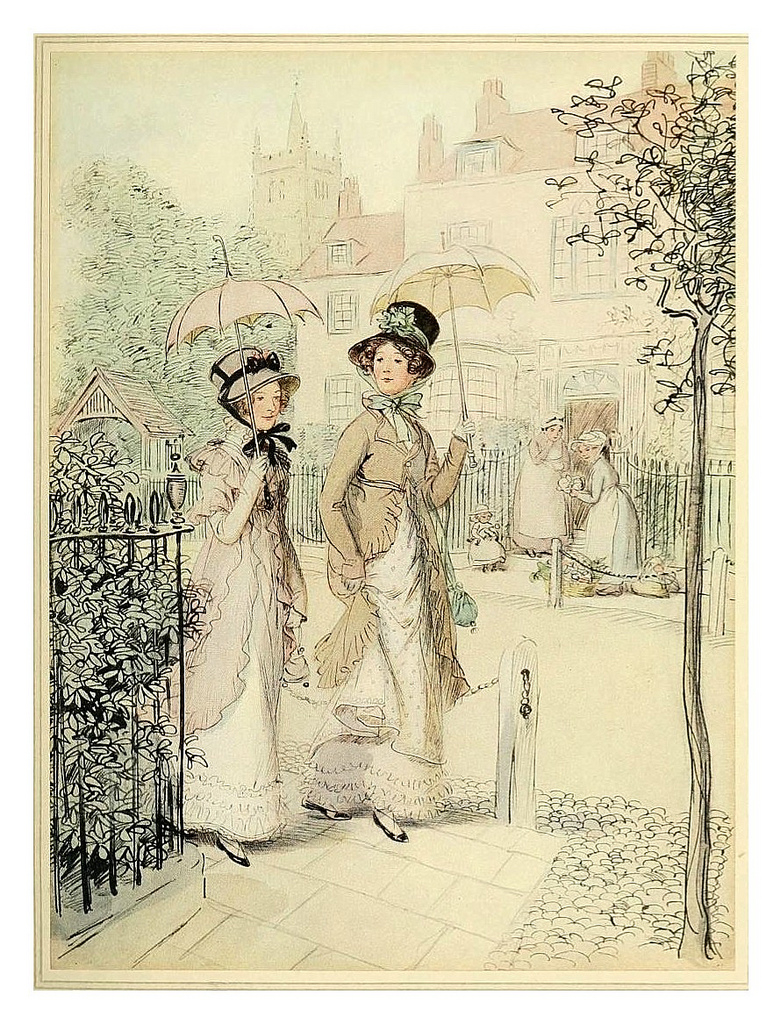
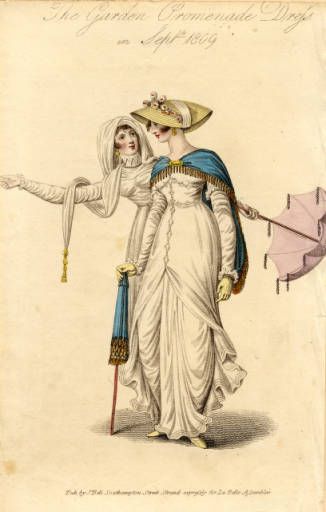
Garden promenade dresses, 1809, Fashion Plate Collection. Tasseled parasol on the right and parasol with knotted tassel fringe on the left.
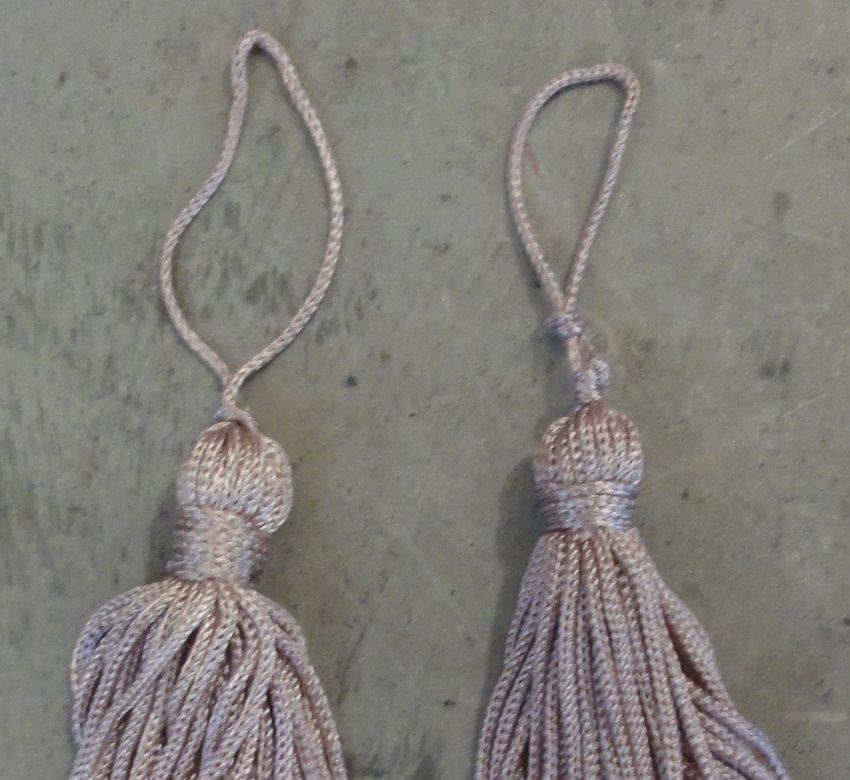
Later, a local Indian fabric store (K T Boutique and Fabrics) was selling certain colours of tassels at half price, and I liked the idea of tassels better, as the parasol would be less bulky when folded. I got eight in a muted violet for $1 each.
But I kept looking for my pagoda parasol with a straight handle, in materials that looked like they could be from the Regency.
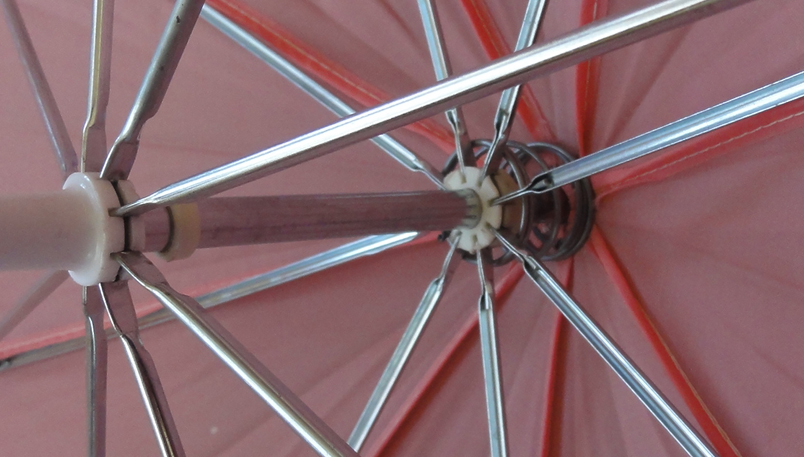
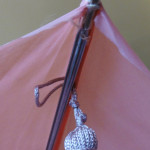
Then I read an article on how to make a regular umbrella into a pagoda parasol, using a length of milliner’s wire twisted into a spring and inserted inside the canopy of the umbrella, around the part of the stick that’s above the frame. Some time ago, I’d been curious about the inner workings of a pump cosmetics bottle, and had two short, fat springs on hand as a result, so I didn’t have to use my questionable wire-bending skills.
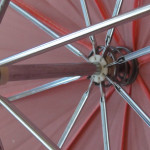
First spring inserted above the upper rib of the umbrella frame.
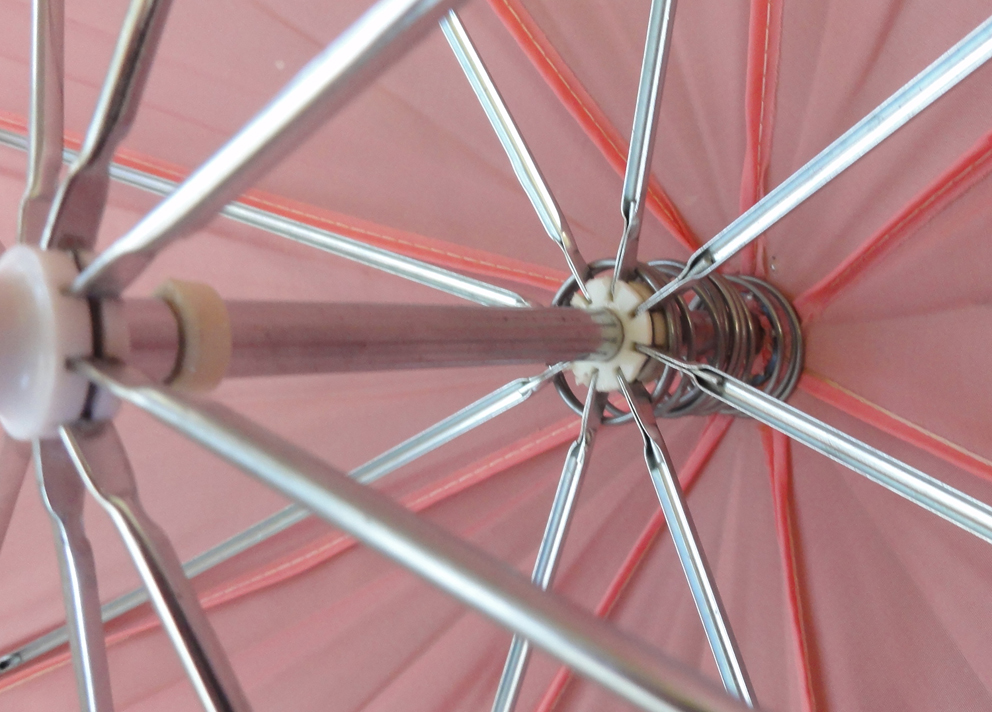
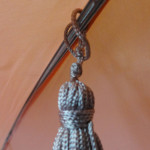
The beginning of the pagoda shape from the first spring, and second spring displayed (just hanging on the end of a rib) to show how it looks before installation.
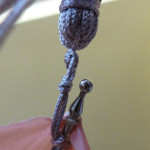
Inside the open umbrella, I placed my fingers around the umbrella stick between the canopy and the frame, then easily slid the canopy up the spike so I could thread the spring on, much like you’d put a key on a key ring. Click on the thumbnails for larger images of the instructional photos.
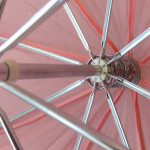
Second spring in place.
After the first, I decided it would look better with two springs. The second was much harder to install. You could not do this with an umbrella that does not have a long enough spike on top.
A slimmer spring would be better, as these tend to slide down over the ribs when the umbrella is closed, and I have to reach in and wiggle them up to get the umbrella to open. In addition, the extra bulk means the matching sleeve no longer goes on all the way. I’m going to wait until I finish my hand lotion to procure the alternate spring!
I found it difficult to figure out how to tie on the tassels, so I’ve shown the steps I eventually used to save you all some trouble. I did a better job of showing the “How-to” steps by using captions this time! Click on the thumbnails for larger images.
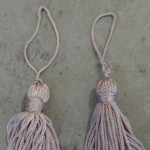
Tighten the top knot on the tassel (left). Tie a second knot about 2-3mm or ⅛ inch above it (right).
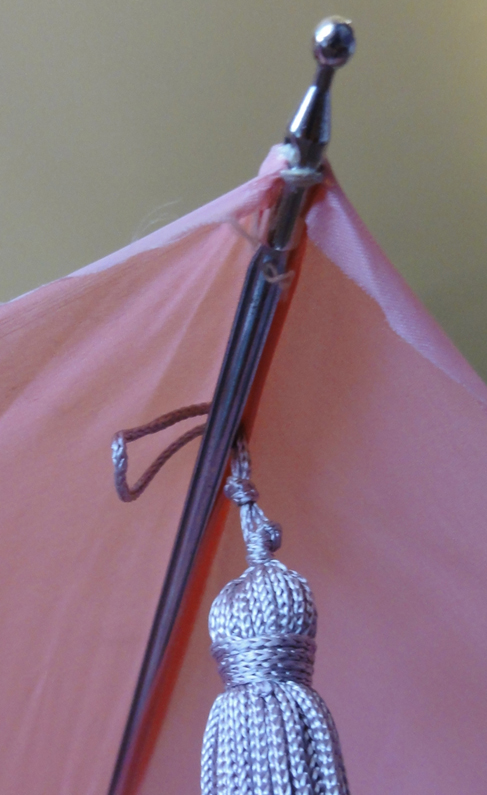
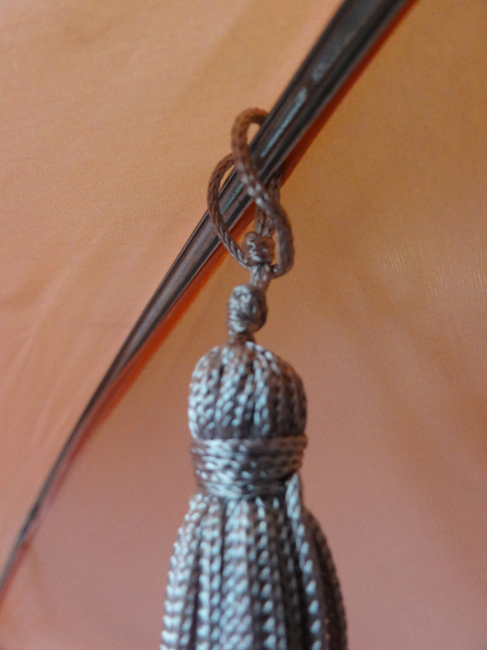
Loop string between rib and fabric, inside of where the cover fabric ties to the end of the rib.
Push tassel through loop to tie to rib.
Pull the tassel to the end of the rib and push the gap between the knots over the ball at end of rib.
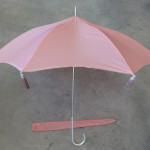
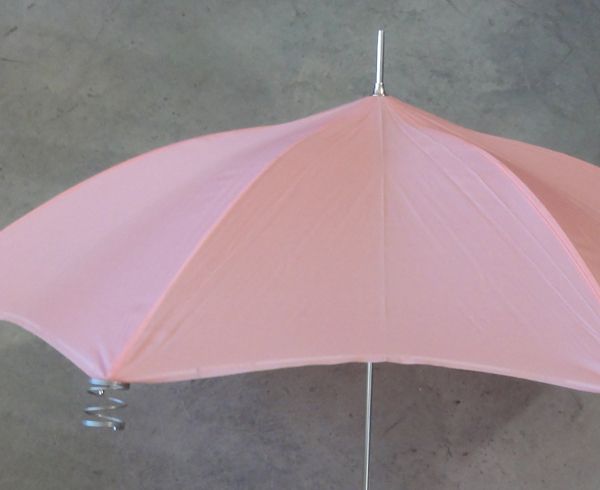
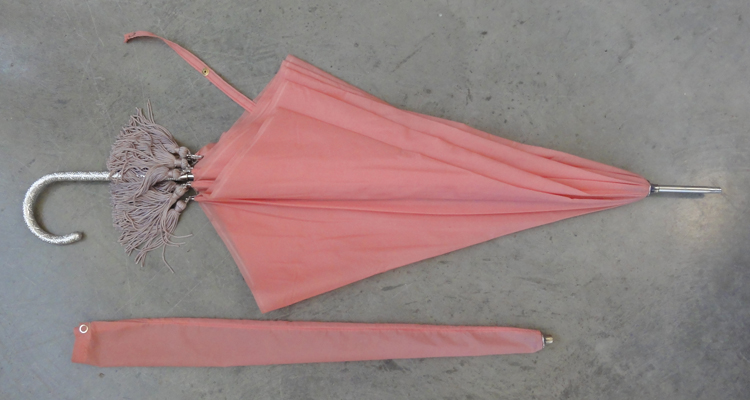
Final pagoda shape of parasol, with eight tassels. Matching sleeve is shown below.
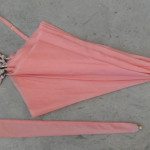
Parasol closed, with sleeve. You can see all the tassels here.
Voila! A pagoda parasol with tassels for my Thrift Shop Regency Costume! I’m so pleased, I barely care what else I wear!
~~~
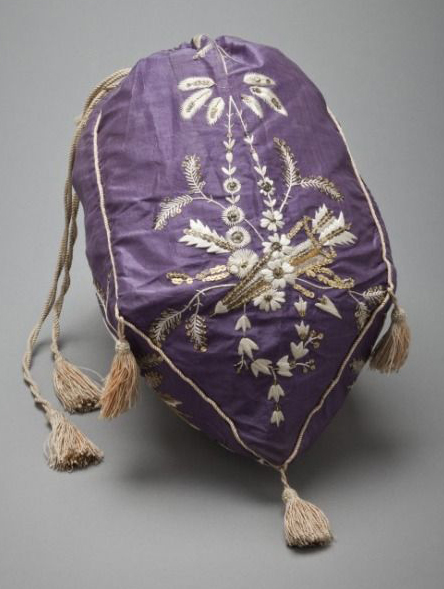
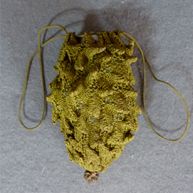
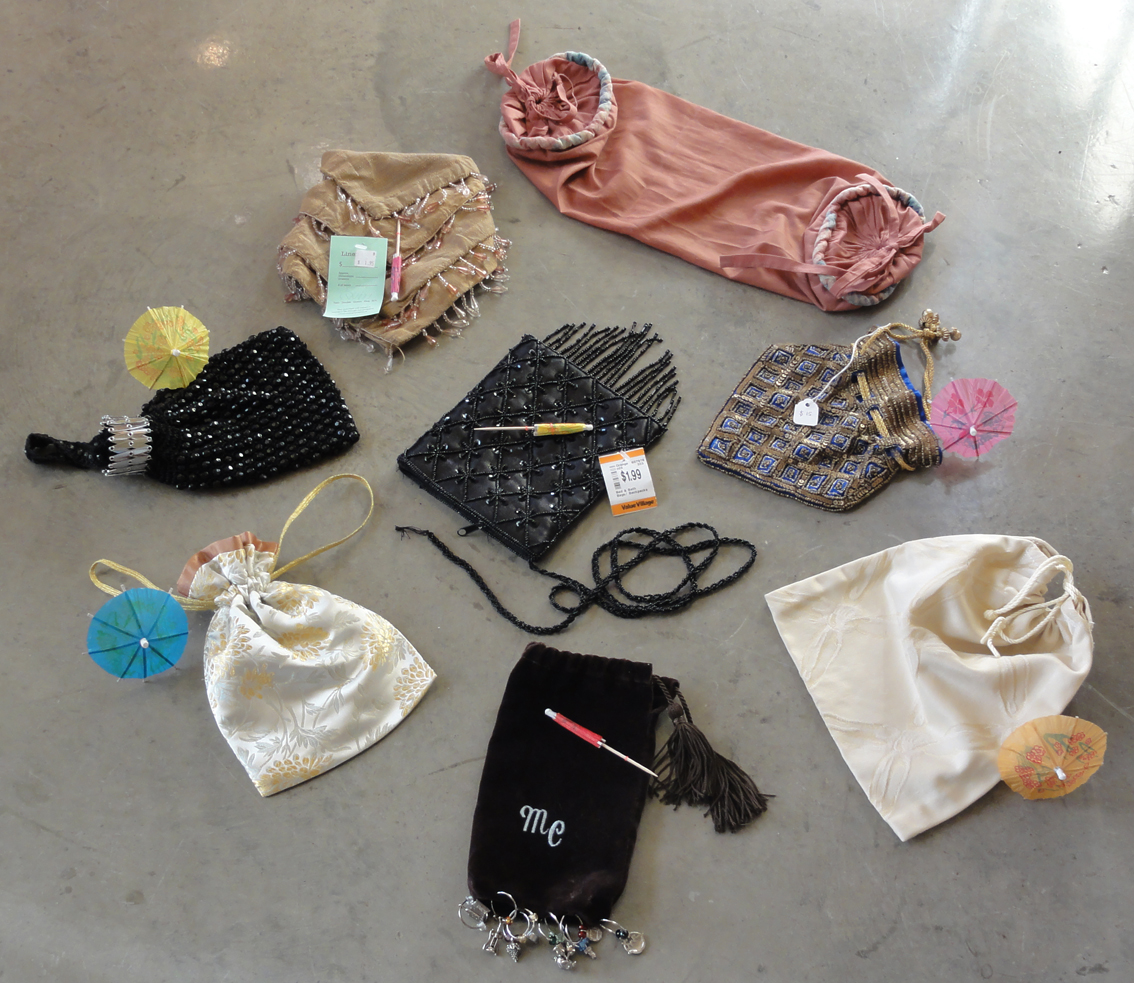
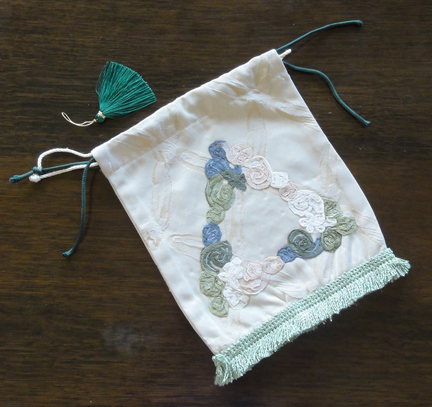
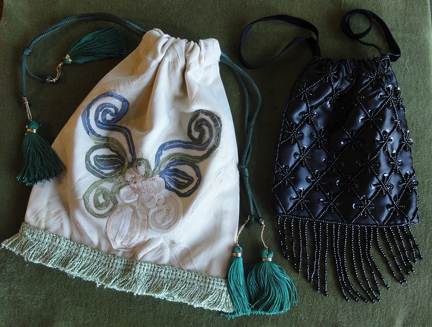
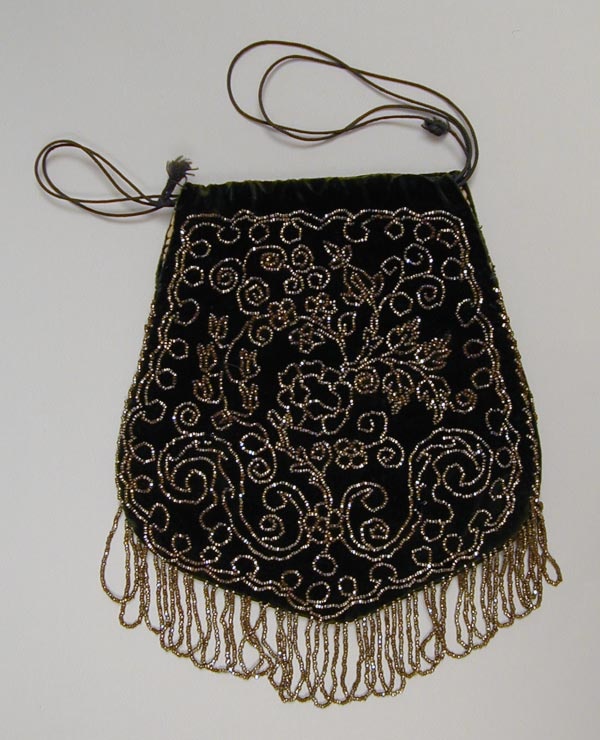
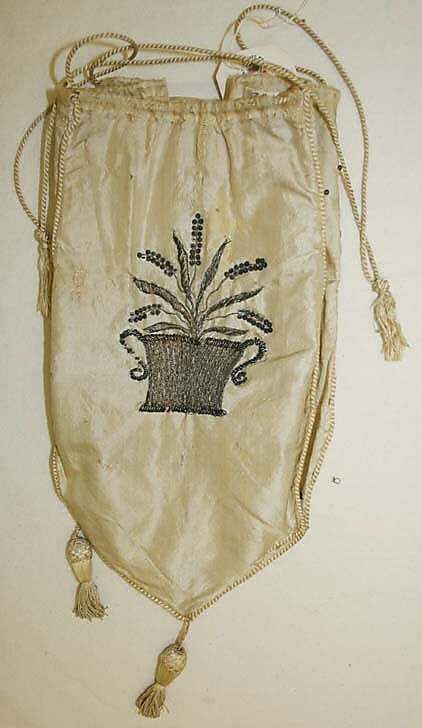
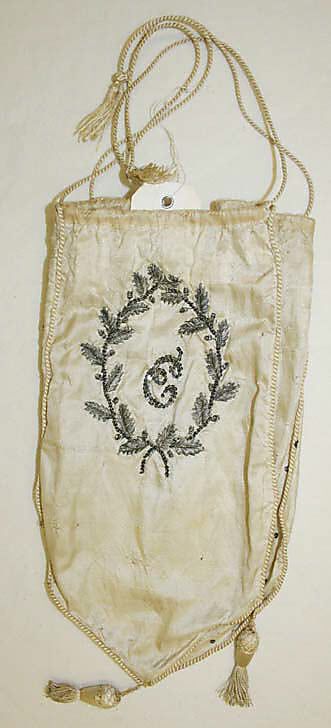
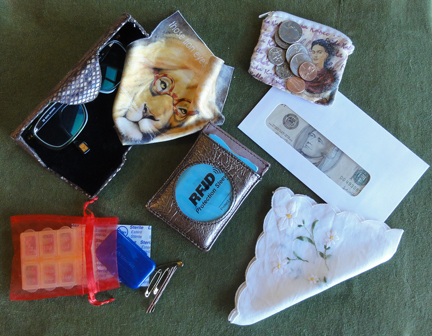
NEXT POST: One of the easiest items to find for your Regency costume is a reticule. A small drawstring bag (at least 5 inches wide, but under 8 inches in each dimension) of almost any shape, in a rich fabric, will suffice. If the bag you found is too simple, we have ways to dress it up! I have six examples, and three came to me in fine condition with no need for upgrades. Three need simple, typical modifications that are super-easy for the non-crafter.
~~~
Pop quiz: Did anyone know the source of the title without looking it up? In what other movie did the same guy play a sort of a “cleaner?” What Regency-era movie was he in?
I’d adore some comments! (The Meryton Press blog page version of this post is the best location for this.) I’m trying to decide how to do a give-away, and feedback would help me to know if anyone besides me is reading this shiz.
~~~
Updates: If you’re interested in learning more about Regency fans, or just seeing some more beautiful designs, check out this blog post: Special Exhibition: The Unrivalled Beauty of the Hand-held Fan in the Romantic Age
Thanks to Zorylee Diaz-Lupitou, who solved my problem with the comments box. Hopefully, it should be working now!
Like this:
Like Loading...

 Alias Thomas Bennet by Suzan Lauder