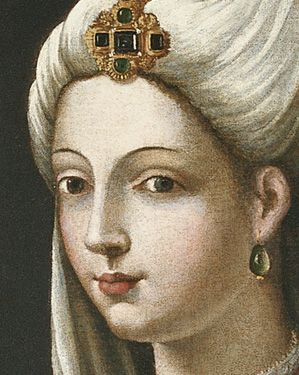
Mihrimah Sultan, daughter of Suleyman the Magnificent and Roxelana of Ukraine
When Regency fashionista Lord Byron was invited to visit Topkapi Palace in 1810, the Ottoman Turks refused to recognize his peerage and, as a non-diplomat, he was ranked behind everyone else. In hopes of changing their minds, the well-known dandy arrived in the most impressive “scarlet regimentals topped by a profusely feathered cocked hat,” but the Ottoman Turks were not swayed: he would take his place at the end of the line, behind all the staff of the embassy.
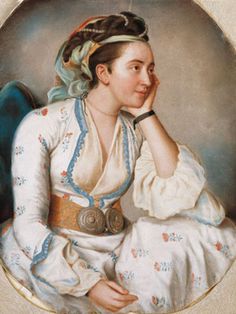
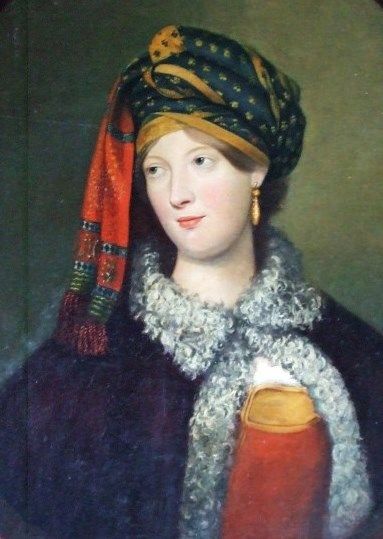
Woman in Turkish Clothing–Jean Etienne Liotard
According to Stratford Canning, the embassy secretary and a good friend, Byron shot them a “look of scornful indignation which so well became his fine imperious features” and stormed away to sulk in his chambers over the ordeal.(1)
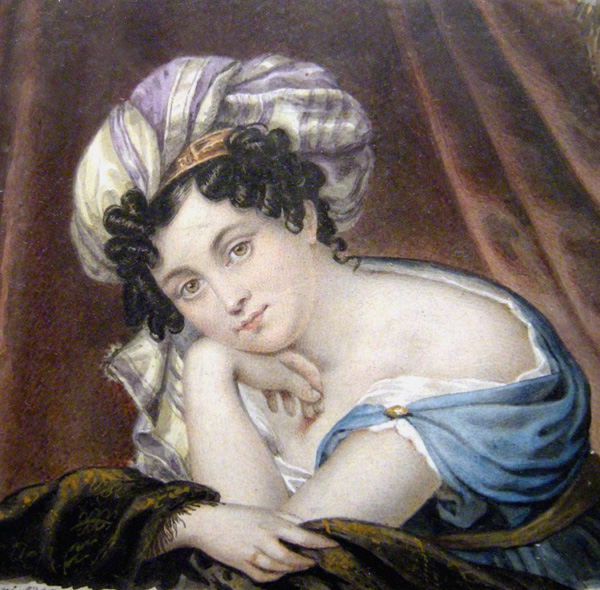
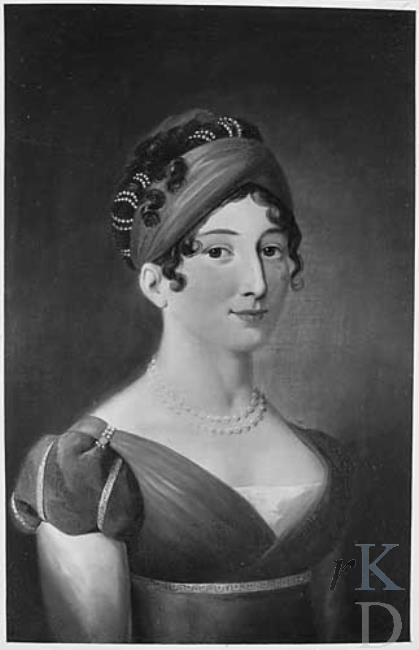
Marie Therese Princess von Esterhazy (Almack’s Patroness)–Alois Maria Martignon
I visited Topkapi 15 years ago, and Byron should have counted his blessings for the chance see the inner sanctum, which at that time was rarely seen by outsiders. Obviously, he wasn’t the fashion scout who brought back the turbans shown in numerous fashion plates and paintings in the late 18th and 19th century, including the Regency. Marie-Louise-Élisabeth Vigée-Lebrun was partial to them; they’re featured in many of her paintings.
(Click on thumbnails for larger images.)
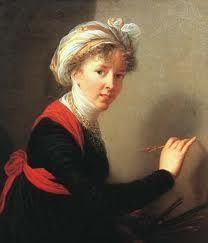
Self-Portrait (1800)–Marie-Louise Élisabeth Vigée-Lebrun

Mlle du Pront (1812) –Marie-Louise Élisabeth Vigée-Lebrun
In the twenty-first century, the turban is a great alternative to a fancy Regency hairstyle for those of us with short hair or unable to style our own complex up-do. You’ll need an attractive silk panel long enough to wrap around your head twice and wide enough to cover your hair while doing so (such as an oblong scarf), lots of bobby pins and safety pins, and decorative trim.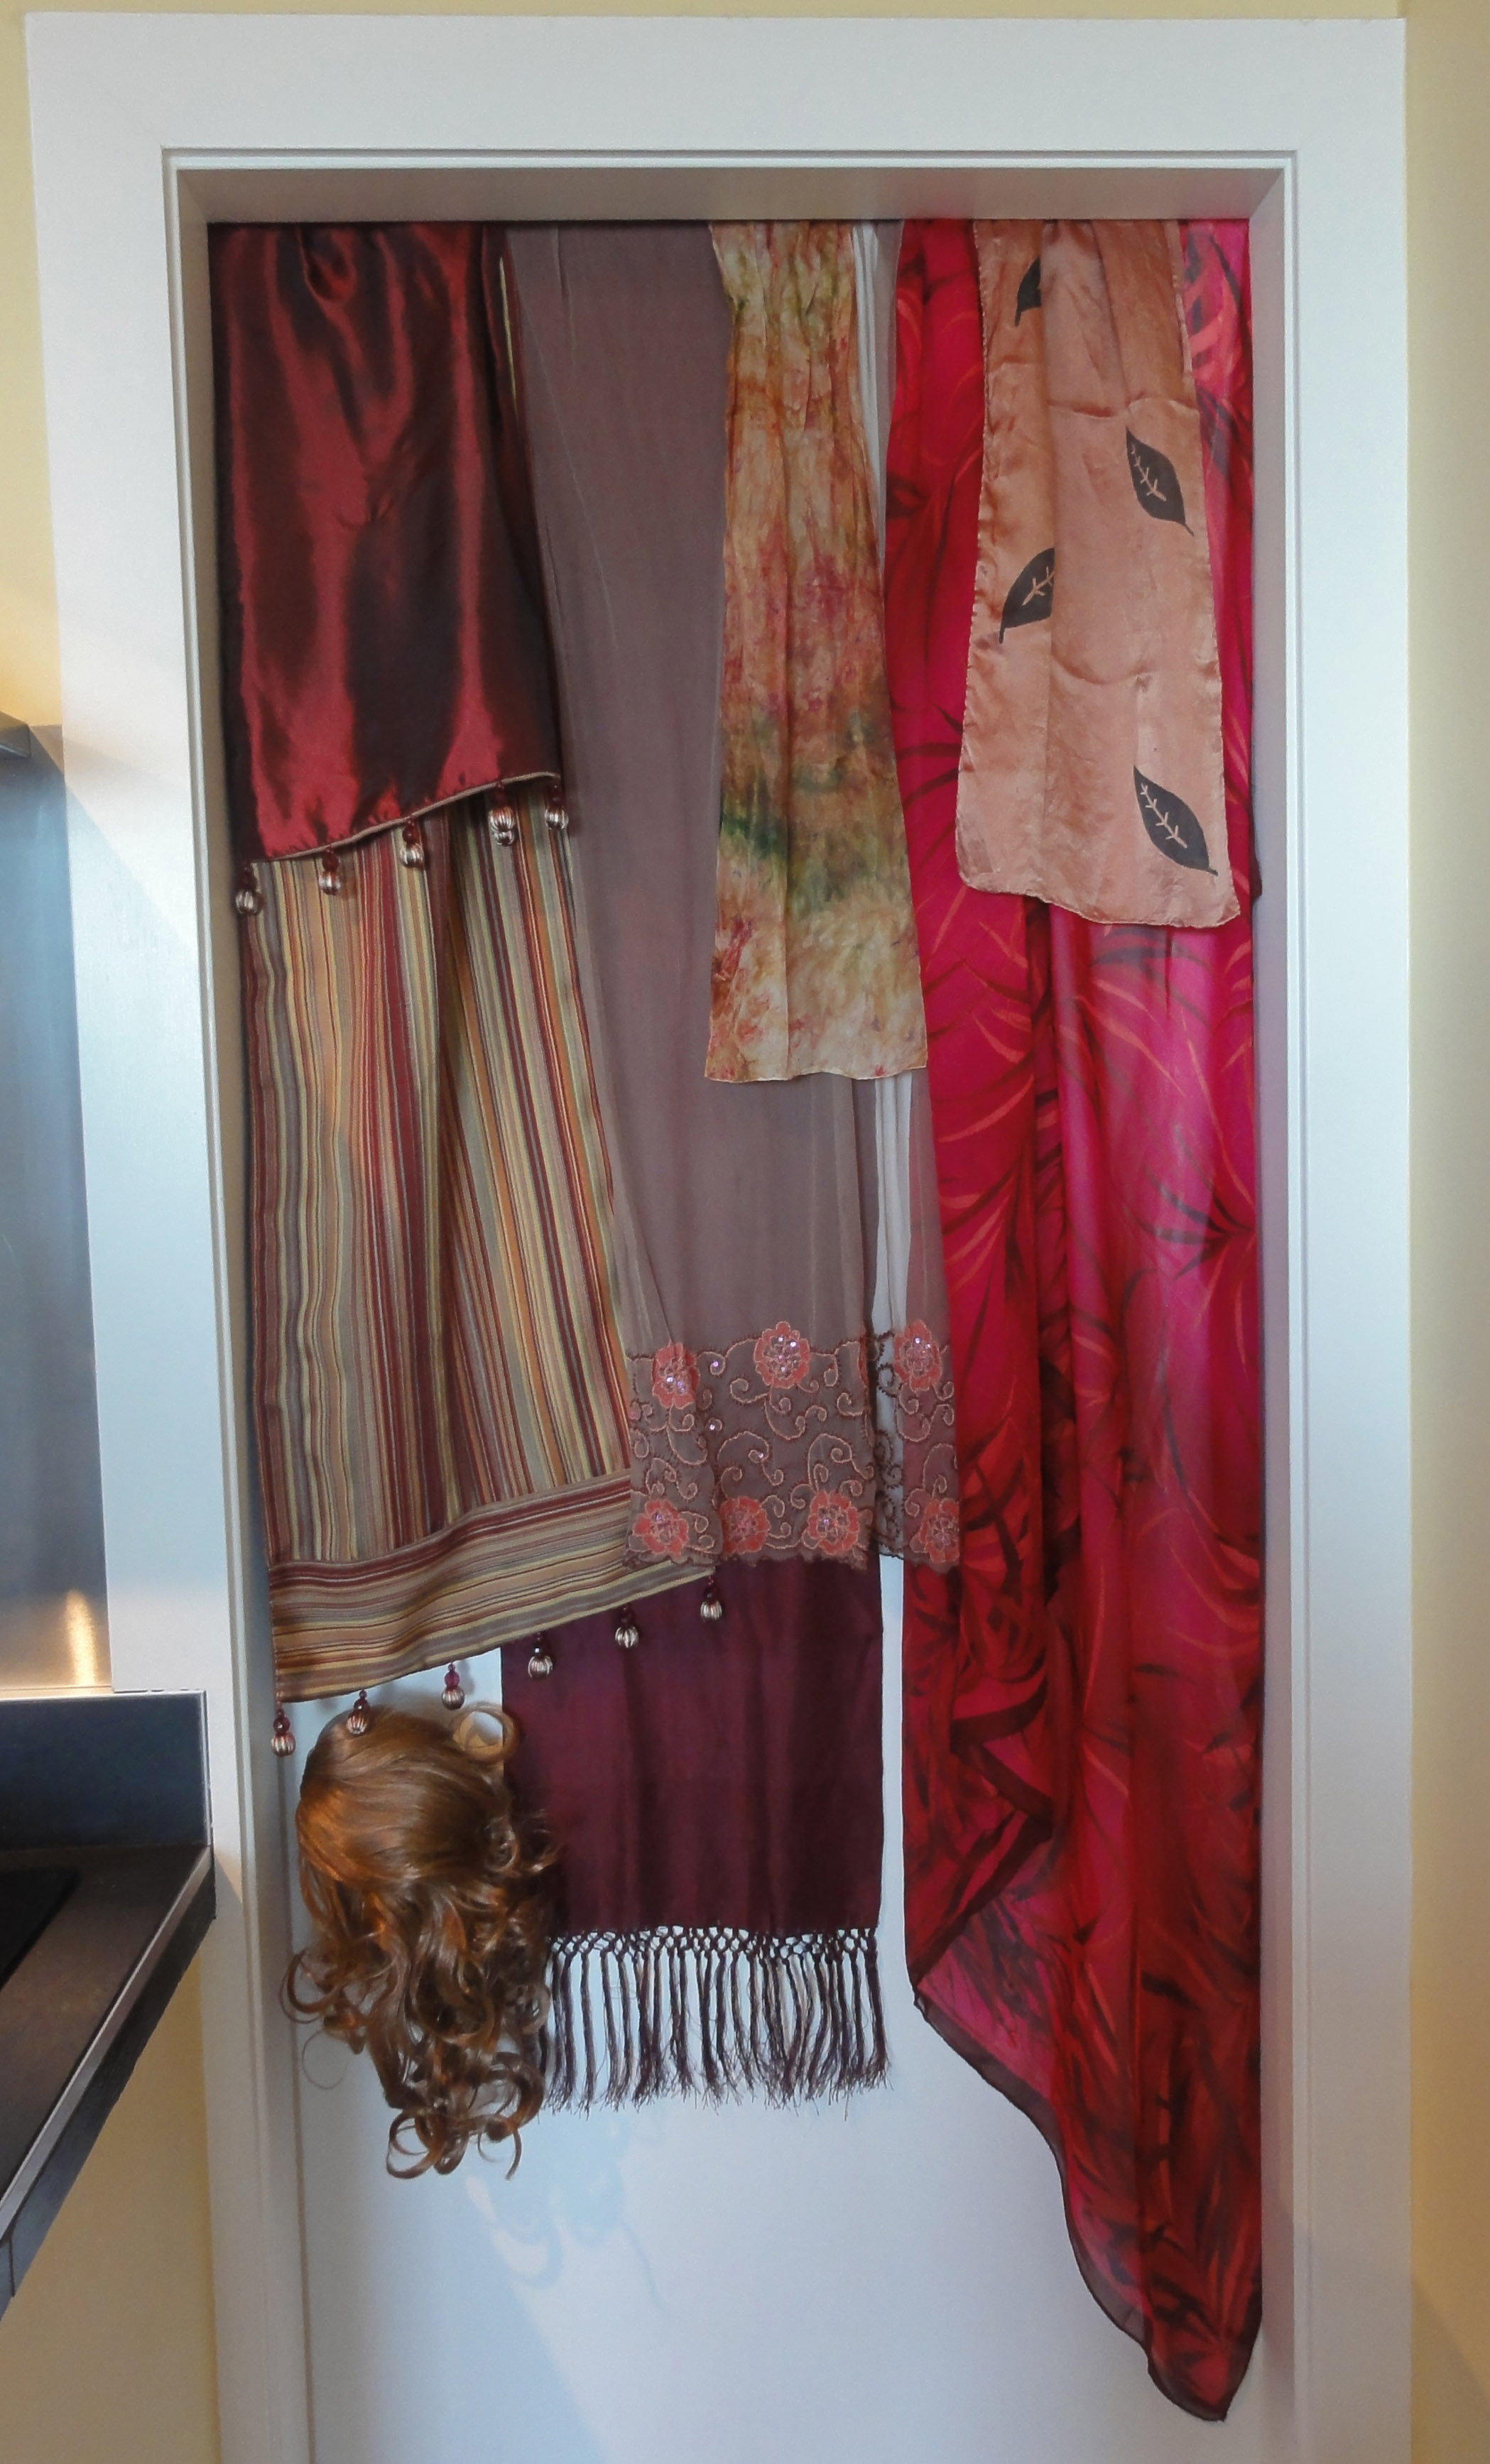
I had a choice of a number of scarves, table runners, and a pareo, as shown. Some fabrics and prints didn’t look Regency, so I didn’t use them. Dresser scarves; a length of smooth silk or similar fabric 10-20” wide and 4-5 feet long, with neatly finished ends; a small, light silk shawl or wrap; or similar fabric finds will work. It’s nice to have fringed, tasseled, or otherwise decorated ends to dangle, but not necessary.
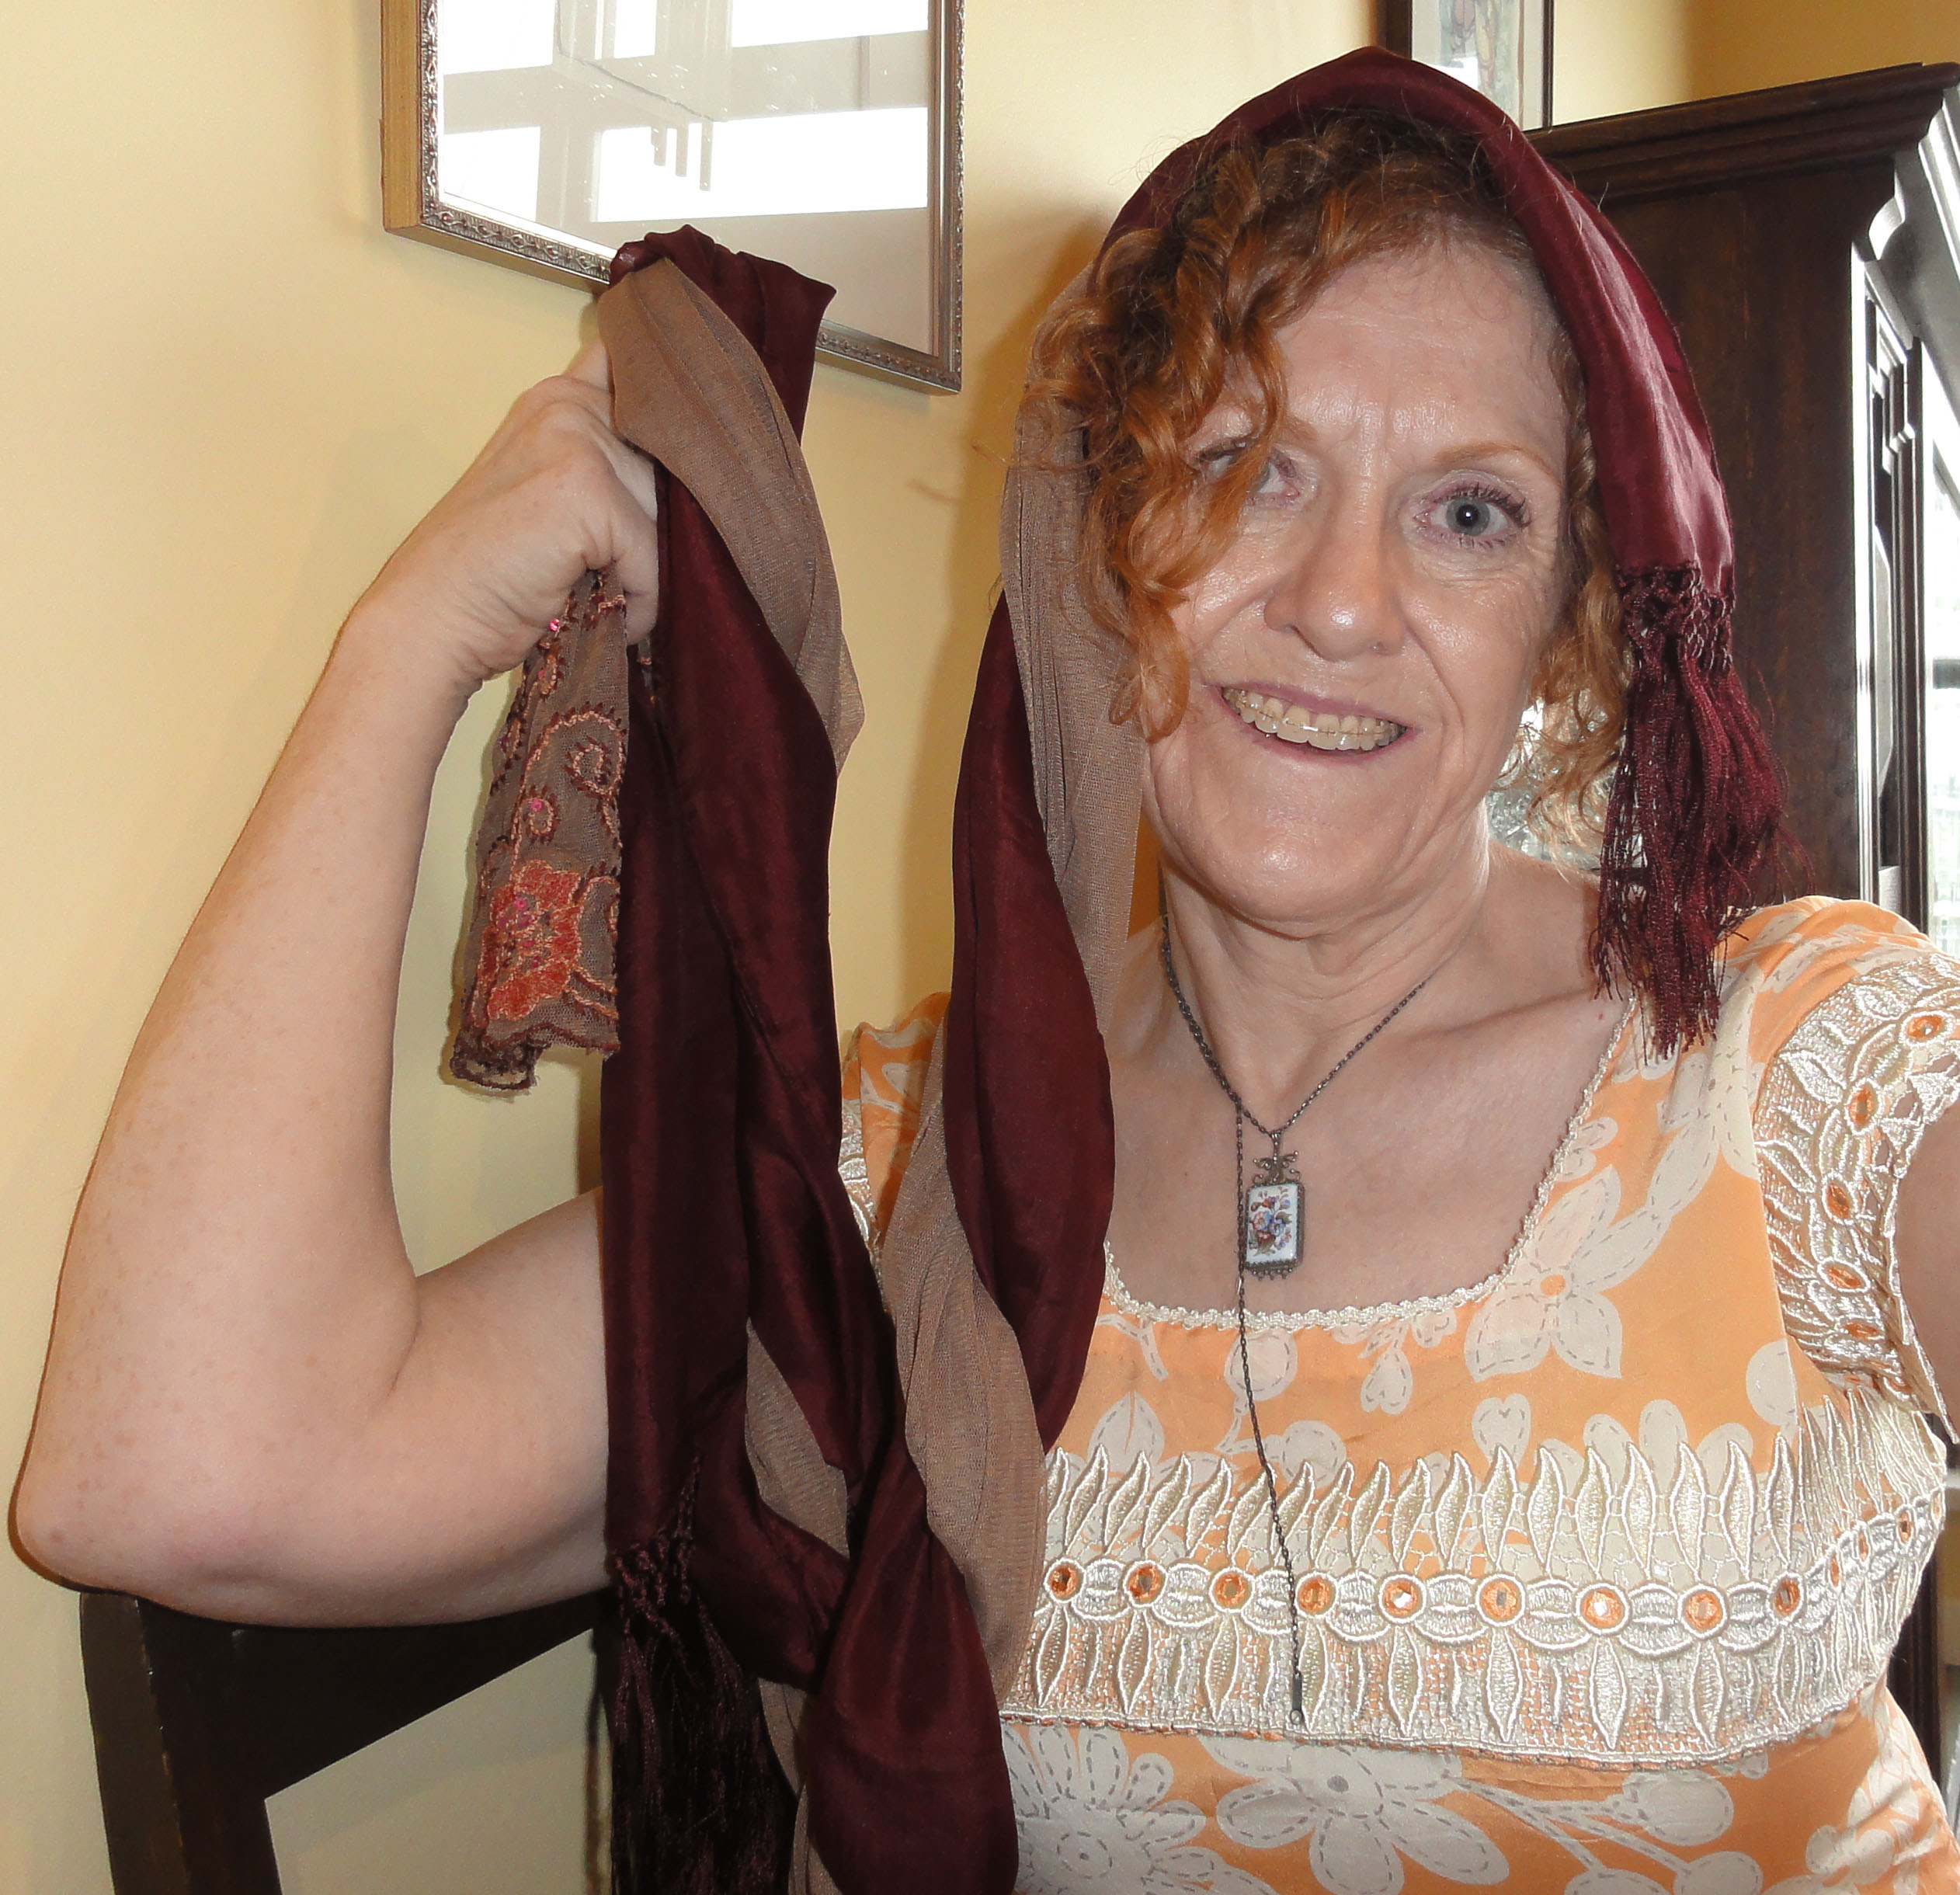
 For my first turban, I chose two oblong scarves in complimentary fabrics, one with a lace pattern on the end, and the other with fringe. They were purchased at Value Village for $5.99 and $3.99.
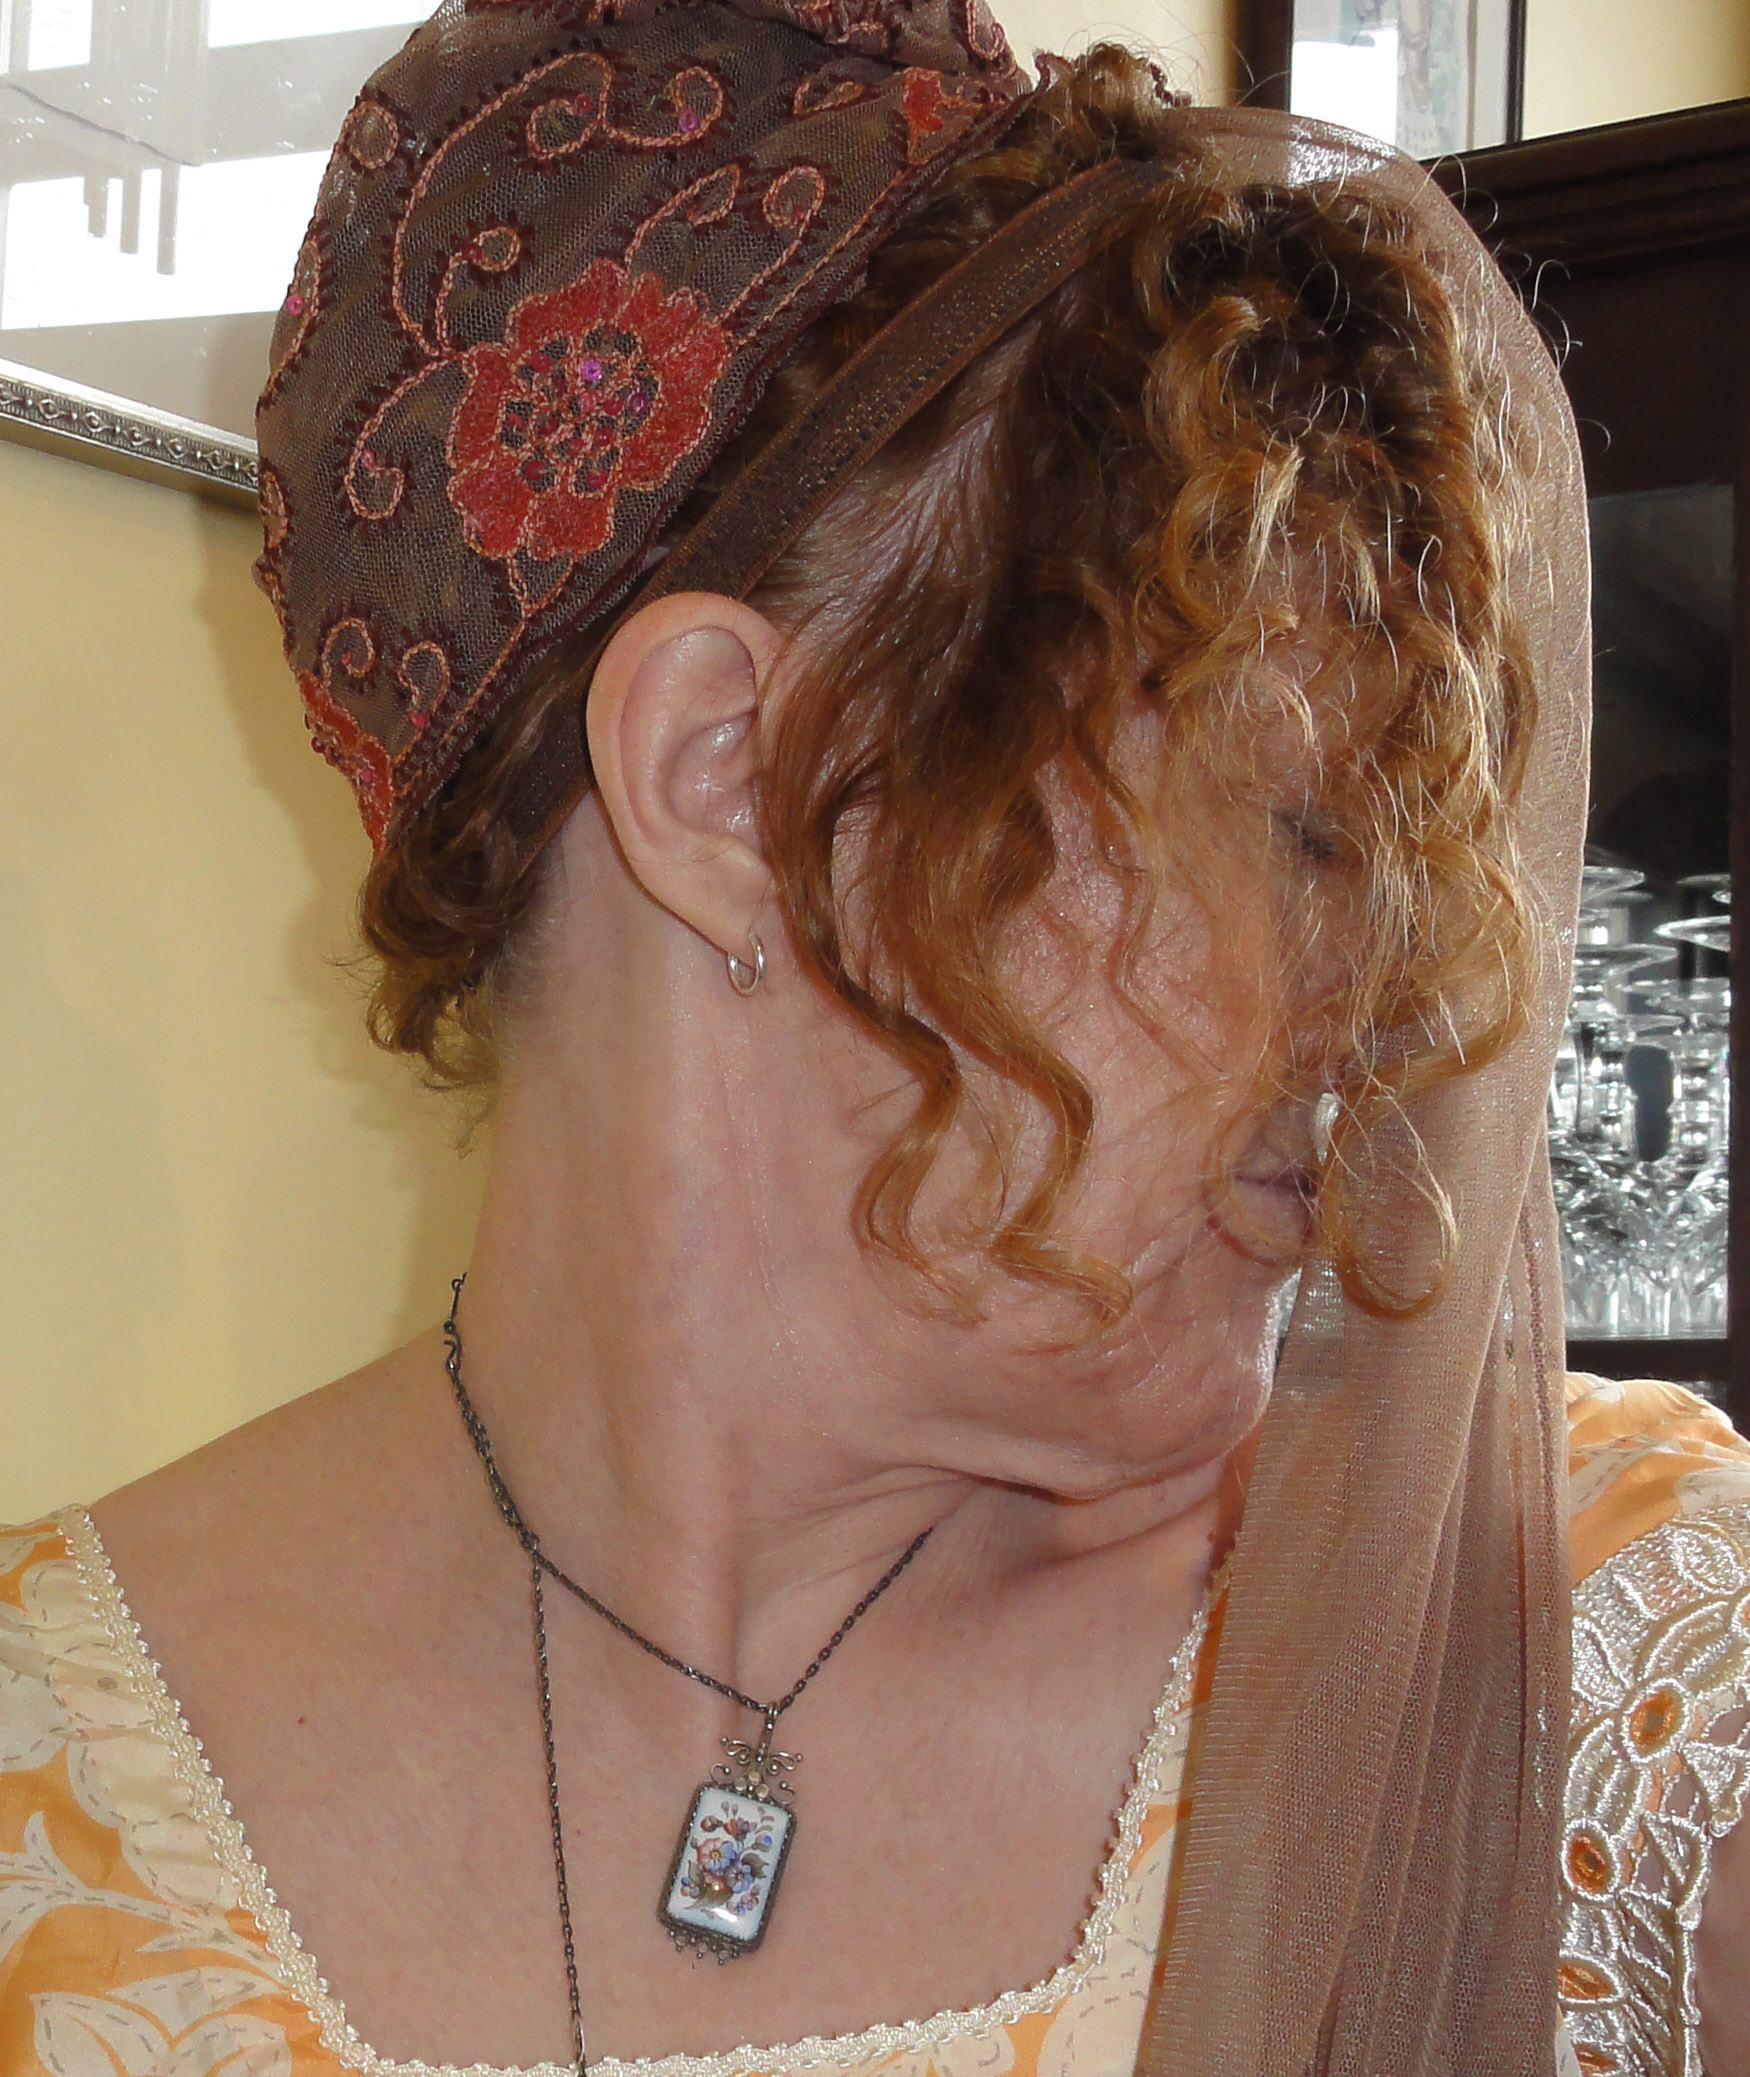
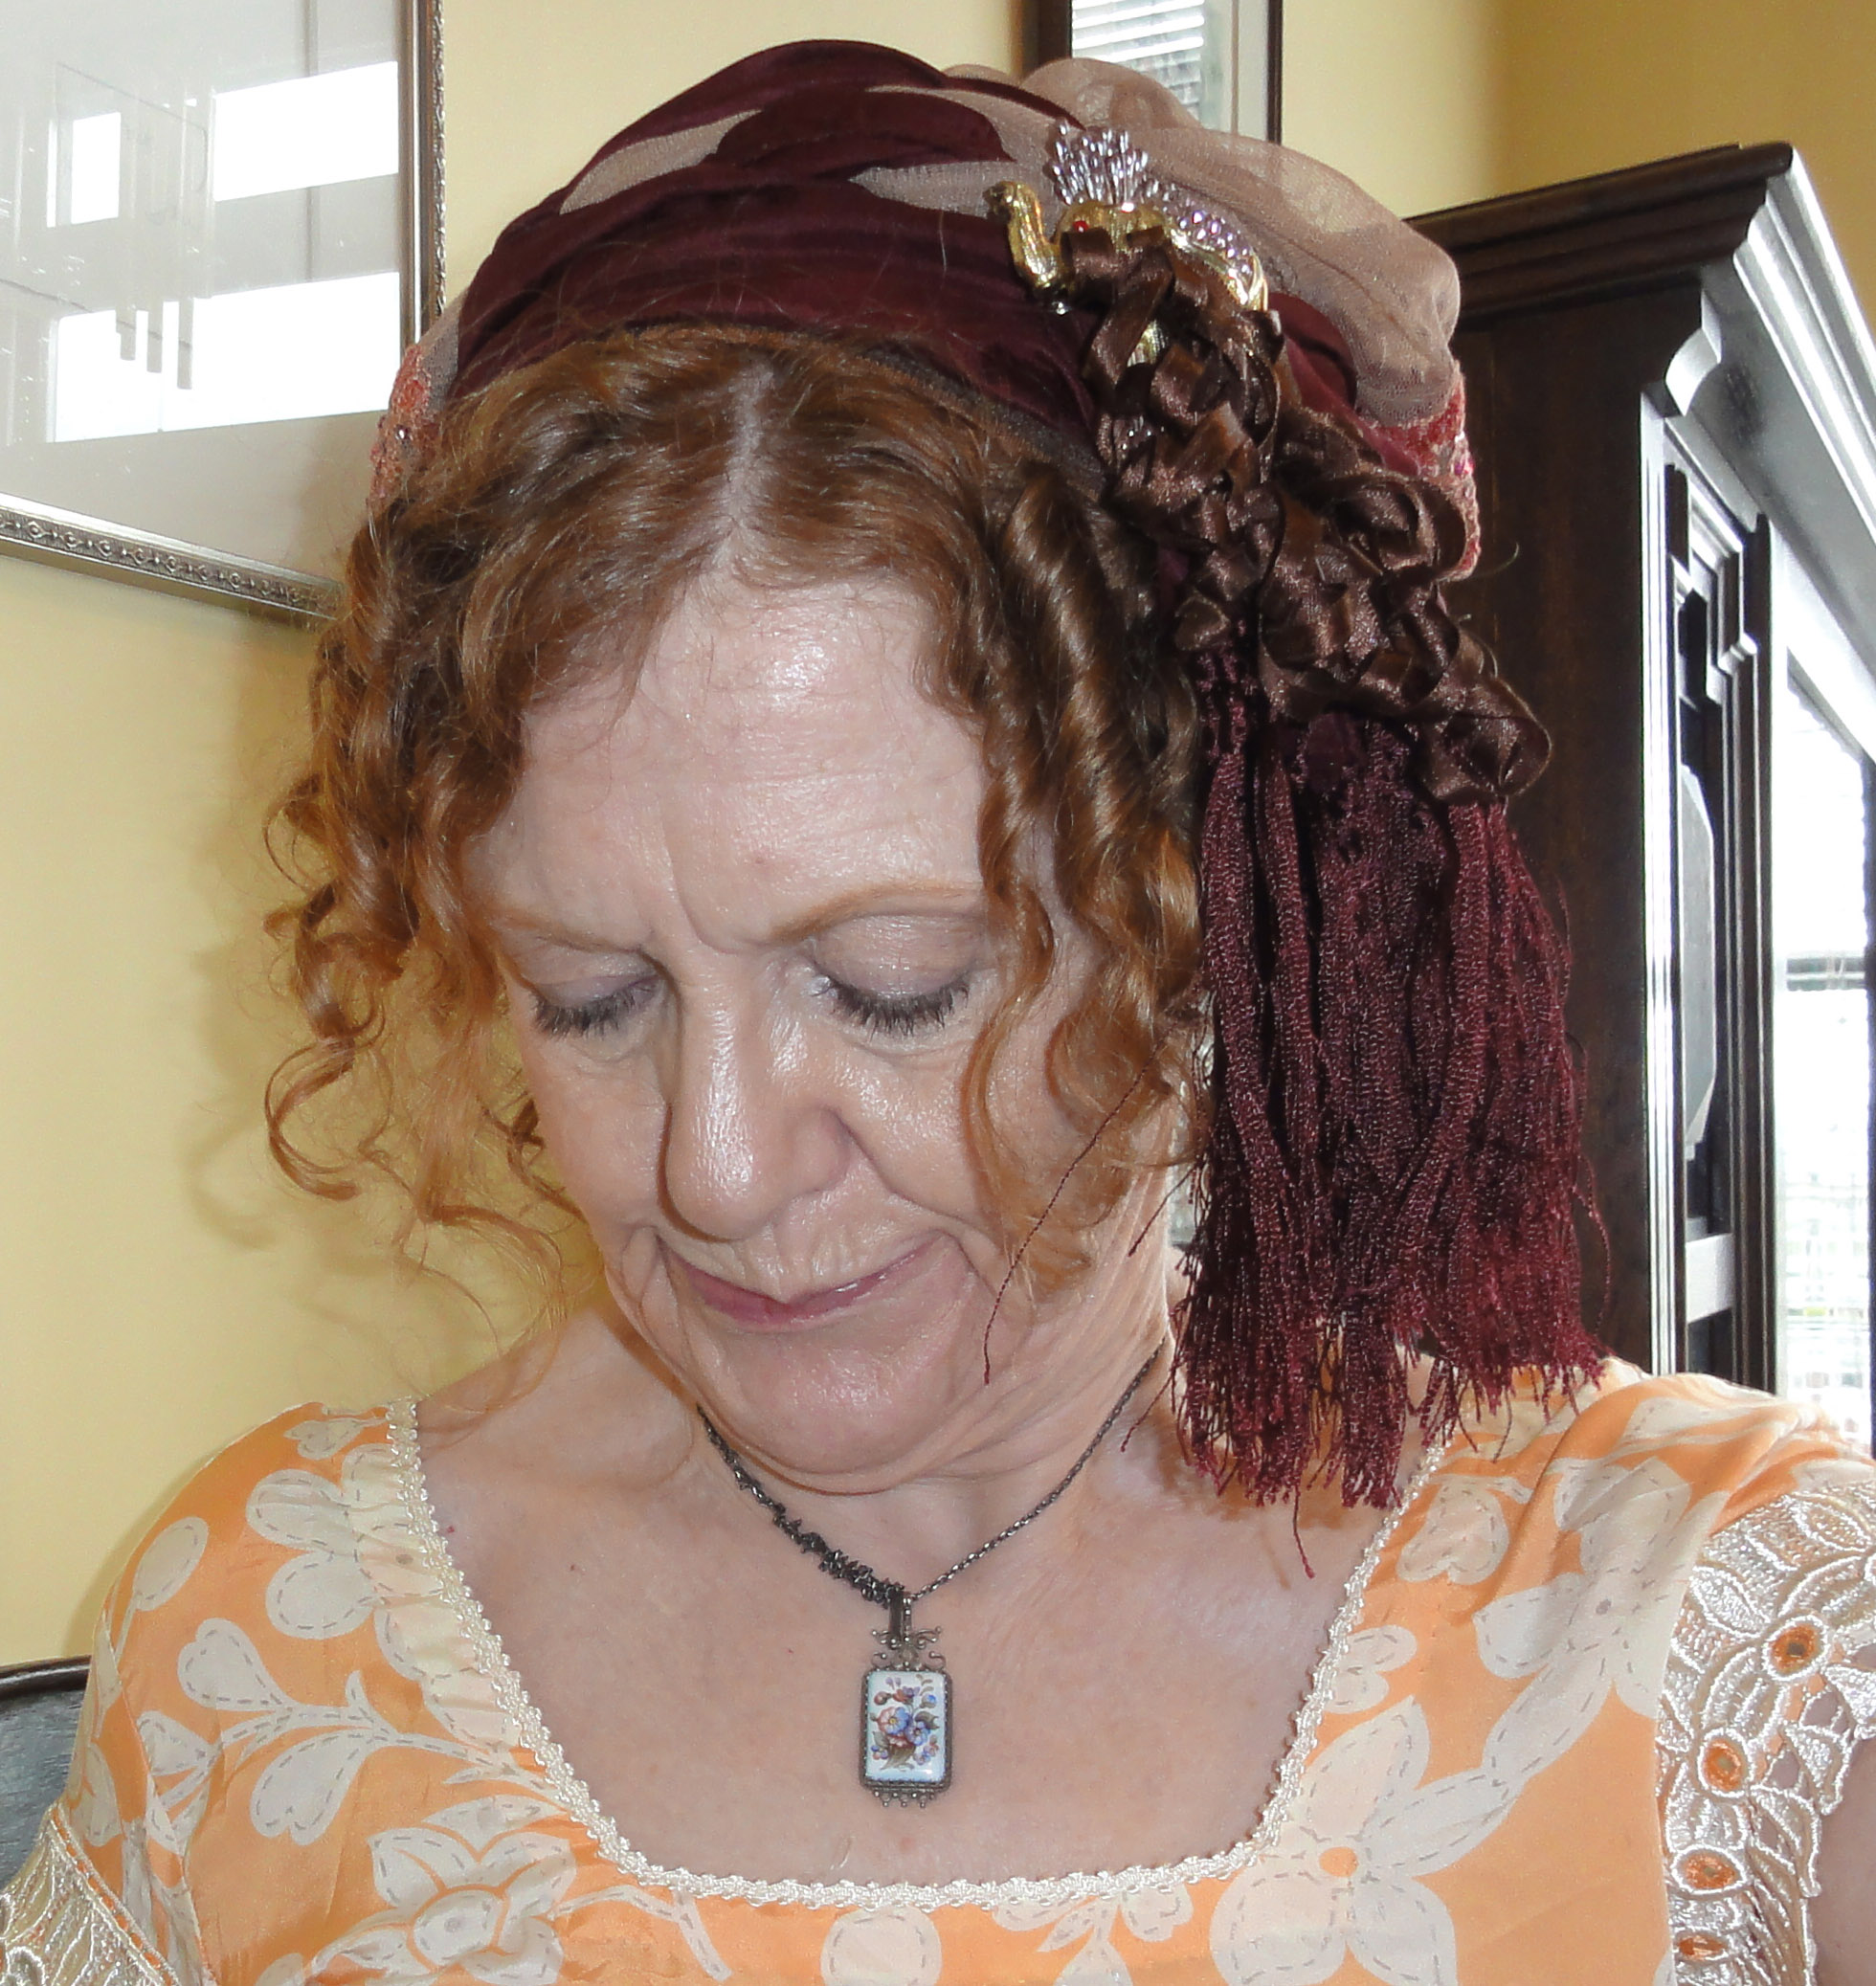
After trying to create the look a couple of times, I realized a hairband was a helpful cheat—the kind that has elastic threads woven through so it’s a bit “sticky” both sides—when set just behind the front curls of my hair to hold the slippery fabric from sliding off my head. Here are the steps I used for this turban (for larger images, click on thumbnails):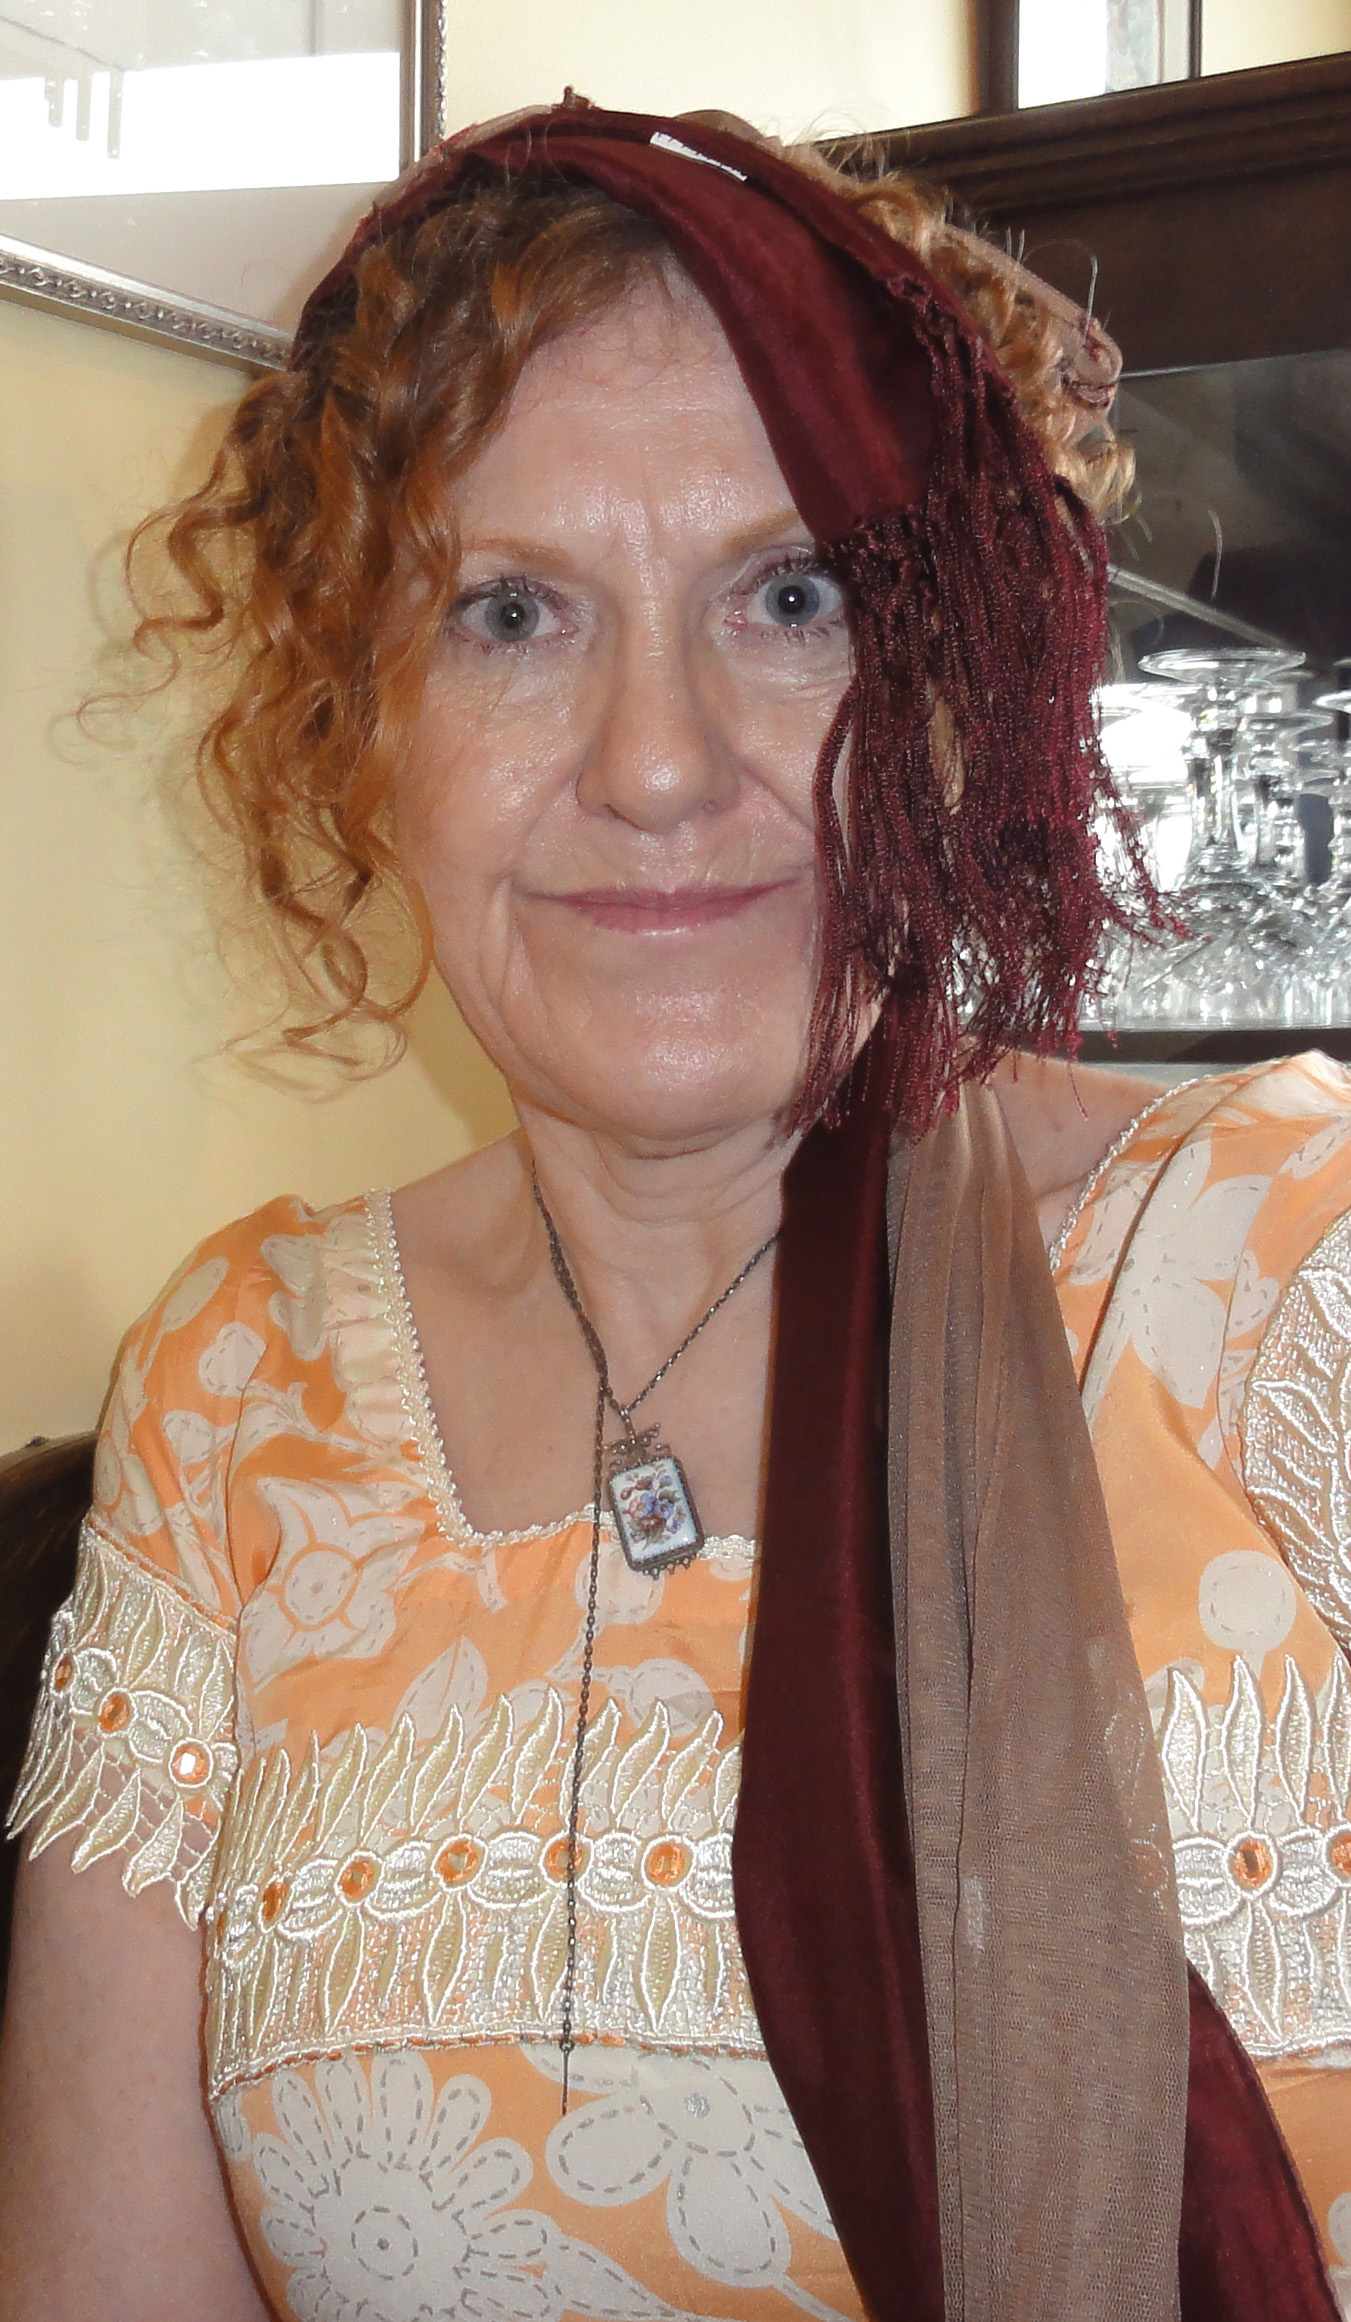
- Anchor the lace end of the lighter-coloured scarf to the hair band using bobby pins; cover the crown of the head.
- Arrange the second scarf so it drapes behind the front curls on one side; tuck bobby pins under it to anchor it to the temple.
- Drape this scarf across top of head, attach with bobby pins hidden underneath.
- Use a safety pin or two to join both scarves at that point.
- Loosely twist scarves and wrap around the head.
- Use bobby pins hidden under the edge to anchor the first turn and hidden safety pins to anchor the second turn.
- Near the end of the wrapping, twist the second scarf back so the second fringed end drapes alongside the first and tuck the other end of the lace scarf around the turban so it looks nice.
- Secure with safety pins hidden within the folds.

Attach your choice of decorative trim: I used some curled ribbon, an elephant from a card holder, and some floral stamens, tied together with fine wire, with a safety pin attached behind to pin the arrangement to the turban.
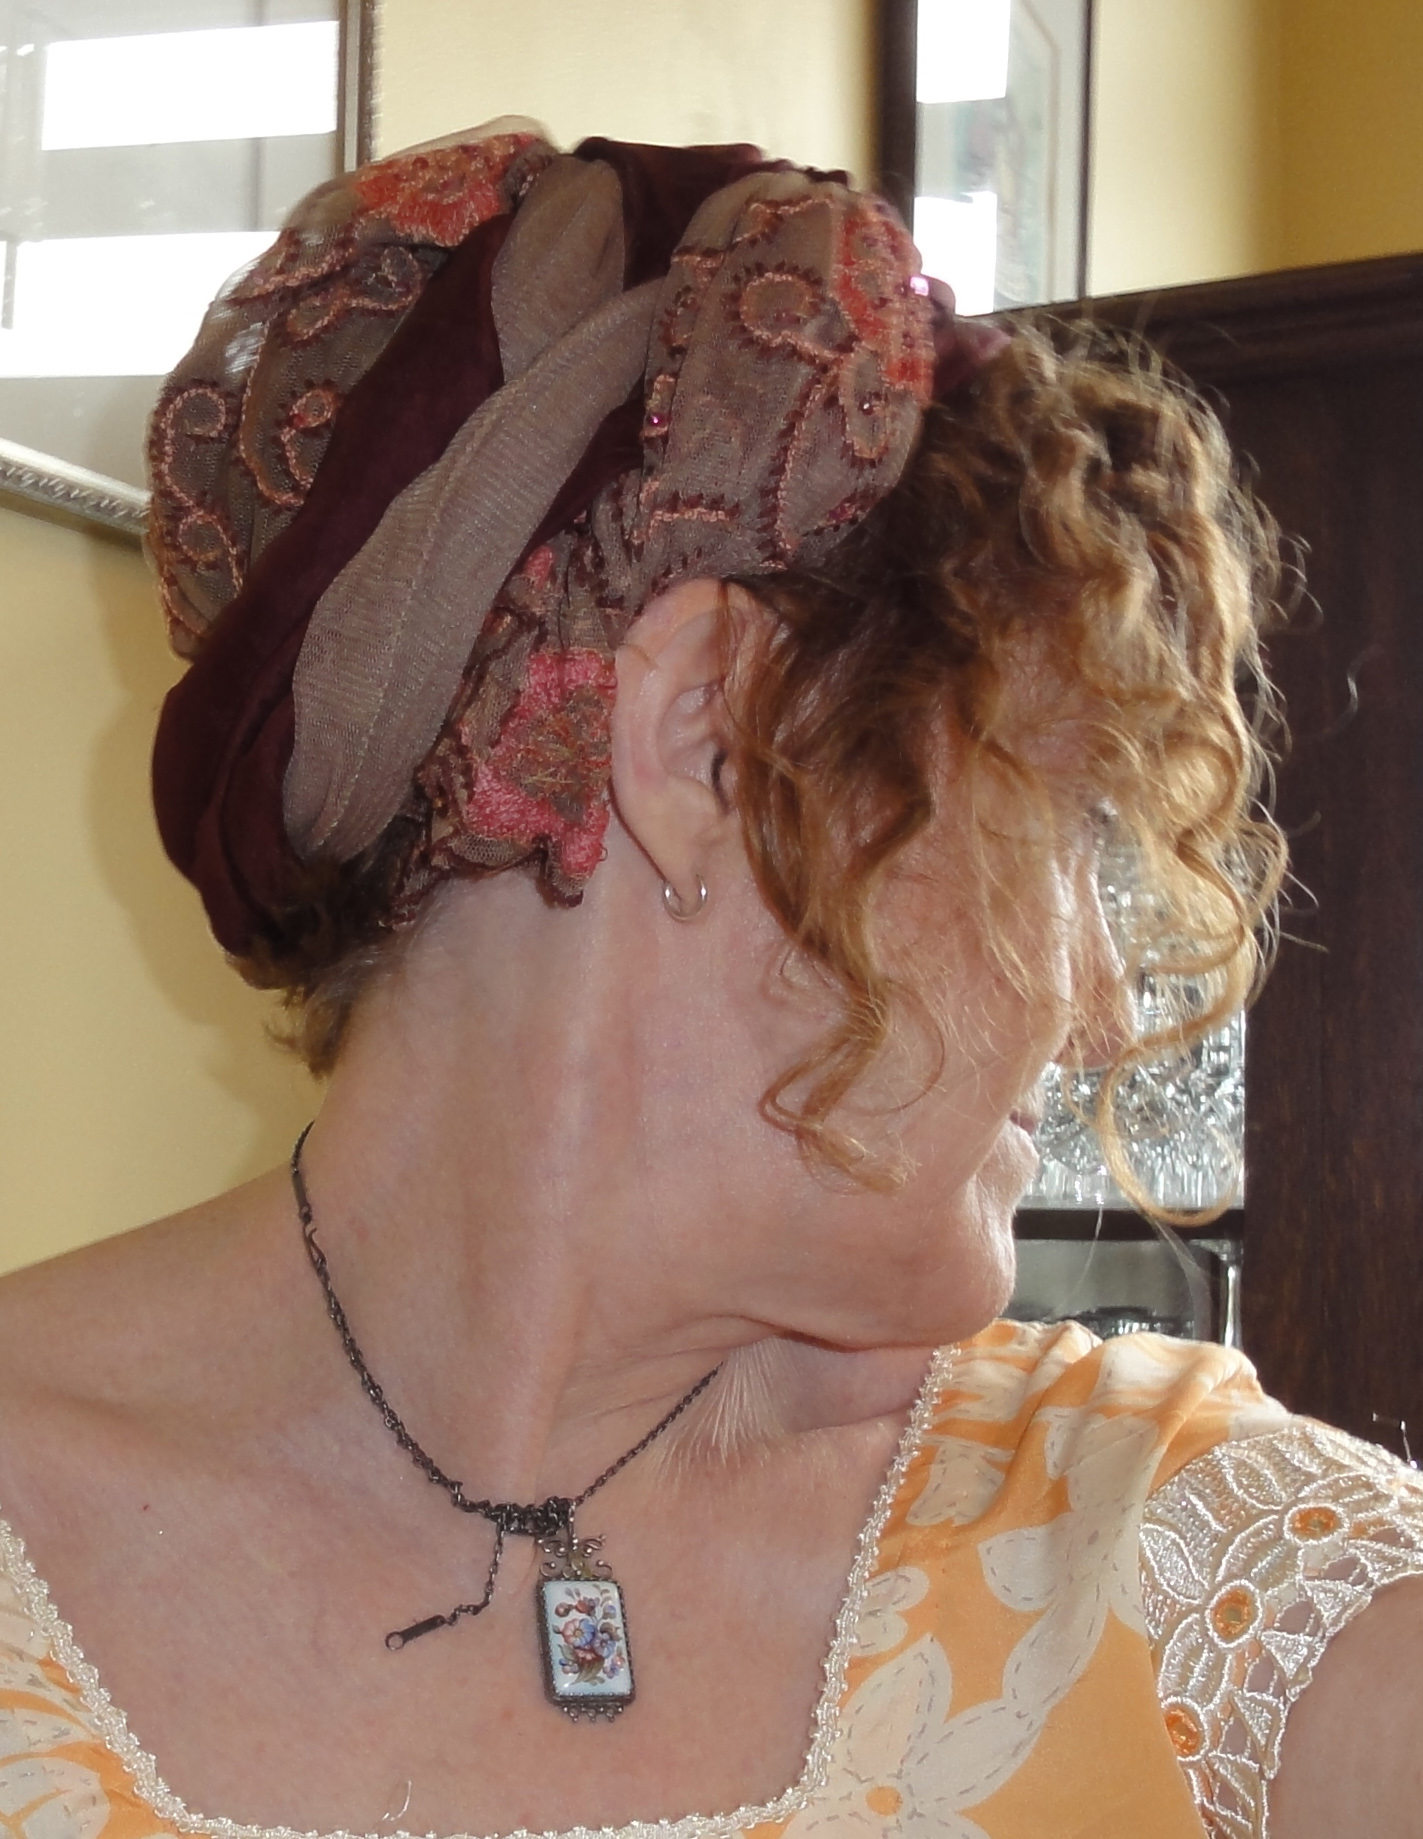
 Upon scrutiny, when I sorted my photos for this blog, I realized this turban is a bit small and under-decorated. I suck at the latter, and you’ll see that when we get to hats, too. But I try, and no excellence is acquired without constant practice! **Squints eyes in suspicion that Martha Stewart may be channeling Lady Catherine de Bourgh!**
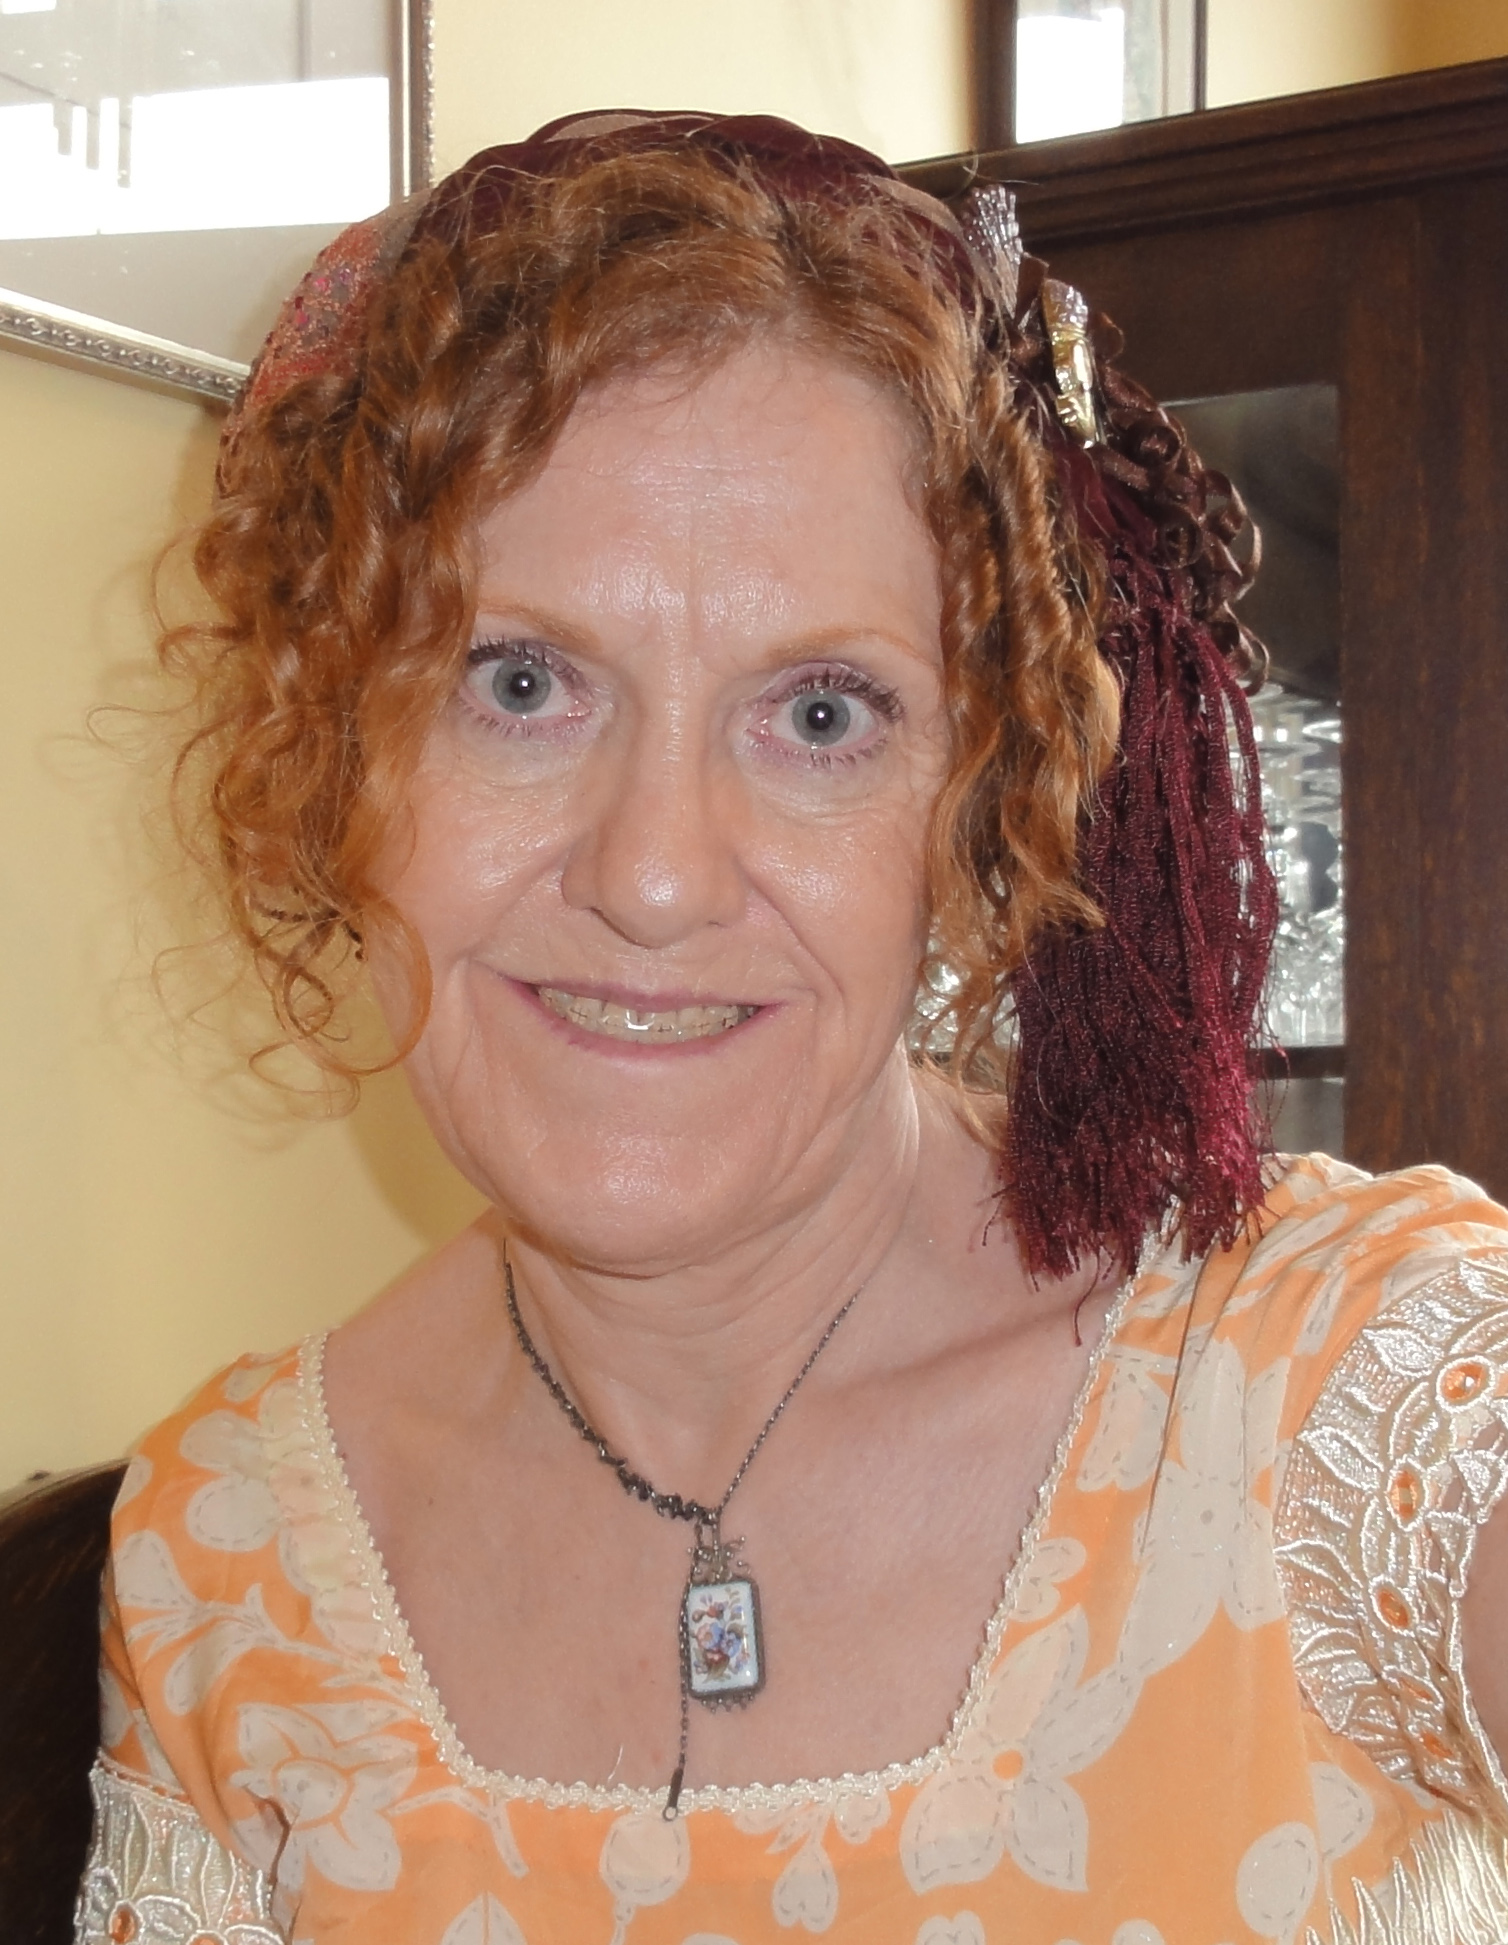 An interesting piece of cording or ribbon can be attached to the scarves when you first join the two, then twisted along with them; ideally it will make a full circle with them. A third scarf, or sturdier/heavier fabric, would make a more noticeable head dress, and lighter coloured, bigger trim would help.
Aside: A couple of weeks ago, I was in Mexico and scored a couple meters of ribbon, parasol fringe, wide lace, braid for my spencer, and an ostrich feather, for $5 total, but misplaced the ostrich feather, or I would have used it to dress this up. I’ll find it and use it later!
~
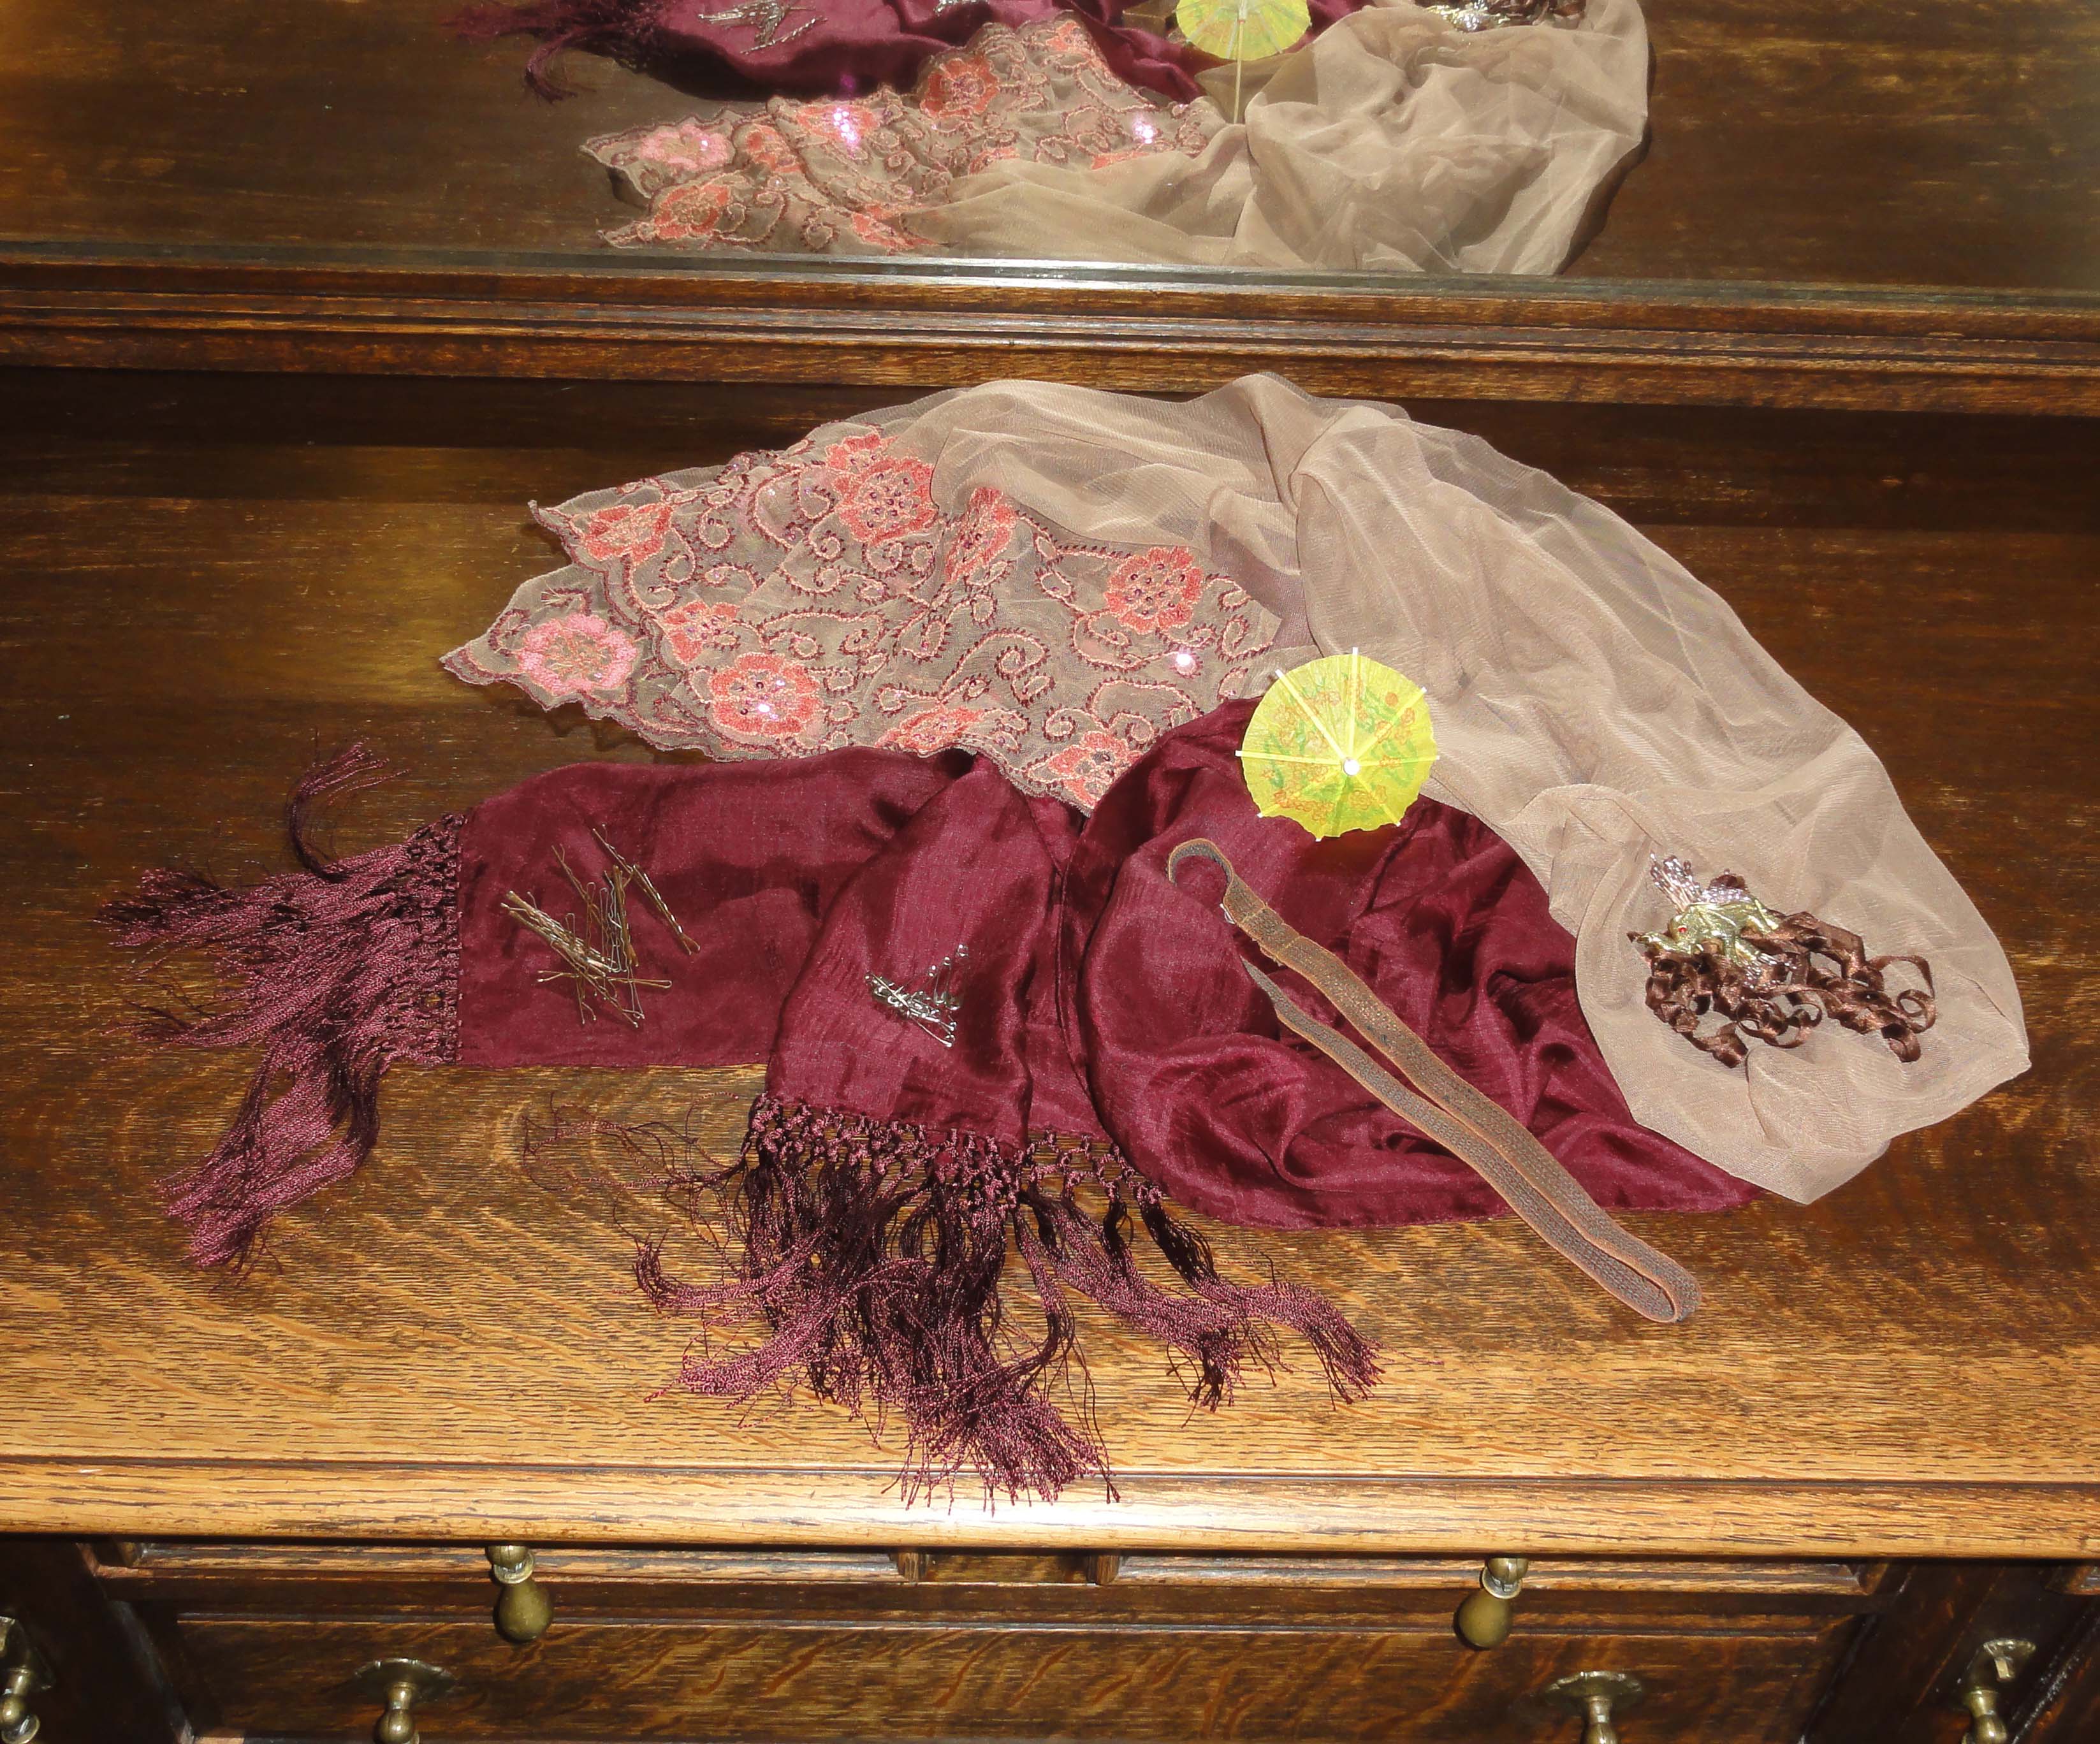
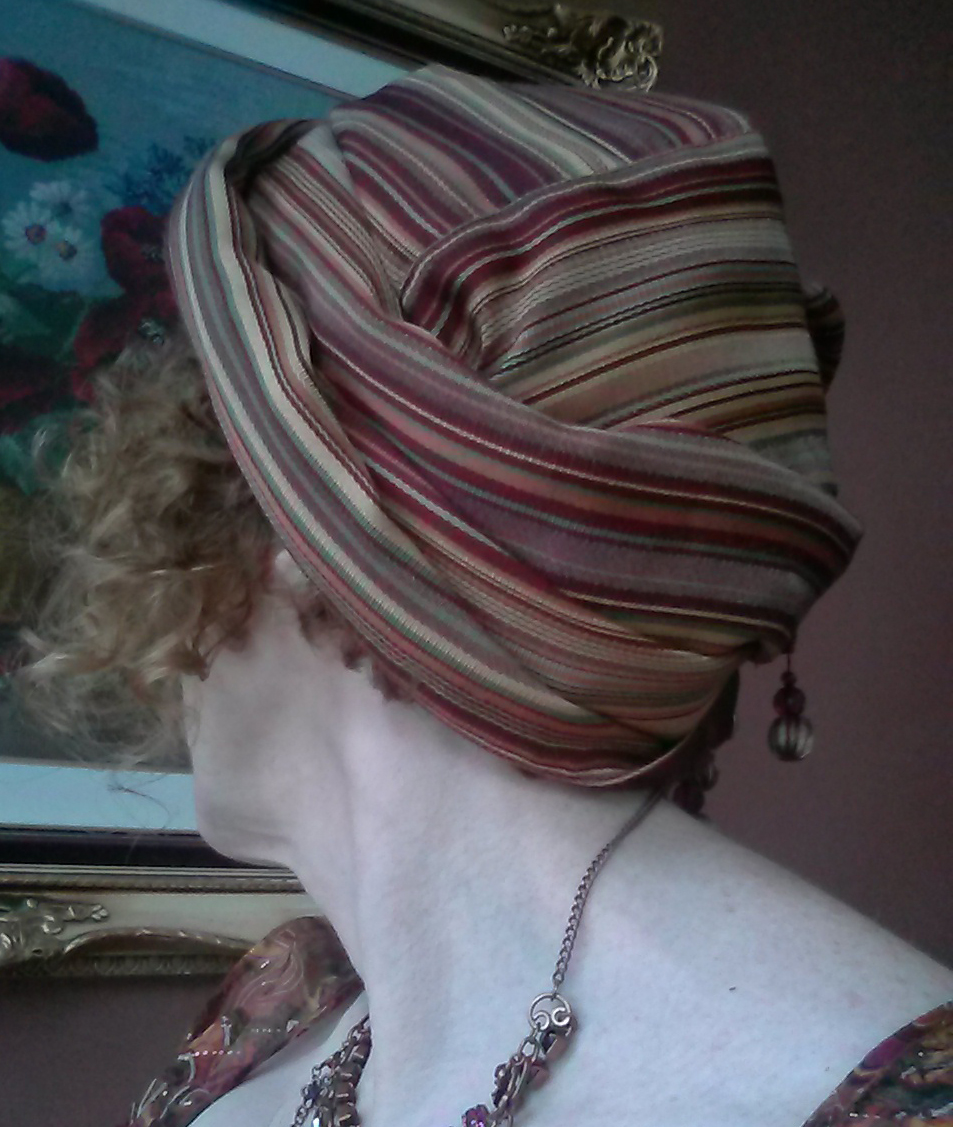
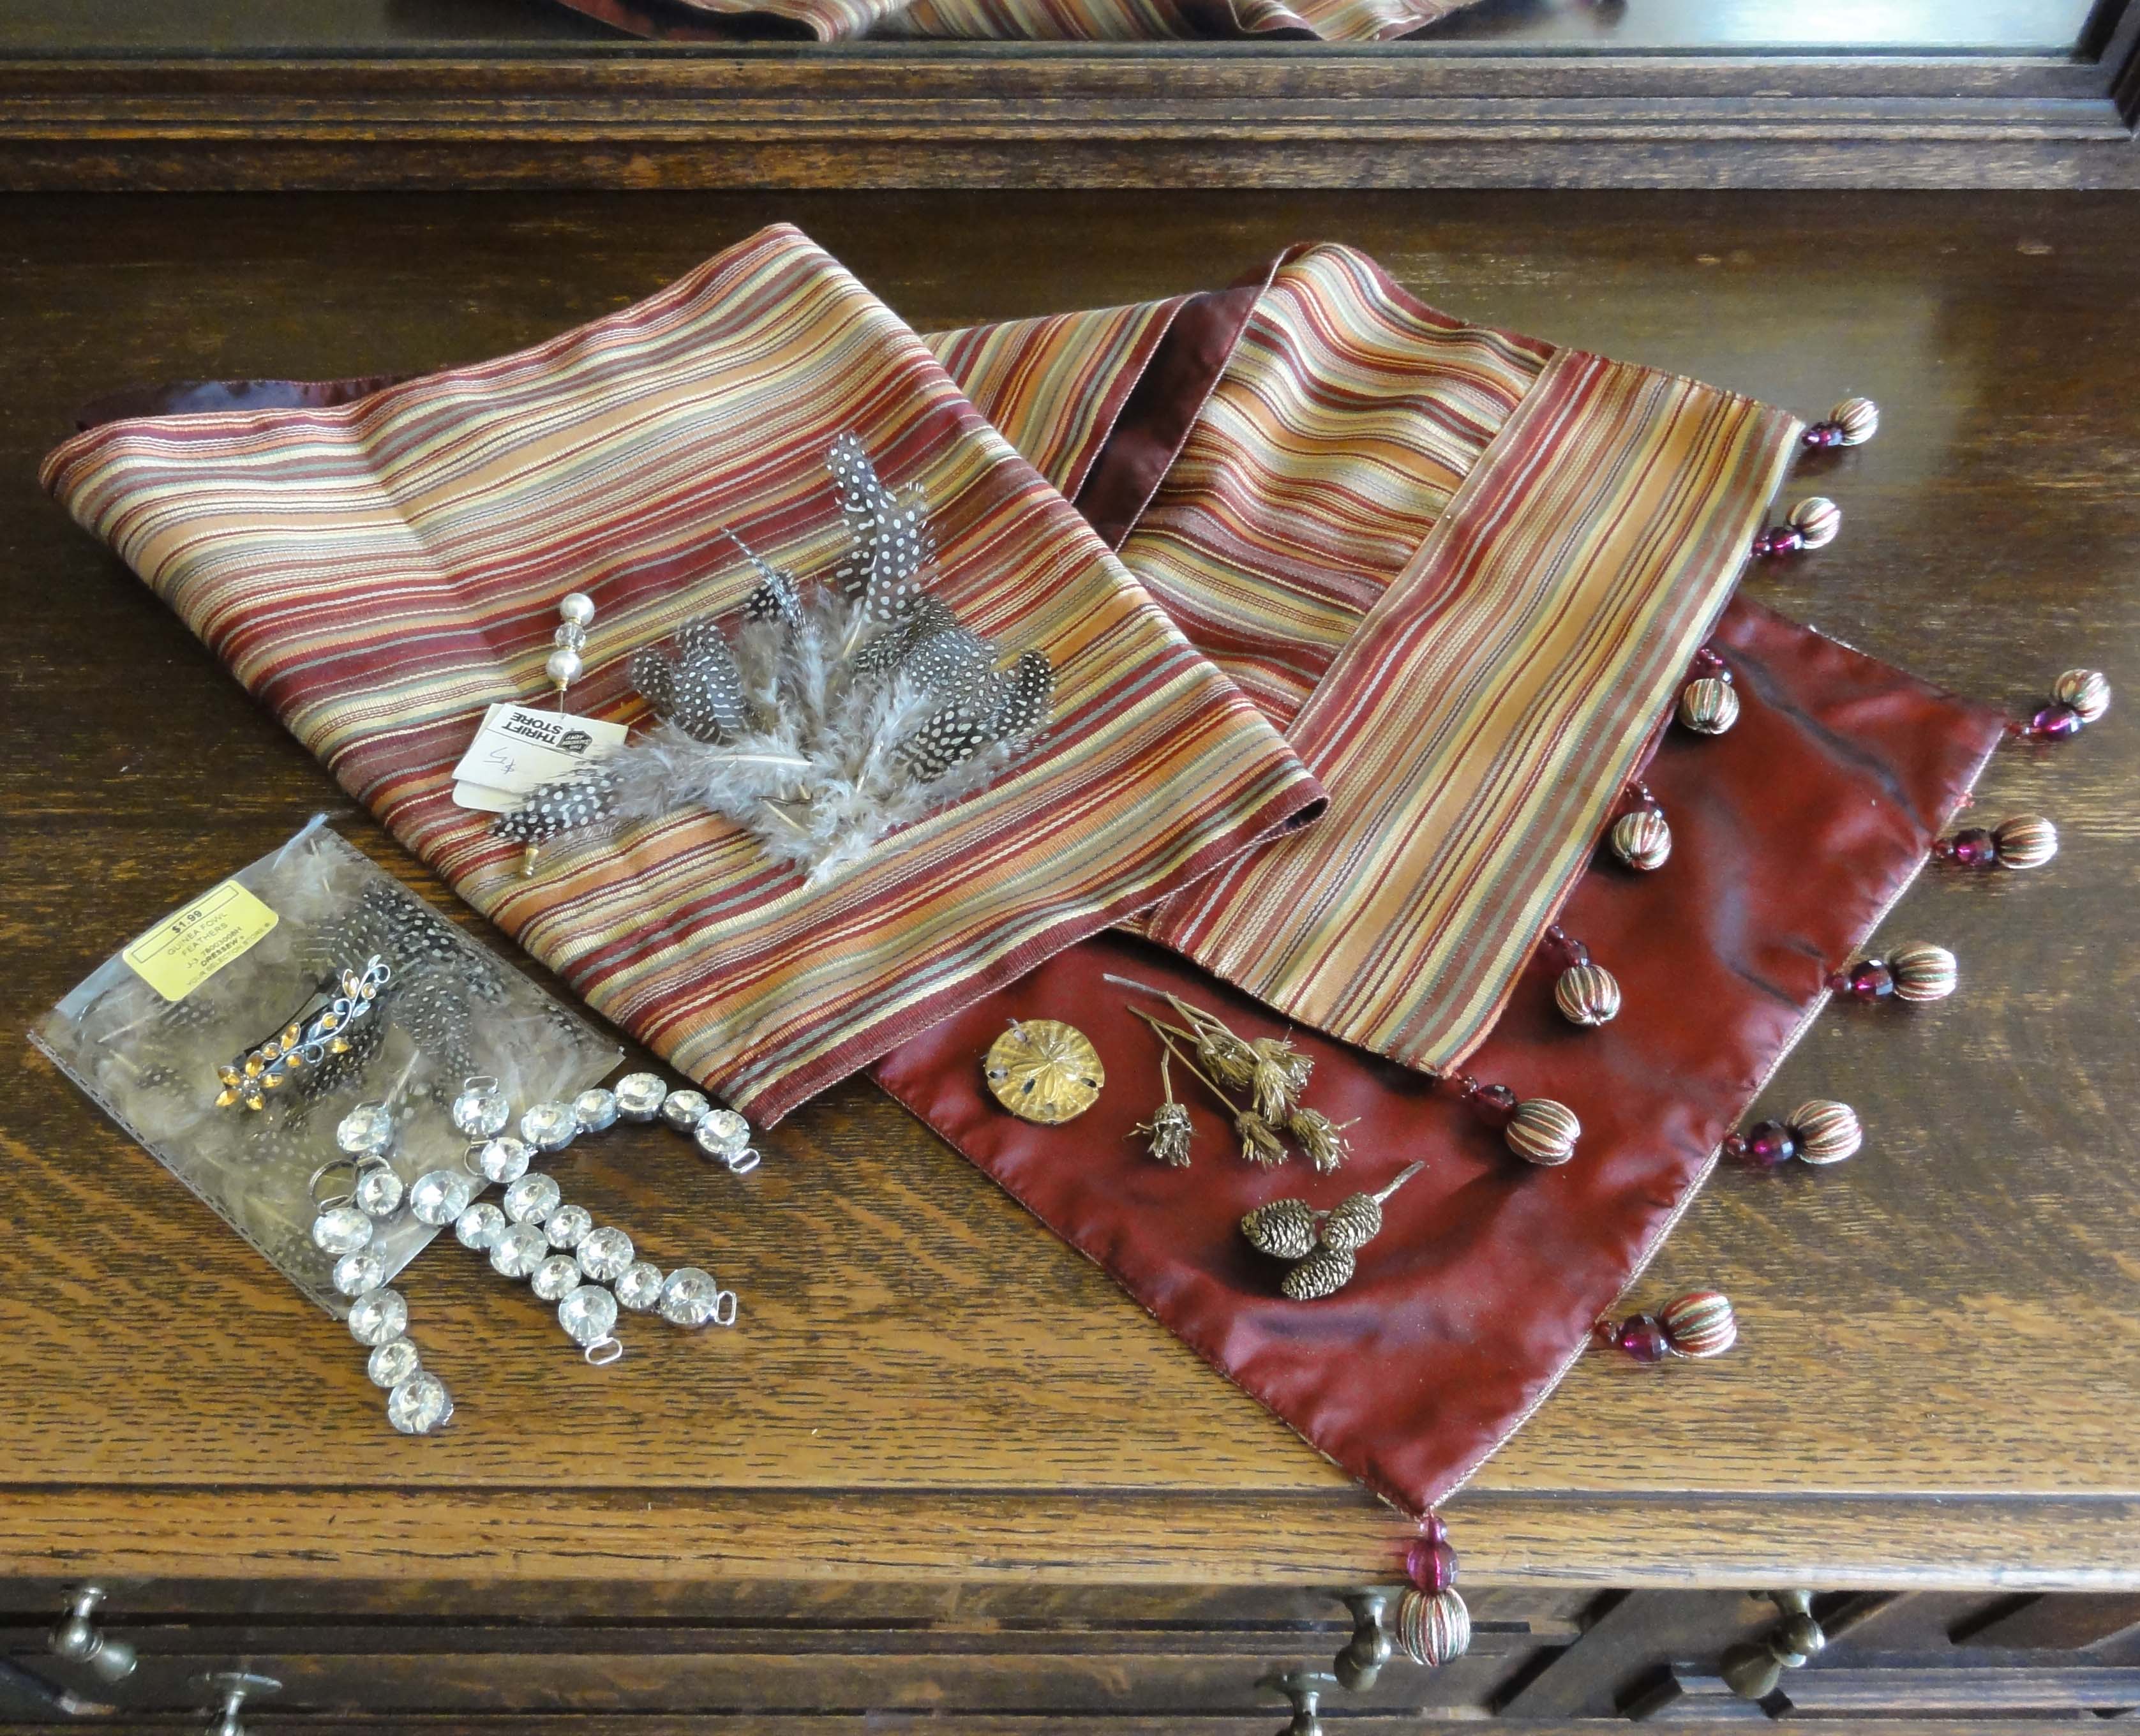 The materials for my other turban can be seen: I scored a Pier One lined silk table runner with cool thread-wrapped ball tassels for $7.99 at Value Village. Someone had tossed it because of a small amount of candle wax, which I removed by placing an absorbent cloth over the wax, then using a hot iron to melt the wax.
I’ve shown extra trim ideas: “jewels” from a pair of broken thongs ($1 at Value Village), an old barrette of mine with a topaz-coloured leaf design, dried and gold painted seeds, and a $5 hat pin from Salvation Army.
Be imaginative when looking for trim. You can attach a safety pin to your decoration with sturdy tape like duct tape.
The heavier fabric was difficult to work with, and I struggled with it for a long time, even though I used a simple wrap method in the video link below. Had I used a lot more pins and the hair band, I think it would have taken less effort. The end product looks nice, though.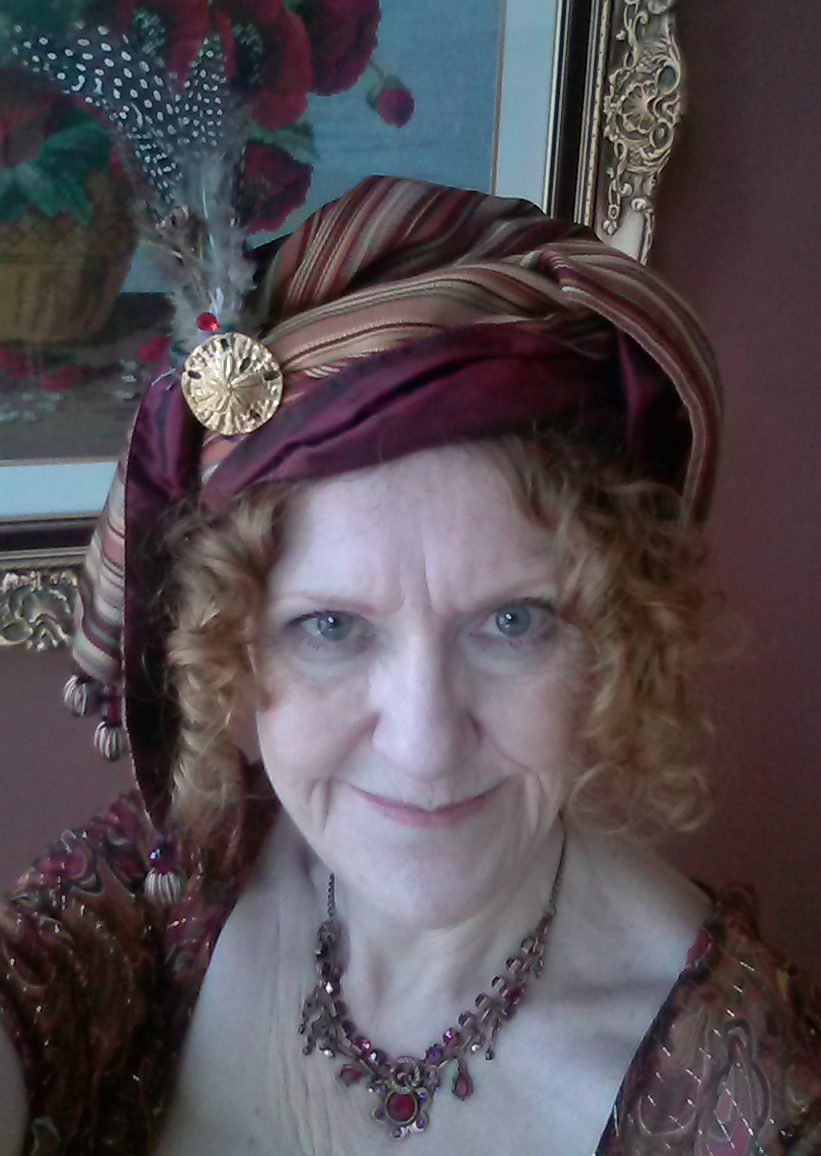
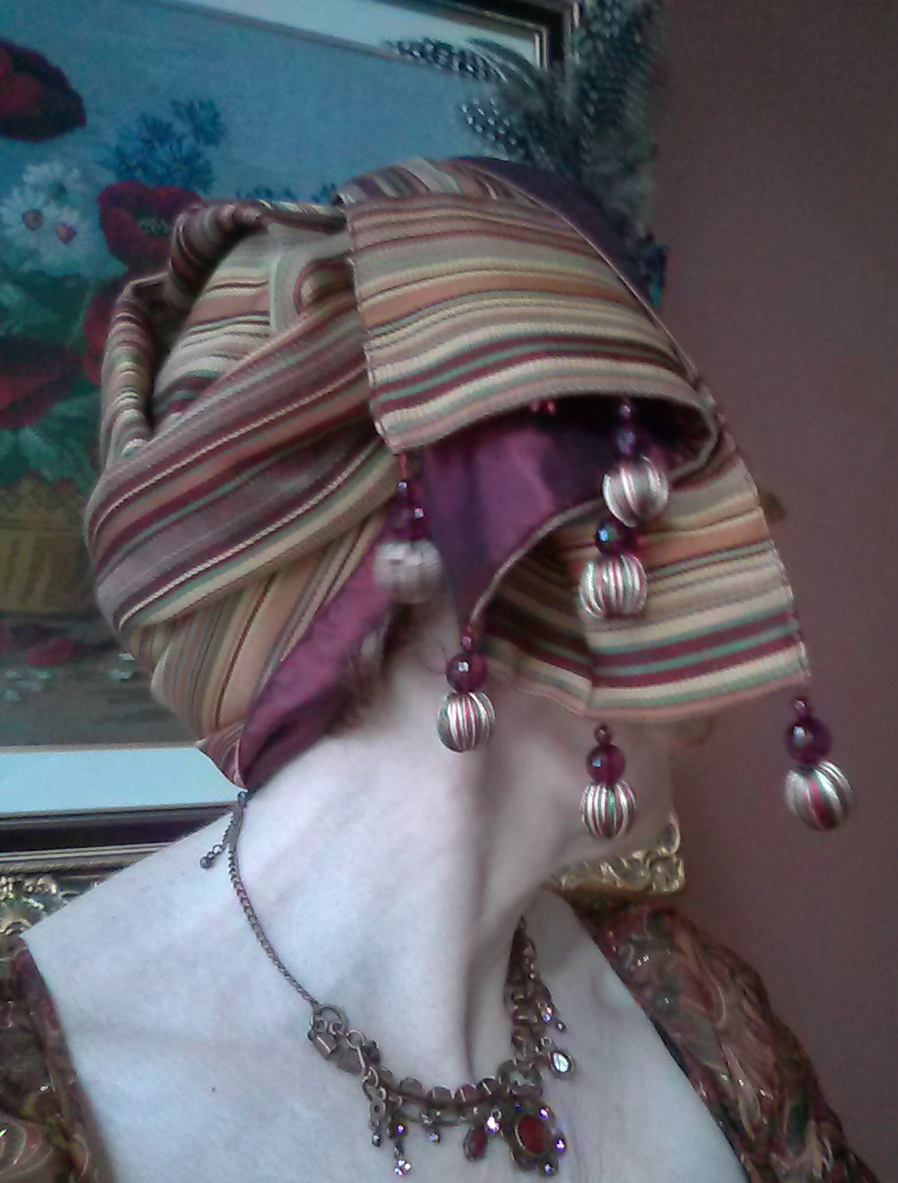
 I used a bobby pin to secure a fan of guinea fowl feathers (never tasted it—apparently it’s quite good!), and a Swarovski crystal stick pin I got as a freebie years ago in Innsbruck when I bought a crystal kitty. I used double-sided tape to add a sand dollar medallion that I think came with a bookmark that fell apart, but I can’t be sure—there were short pieces of ribbon still attached. I’d tossed it in with buttons and beads. I do keep some stuff!
Lady Charlotte Susan Maria Bury (née Campbell) (1812)–Archibald Skirving
These three links show alternative ways to wrap a turban, and some nice trim ideas:
Lynn McMasters shows three ways to make a turban. There used to be a video for this but I can no longer find it.
American Duchess has a video of a simple technique for wrapping a turban. I used a similar technique for the table runner turban. You don’t have to do the end twisting steps if you like your turban simple—just pin them to hold.

1810s Eléonore de Montmorency
Jen Thompson makes her turban like a cap, so you make it and then put it on, rather than twisting it on your head. Sewing is involved in this one.
Portret van Catharina Valentina van der Kun (1811-1813)–Gijsbertus Johannus van den Berg
I have a brimless soft velvet hat that I used on a visor for the hat mock-up shown in a previous post with my morning gown; it looks a lot like the first part of Jen’s tutorial. A fringed silk scarf wound around it, and perhaps my wayward ostrich feather, and it would be just the thing!
~
A follow-up to my last post: The rat on the door knob in the photo of scarves on the door is a clamp-on hairpiece I purchased for $9.99 at Value Village, then shampooed and conditioned. It’s got a nice wave and it’s a good match to my hair—and my hairdresser could make it perfect for an event. At my age, “redhead” is either memories of my youth or an hour at her salon!
I had a little time yesterday, so I tied it into a ponytail (which looks like a bun over the hair clamp) and then pinned the waves into curls, letting them curve the way they wanted to, and sprayed everything liberally. Then I put most of my own bobbed hair into a ponytail, and clamped the thing over it. The bun looked odd, so I tied a ribbon around the base of it. This weekend I had my 30th wedding anniversary, so I thought I’d show you the roses along with my ‘do.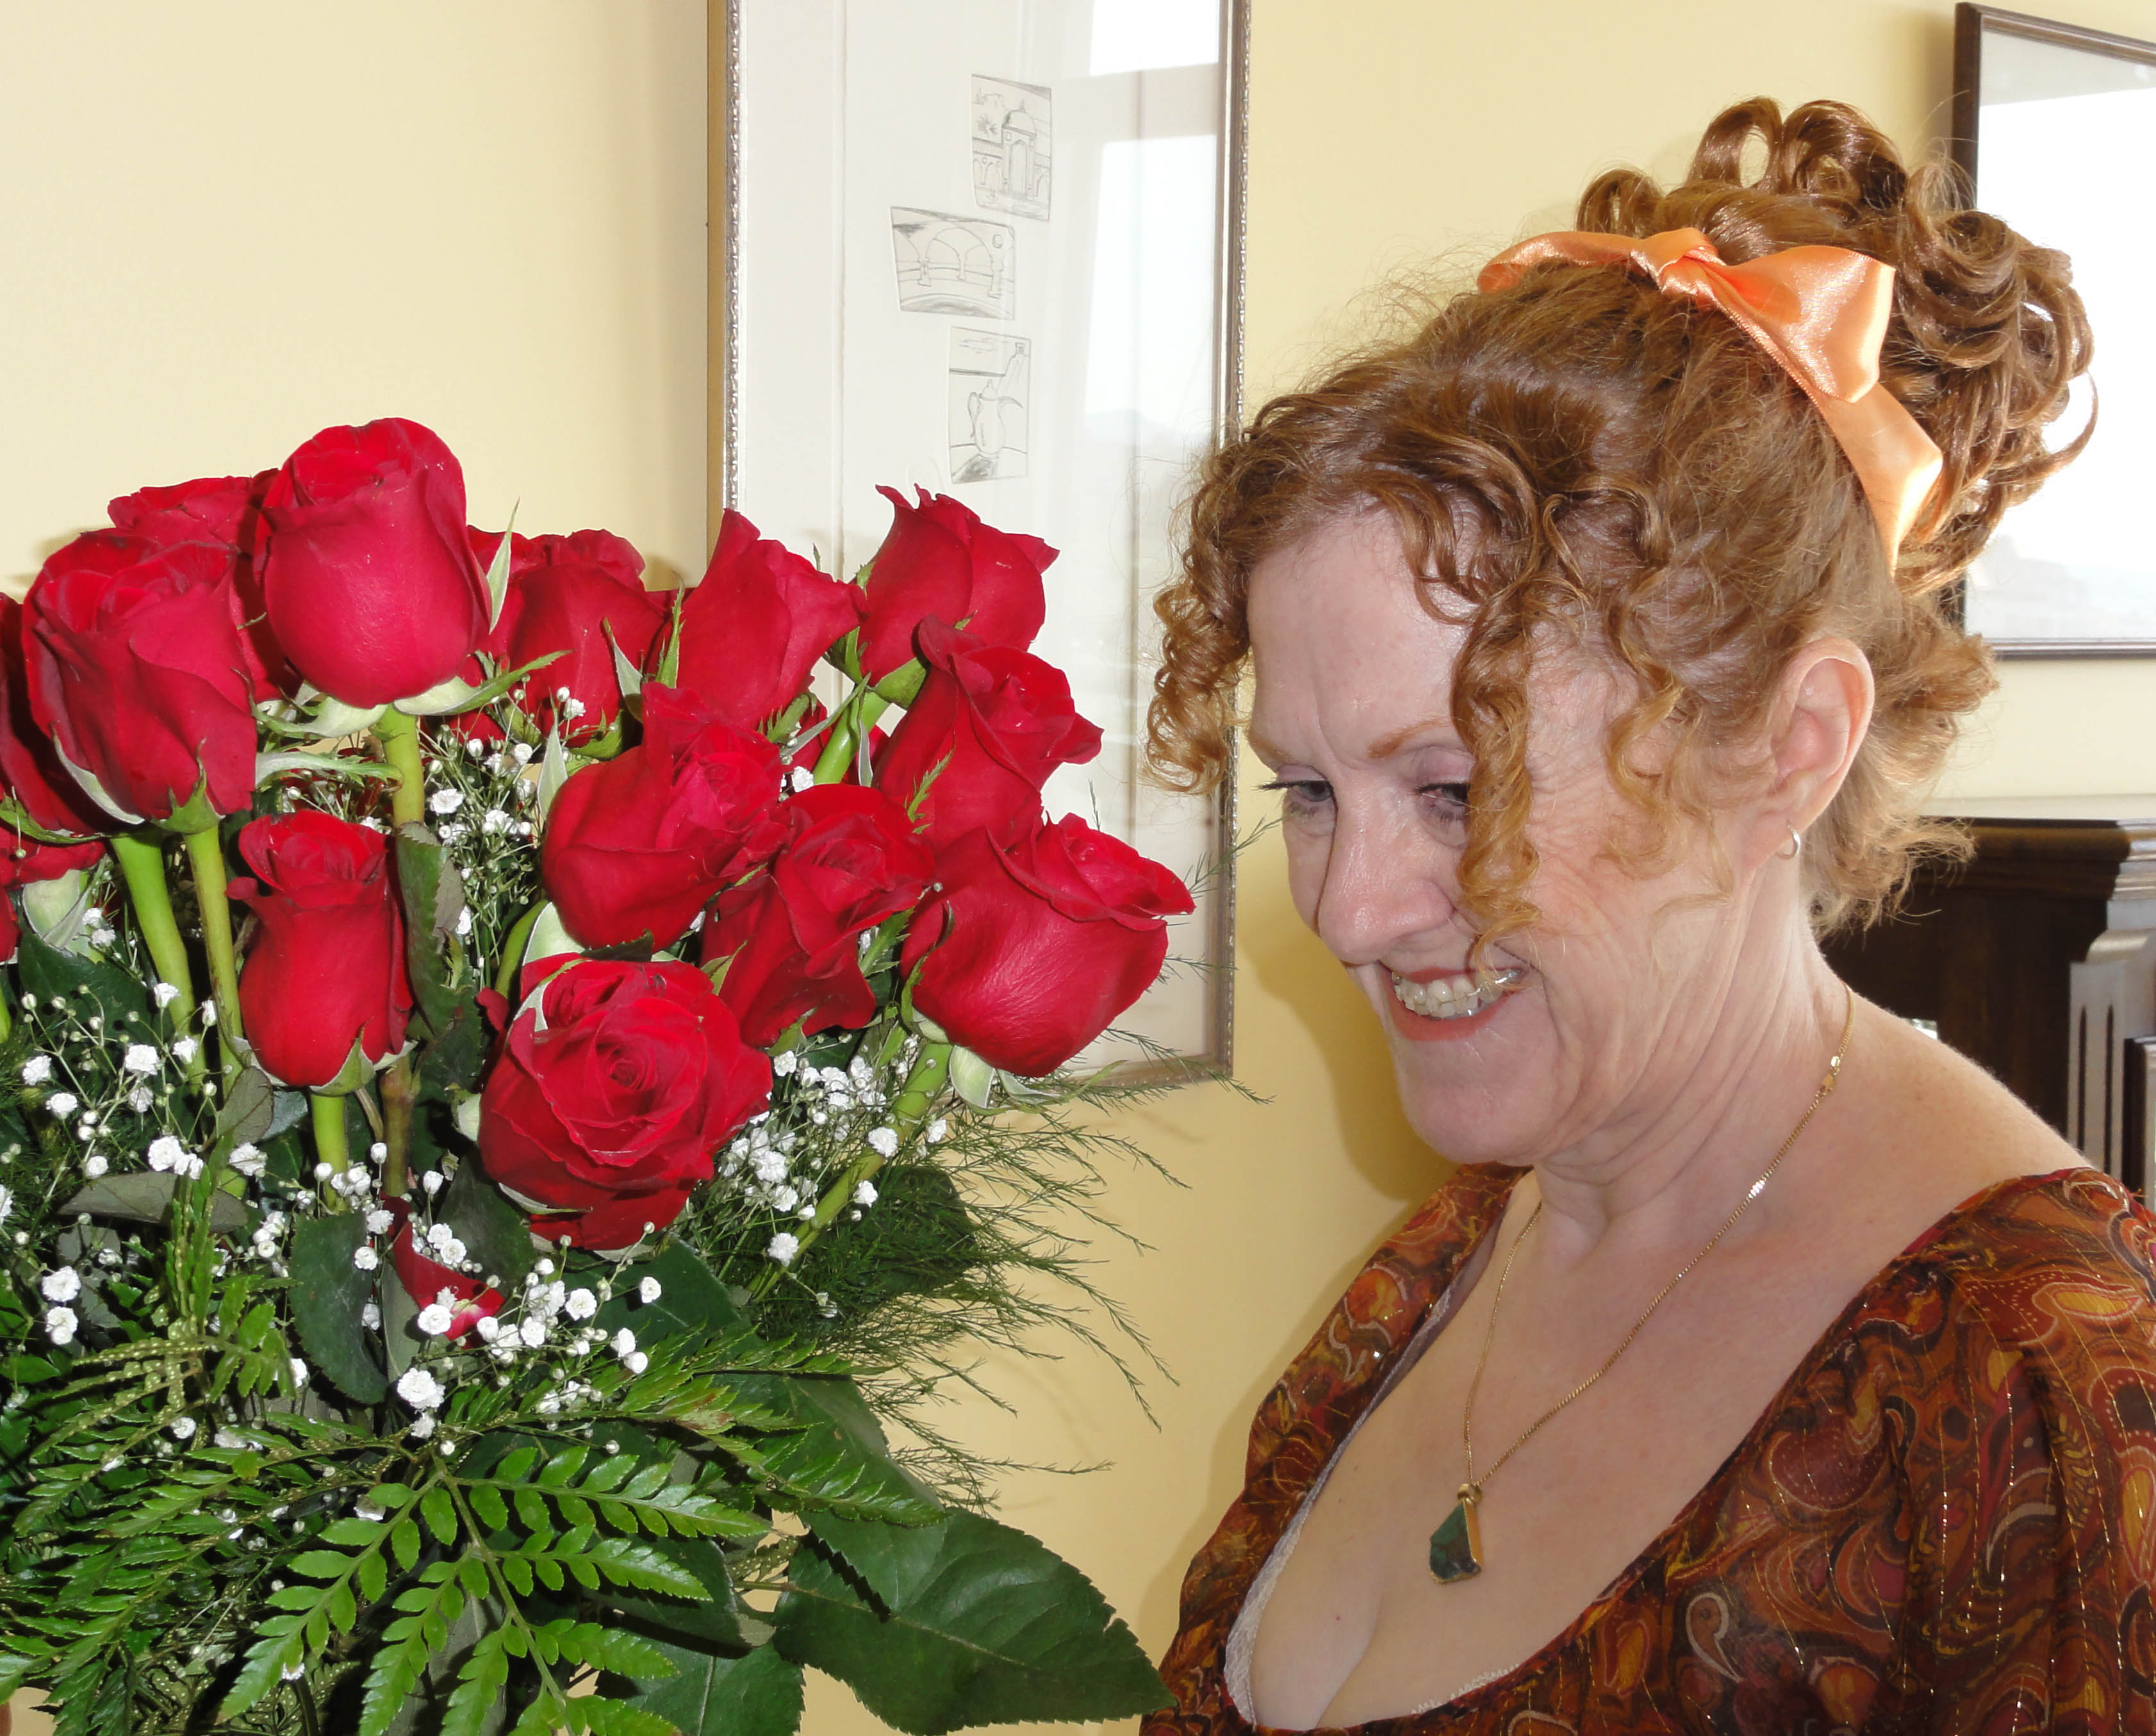
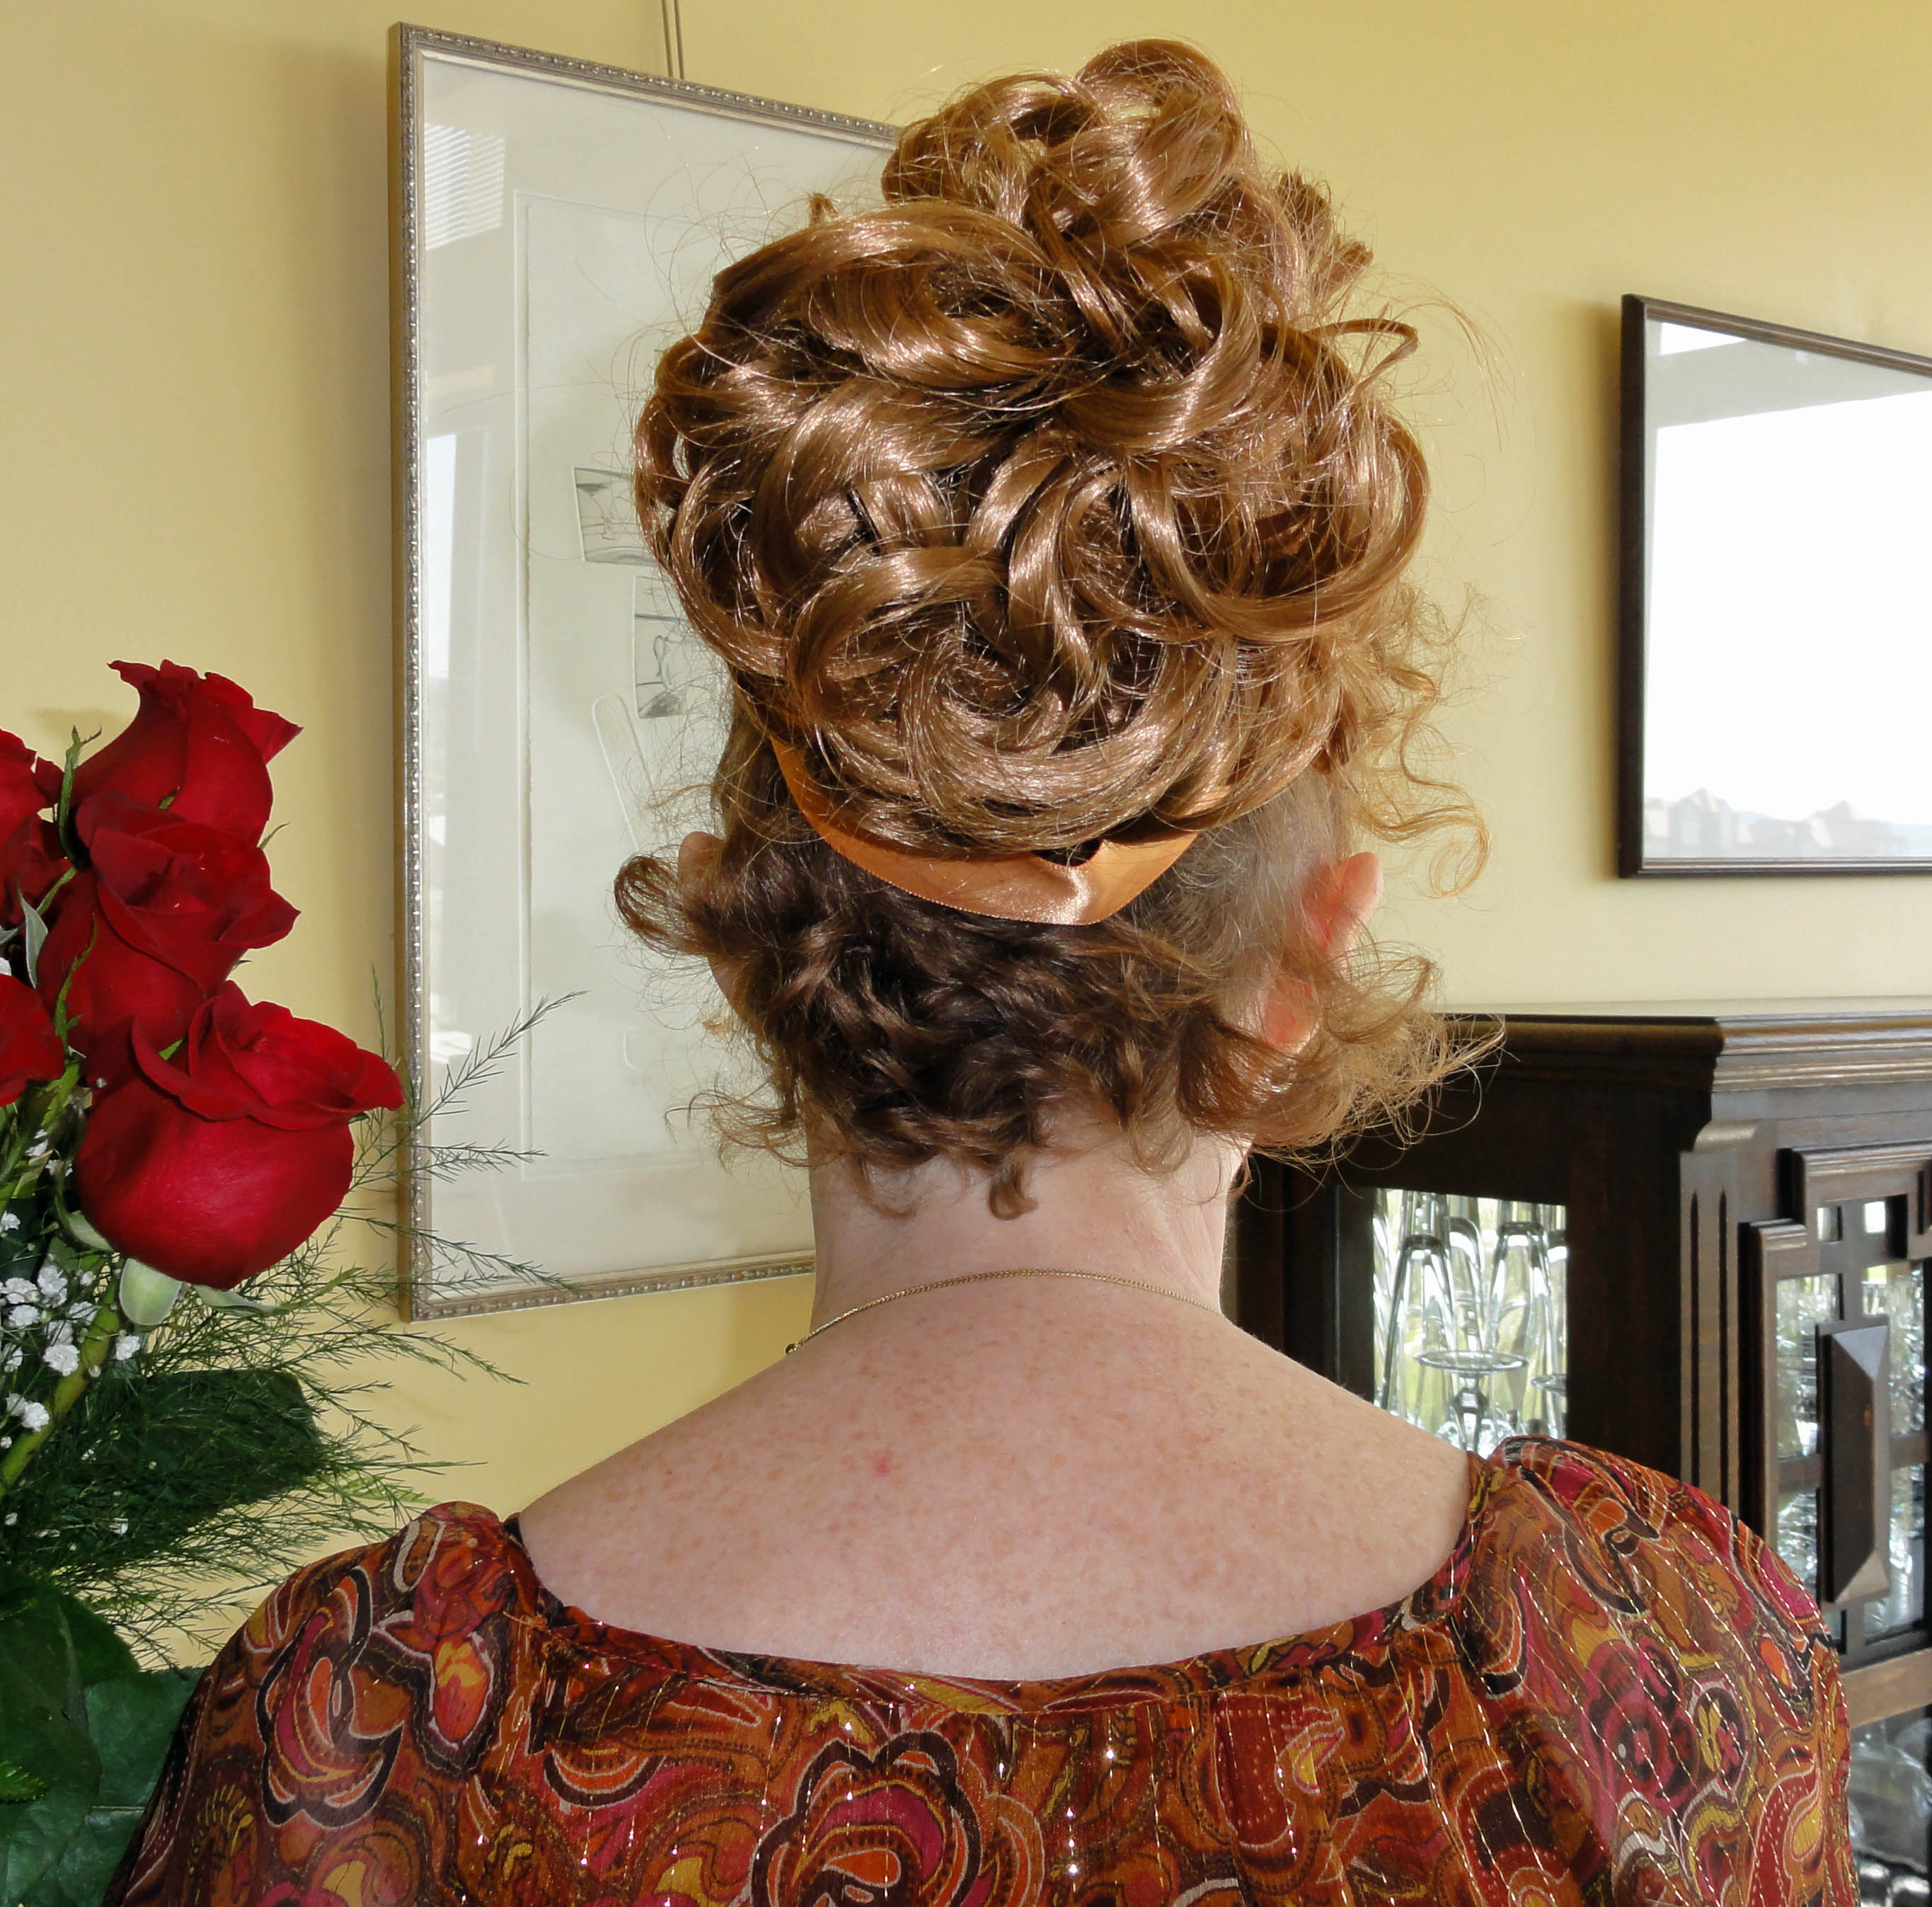 Had I more time, I’d have fussed with the loose ends of hair at my nape to make pin curls. One could tie a twisted pair of scarves around the hairline and in behind the curls—essentially, the turban I made already, but without covering the back of the head.
This hair-do is huge compared to my intention. If I decide to wear it for real, I’ll have to figure out how to do it so the curls wrap around the base rather than look like a pouf on top of a bun.  That’s a look reserved for pâte à choux and crème fouettée. Yeah, that emoticon! Hey—it looks a bit like… like… a turban!


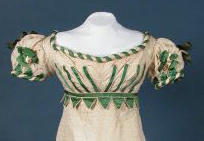
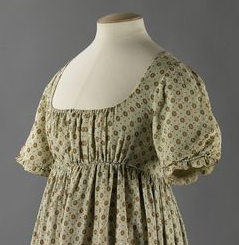
Here are some more turbans, and some sleeve ideas for that dress!
~
NEXT POST: For the married woman or spinster, another sneaky way to hide your hair is to wear a CAP! When you go outdoors, you plop your hat or bonnet over it. It’s not a dressy enough look for a ball, where the turban is a better choice, but for day-wear, it rocks! PLUS a sneak peak at HATS! Be there or be square.
~
1. Richmond, Steven (2014): The Voice of England in the East: Stratford Canning and Diplomacy with the Ottoman Empire. London: 2014 I.B. Tauris and Co. Ltd.
~
NEWS FLASH!! Edited May 4 9:27pm PDT to add Livia (Guiggioli) Firth’s Plastic Bottle gown!
The Thrift Shop Regency Costume Experiment started as a project to obtain a more affordable, nicer style of gown without designing it and sewing it myself (although the design part is coming into it in a big way, and my stitch ripper is getting a workout!). I’ve always been a sustainability advocate, so it was natural to re-use beautiful “found” materials. As I delved farther into this project and started to get feedback, it became evident that the repurposing/upcycling aspect was huge to others. I started to pay attention to it, rather than just assume it was an ordinary thing to do.
I’d love to snag Livia’s Antonio Berardi gown after the Met Gala, to remake. (We love the Met historical costumes on this blog!). She’s so tiny, even with the beautiful trailing wrap, I doubt there’s enough fabric there for my back gathers! A sketch of the back detail of her gown is shown with this article and in this photo. She sure looks like she’s having fun!
~
May 26, 2016 update on tying the turban:
At the Louisville JASNA AGM, a vendor showed Author Linda Beutler and I an easier way of tying a turban than the method above or in some videos. Women often start from the back, like we tie bath towels on wet hair. The vendor said a Canadian showed her that if you first position the middle of the turban scarf across the front of your hair, just behind the curls, it’s easier.
You cross the ends at the nape of your neck and loop them back over themselves. Pull the ends forward and twist the fabric as desired. Bring the ends up over the first bit, cross them and loop back over themselves again. Tuck or safety pin ends to hold in place, or tie in an attractive knot. It’s nice to leave one or the other end dangling, especially if it has fringe or an attractive design, such as that of a Kashmir scarf. Fold and tuck in the parts you don’t want loose and pin where needed, hiding the pin in the fabric folds. Secure to hair with bobby pins as needed, though I didn’t need near as many with this process.
My turban looked good on the first attempt, whereas the other way, I had many lumpy failures. For the Grand Ball at JASNA, I started with the fabric (the same silk table scarf as above) slightly off-centre (one end longer than the other) so the final tie of the fabric was off to one side of my head. There’s lots of inspiration for how to tie them in Madame Vigée Le Brun’s paintings.
The finer scarves in the first attempt at a turban (above) are nice for those wearing their hair in “The Titus” or hiding the pinned-on portion of a hairpiece.