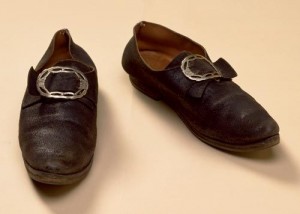
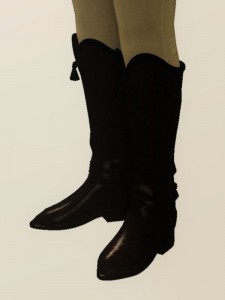
Regency shoes with buckle.
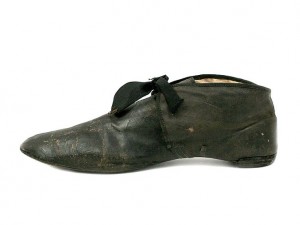
1810 Rare Gentleman’s Leather Shoes with Silk Ribbon Ties.
Footwear assisted the decision of whether Mr. Suze would wear trousers or breeches. The first aim was for comfort, and we thought we’d put buckles on a pair of his black work loafers and be done with it. But clarity on the appearance of a Regency man’s shoe pointed out that the soles of his shoes were too thick. You see, my husband and I both have wide feet and wear orthotics. His feet are sensitive, and he owns shoes he can’t wear for long without pain.
Thrift and vintage stores were checked for several months for plain black shoes or tall boots, both with minimal embellishment, minimal soles, a wider fit, and in my husband’s size. No luck. I thought if I could find some of those folding leather bedroom slippers, it would be better than the work shoes, but I only found new brown ones, at $60.
I checked the Internet. I avoided this for my clothing for Thrift Shop Regency Costume Experiment because shipping charges can double the cost of an item, but my husband’s clothing has been a steal of a deal, even with shipping.
Real riding boots would cost at least $200. Jazz shoes are supposed to be a good alternative, but they didn’t look too much like Regency shoes. At $120, I gave them a miss, too.
I knew Mr. Suze would be more comfortable in boots than in stockings and slippers, and I concentrated on them more than shoes in my search, but the one I found first would dictate the rest of the costume.
The Boots
On a local “For Sale by Owner” site, I came across a pair of new black riding boots that were men’s size 9.5, and the owner claimed they fit wide. The ad stated the seller had originally asked $150 and was now asking $120. I emailed the link to my husband, but nothing happened, so a month or so later, I checked to see if they were still for sale. The price had been further reduced to $80, so I bugged Mr. Suze to go see them.
He returned with a pair of brand new boots, slightly too large, for $65—he’s great at dealing sellers down! The seller’s daughter was very tall, and he’d bought them for her, but she balked at men’s boots, and never wore them. Thick socks and orthotics will help the fit for my husband, and he won’t spend a great deal of time walking in them in Louisville.
The shaft of the boot was too tall, though, and rubbed the back of his thighs badly. We looked to see if we could turn the tops over to show the brown lining, but the leather was too stiff, and the lining had writing.

Riding Boots, 1810, British, leather. Philadephia Museum of Art
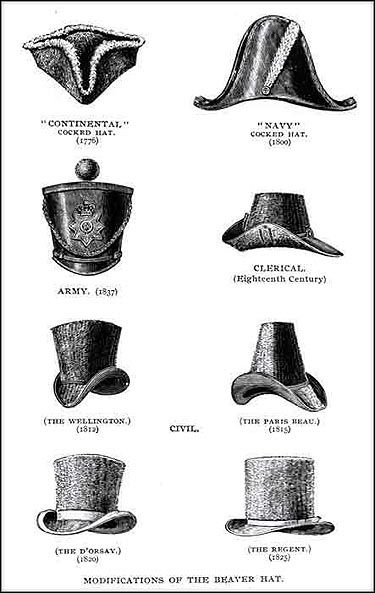
The different kinds of footwear popular in the Regency are in the drawing below. The jockey boot (black with a brown band) is most frequently seen in artwork and fashion magazines, the runner up is the Hessian, and we had a riding boot (left), similar to the Wellington—but it’s really a modern dressage boot, worn for show horse riding.
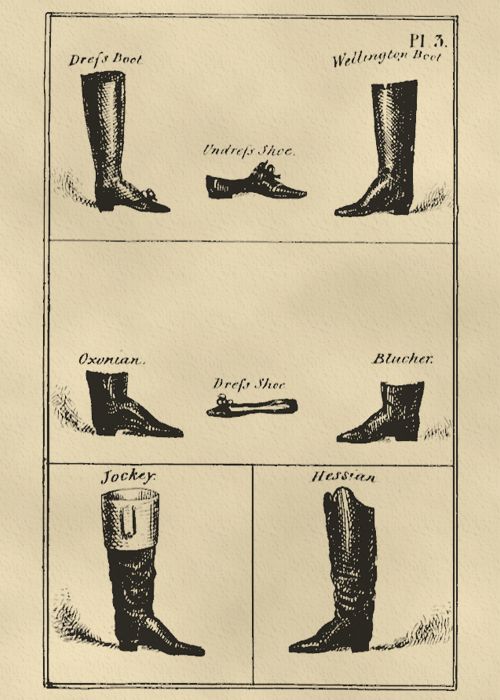
Regency Footwear
He checked to see how much to cut them down and was quoted $65. Ouch!
We looked into whether we could cut them easily ourselves, and there were no clear instructions on the Internet other than repeated short cuts with a utility knife. Now, I’ve cut many things with a utility knife, and 90% of the time, the cut has at least one ugly spot where the knife slipped. That idea was discarded.
Riding forum members advised other riders that the boots are supposed to sit a couple of inches above the knee, high enough to protect the leg from some aspect of the saddle, so they recommended not to cut them. Instead, suggestions included wetting the boots and walking around in them to get the leather to relax, plus wearing a sports wrap around the knee under the pants. We thought we’d still rather cut Mr. Suze’s boots.
Hessian boots: Mid-calf boots coming to just below the knee or lower that have tassels on the top, named for the German soldiers called Hessians who introduced them.
At first, we said if we’re going to have them cut, we may as well get a Hessian profile. I could add trim and a tassel. We assumed this would be routine for the shoe maker.
Instead, he asked us to mark the cut line and would take no responsibility for problems. We hesitated, unsure we could do a good job of drafting the double curve.
Mr. Suze discovered a second shoe maker who would cut the boots for $40, but the same issue: he wouldn’t take responsibility for a special shape. We decided it was best to remove the top 2” with a profile to match the original curve.
How trousers intended to be breeches became trousers
After months of no luck finding pants suitable for breeches, I discovered a pair of buff-coloured Nubuck pants for $5.99 at Salvation Army.
Blogger Experiments in Elegance has a post on how to fake a Regency costume, and for breeches, advises cutting the pant legs off a few inches below the knee, and utilizing fabric from one cut-off leg to make a trim band for the bottom of the breeches.
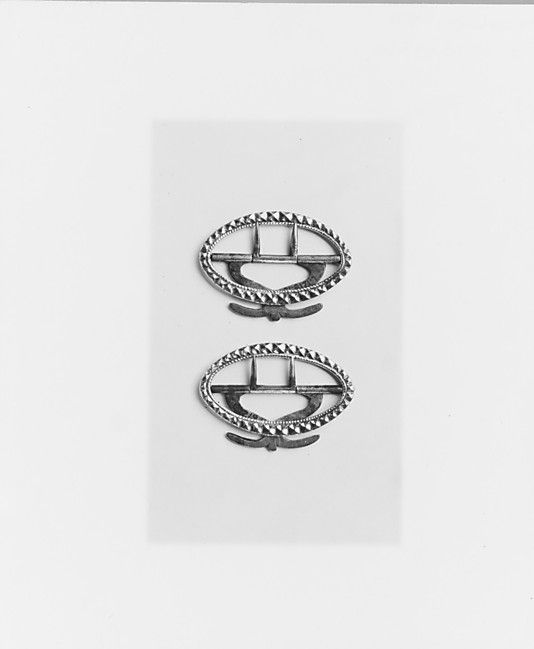
I had bought some nice buckles from Dressew to use for knee buckles that would be used on the trim band. However, the most common closure was a set of three to six self-covered buttons up a placket above ties that are an extension of the trim band, which would be narrower than the blogger suggests.
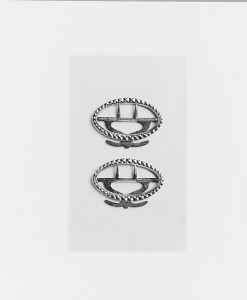
Knee buckle, 1770-1810 American
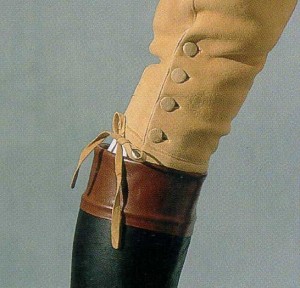
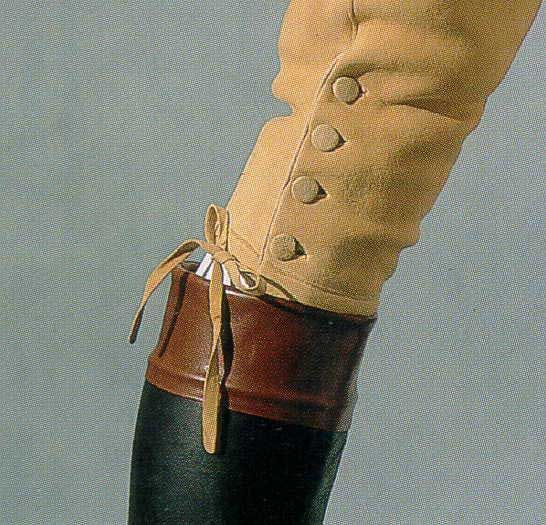
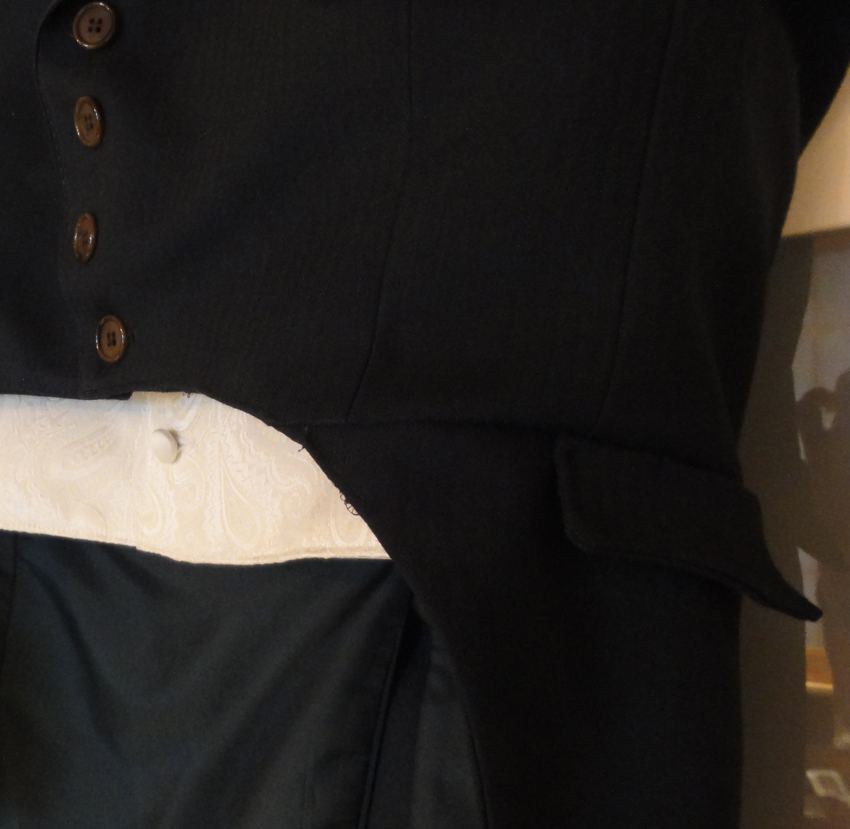
Buckskin breeches, showing buttons and tie closure and jockey boots. Metropolitan Museum of Art.
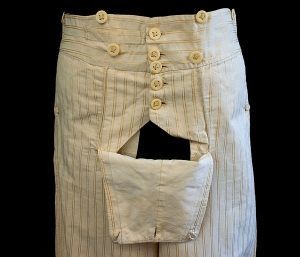
Buttoned fall on museum breeches.
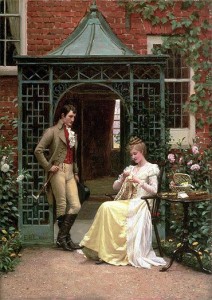
Regency boots with breeches: Edmund Blair Leyton On the Threshold
Regency breeches had buttoned falls in front rather than the modern fly, though the odd museum piece from that era shows early use of a buttoned fly. The same blogger describes how to make a flap for the fall-front with the other leg.
Breeches were the best idea if I could find shoes. With boots, either breeches or trousers would suffice. Trousers would be advantageous for me, as I could put a stirrup at the end to hold the pants into the boot, much less work than making breeches.
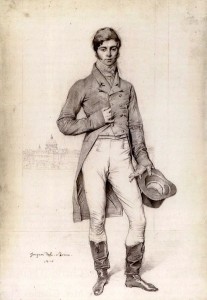
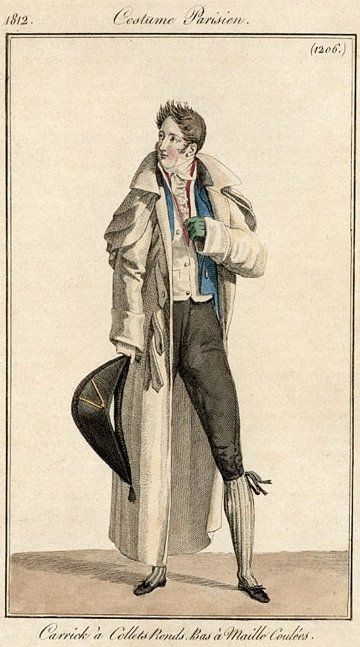
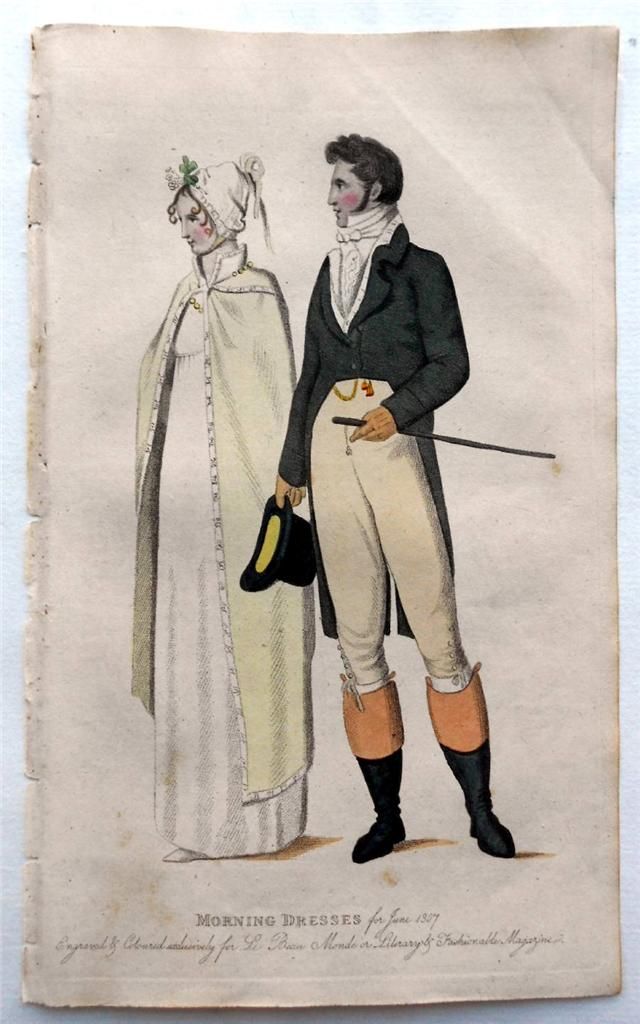
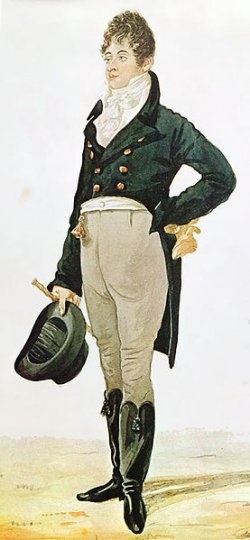
Trousers and Hessians: Thomas Philip Robinson the third Baron Grantham and later Earl de Grey aged 35 years – portrait study by the great French artist Jean Auguste Dominique.
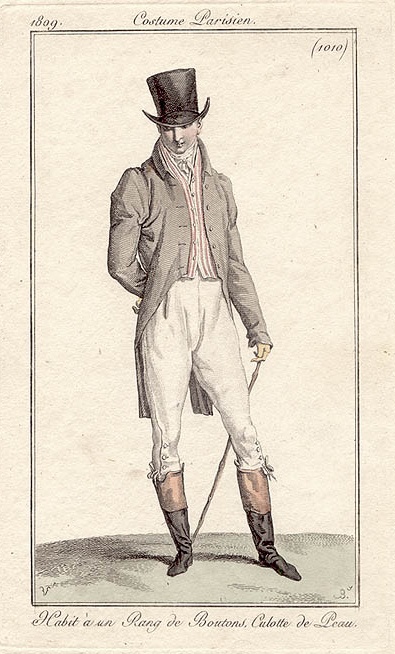
Trousers became popular in the mid-Regency for casual wear, but breeches with stockings and slippers remained the correct clothing for formal occasions like balls. Eventually, trousers overtook breeches in formal wear as well, though this occurred after the end of the Regency.
Since neither boots nor trousers were appropriate ball attire in the Regency (though one Oregon Regency Society gentleman said he was wearing his to the ball anyways), our story would be we were sneaking into the ball for a short while to watch, but would not dance since Mr. Suze was not properly attired.
We do not want to dance. It’s not that we don’t want to dance, it’s that we don’t want to ruin our marriage in the attempt to dance.
We took ballroom dance lessons once, and Mr. Suze stared at his feet and forgot he had a partner. I got frustrated and started to lead, but I’m terribly uncoordinated, which didn’t help Mr. Suze concentrate on his feet. We’d get messed up on the steps, he’d get mad, I’d try to instruct him, and we’d stop to argue. Neither of us were able to learn the steps of one dance before the instructors moved on to the next.
We’d try again, and repeat the whole mess. We finally dropped out of class, deciding we were too terrible at this, and we didn’t want to keep arguing to get better.
Neither of us is concerned that his trousers and boots aren’t correct for the ball, as we’ll be lurkers and watchers.
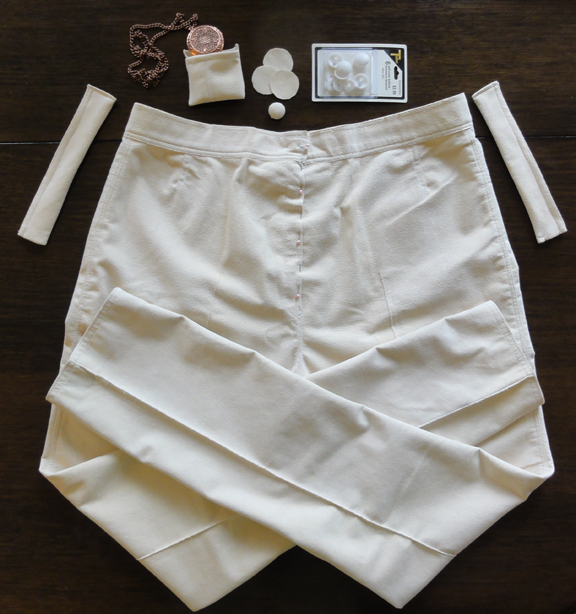
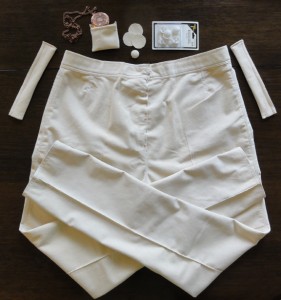 Since Regency trousers were slim, I cut about 3” from the inseam of the pants. Instead of using part of a pant leg for a flap, I used some of the cut fabric to make panels that look like the trim panels for the sides of the falls. Self-covered buttons were also made to fake Regency at the top of those flap edges, as well as to secure suspenders to keep the trousers high. A small watch pocket was made to set inside the waistband.
 At first, I despaired of finding a pocket watch at a reasonable price, as the vintage watches I’d seen were over $100, and that was for either one that was a fake and used a battery, or another that didn’t work and would be another $200 to repair!
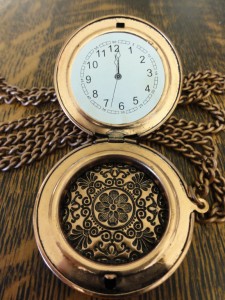
But Value Village had a display of Steampunk accessories for Hallowe’en, and I got a cool pocket watch and chain for $1.99! Outside, it’s a pretty good-looking imitation for the price. Inside, it has a hilarious paper face!
We now have to find a watch fob of some sort. The Pragmatic Costumer has a nice article on watch fobs for ideas.
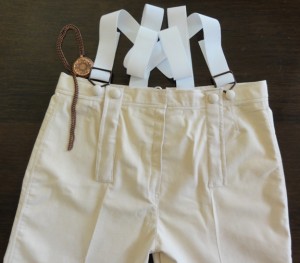 A combination of the leg narrowing, the original size of the pants, and the need for So Mr. Suze to wear the pants high like Regency gentlemen caused the pants to be tight at the waist band. A 5” deep opening was made in the seam at the back of the pants, and eyelets and laces were added for true Regency fashion. I was going to sew the fly closed and have him use them.
When he tried the trousers on, he couldn’t reach the ties. Not such great idea, after all! We left the fly.
Puttin’ on the Ritz: The Walking Stick and Gloves
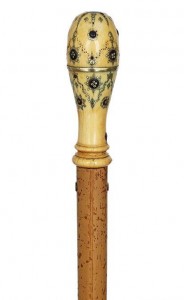
Cane with tortoiseshell and brass wire piqué on ivory.
Mr. Suze’s project was to make himself a walking stick. We had some pieces of bamboo that had previously been used for supporting plants, and some of the Ackermann’s prints had bamboo walking sticks. I’d been looking for a handle re-purposed from a drawer or door handle, similar to the photo (left). I also knew that drapery rod ends may have other designs suitable for this.
Mr. Suze went to Habitat for Humanity’s Re-Store and found a pineapple-like end that he attached to the bamboo, then to Rona for an end piece so the bottom wouldn’t scratch floors.
I’d read that the walking sticks were quite long, and had seen some Ackermann’s illustrations that confirmed it, but my husband wasn’t so keen on a tall cane. The compromise was to make the length so his hand on the top made his arm parallel to the floor. He freshened up the bamboo with a light sanding and shoe oil.
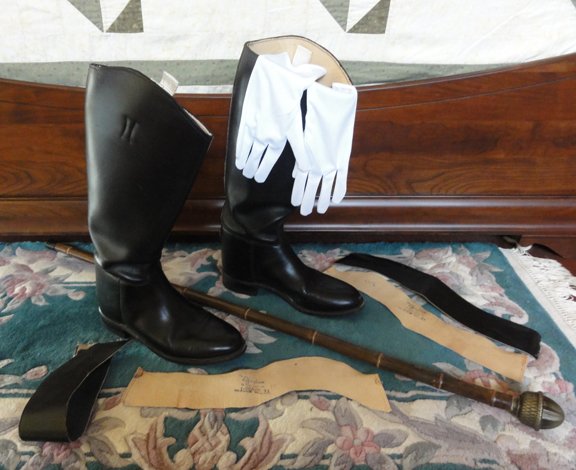
TSRCE men’s boots, gloves, and walking stick. The cut-off panels from the boots are shown.
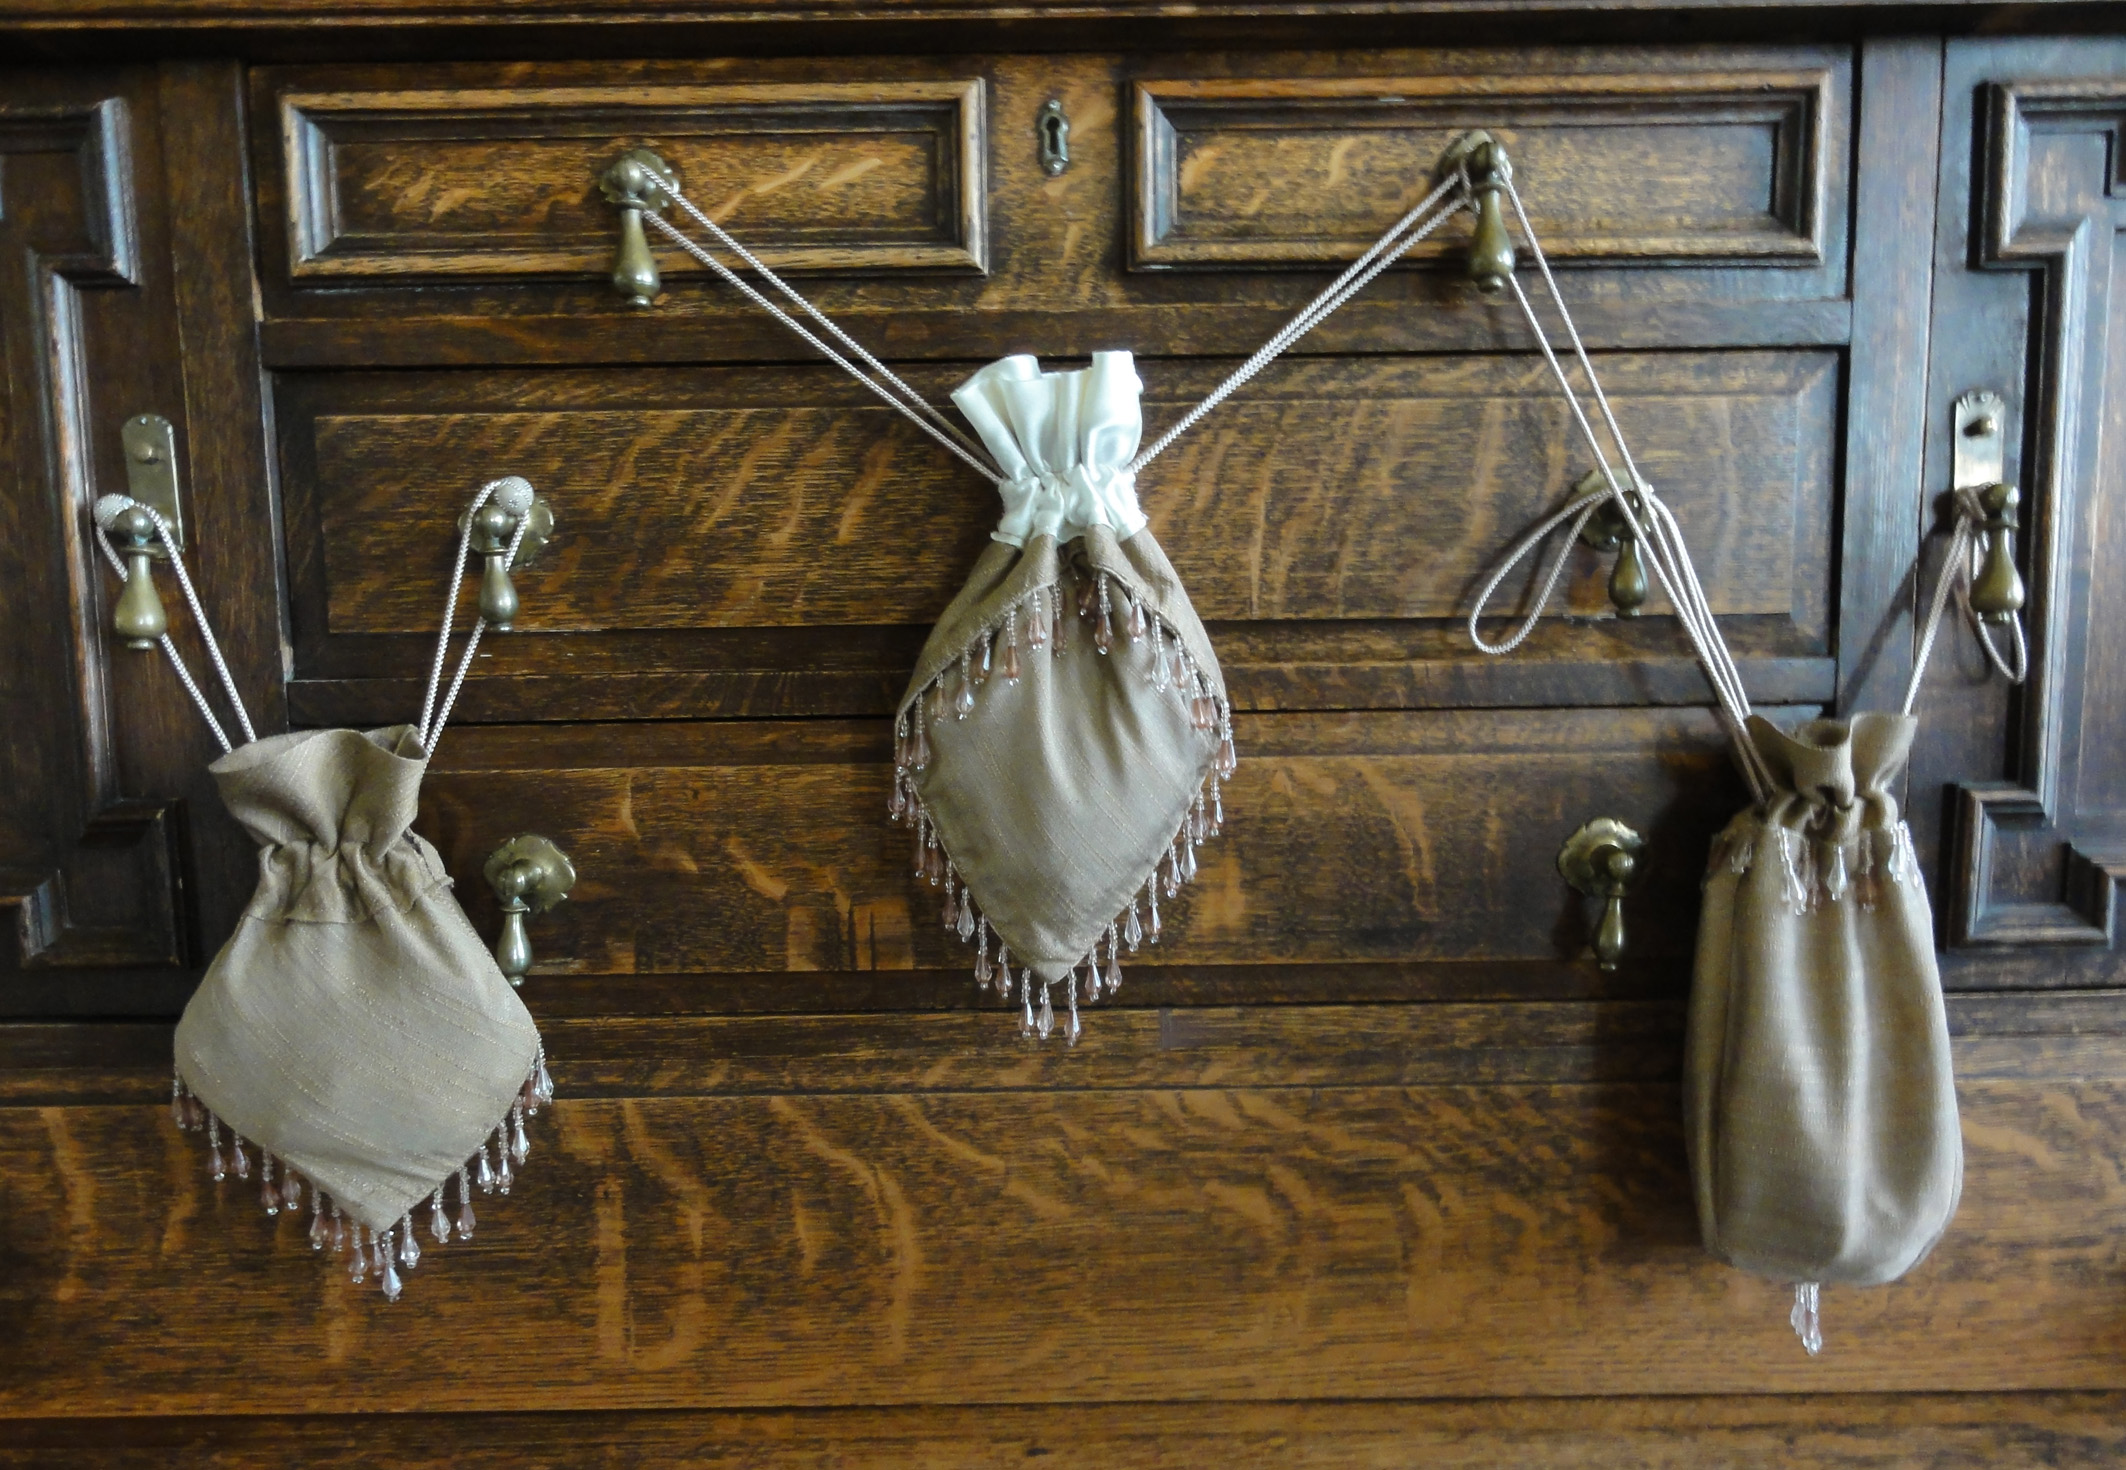
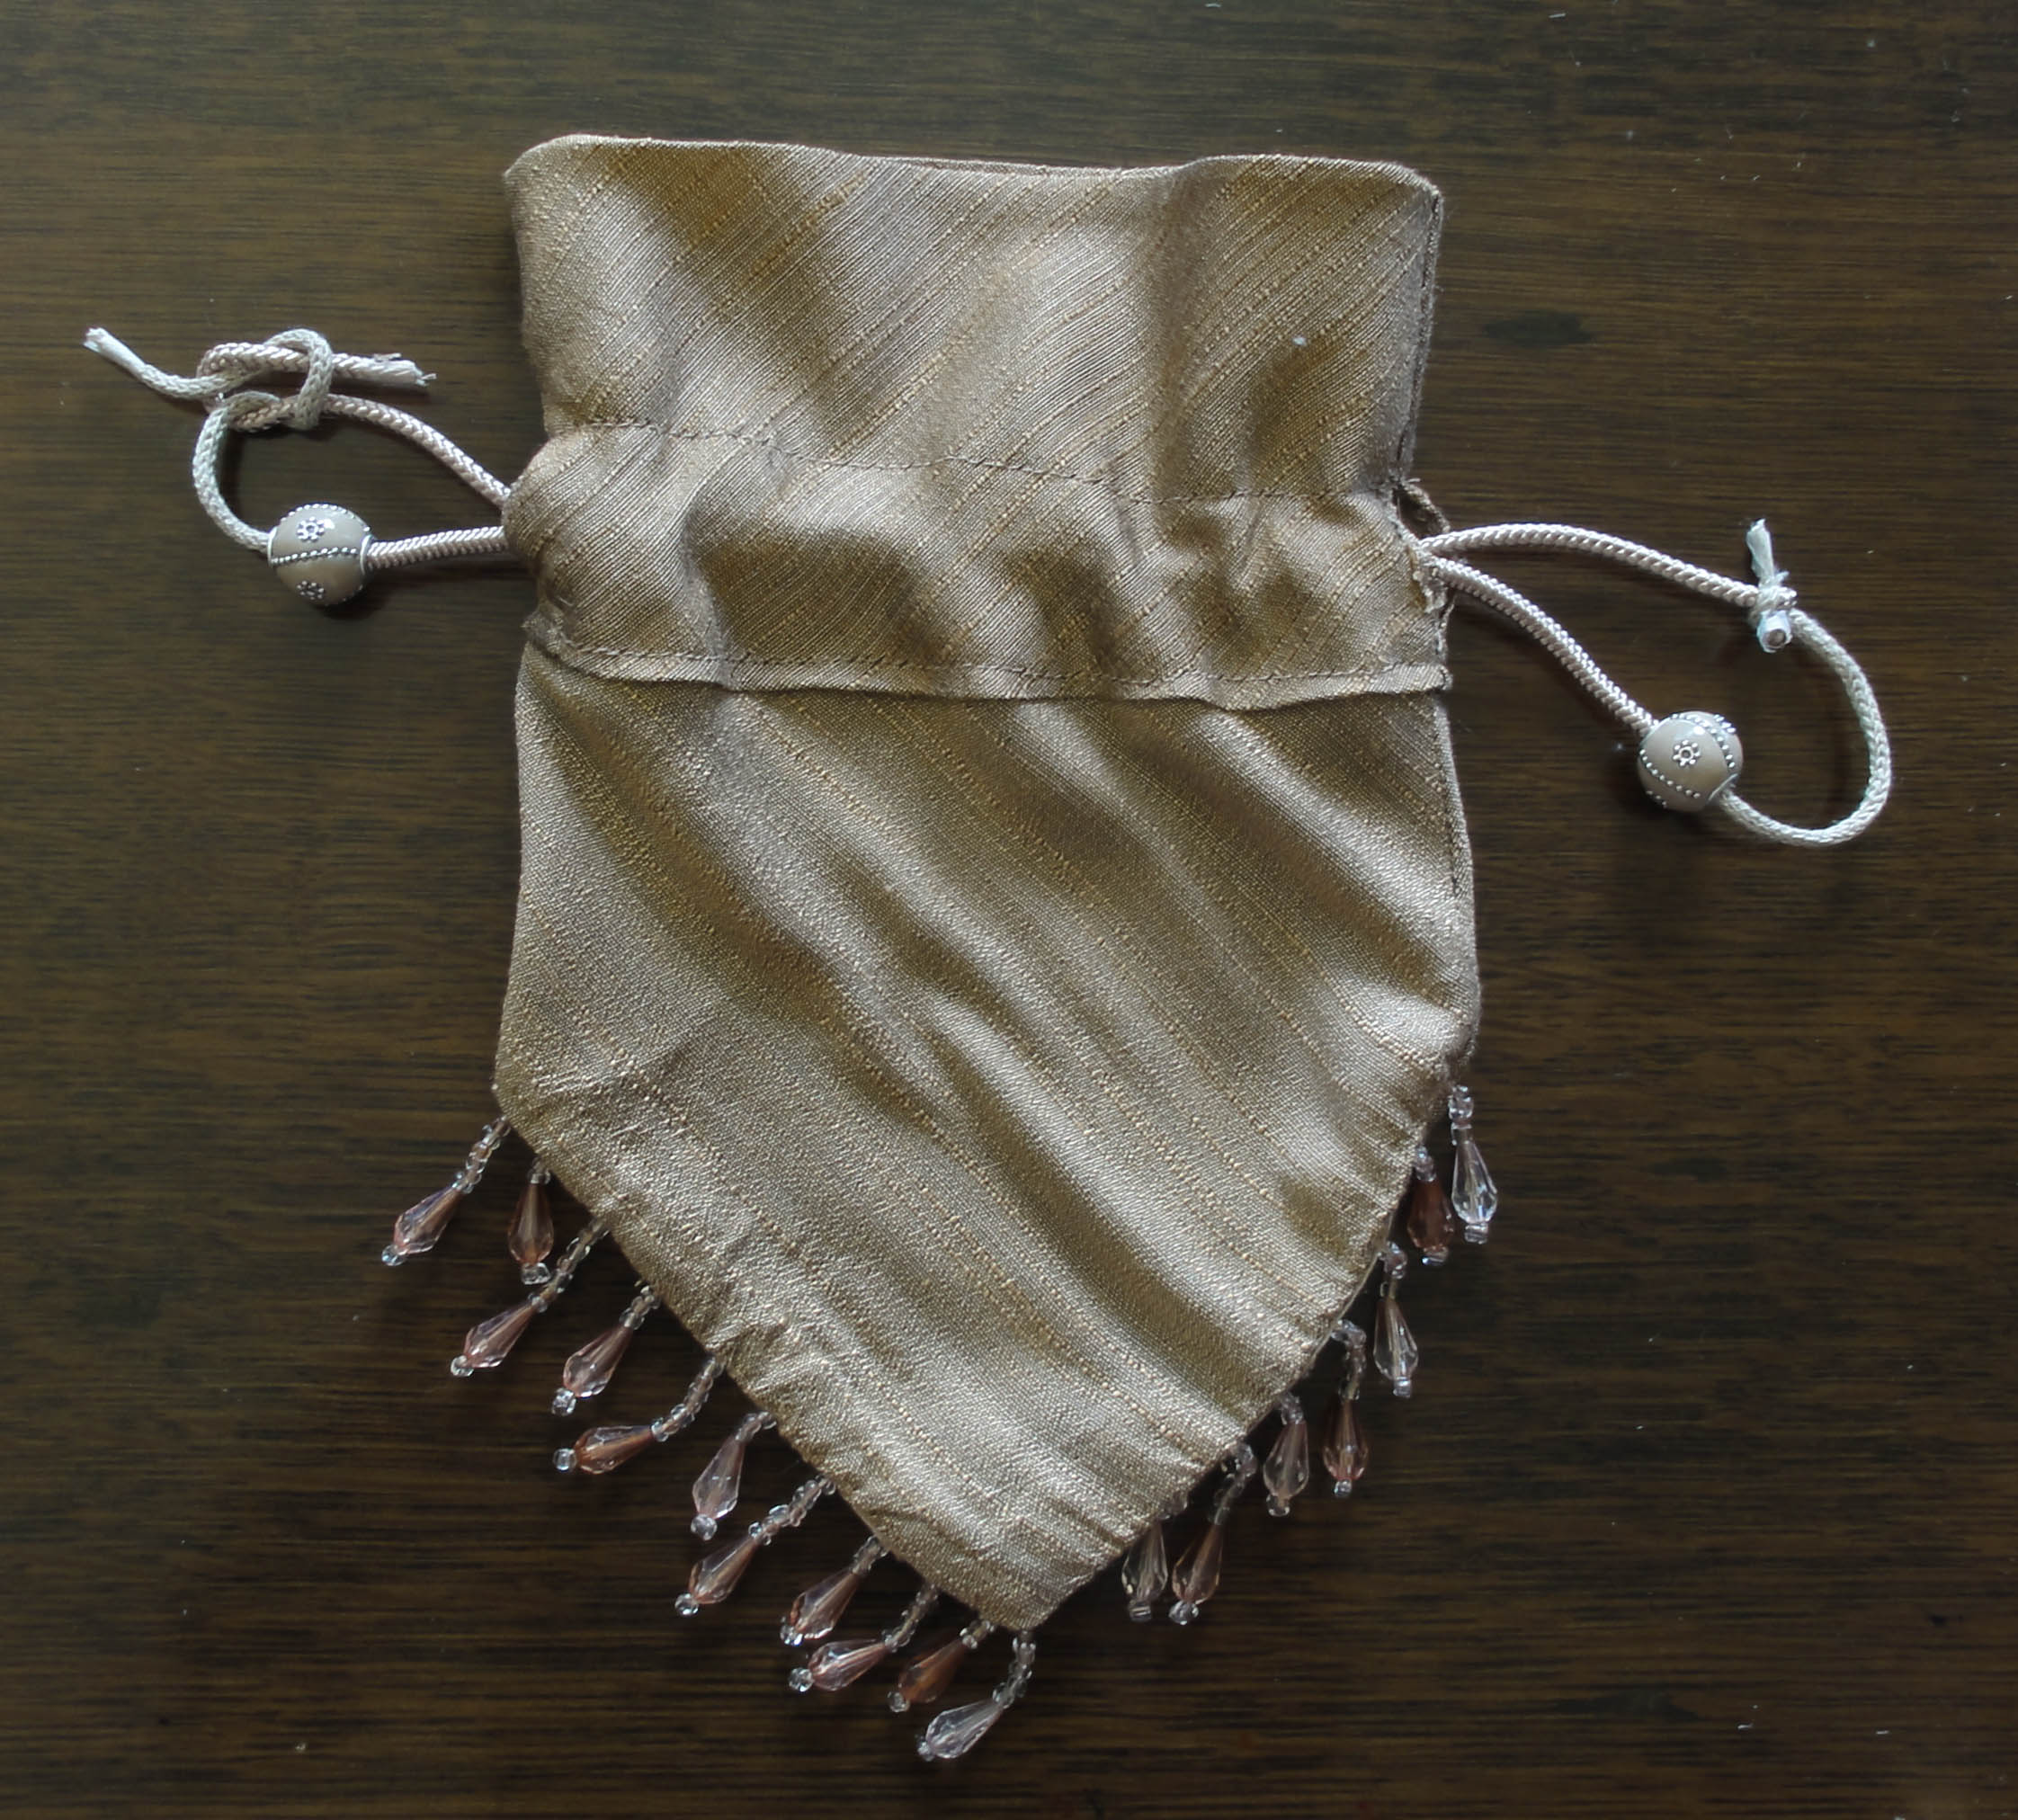
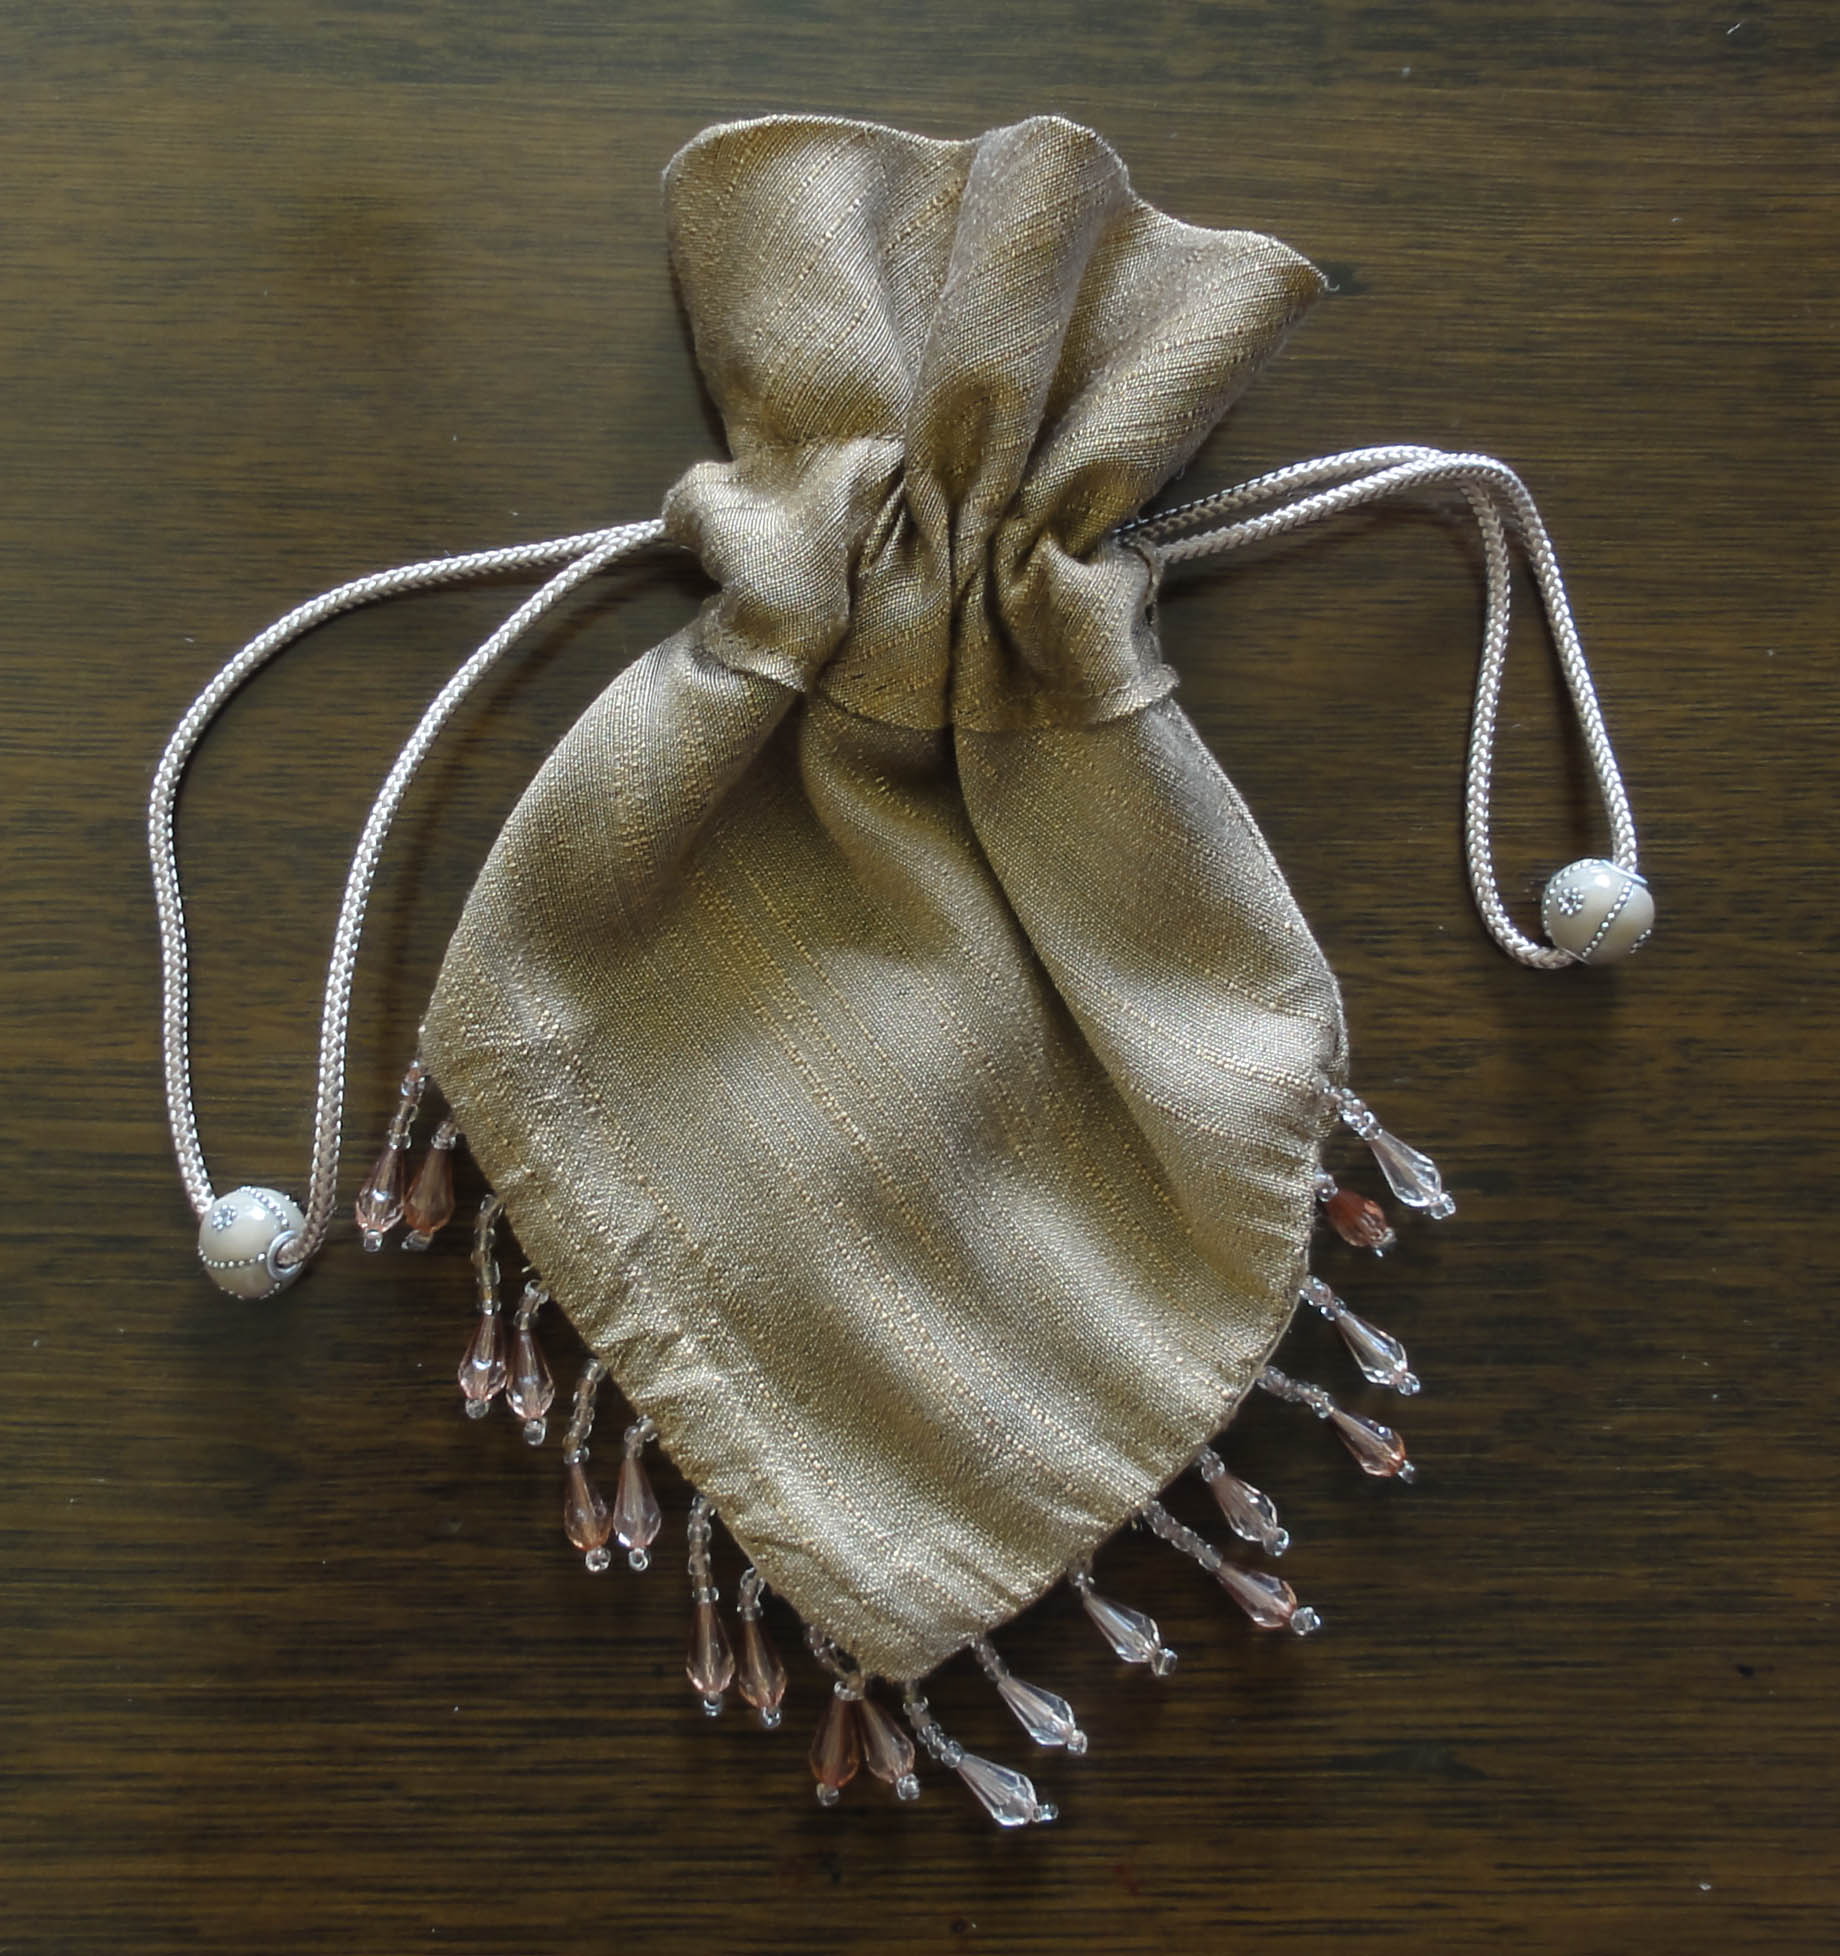
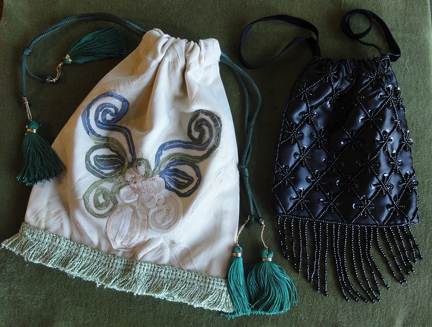
I was pleased with the pineapple look, as I’d learned at the JASNA Jane Austen Tea just a few weeks earlier that in the Regency, pineapples were important because they were so expensive. They were imported from Suriname or India, and a shipment of pineapples would allow a ship’s captain to retire in fine comfort. The rich had pineries to try to grow them, but they were so dear, they were rarely eaten, but just left on the table for decoration as they deteriorated! This explains why there were so many reticules of pineapple design as well.
The gloves are white cotton costume gloves for $4.99 from Value Village. They’re not something you’d see at other times of the year, but the Hallowe’en costumes are out! A Regency gentleman would be more likely to wear kid gloves, but I had enough trouble with the search for kid opera gloves for my costume since the few I found were far too small. There’s a good chance they’re more rare for a man!
Mr. Suze opted to glue on whiskers rather than grow his own sideburns, and found a moustache at a Dollar Store that’s pretty perfect, except it’s black, and he used to be blond but is all grey now! We’ll try using tempera paint to change the colour. He had the top of his hair left long for two haircuts, and will comb it forward, as that was the Regency style.
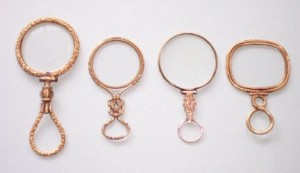
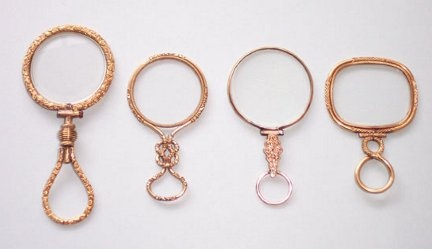
Quizzing glasses
Perhaps he’d like to forego his glasses for the popular Regency accessory, the quizzing glass!
~
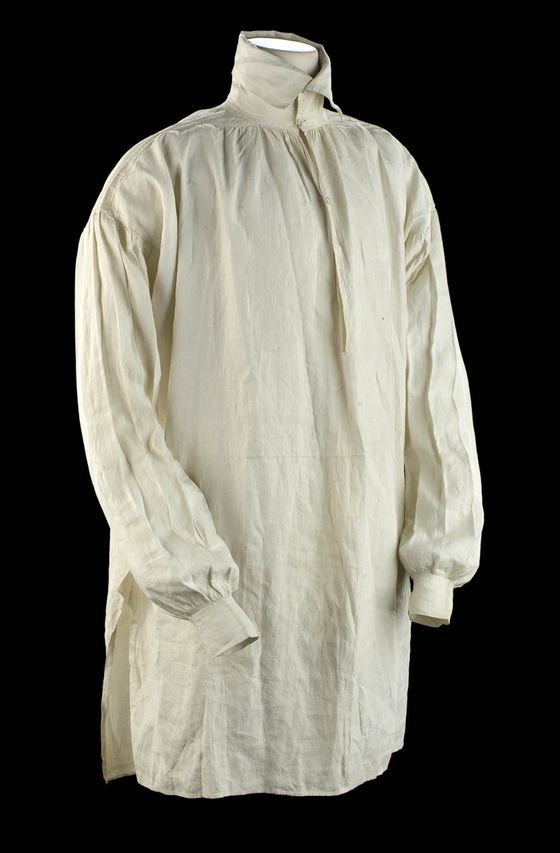
One thing I missed last week was the closure on the sleeves of the shirt. It has plastic buttons right now, but the most common was ribbon ties. Cuff links as we know them today became popular in Edwardian period, though in the post-Regency, around 1840, simple versions were introduced in France.
~
Some helpful sites for the Regency Gentleman’s costume:
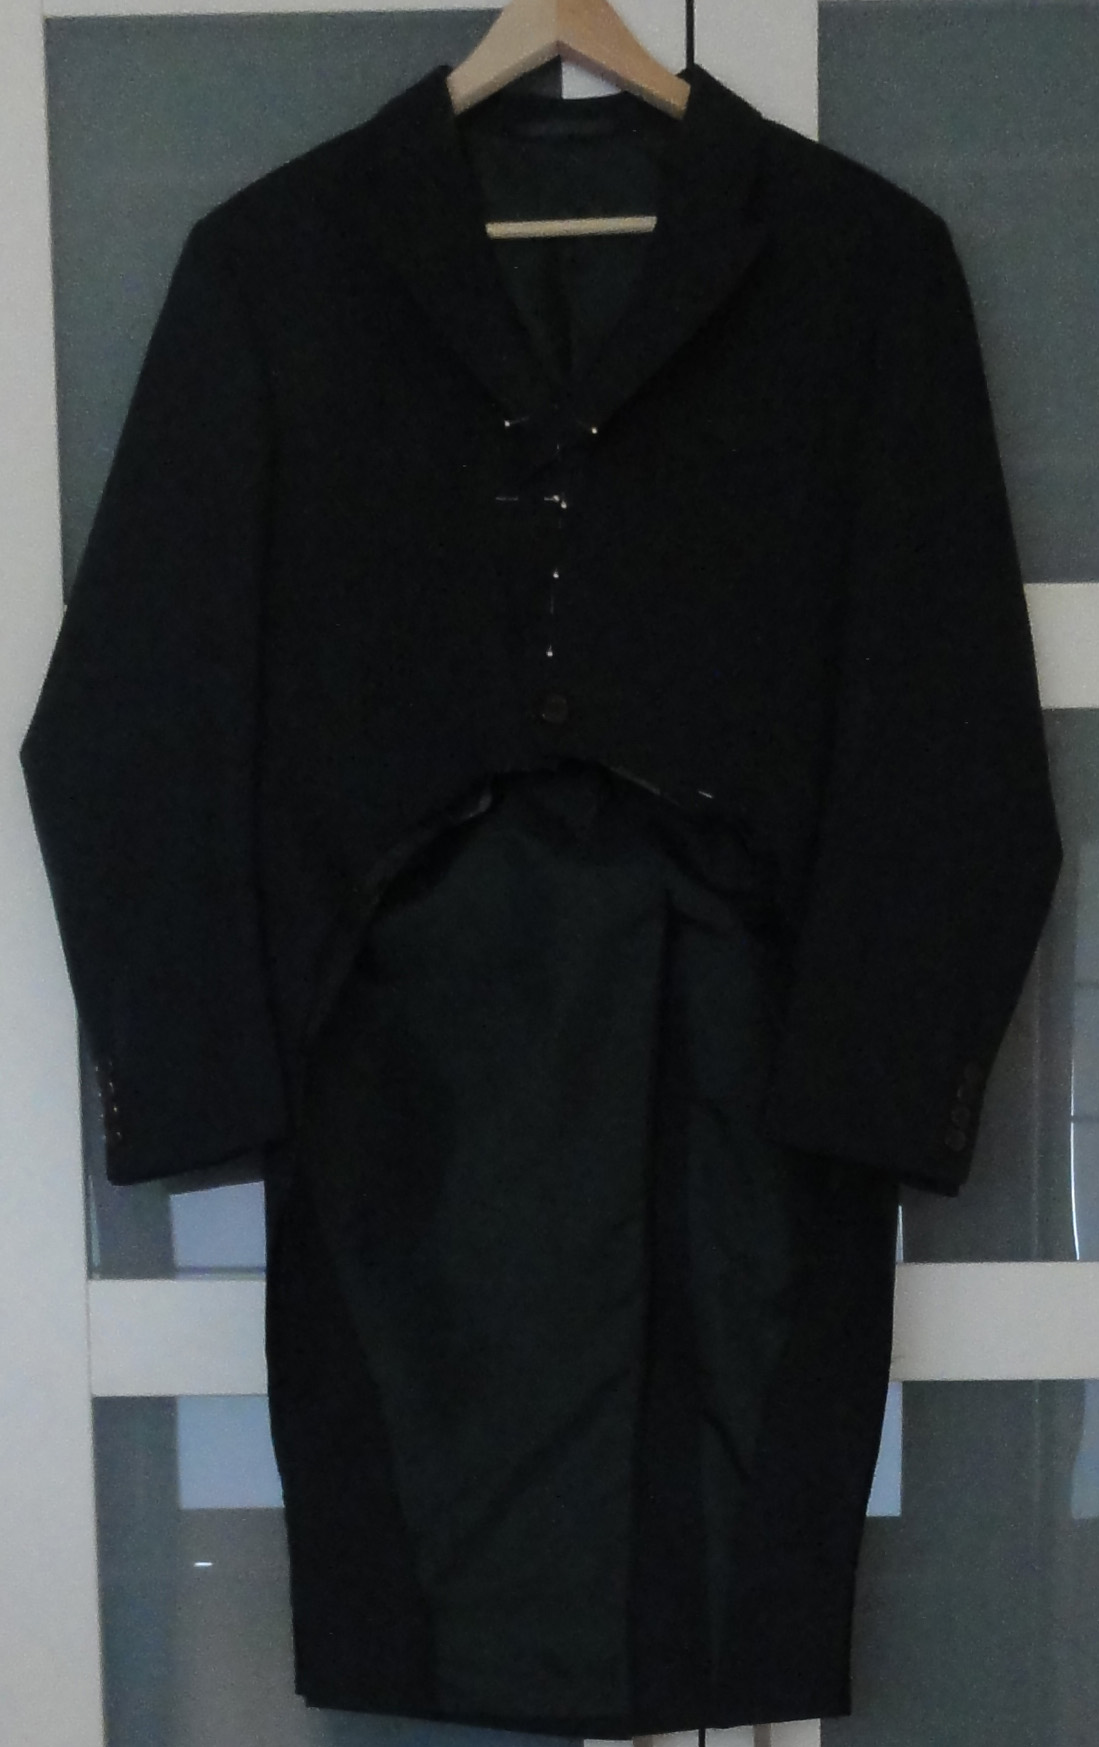
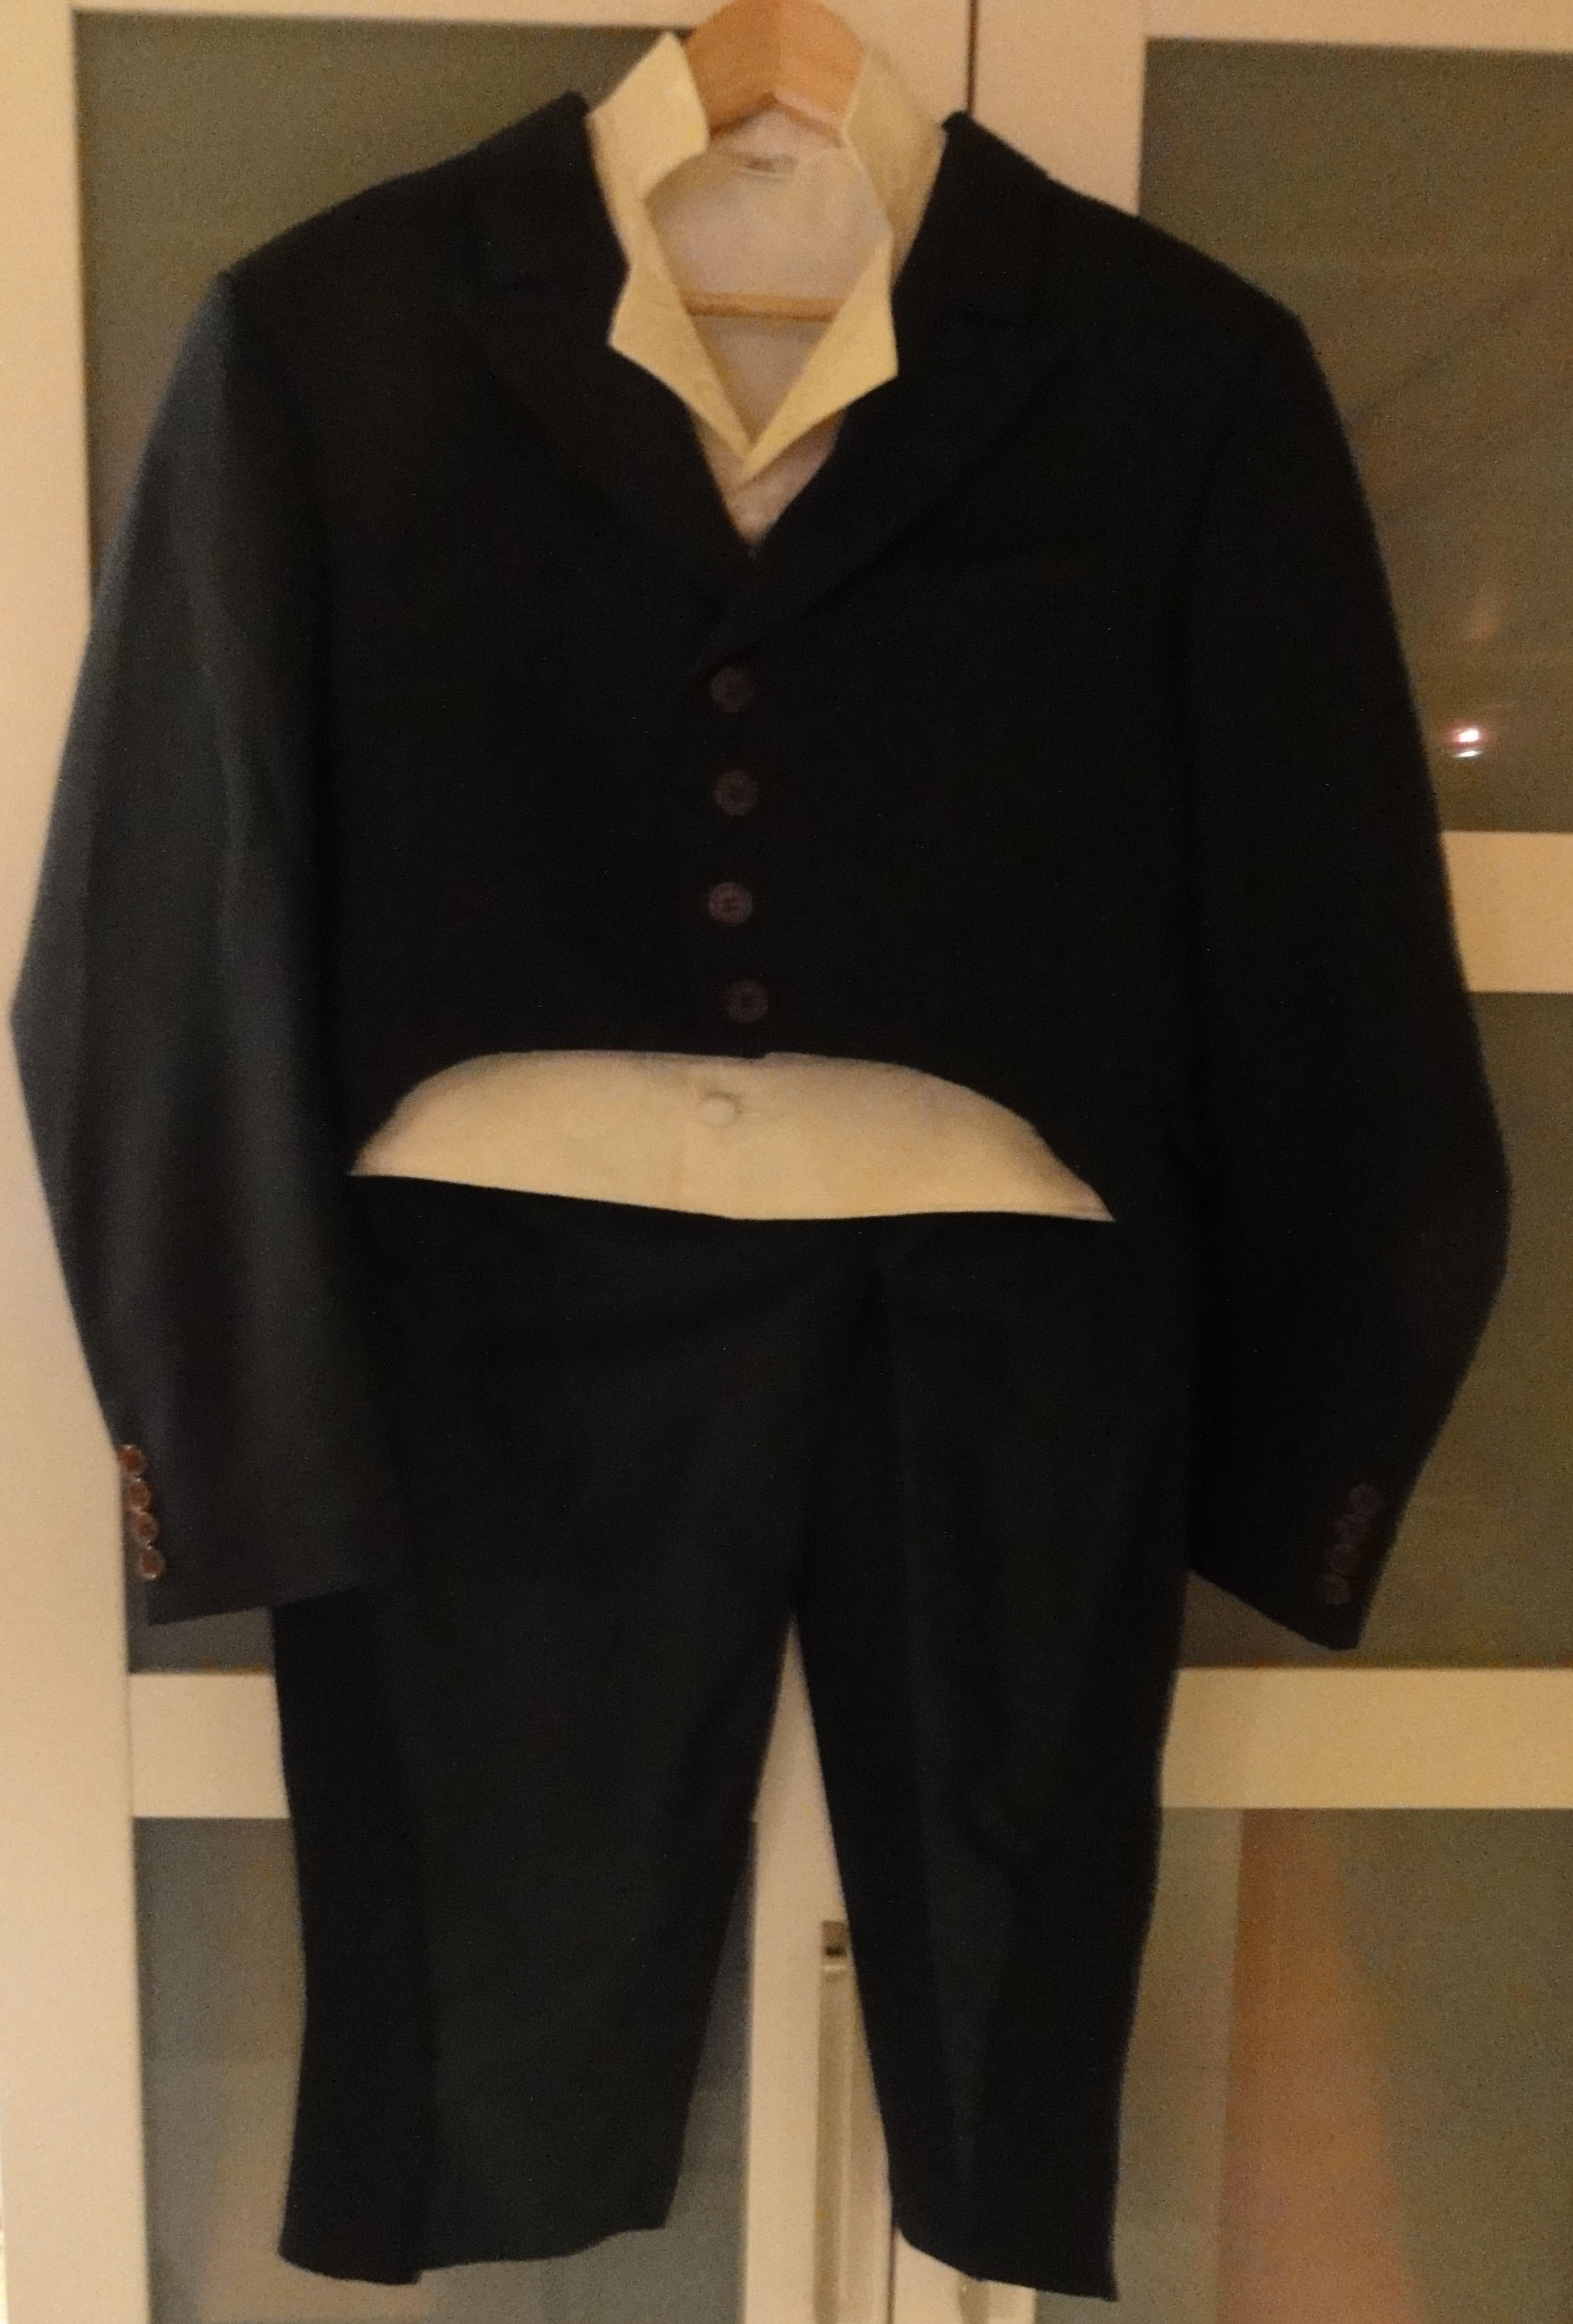
The Oregon Regency Society’s Outfitting the Regency Man has links for purchasing authentic product and patterns to make costumes from scratch. Their How-To sheet shows a modification of a standard tuxedo tailcoat.
The Black Tie Guide’s Regency Evolution: Dress Details has details on things like lapels, colour, and etiquette while providing an excellent, succinct summary of the man’s outfit.
How to Make a Men’s Regency Boot on a Budget by Living with Jane uses leather-look boots and adds a leather-look panel to the top for jockey boots. They look like rubber boots to me.
How to Convert an Ordinary Suit Coat into a Tail Coat from Tor.Com is useful as long as your suit coat or blazer is in a fabric like Regency examples.
~
Next Post: I hope to have another episode of “Faking Regency,” because I haven’t yet finished my ball gown, which was my intended post for Monday. I’ll add a post between Monday and Louisville if I have time, then there will be pictures from the JASNA AGM!
Like this:
Like Loading...

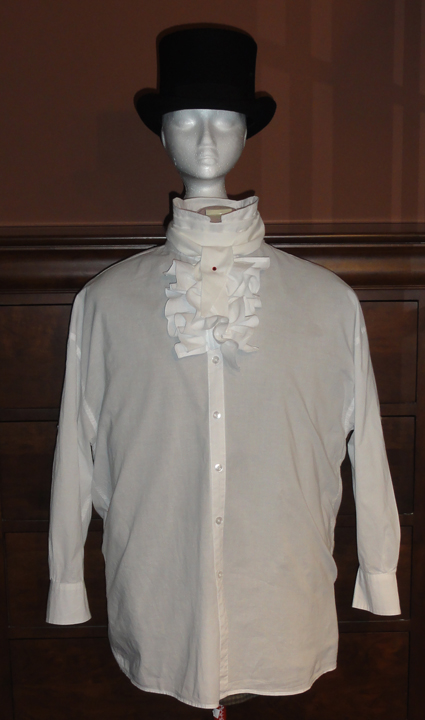
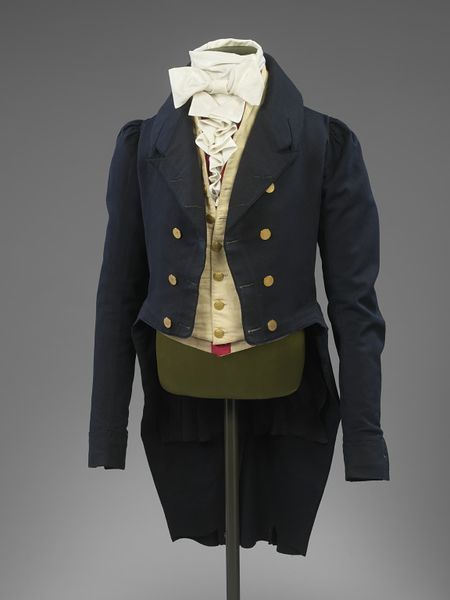
 The cravat, or neck-cloth, was described in the popular post, Regency men were not sissies, even in blouses and scarves, along with the shirt (which was considered an undergarment) and the Regency man’s hat. The post was part of the Thrift Shop Regency Costume Experiment blog series. There, we noted I. E. Scottsdale’s Necklothitania, a satire on the elaborate styles used by Beau Brummel and his followers, and H. LeBlanc’s The Art of Tying a Cravat, as Regency documents that showed some of the many different tie styles possible.
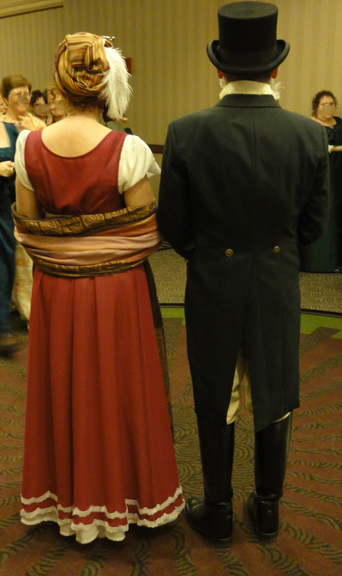
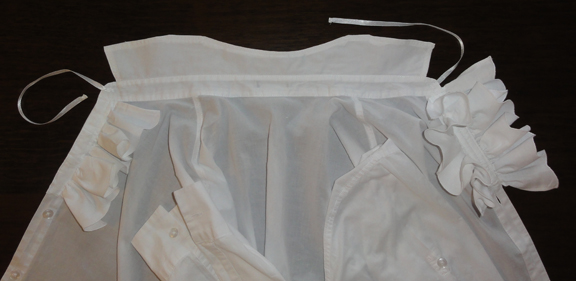
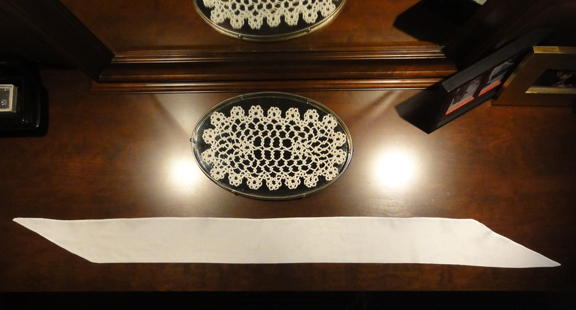
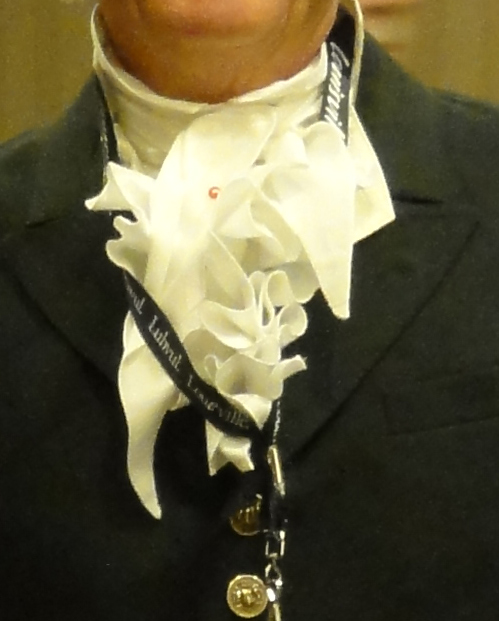 My husband, Mr. Suze, used the simplest arrangement when he dressed for October’s JASNA AGM dinner and ball with a 52 inch long neck cloth. Recall that this is on the short side for the cloth, which is 4-10″ wide and 50-100″ long. Elaborate styles tend to require longer fabric.
 I would guess this example uses a longer or wider cloth due to the folds. With a longer cloth, the ends can be tucked as seen for this style, and if very long, the gentleman will start wrapping from behind rather than in front.