No rabbits are involved in this type of hat-trick! However, once in cricket, four times in NHL hockey, and twice in rubgy, three hat-tricks, or three sets of three goals scored by the same player, have taken place in a single game. Other games also use the concept of a hat-trick.
Our Thrift Shop Regency Costume Experiment is also doing three tricks with hats this week—well, two are technically bonnets, and you’ll have to wait for them until next post.
You say, “What? You said three hats this week, now it’s only one?”
I reply, “Yes, because the post was a million years long, and your eyes would have glazed over. Instead, I’m doing two posts this week, and the other hats will be in the next one!”
And you say, “Two posts? YAAAAAYYYY! You’re our favourite!”
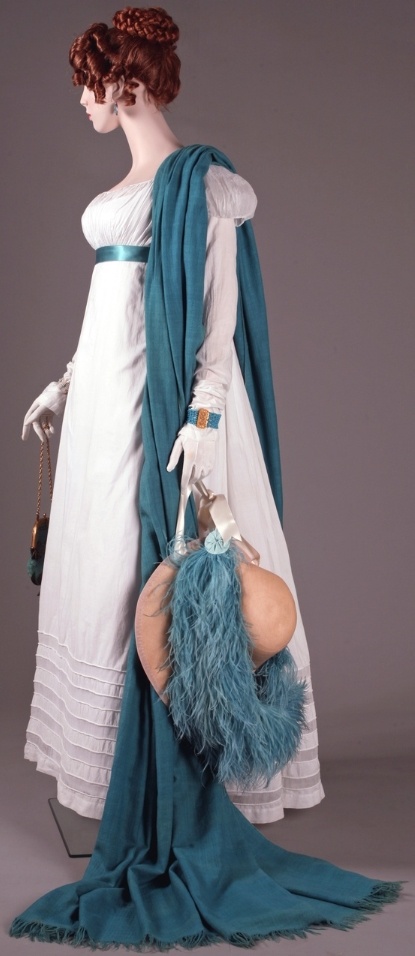
Of course I am. And every fine lady holds a parasol in a Regency ballroom, too.
~~~
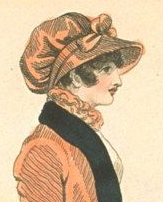
 Capote Hat
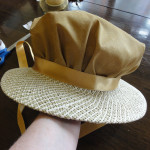
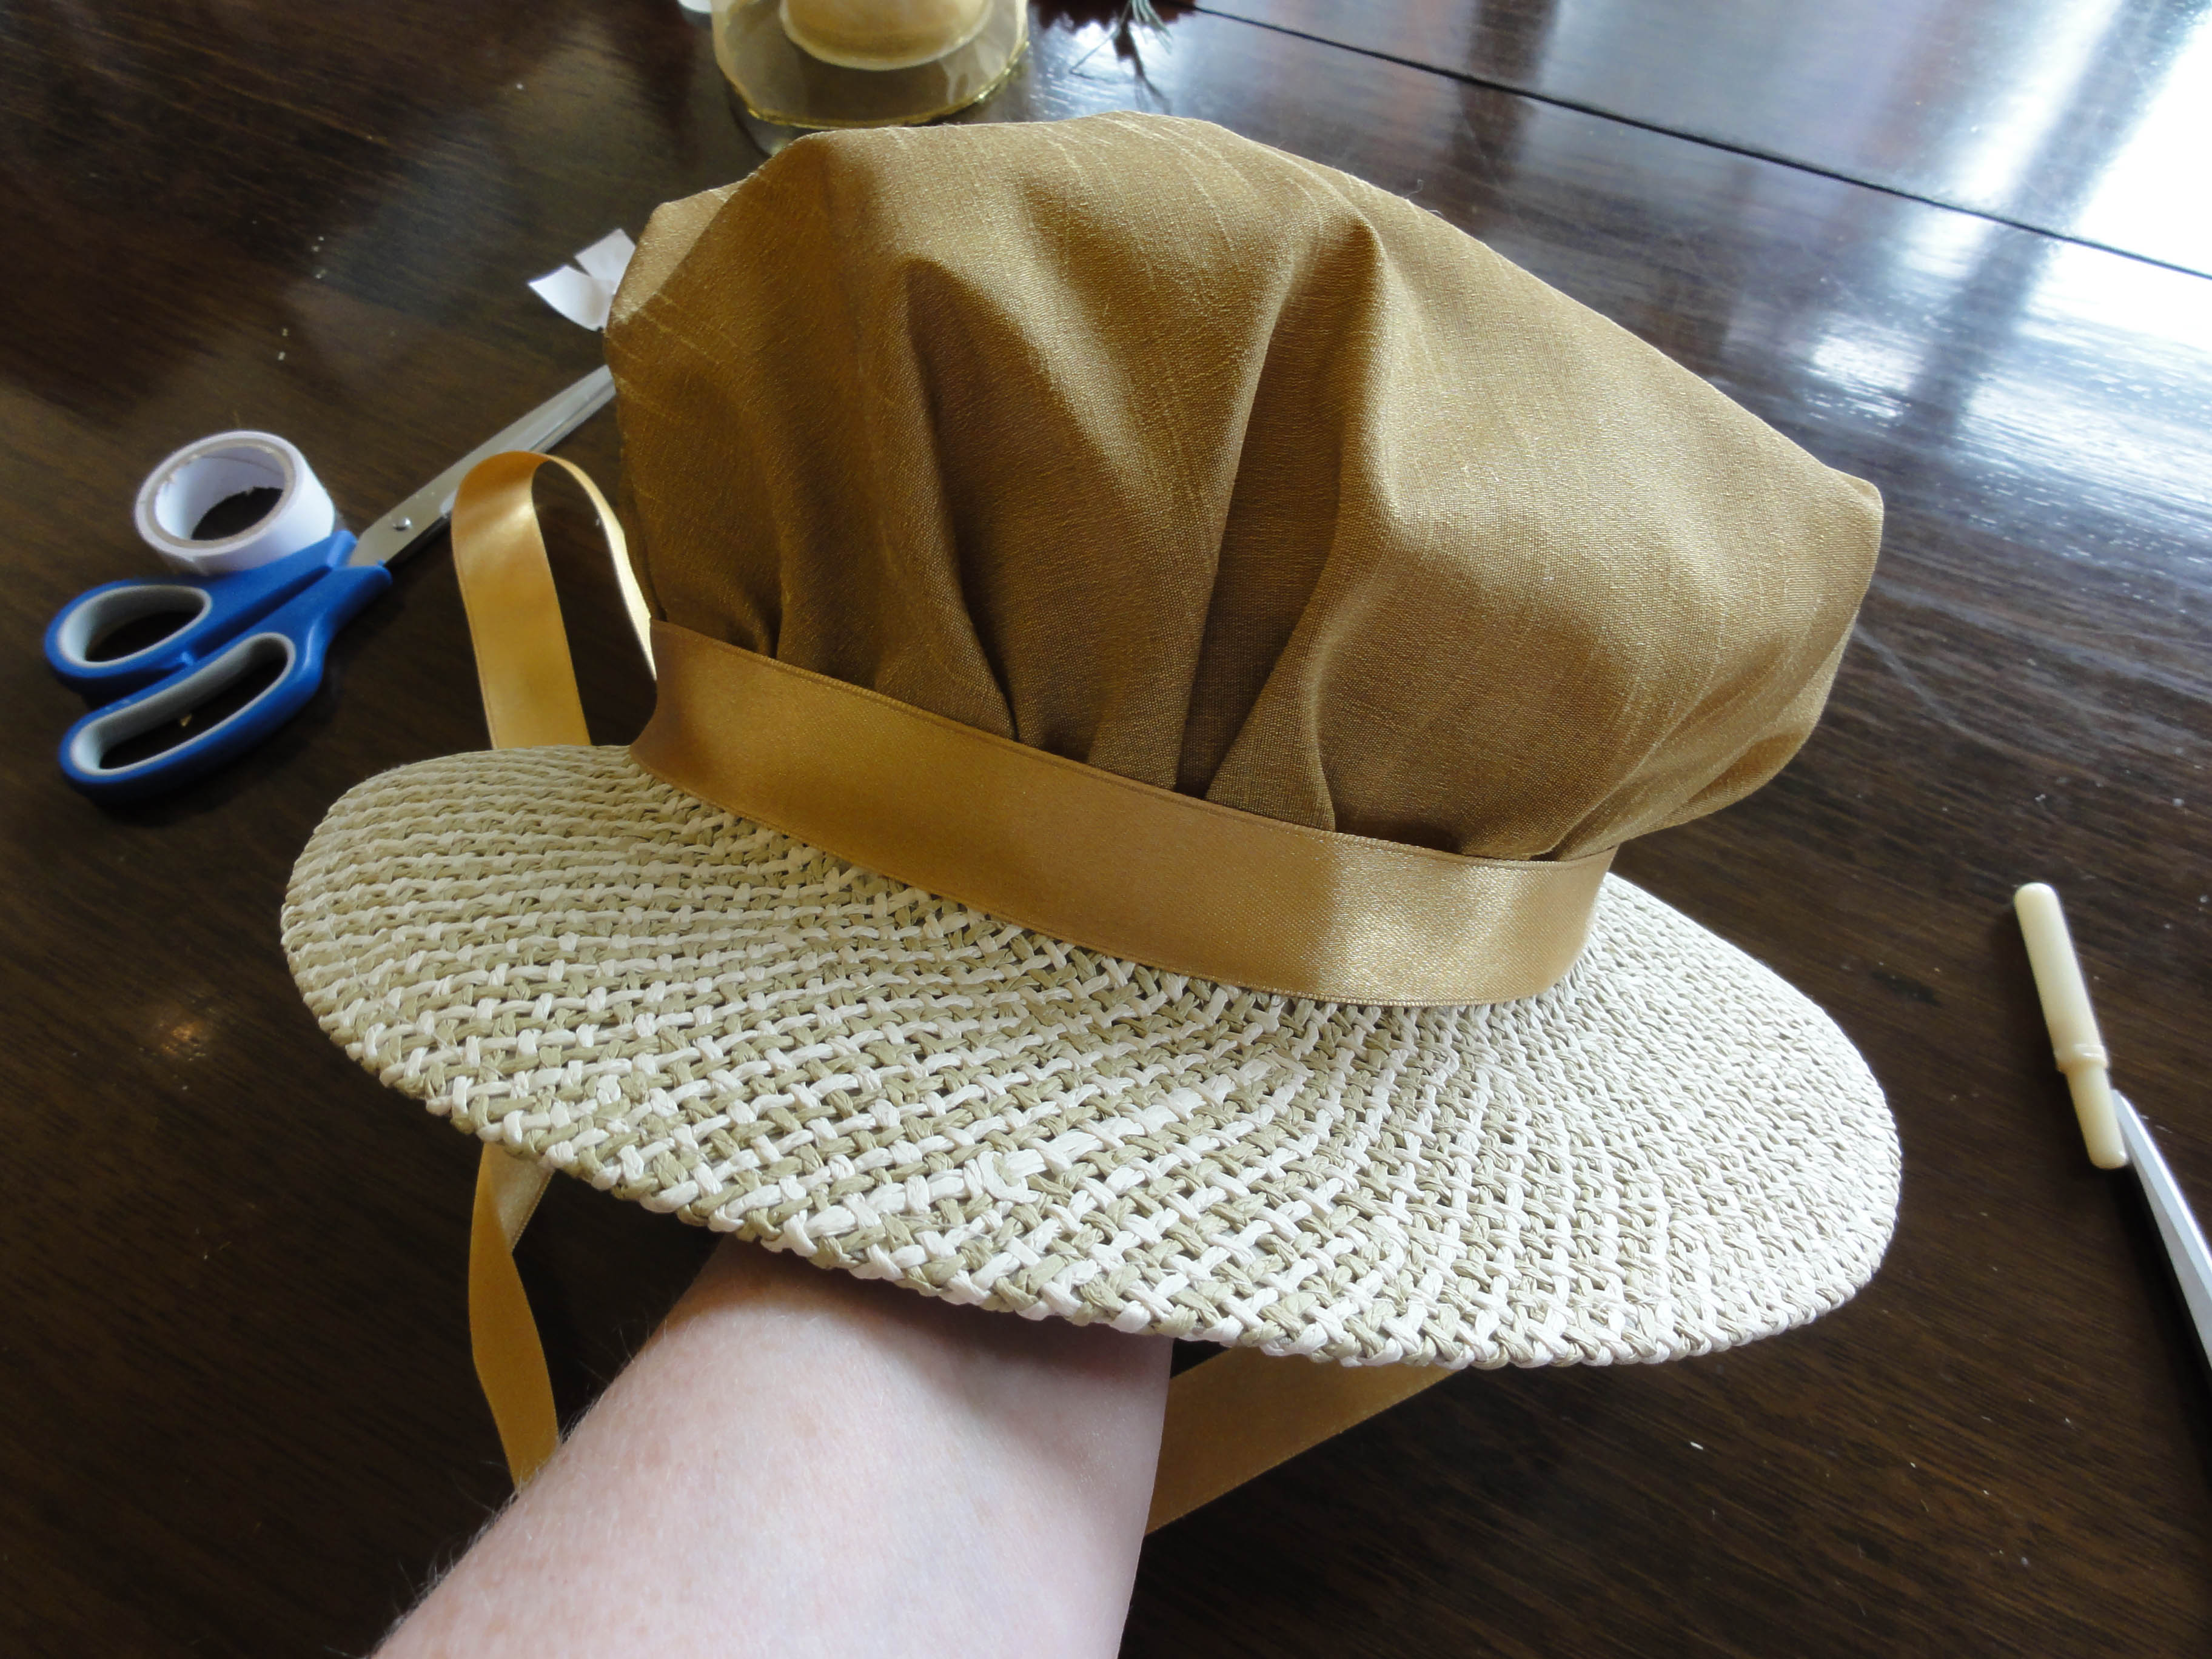
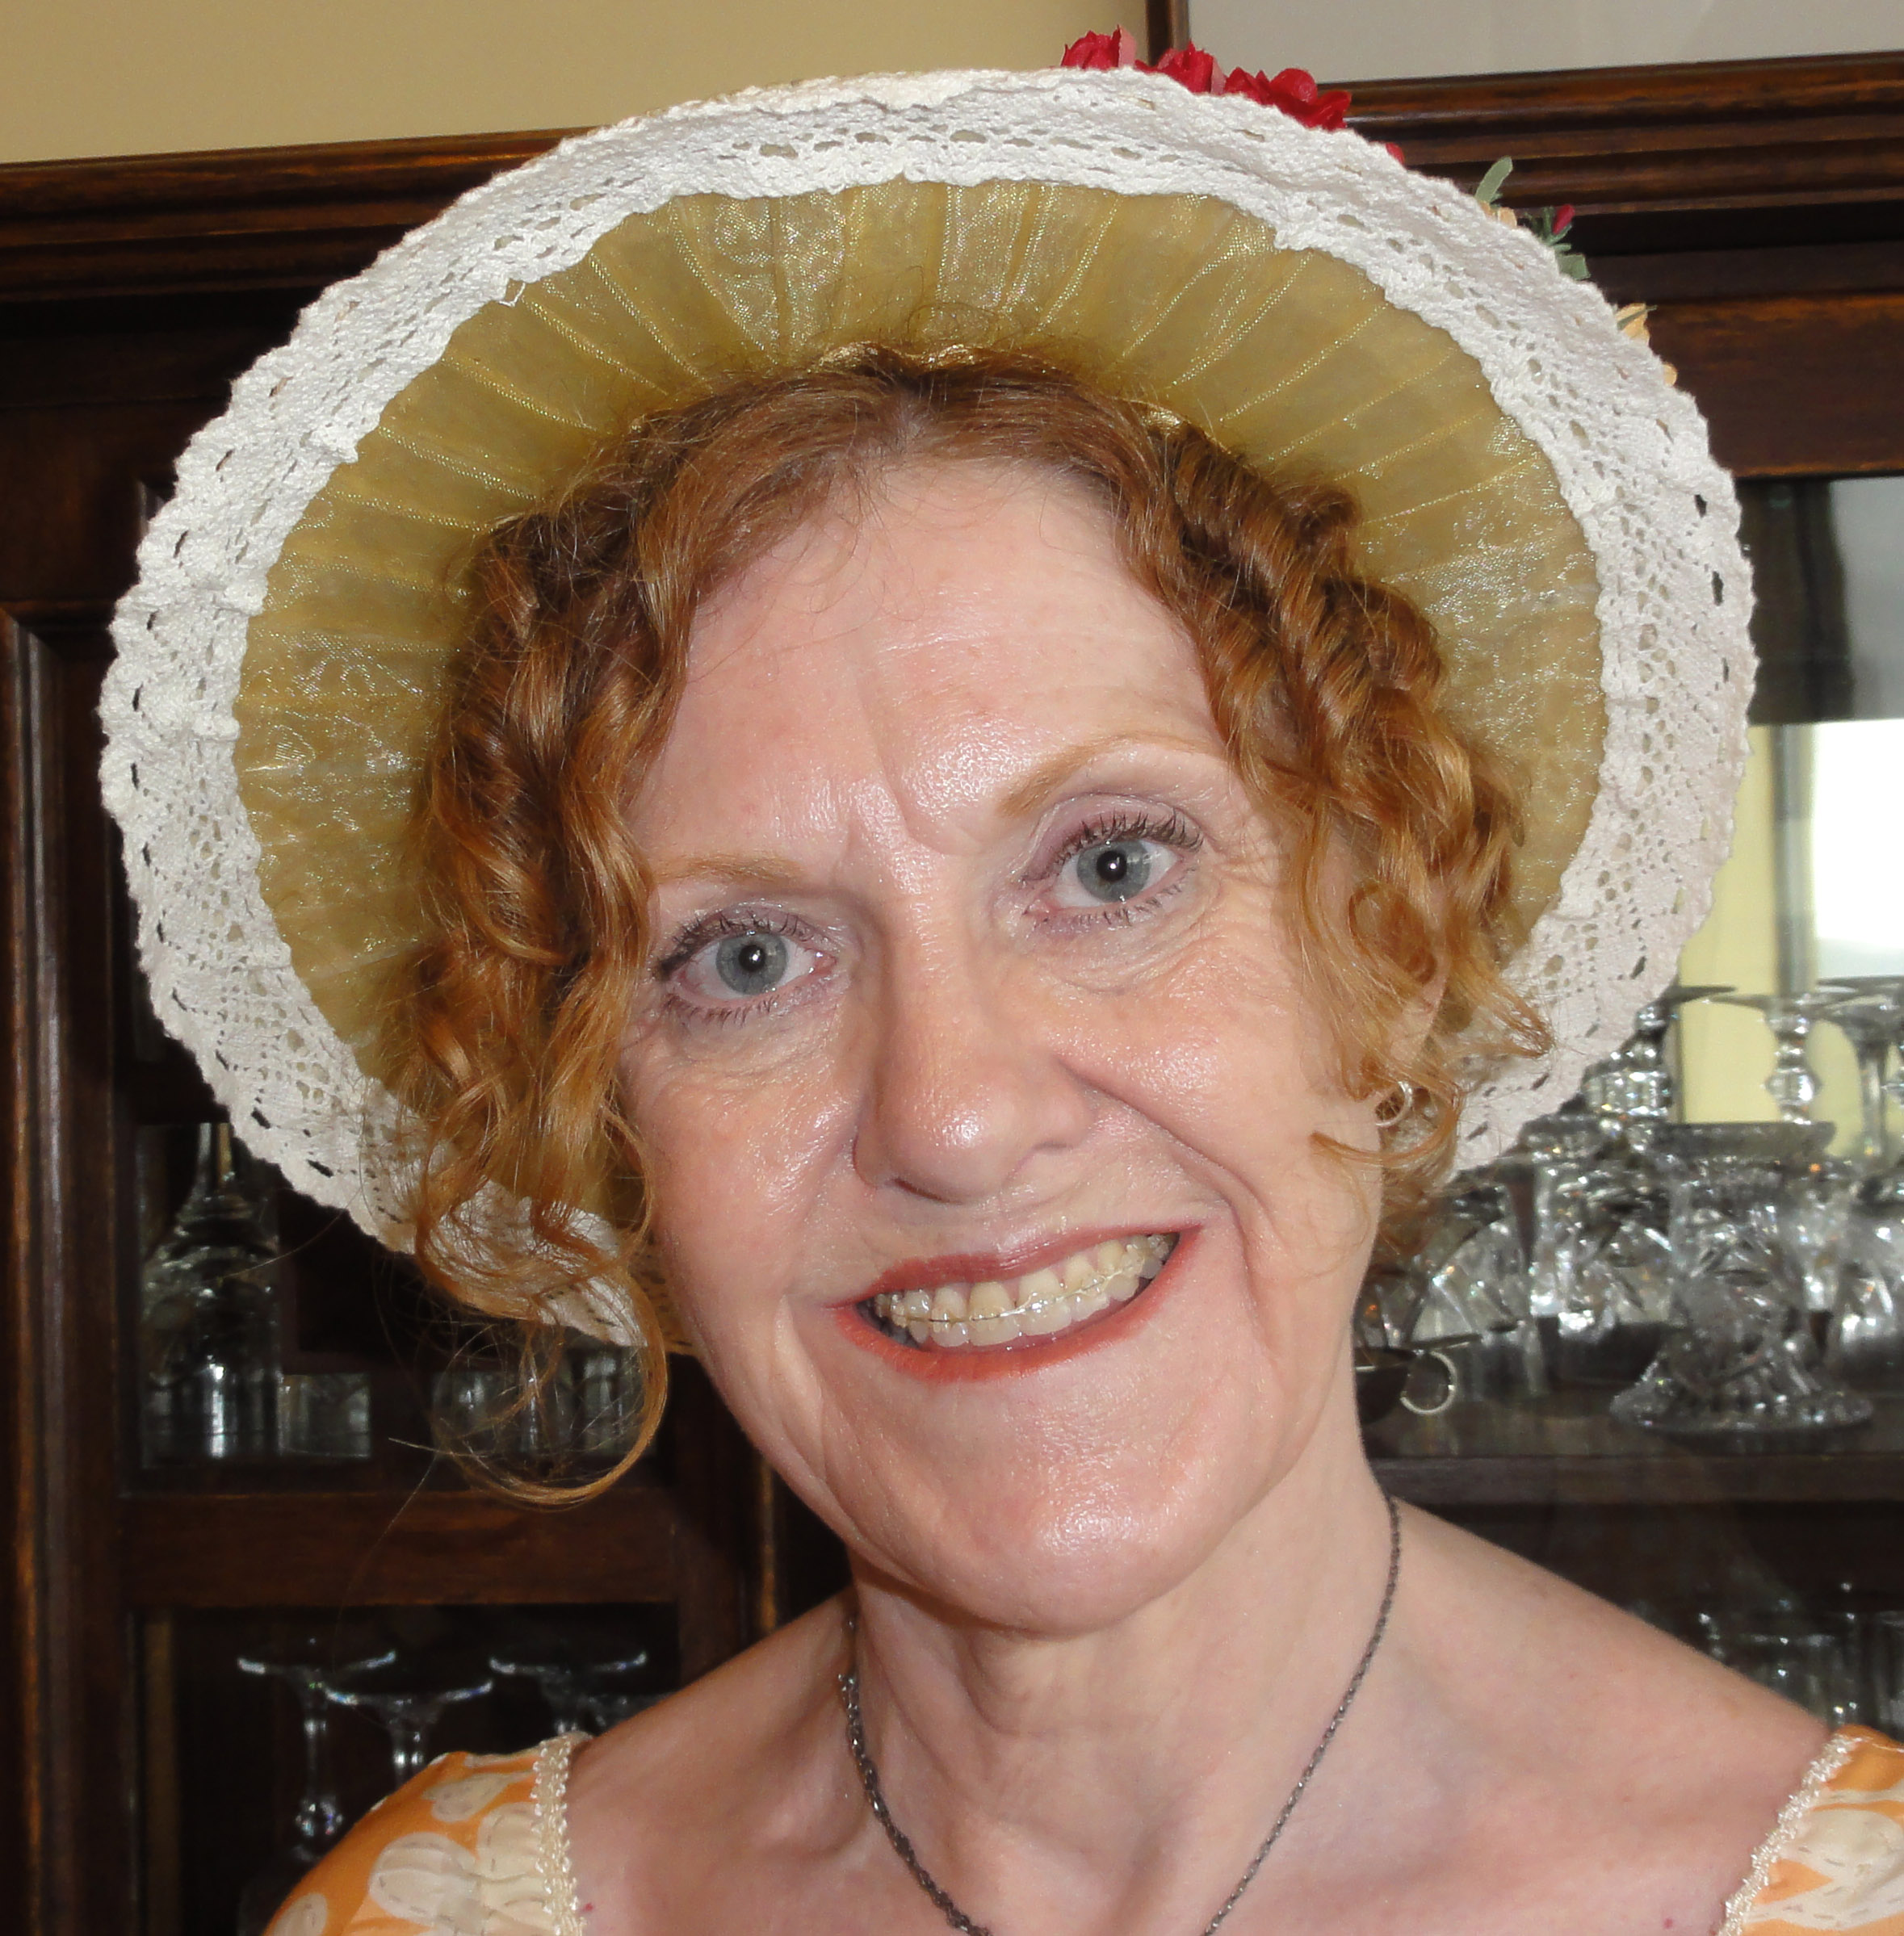
This is the most common type of hat at Regency costume events, probably because it’s fairly easy to make and is quite cute! It’s not nearly as common in Regency fashion plates or paintings, though; that’s where the poke bonnet shines. The capote is the one that looks like a tea cosy or shower cap over a brim that’s narrow in the back and moderate in the front, or goes about ¾ of the way around. The proper description is “a firm brim with a soft cap.”
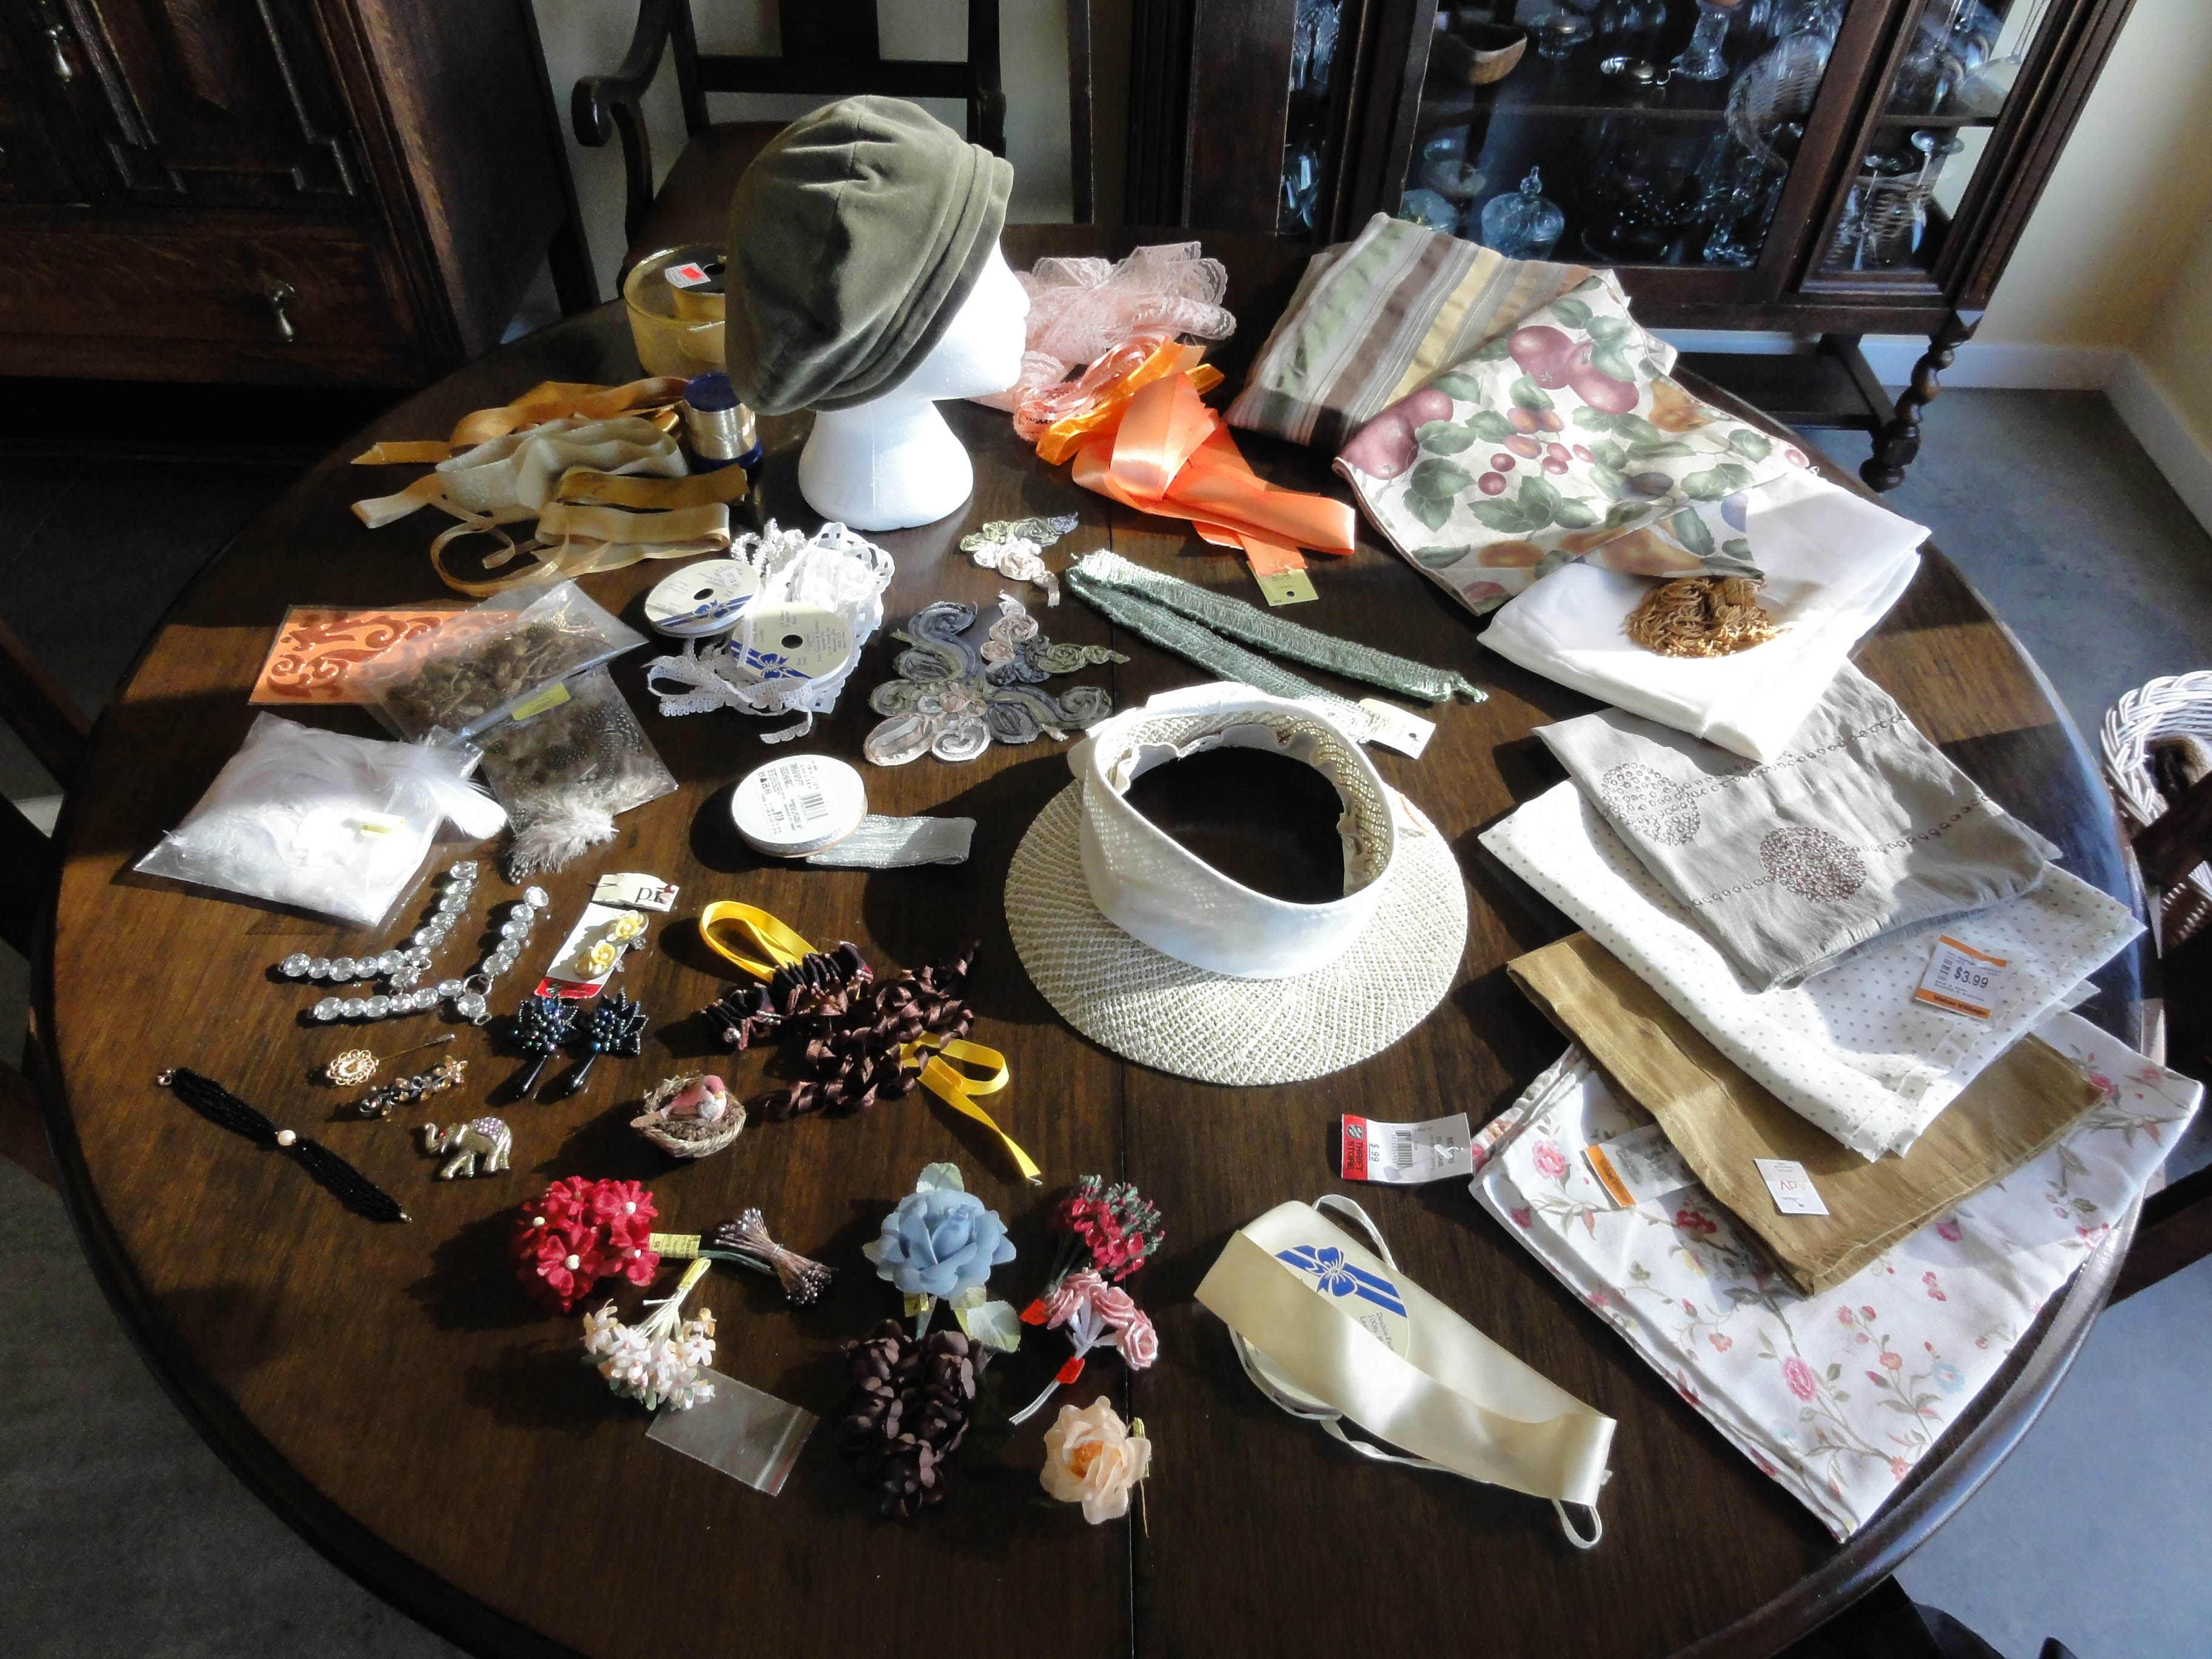
I found the perfect shaped brim in a green and natural-coloured straw visor with a mid-weight cotton band and bow. You can see all the fabric and trim options for all my hats above, along with this hat. Some are too bold, others too plain, and some too matchy-matchy.
I’m not using the little green velvet hat, as I love it for everyday modern, and won’t modify it. I may dress it up as a turban, but I like the table-runner turban, which goes well with the gown I like best for the ball at the Louisville JASNA AGM this fall.
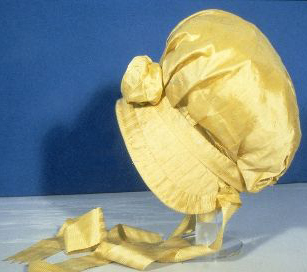
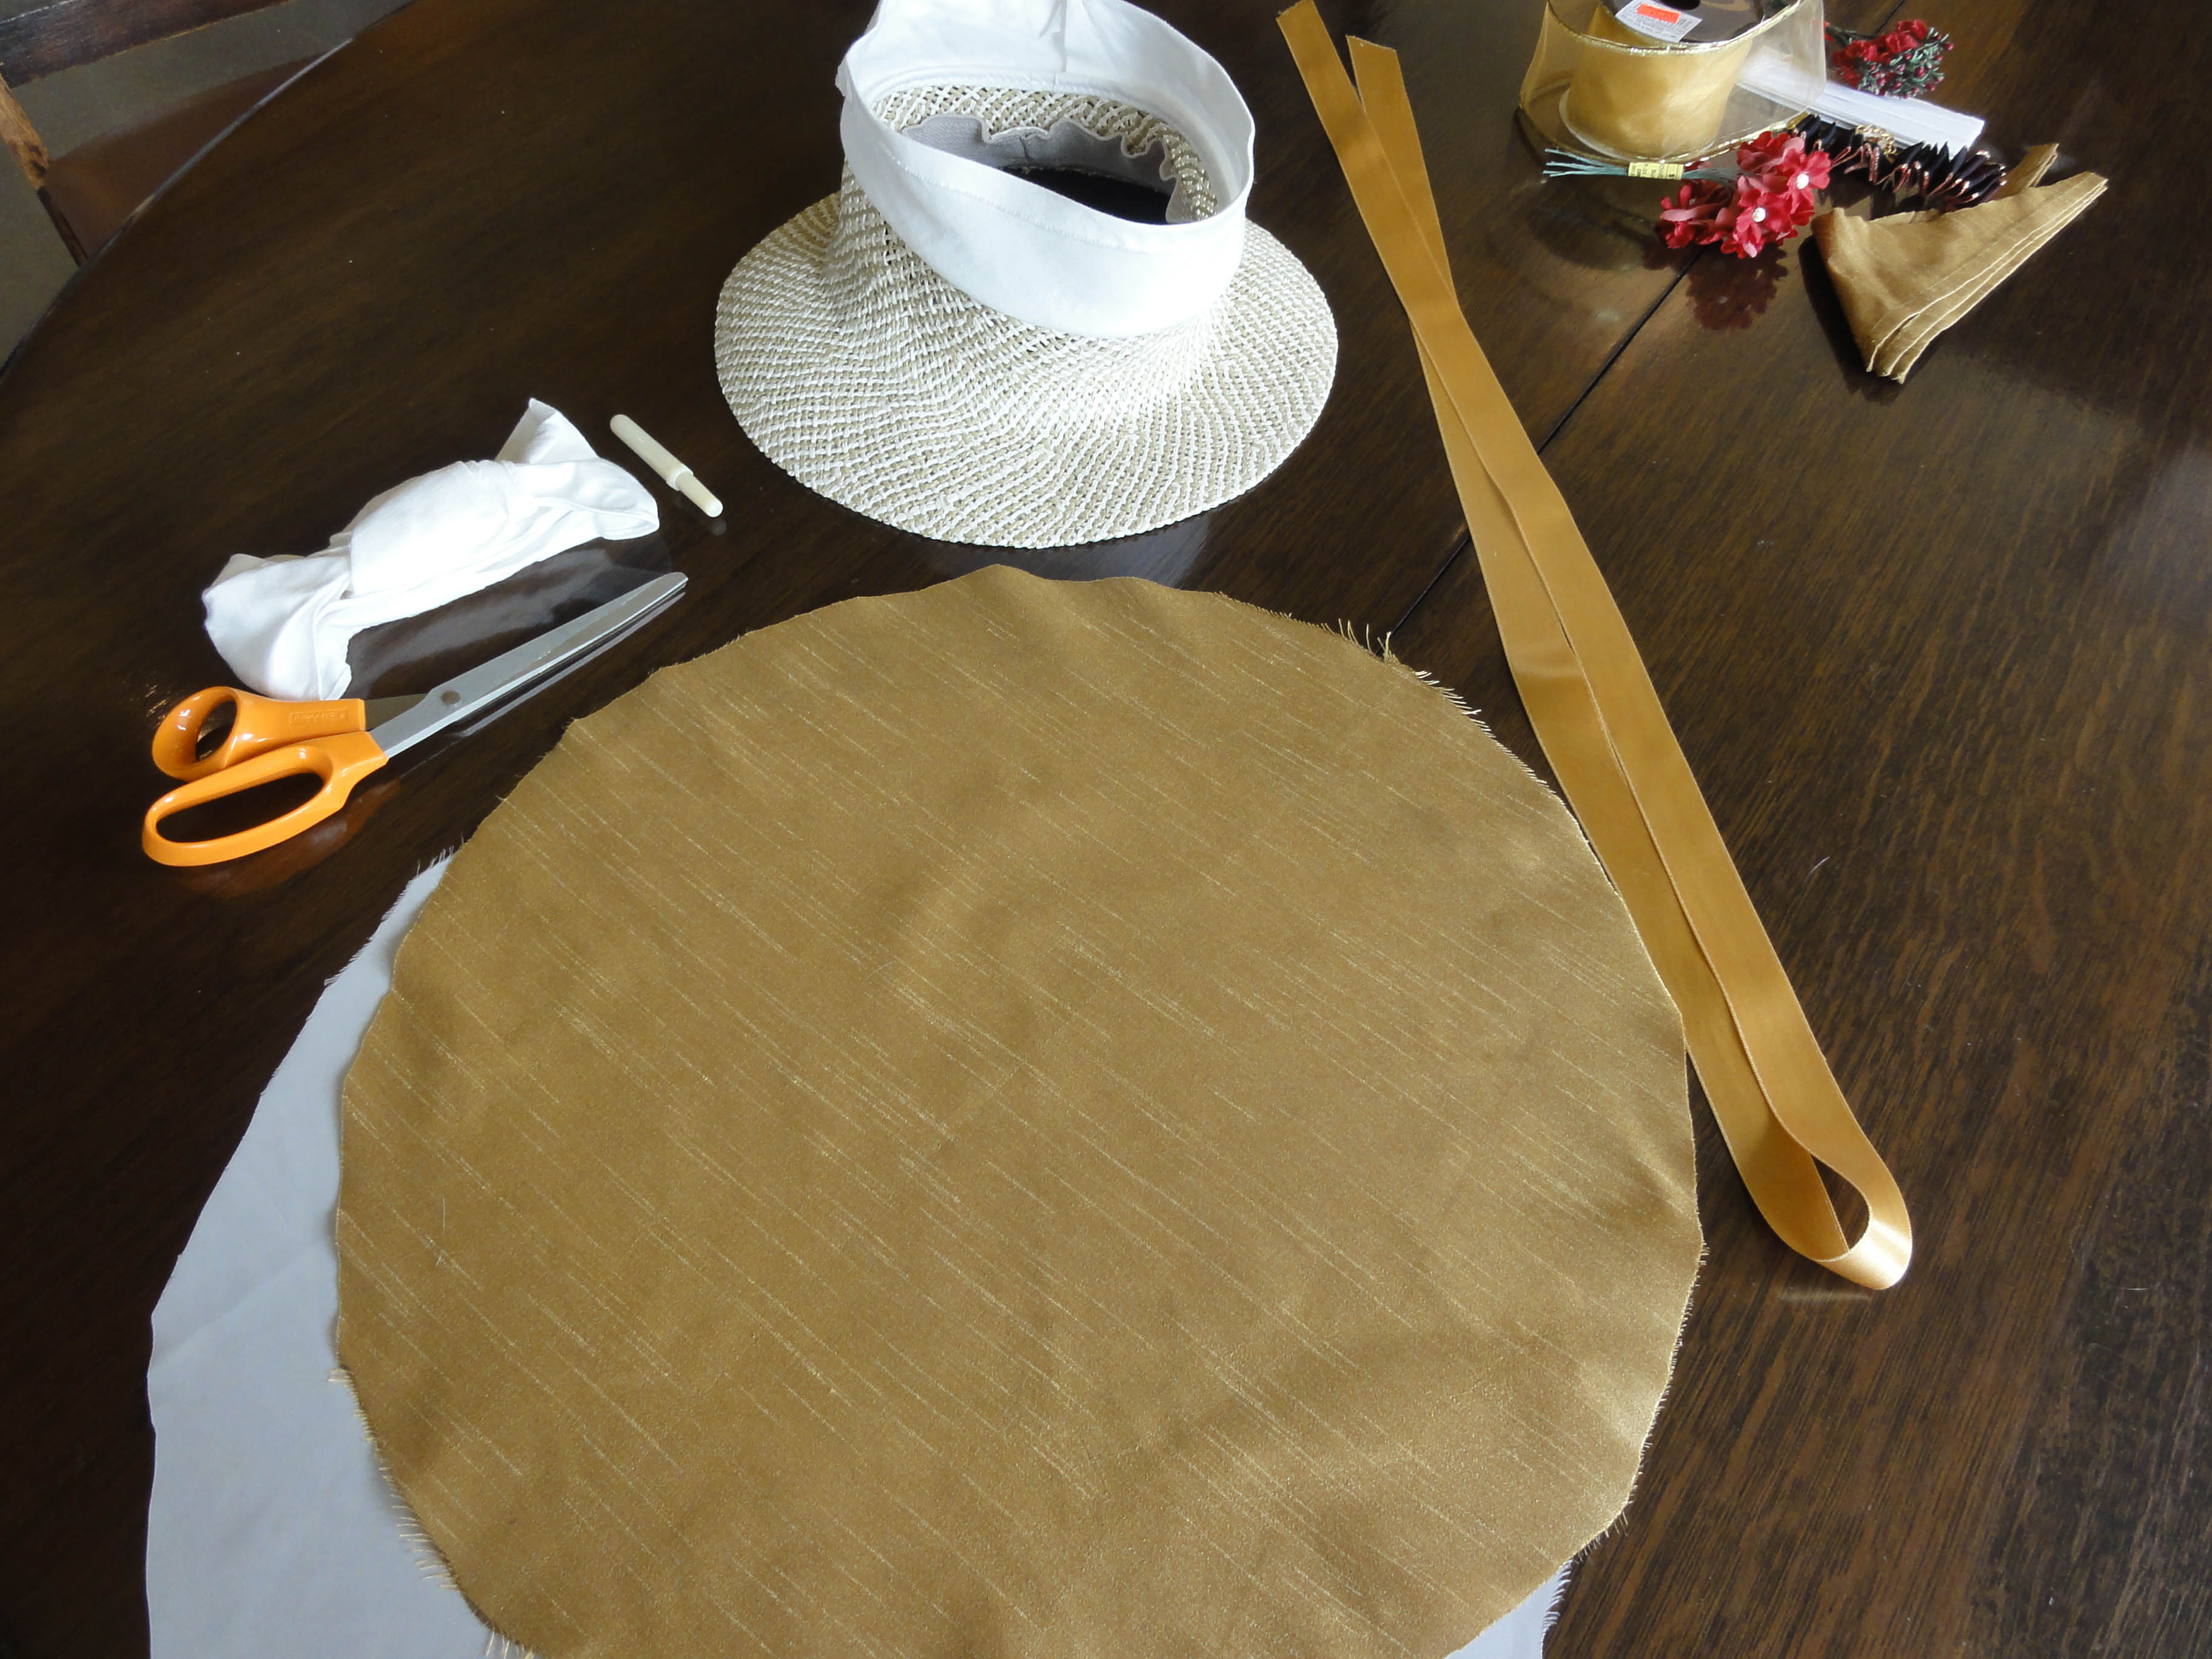
I chose one of the pair of 19″ square gold silk dinner napkins as the soft cover for my capote.
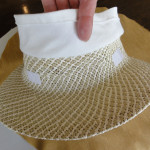
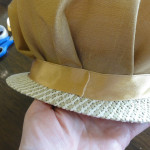
 I removed the bow from the hat, but not the fabric, choosing instead to turn it up to help support the new fabric.
Here are the steps used to make the cover, with accompanying photos (click on thumbnails to see larger image):
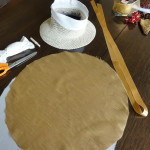
- Cut the napkin into a circle (procedure for an easy way to cut a circle is at the end of this post).
- Cut a matching circle of your lining material.
- Measure distance around hatband level. Cut a length of 1″-1½” wide ribbon about an inch longer.
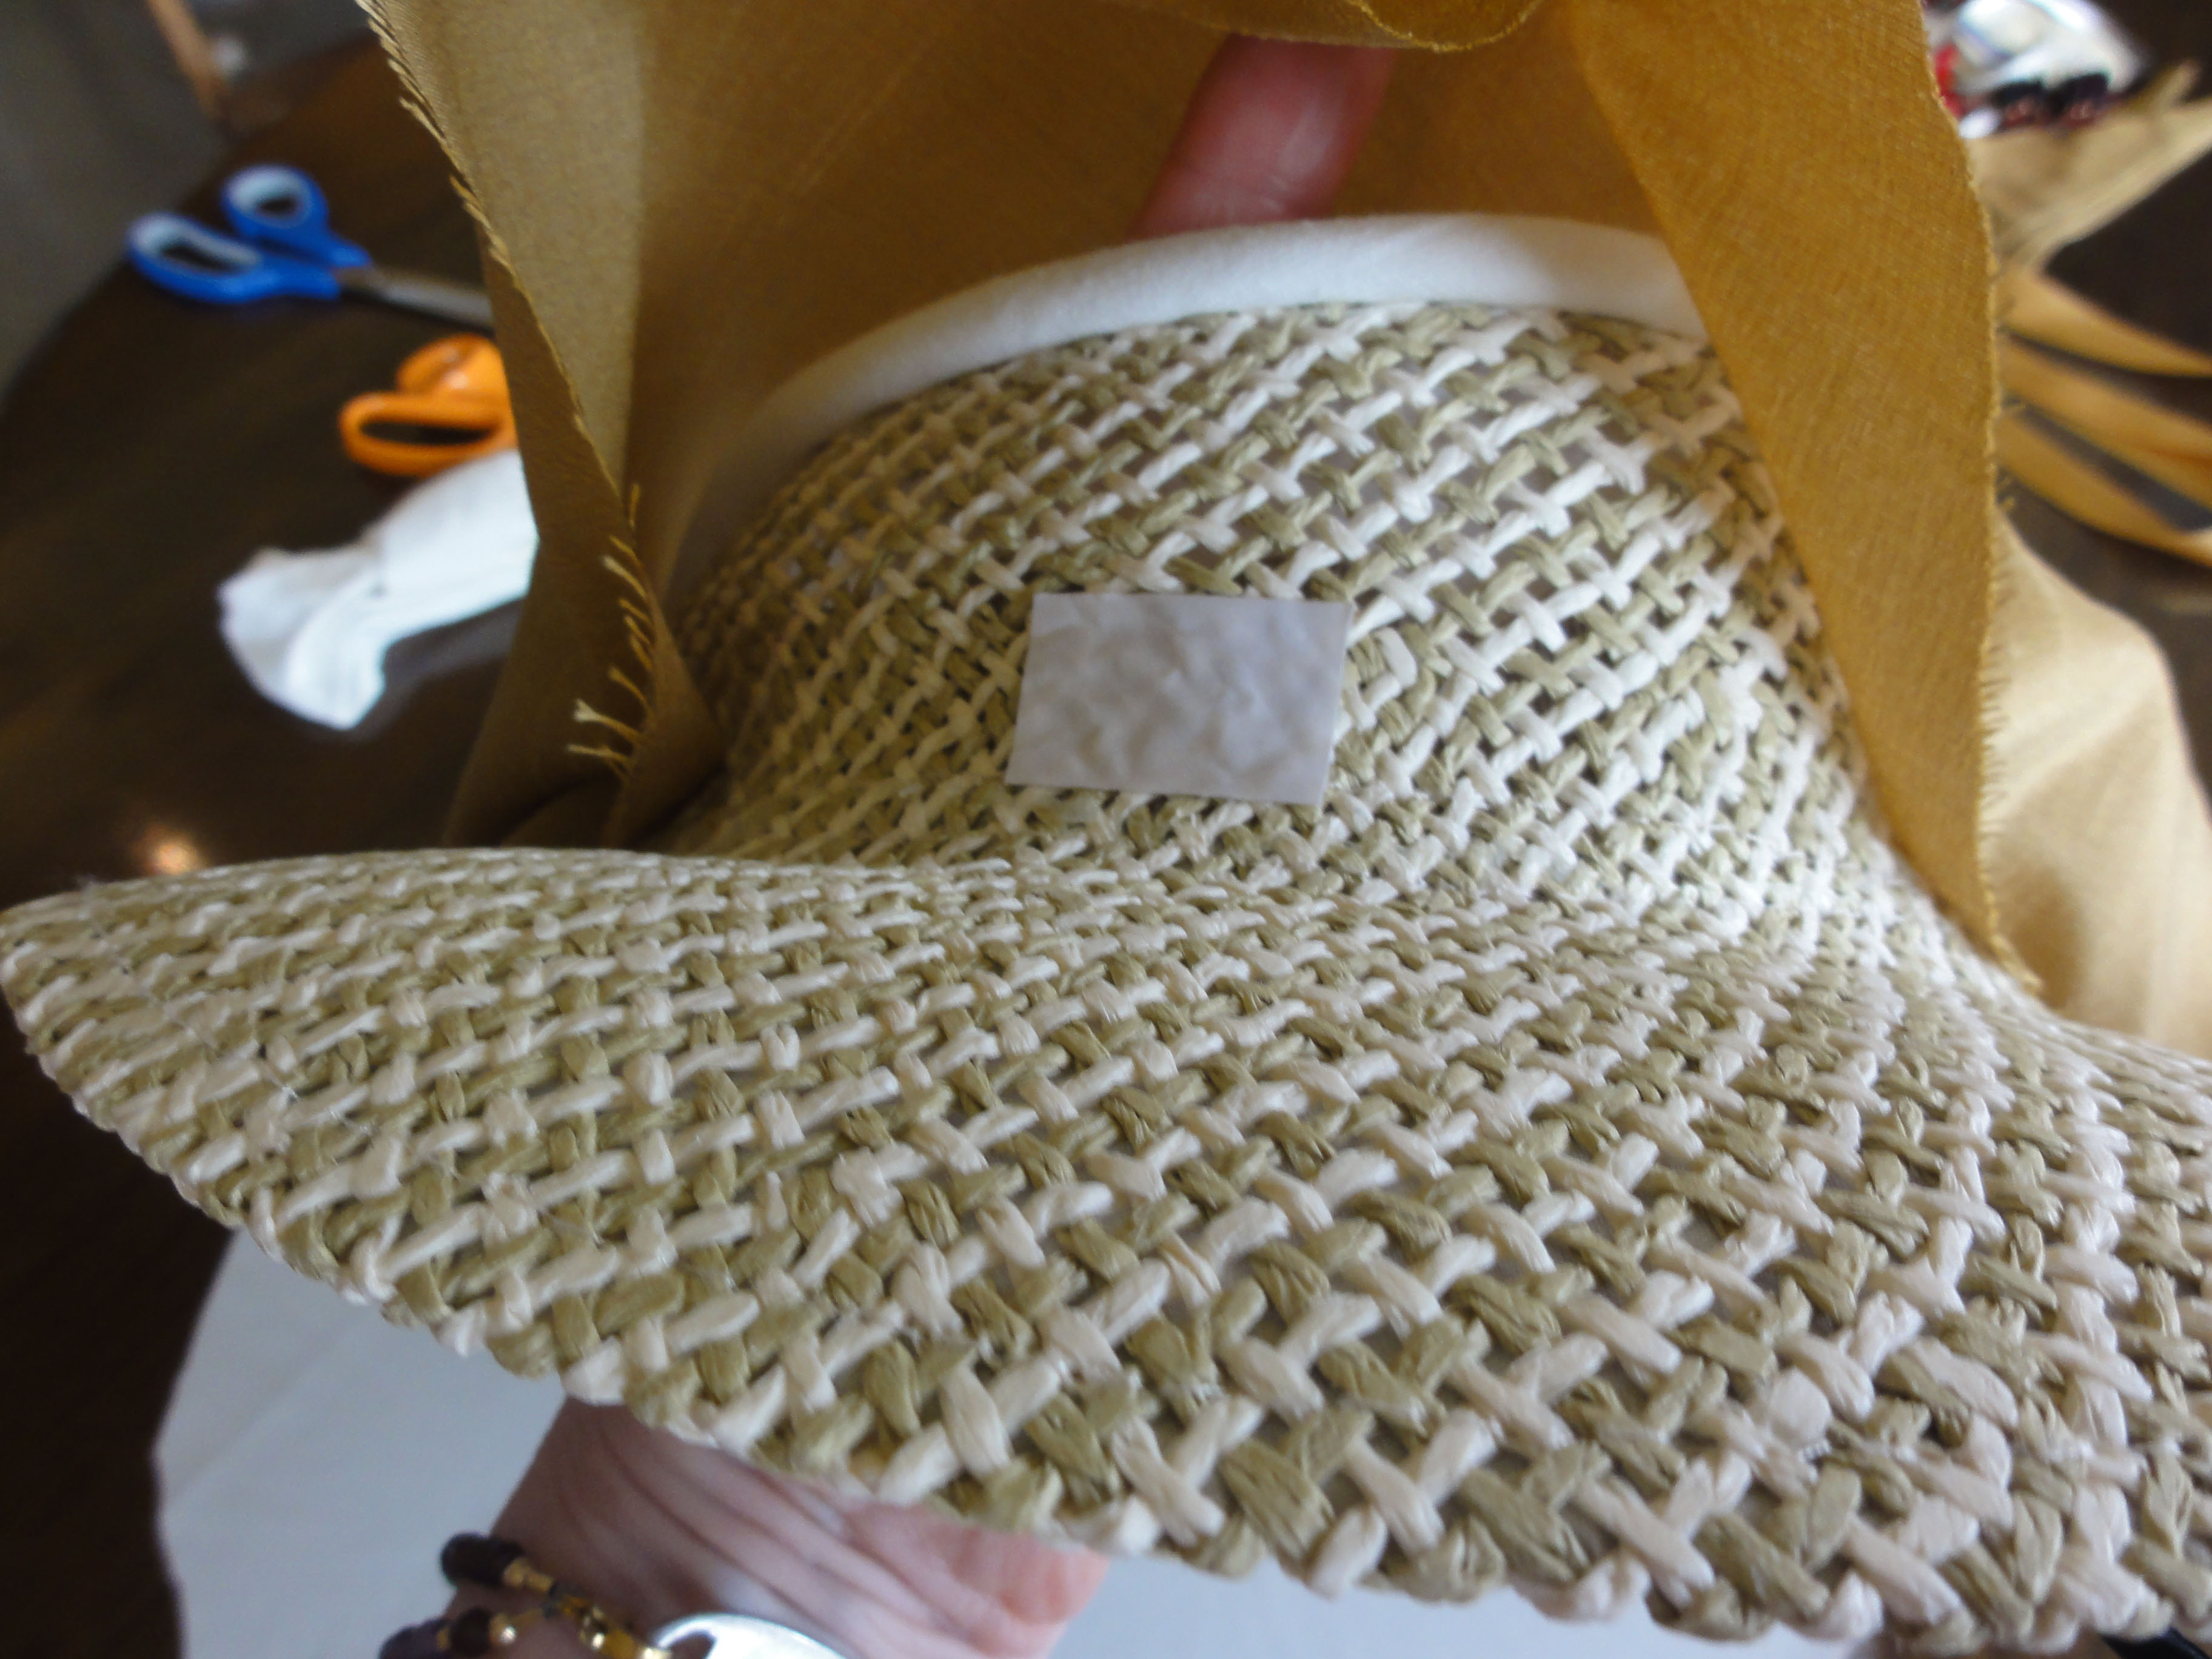
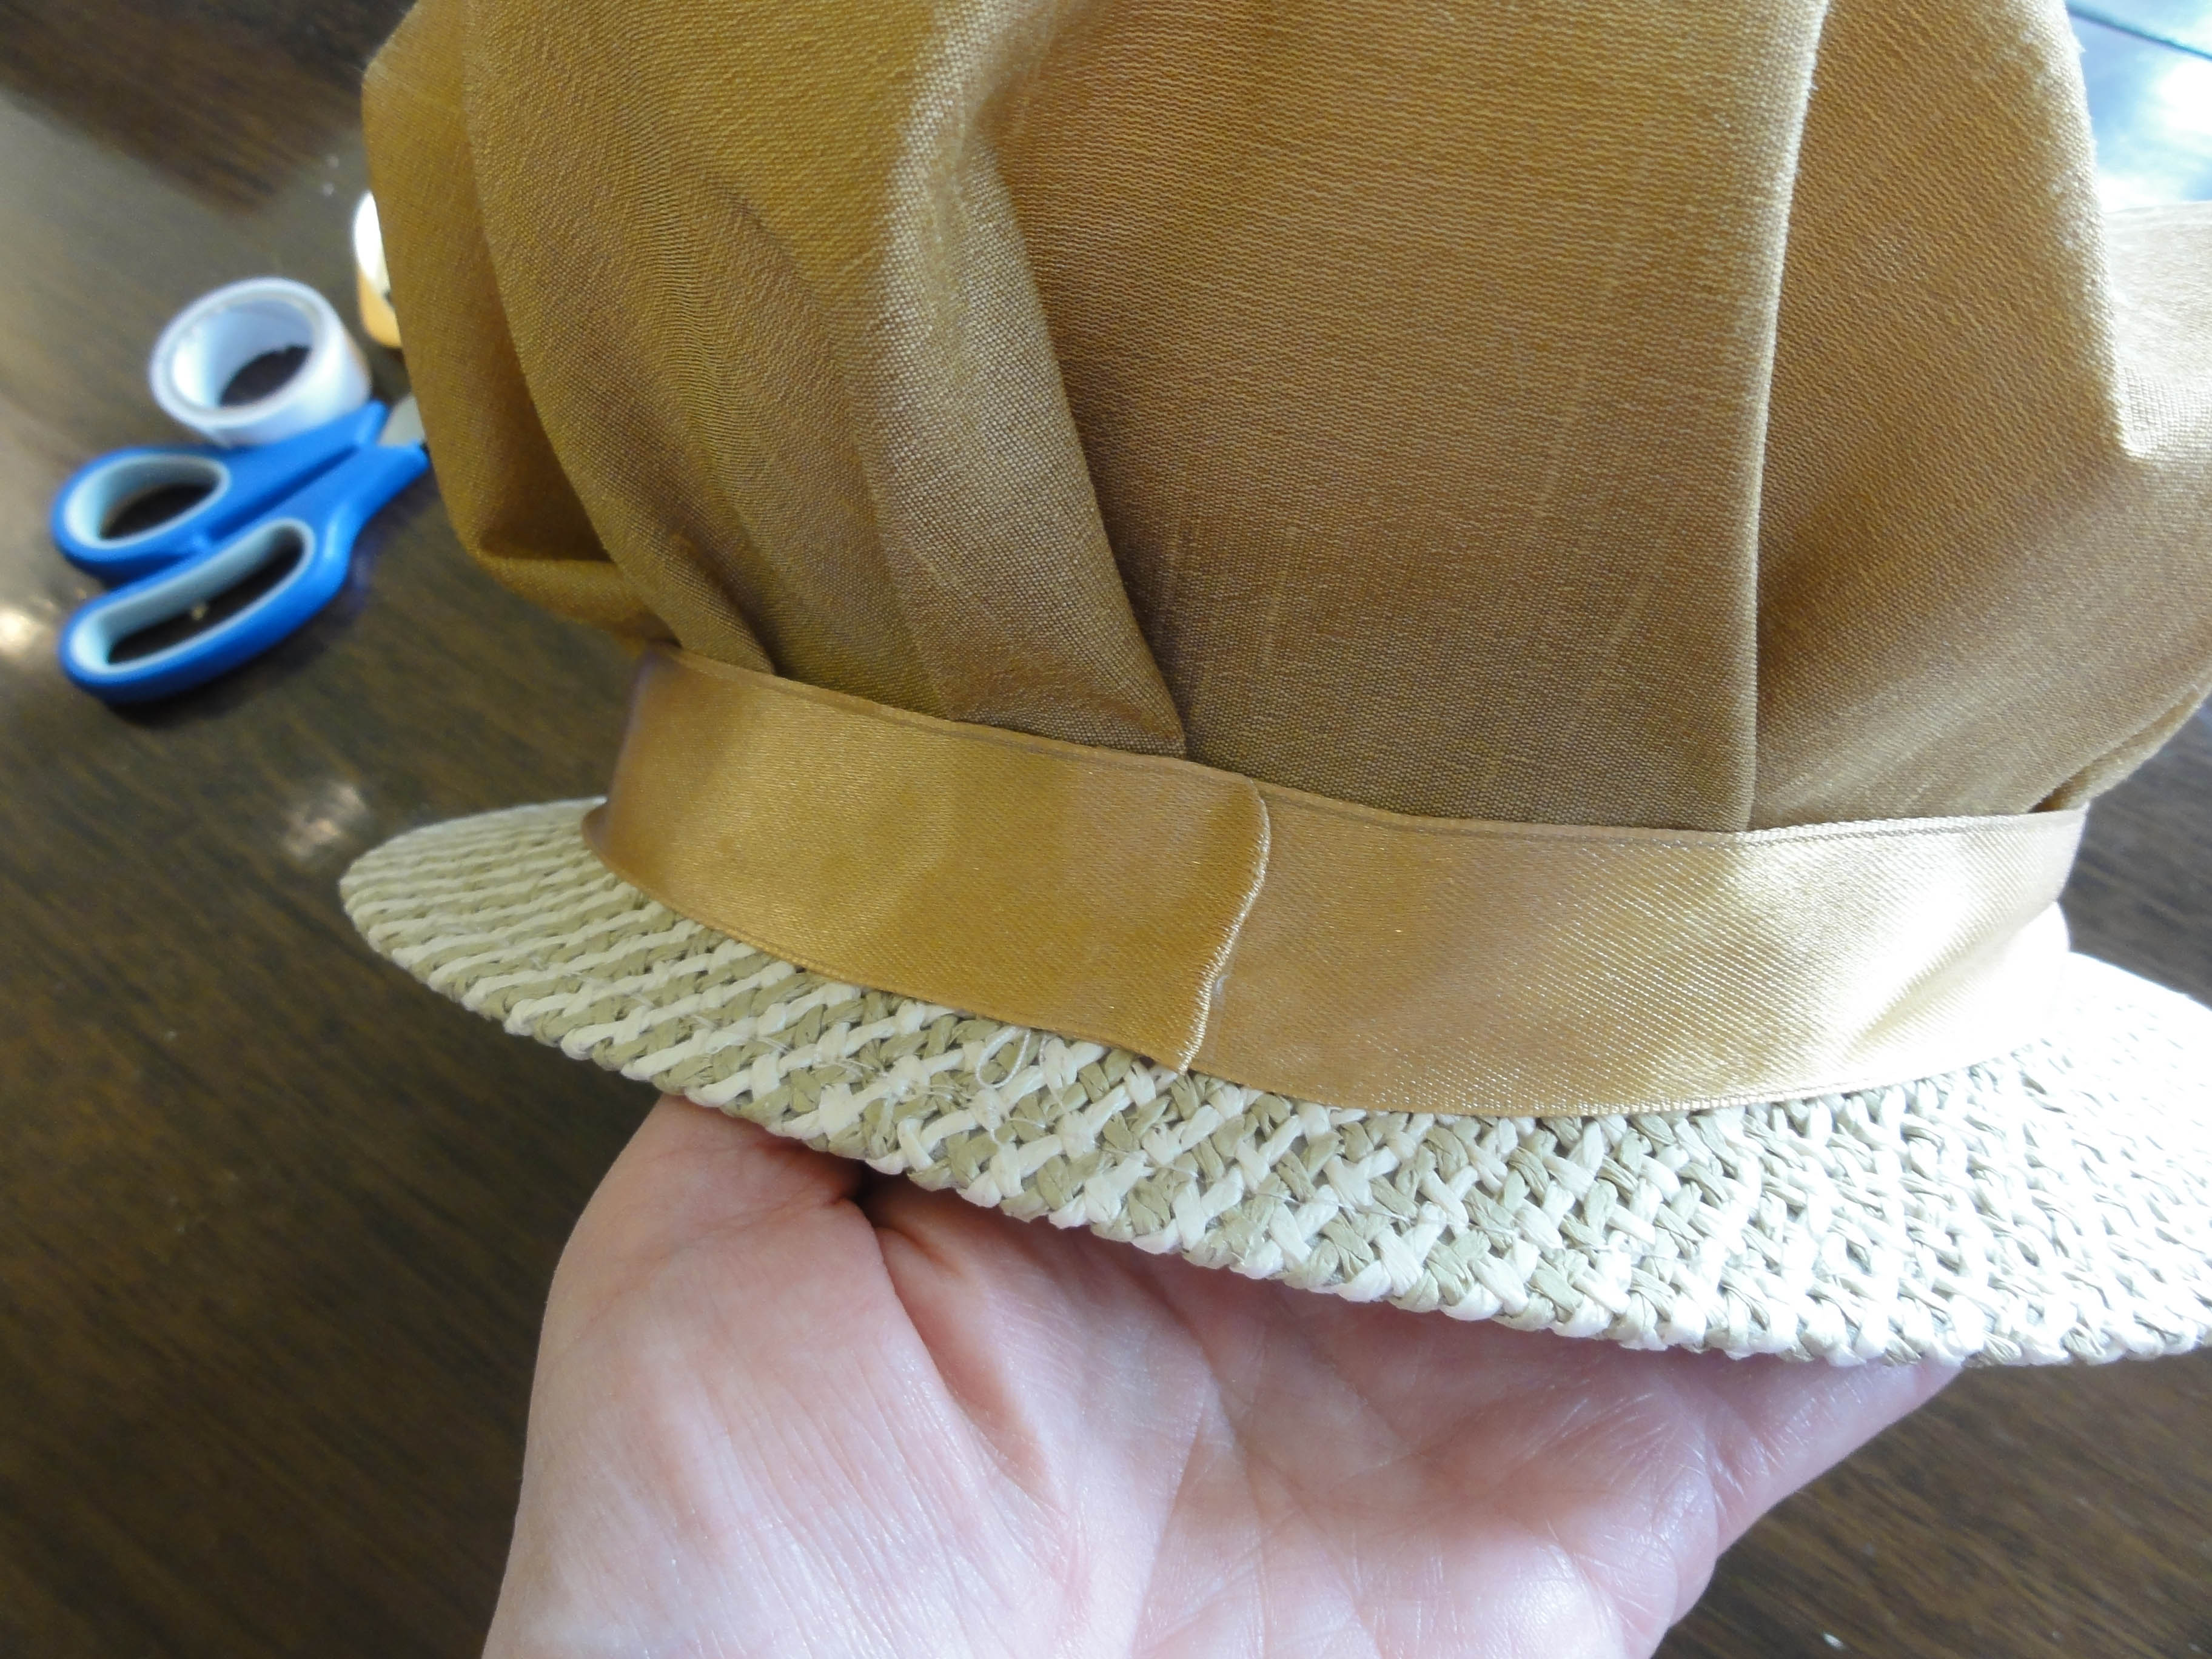
- Place 1½”-2” strips of double sided tape about ½” above where the brim meets the crown of the hat (under where the hatband would sit) in four equal spaces; scrub/burnish with your fingernail to ensure they’re stuck.
- Align the grain of the napkin fabric circle front to back and attach to the front and back pieces of tape; burnish with your fingernail. Repeat with the tape at 1/4 marks.
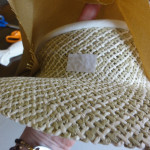
- Place another 4 pieces of tape half-way between the first four and press down the centre of the fabric between them. Scrub with your fingernail to make sure tape holds.
- Continue putting tape half-way between previous positions and pressing down cover until tape is continuous or gaps are less than ½”.
 Fold in half and position fold at front centre, then wrap around to back. Fold one end under and tape underneath to ribbon below it.
- Adjust folds in napkin fabric as needed to get the look you like.

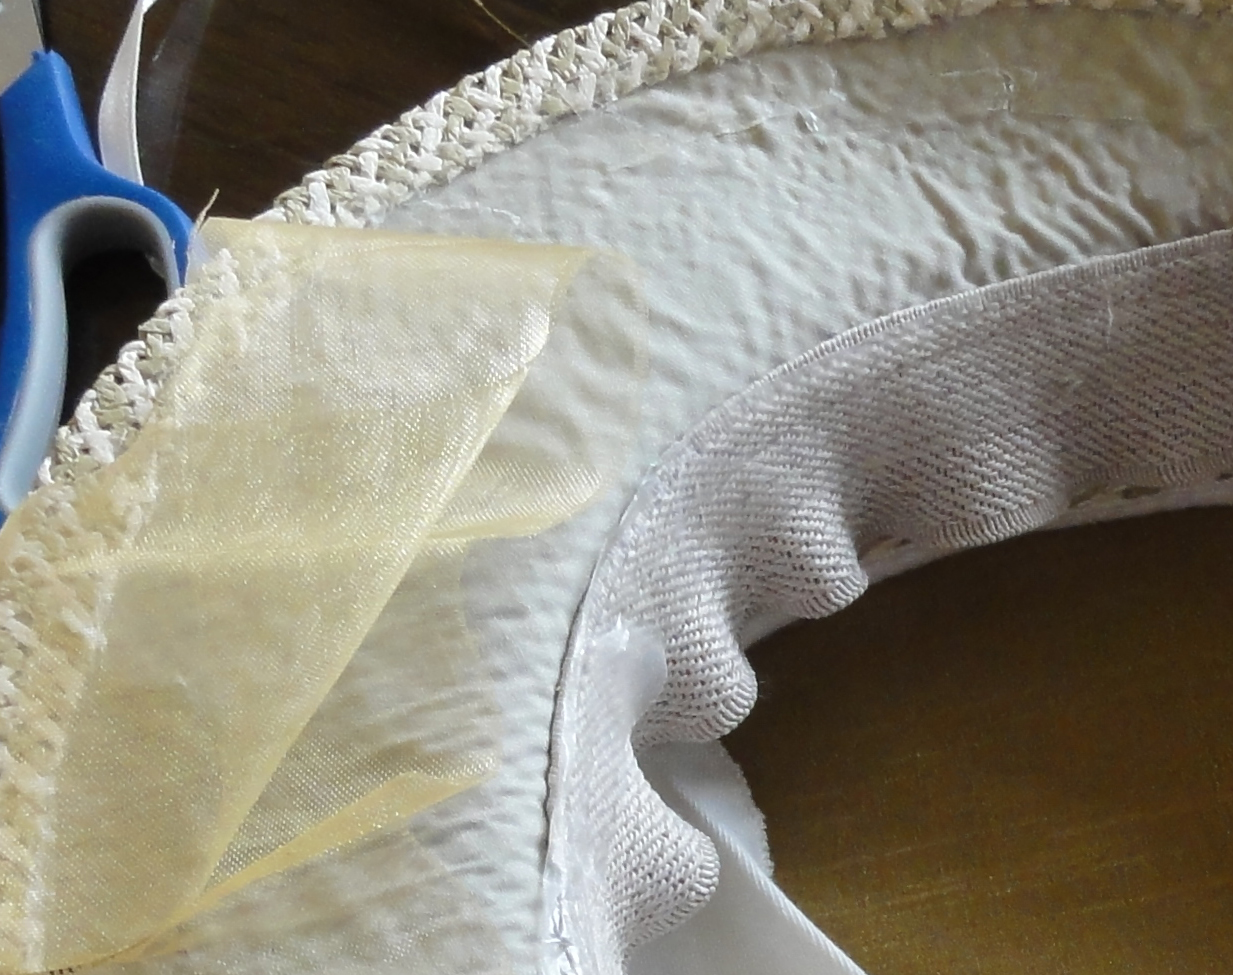 My hat was lined under the brim, but it was unattractive. It added stiffness, so I decided to leave it and cover it. A pale gold 3” wide wire-edged ribbon was about the same width as the front of the brim, so I chose to use it, removing the wire edges first. It will be easier if your fabric is wider than the space you want to cover.
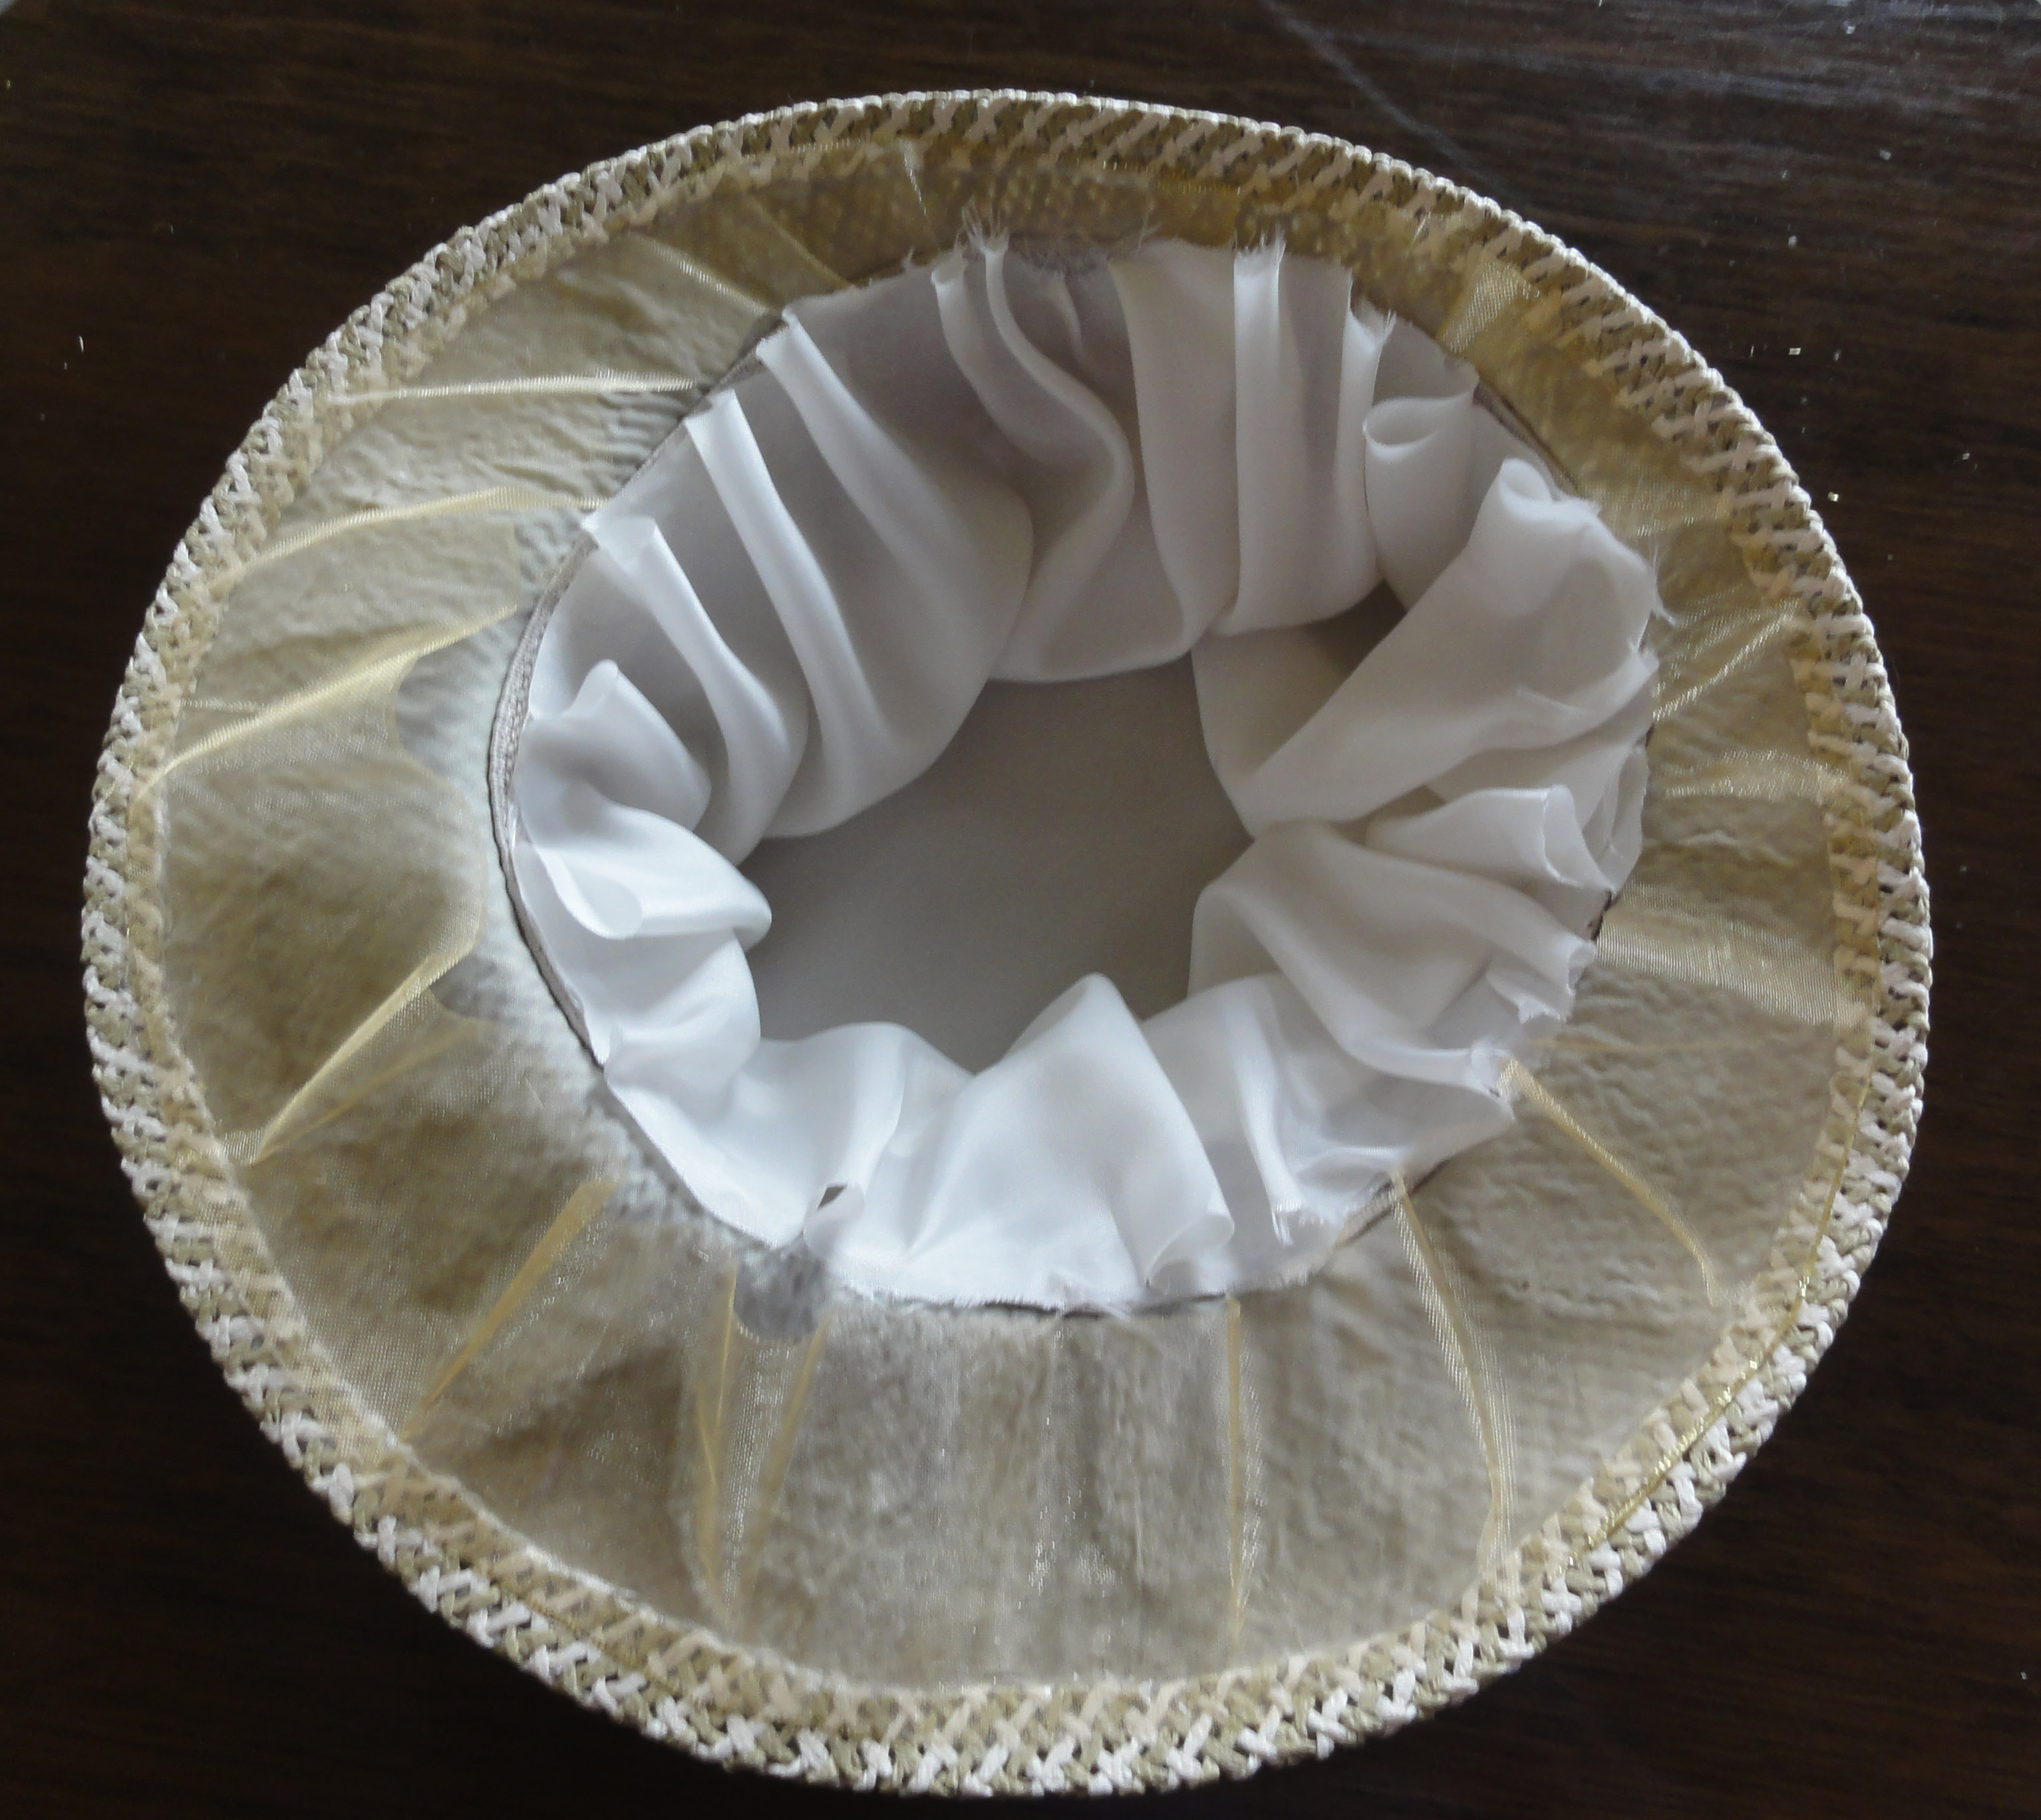
Here is how I attached a pleated lining to the underside of the brim:
- Mask off the areas you don’t want to glue: masking tape works well for narrow spaces, and paper for others.
- I covered the interior circle of the hat with a loose piece of paper, then made loose arcs of paper about 6 inches wide to tuck under the brim to protect the napkin cover.
- I used 2″ strips of masking tape to cover the edge that matched the top.
- Put newspaper on the floor of your work area at least 3 feet square.
- Spray glue on the area you wish to cover.
- Wait 5 minutes. The glue should be sticky enough to hold fabric in place, but not so sticky that it can’t be peeled back and adjusted: a bit stickier than “Post-it” notes.
- Start at the centre front of the underside of the hat brim and fold pleats in opposing directions, with the outside of the pleat slightly wider than that at the crown part (centre). A nice size is finger-width. The stiff net material I worked with kept its fold nicely, so I would recommend a stiff but not heavy fabric.
- Continue down each side, aligning the outside edge.
- Cut a ribbon the same size as your hatband ribbon and fold in half. (You can also use bias binding tape, a cloth tape with lots of give.)
If you are not lining the hat:
- Trim the brim lining to just inside of the hole for your head (inside of headband).
- Run double-sided tape along the inside edge of the pleats, just barely on top of the pleats, and continuing past them inside.
- Start at the centre front with the middle of the second ribbon or bias binding tape, and attach the outer edge of this ribbon along the edge of the tape just to hide the edge of the pleats.
- Ease around curves, that is, slightly compress the short side of the length
 of the ribbon edge without folding, so the long side can match the curve.
 - At the end, fold the edge of one end of the ribbon under. Use double-sided tape to attach it over other end for a neat finish.
To line the hat:
- Take the circle of lining fabric that was cut the same size as the napkin circle and place pins at each ¼ around the outside edge.
- Using the second ribbon or bias tape as above, run double-sided tape along the length of the ribbon along one edge only. Mark ¼ lengths with pins.
- Attach the circle of lining fabric to the ribbon about 1/3 of the way up, pinching pleats in along the way. Leave the ends free in case you need to adjust when attached to the hat.
- Continue from the third point in the section above. Remove pins.
 To add lace or ribbon to the outer edge of the brim:
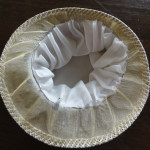
- I wasn’t crazy about the look of the unfinished edge of the pleats, so I decided to add lace.
- This can be done from above or below.
- Tape the brim edge with double-sided tape the entire width that you expect the lace to cover.
- Start the middle of the lace at the center front, similar to how you’ve attached the ribbon in the previous section. Ease in the lace (push edges together slightly but don’t fold) so it does not “roll” over itself.
 Final trim:
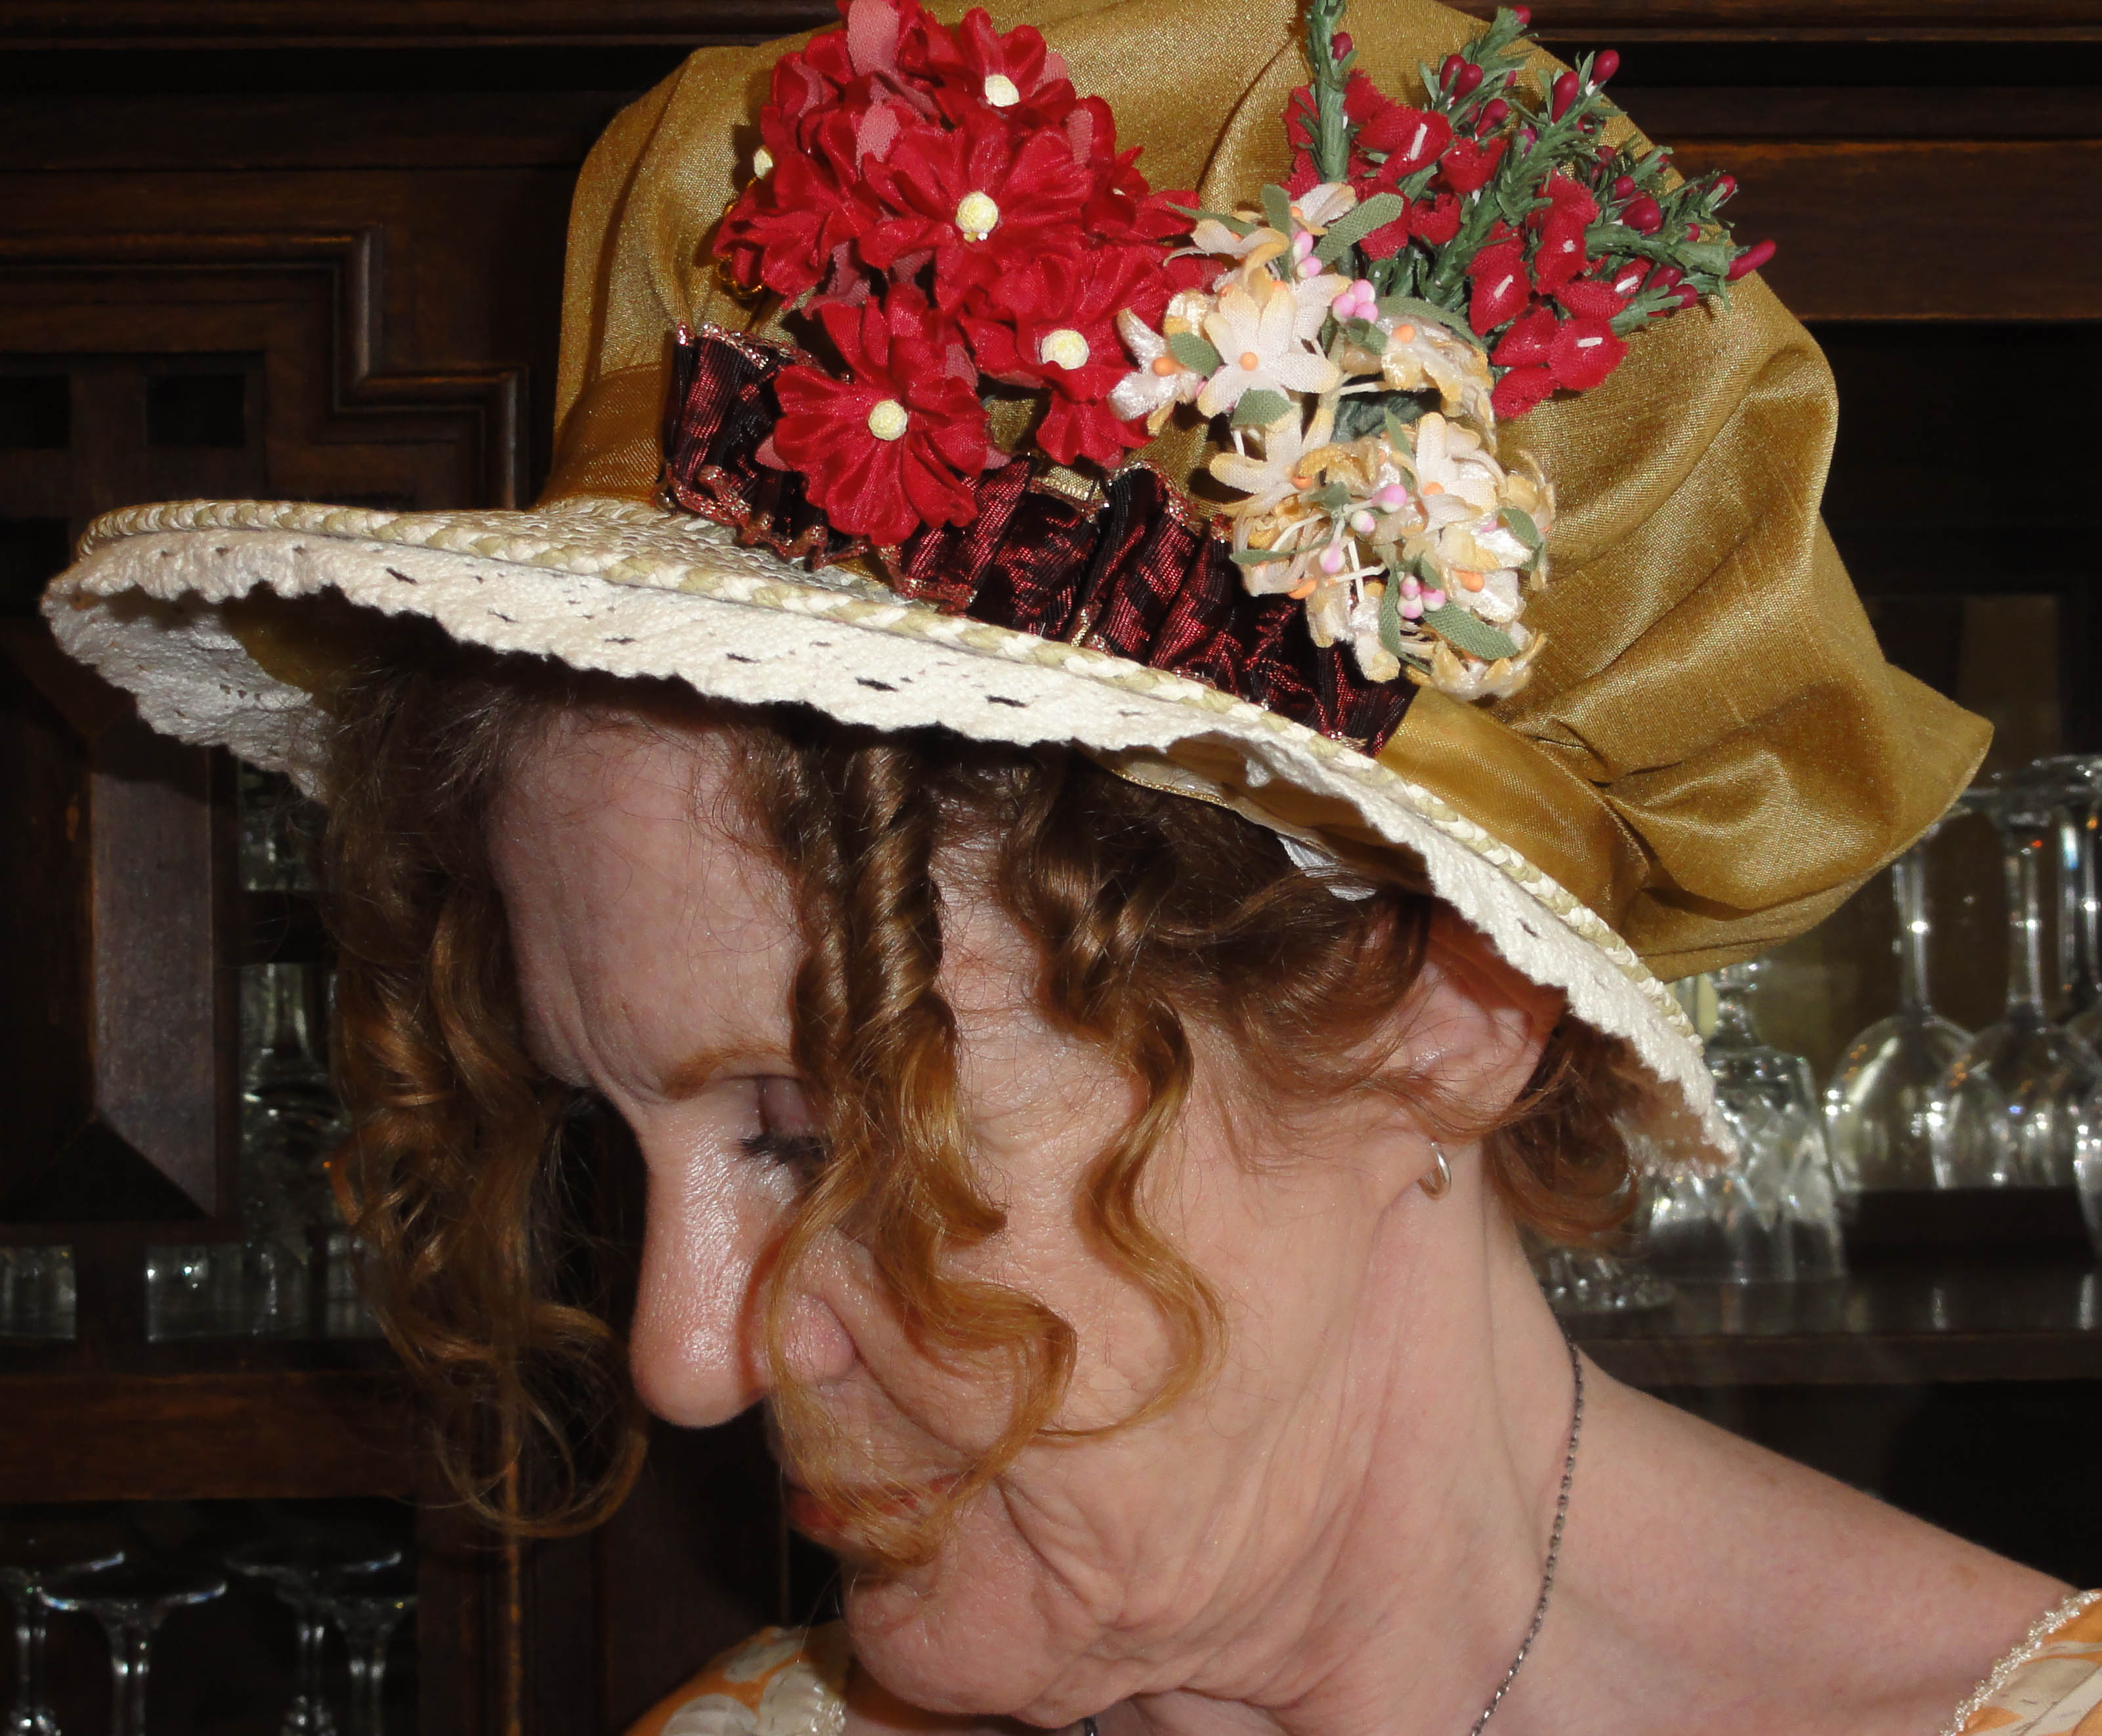
- I used some small bouquets of fabric flowers purchased on sale at a fabric store, a bit of ribbon folded accordion-style, and a stick pin with a petit-point rose in it, made by Grandma Lauder!
~~~
Total cost for this hat: Under $10!
 The visor was $1.99, and the napkin was in a set of two for $1.99, both from Value Village.
- Value Village was also the source of the ribbon, in a “grab bag” of more than a dozen bits for $3.99, as well as a 2m piece of cream lining satin for $1.99.
- The lace came from the spaghetti straps of a “Frankenstein” dress that was $14.98 and still has about 4m of other types of lace, plus some large panels of embroidery I plan to use on an evening gown.
- The little flower sprigs were $.50/each times three.
- I used a half package of double-sided tape for $2.99.
~~~
Trimming your hat or bonnet:
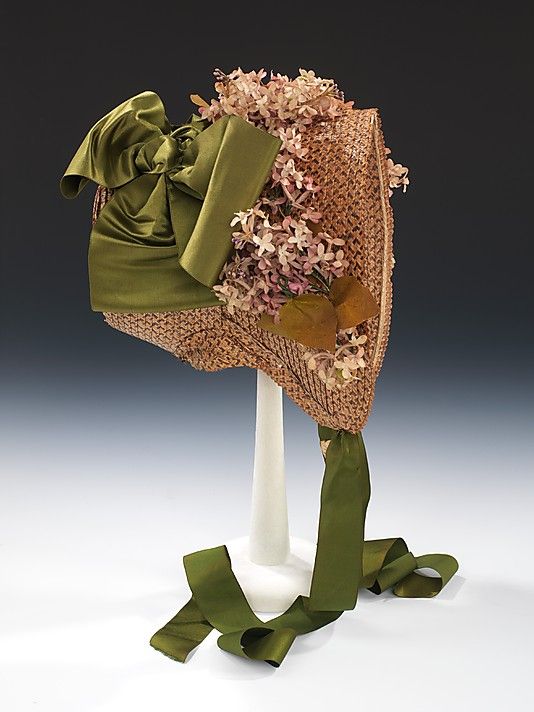
Flowers, foliage, feathers, and such are common on the sides, and sometimes on the back or the front of Regency headwear. We can’t tell from photos whether both sides of the hat were trimmed the same, if they were asymmetrical but both trimmed, or if only one side had adornments.
 These days, it’s really up to the wearer, as long as you make an effort to have a Regency look. Like gowns, the amount of fussiness and elaborate details increased as the Regency went on.
A little garnish does go a long way, so here are some ideas to whet your appetite.
http://historicalsewing.com/trimming-regency-bonnet-ideas-instructions
http://www.janeausten.co.uk/trim-your-regency-bonnet/
http://www.songsmyth.com/hatsandbonnets.html
 ~~~
~~~
To cut a circle from a square:
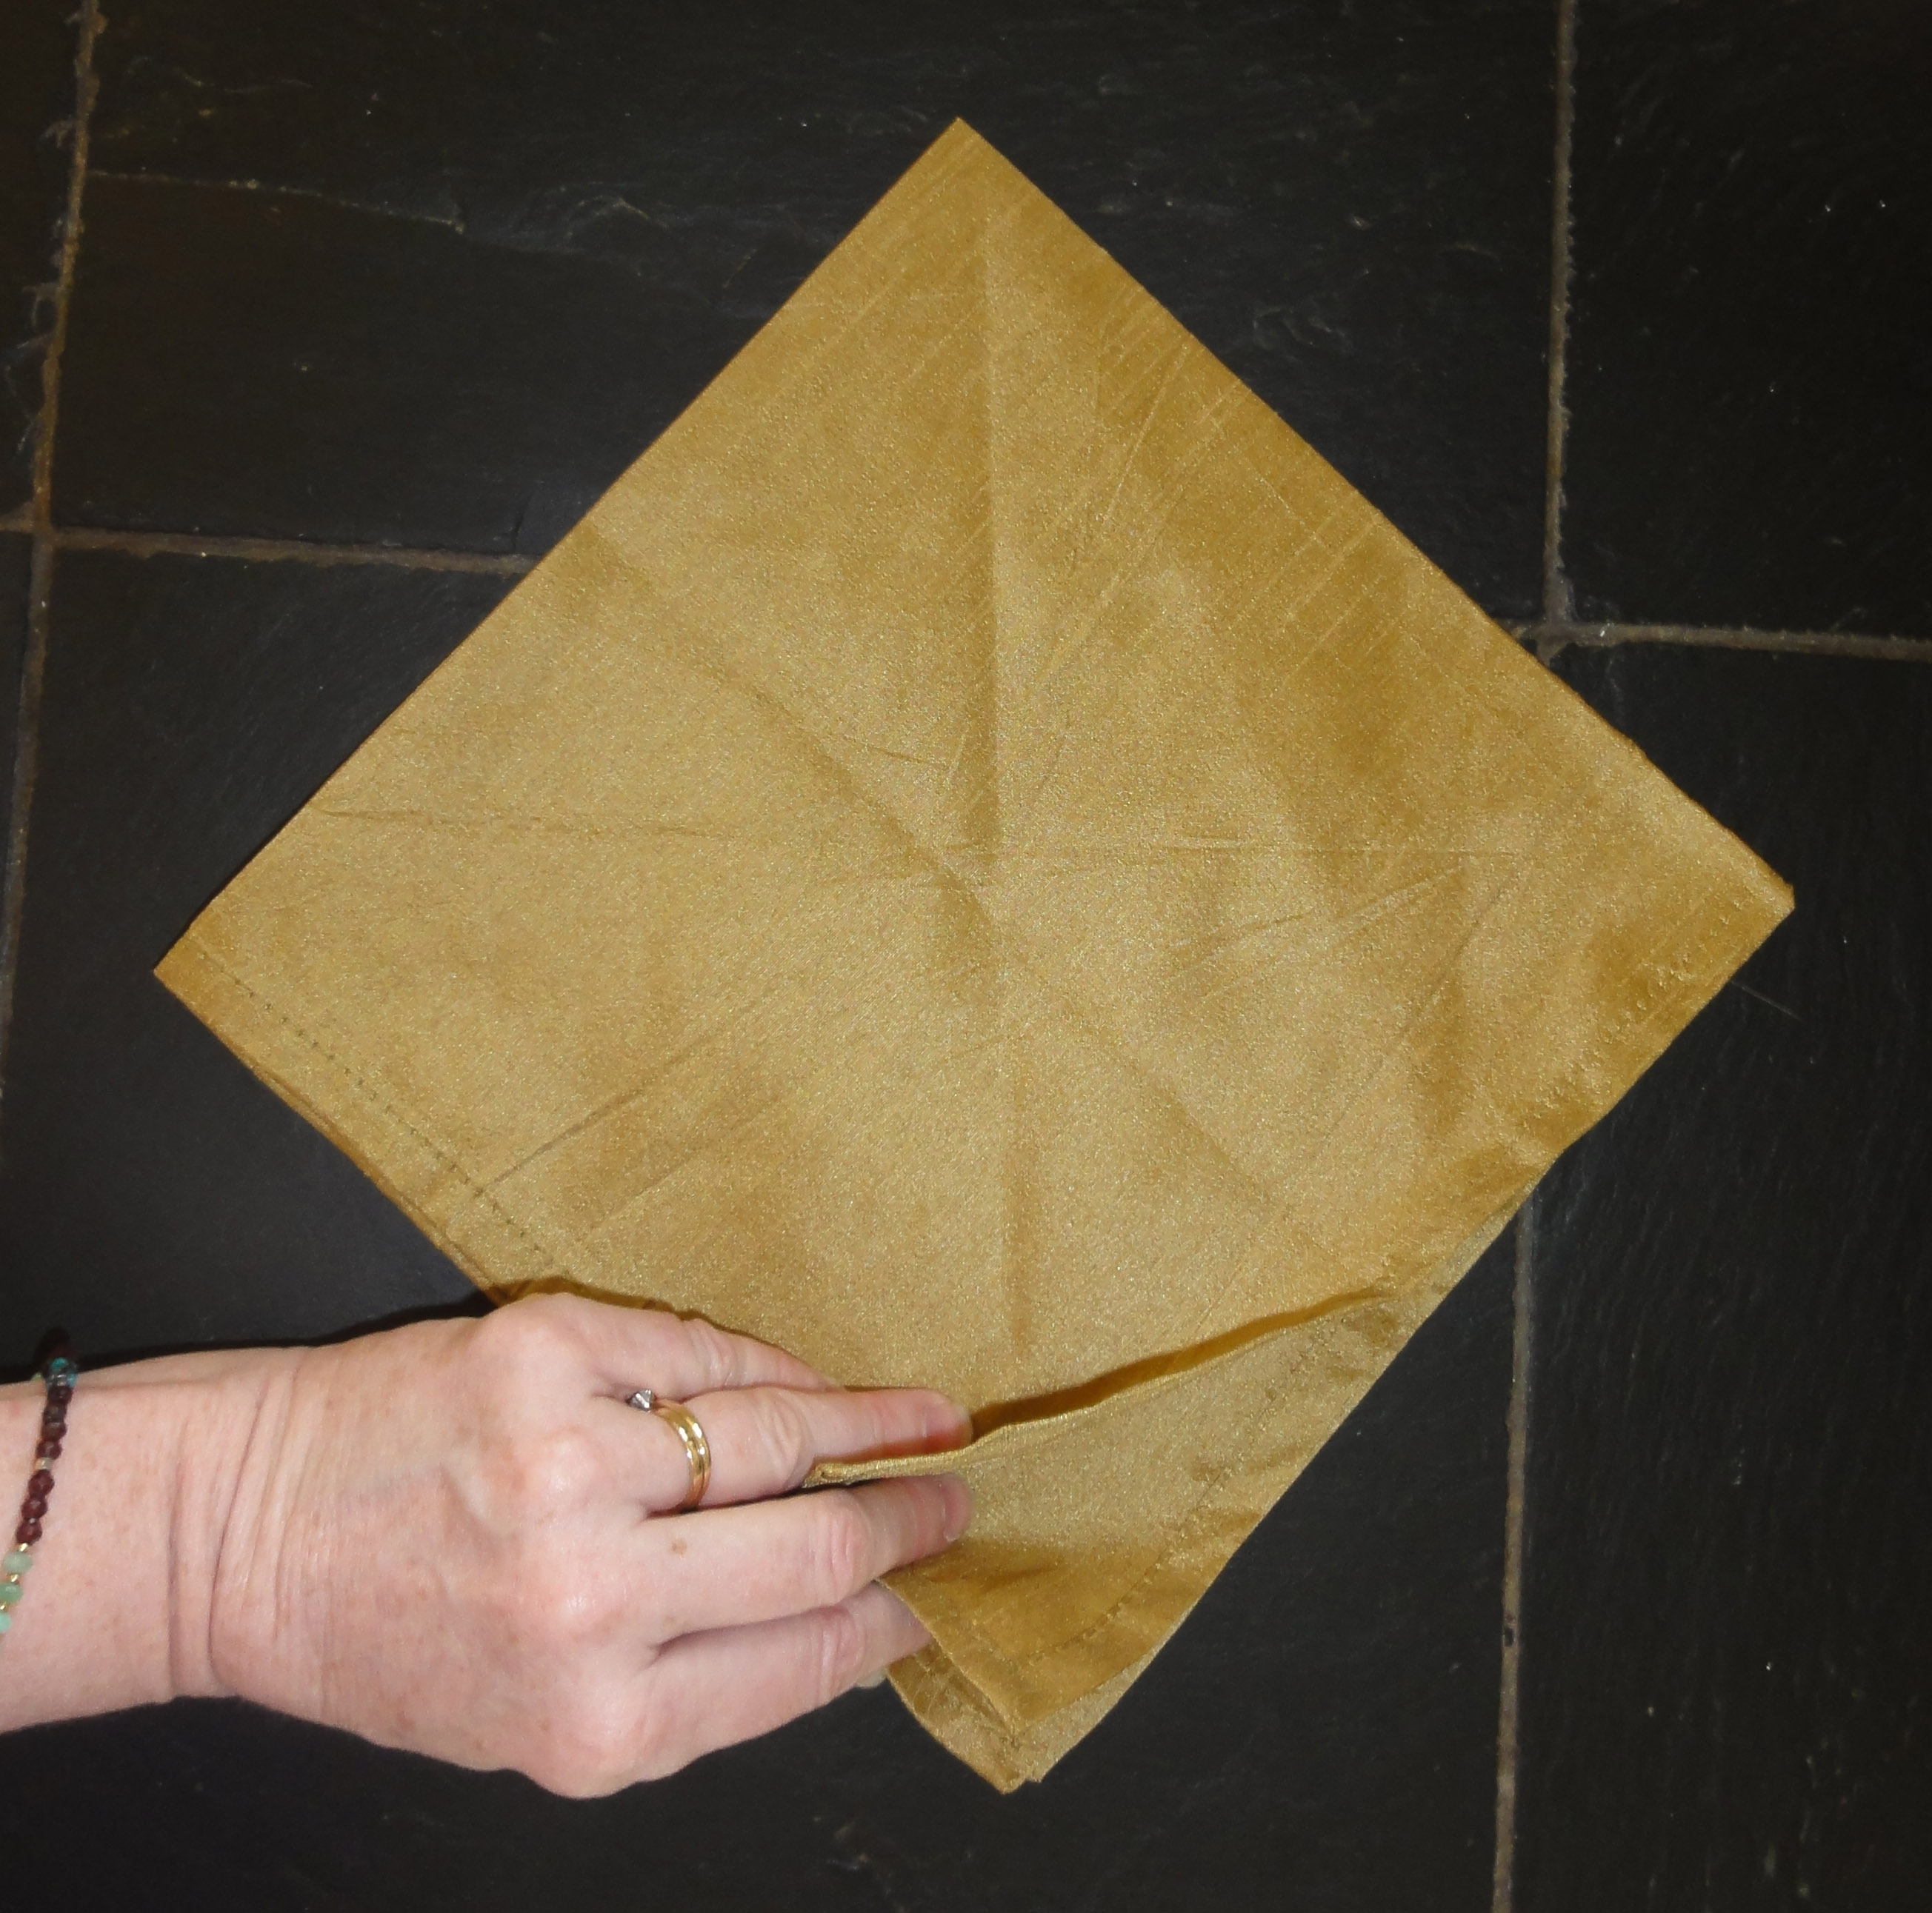
Fold into quarters.

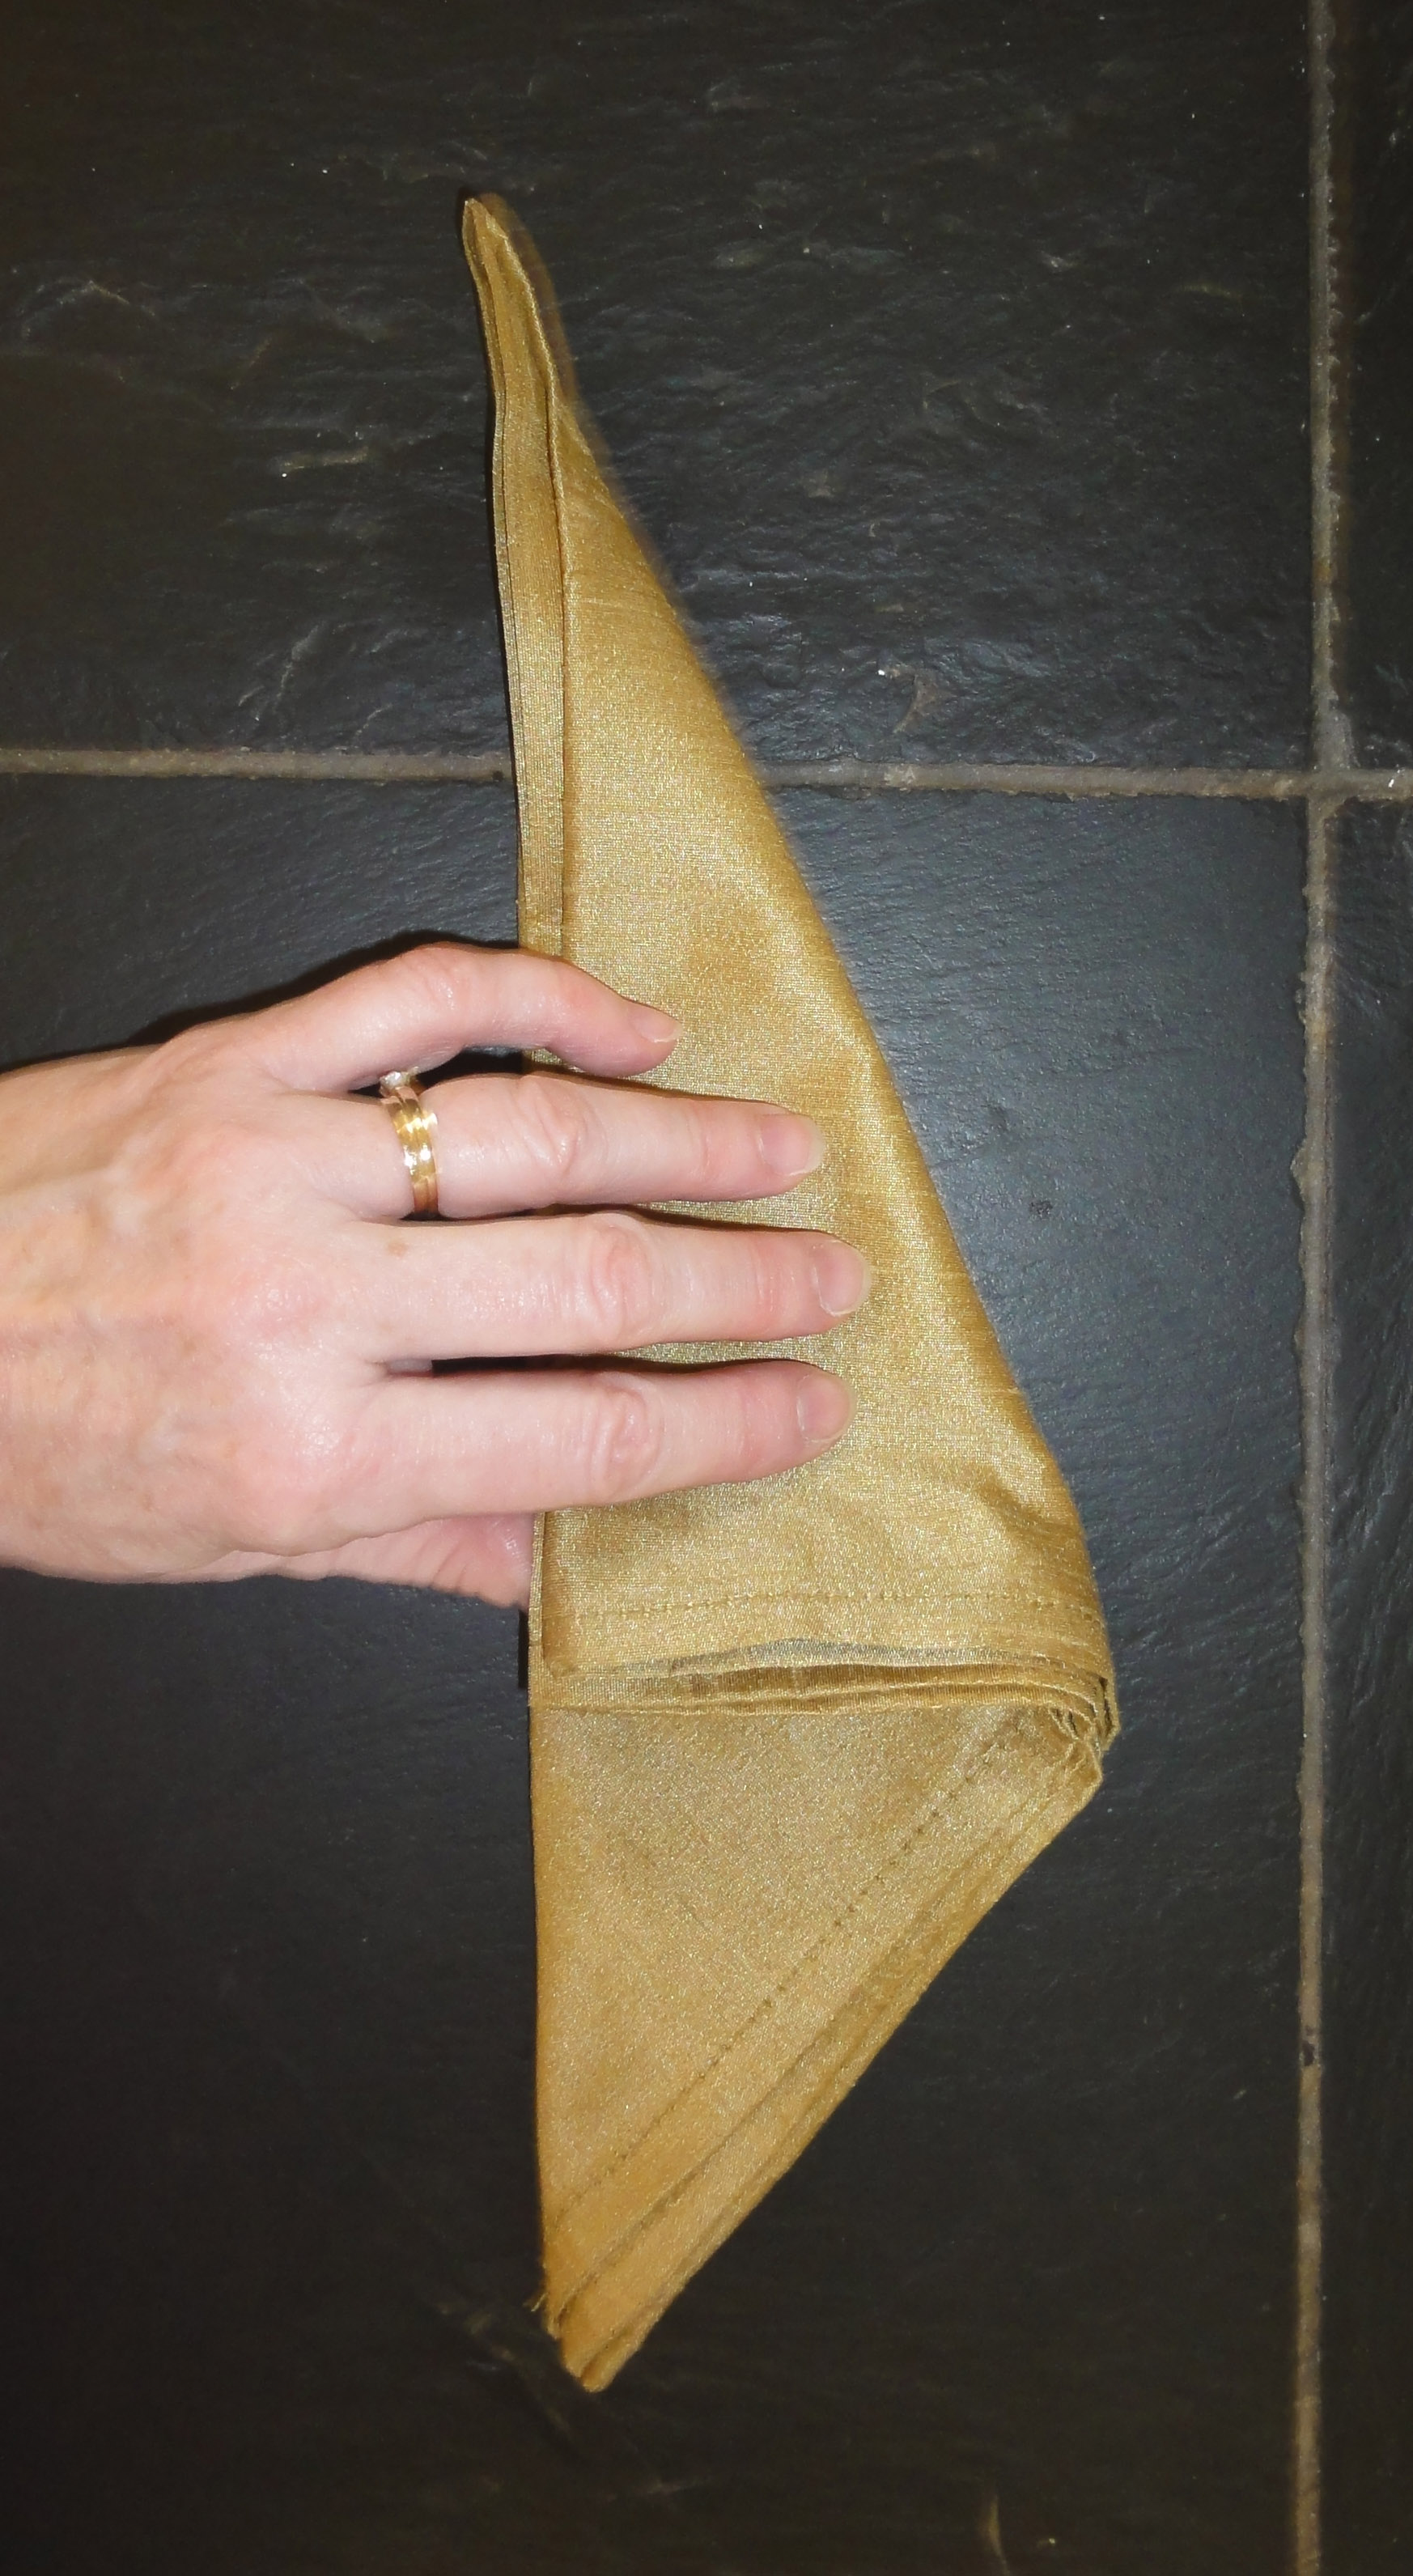
Keeping centre point on top and open edges towards you, fold again, twice.
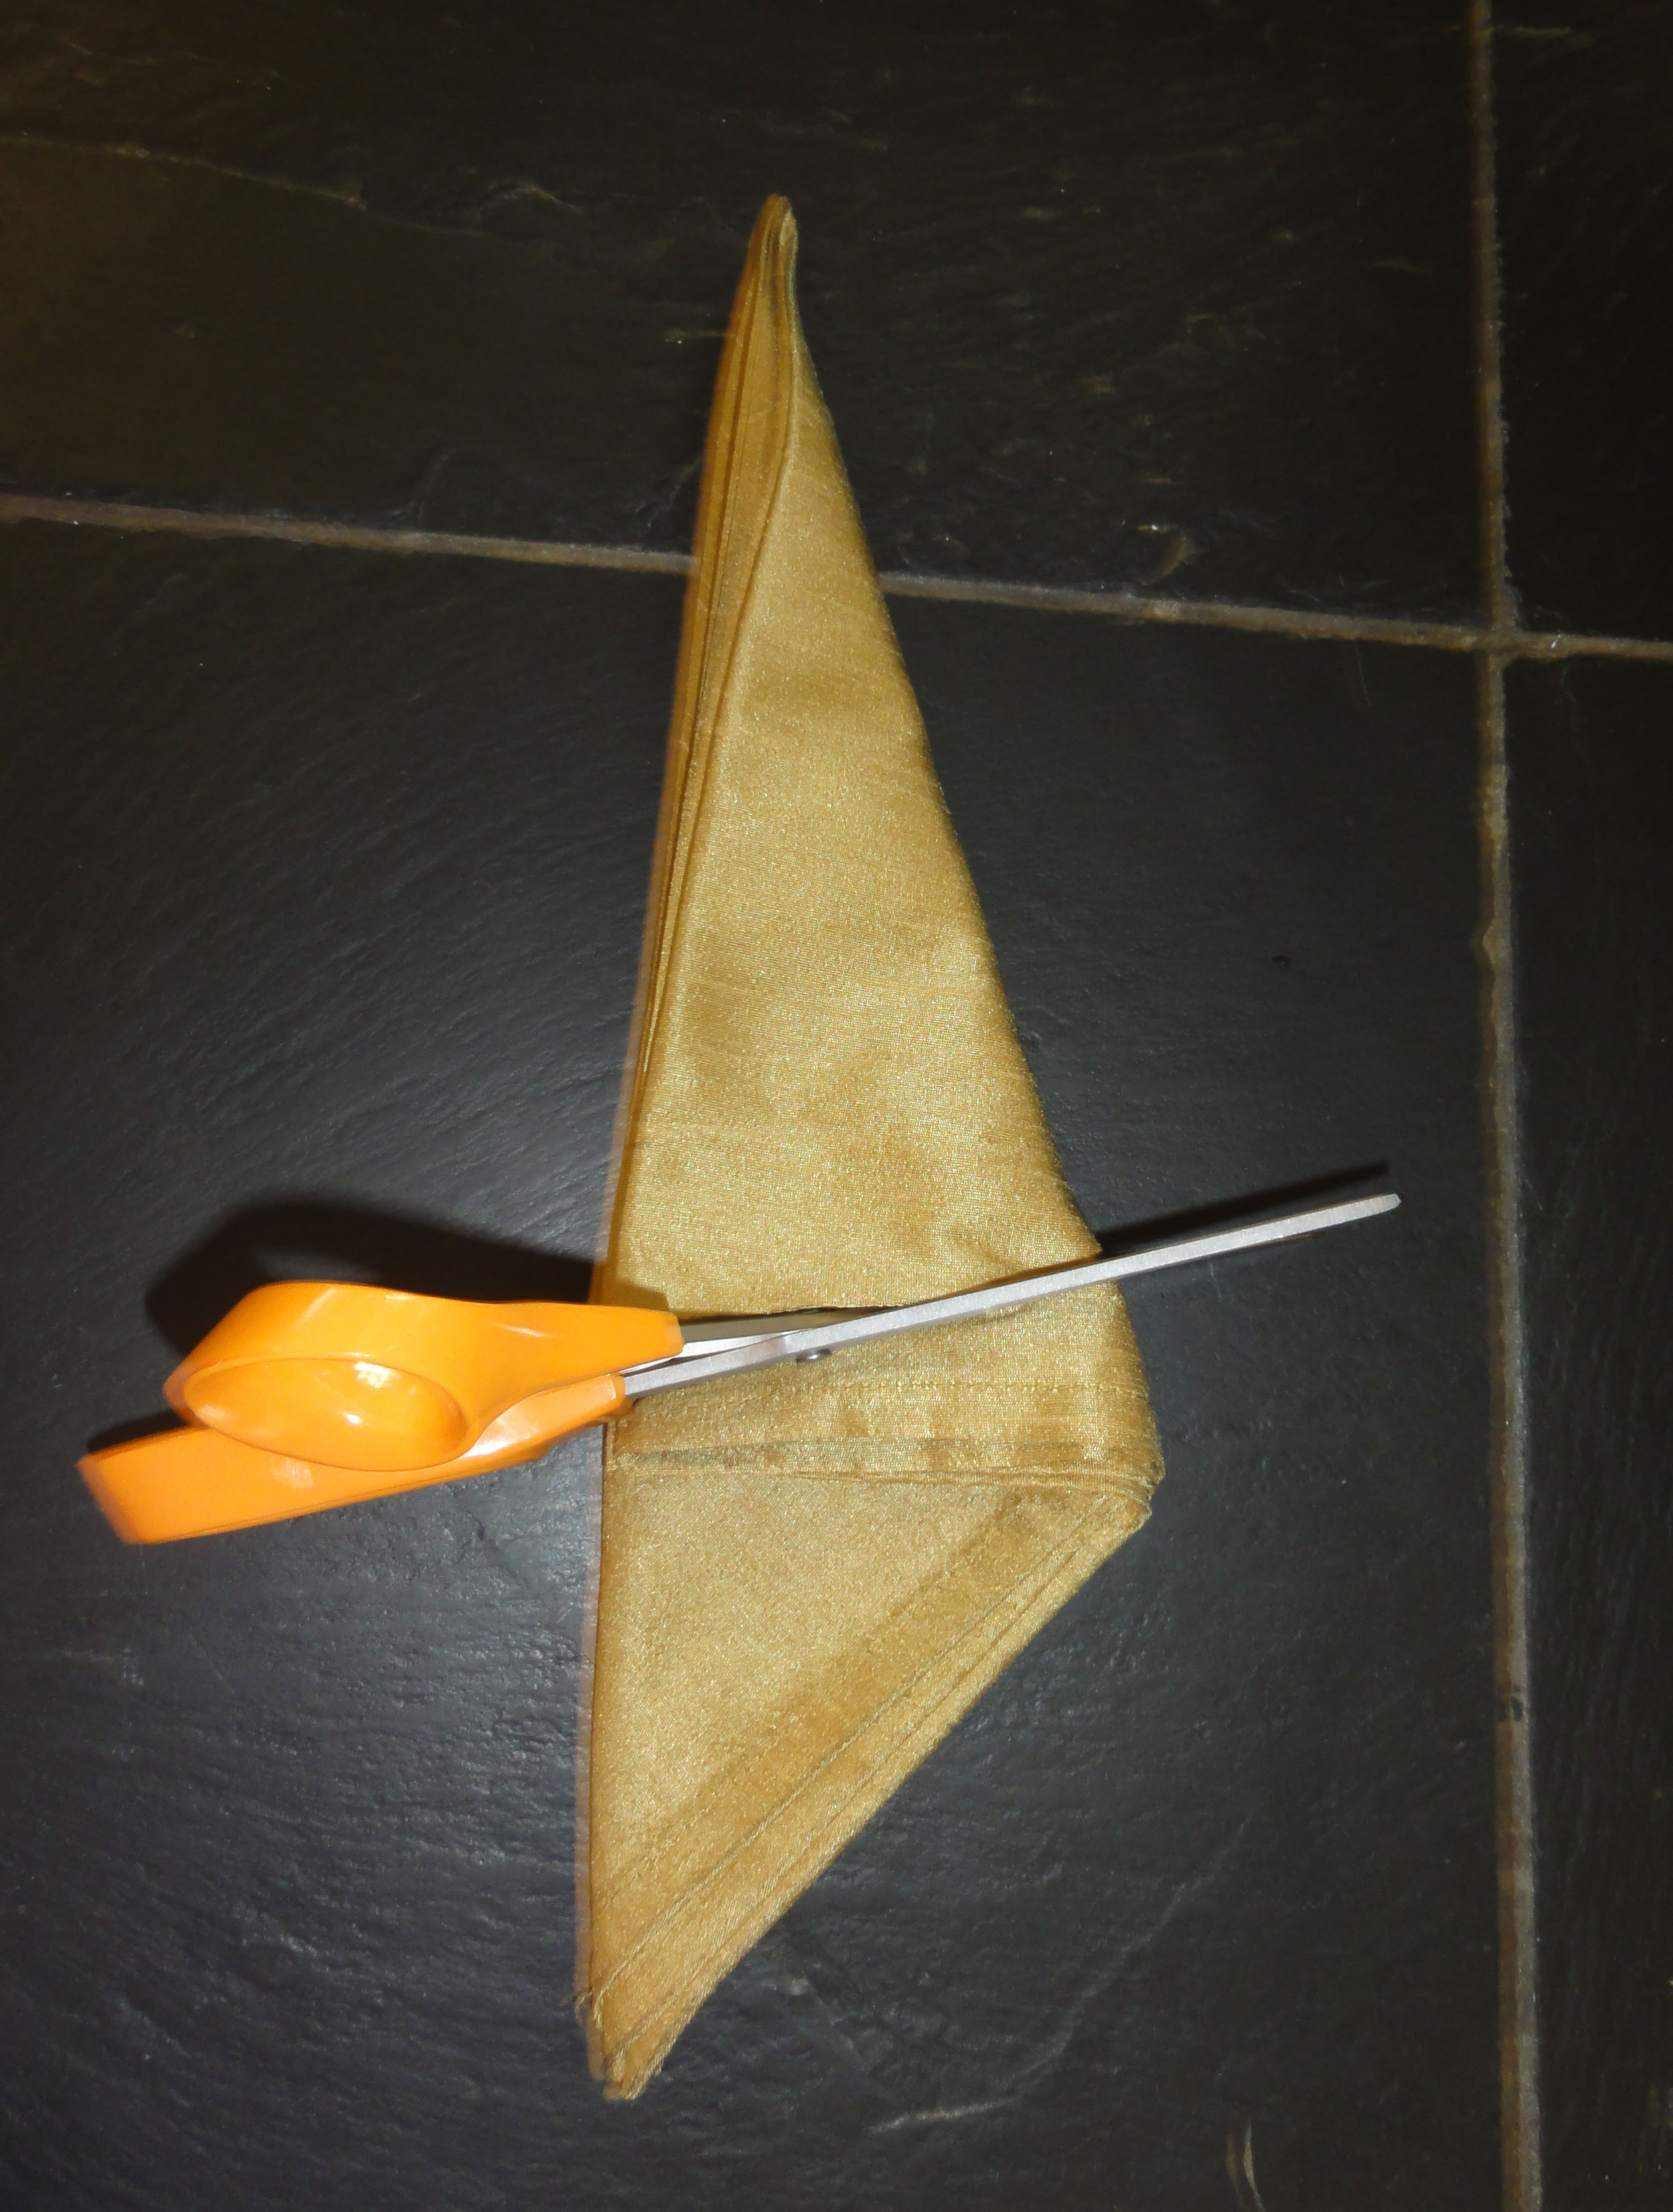
Cut off uneven ends at an angle so two long sides are about the same length from the centre point (top).
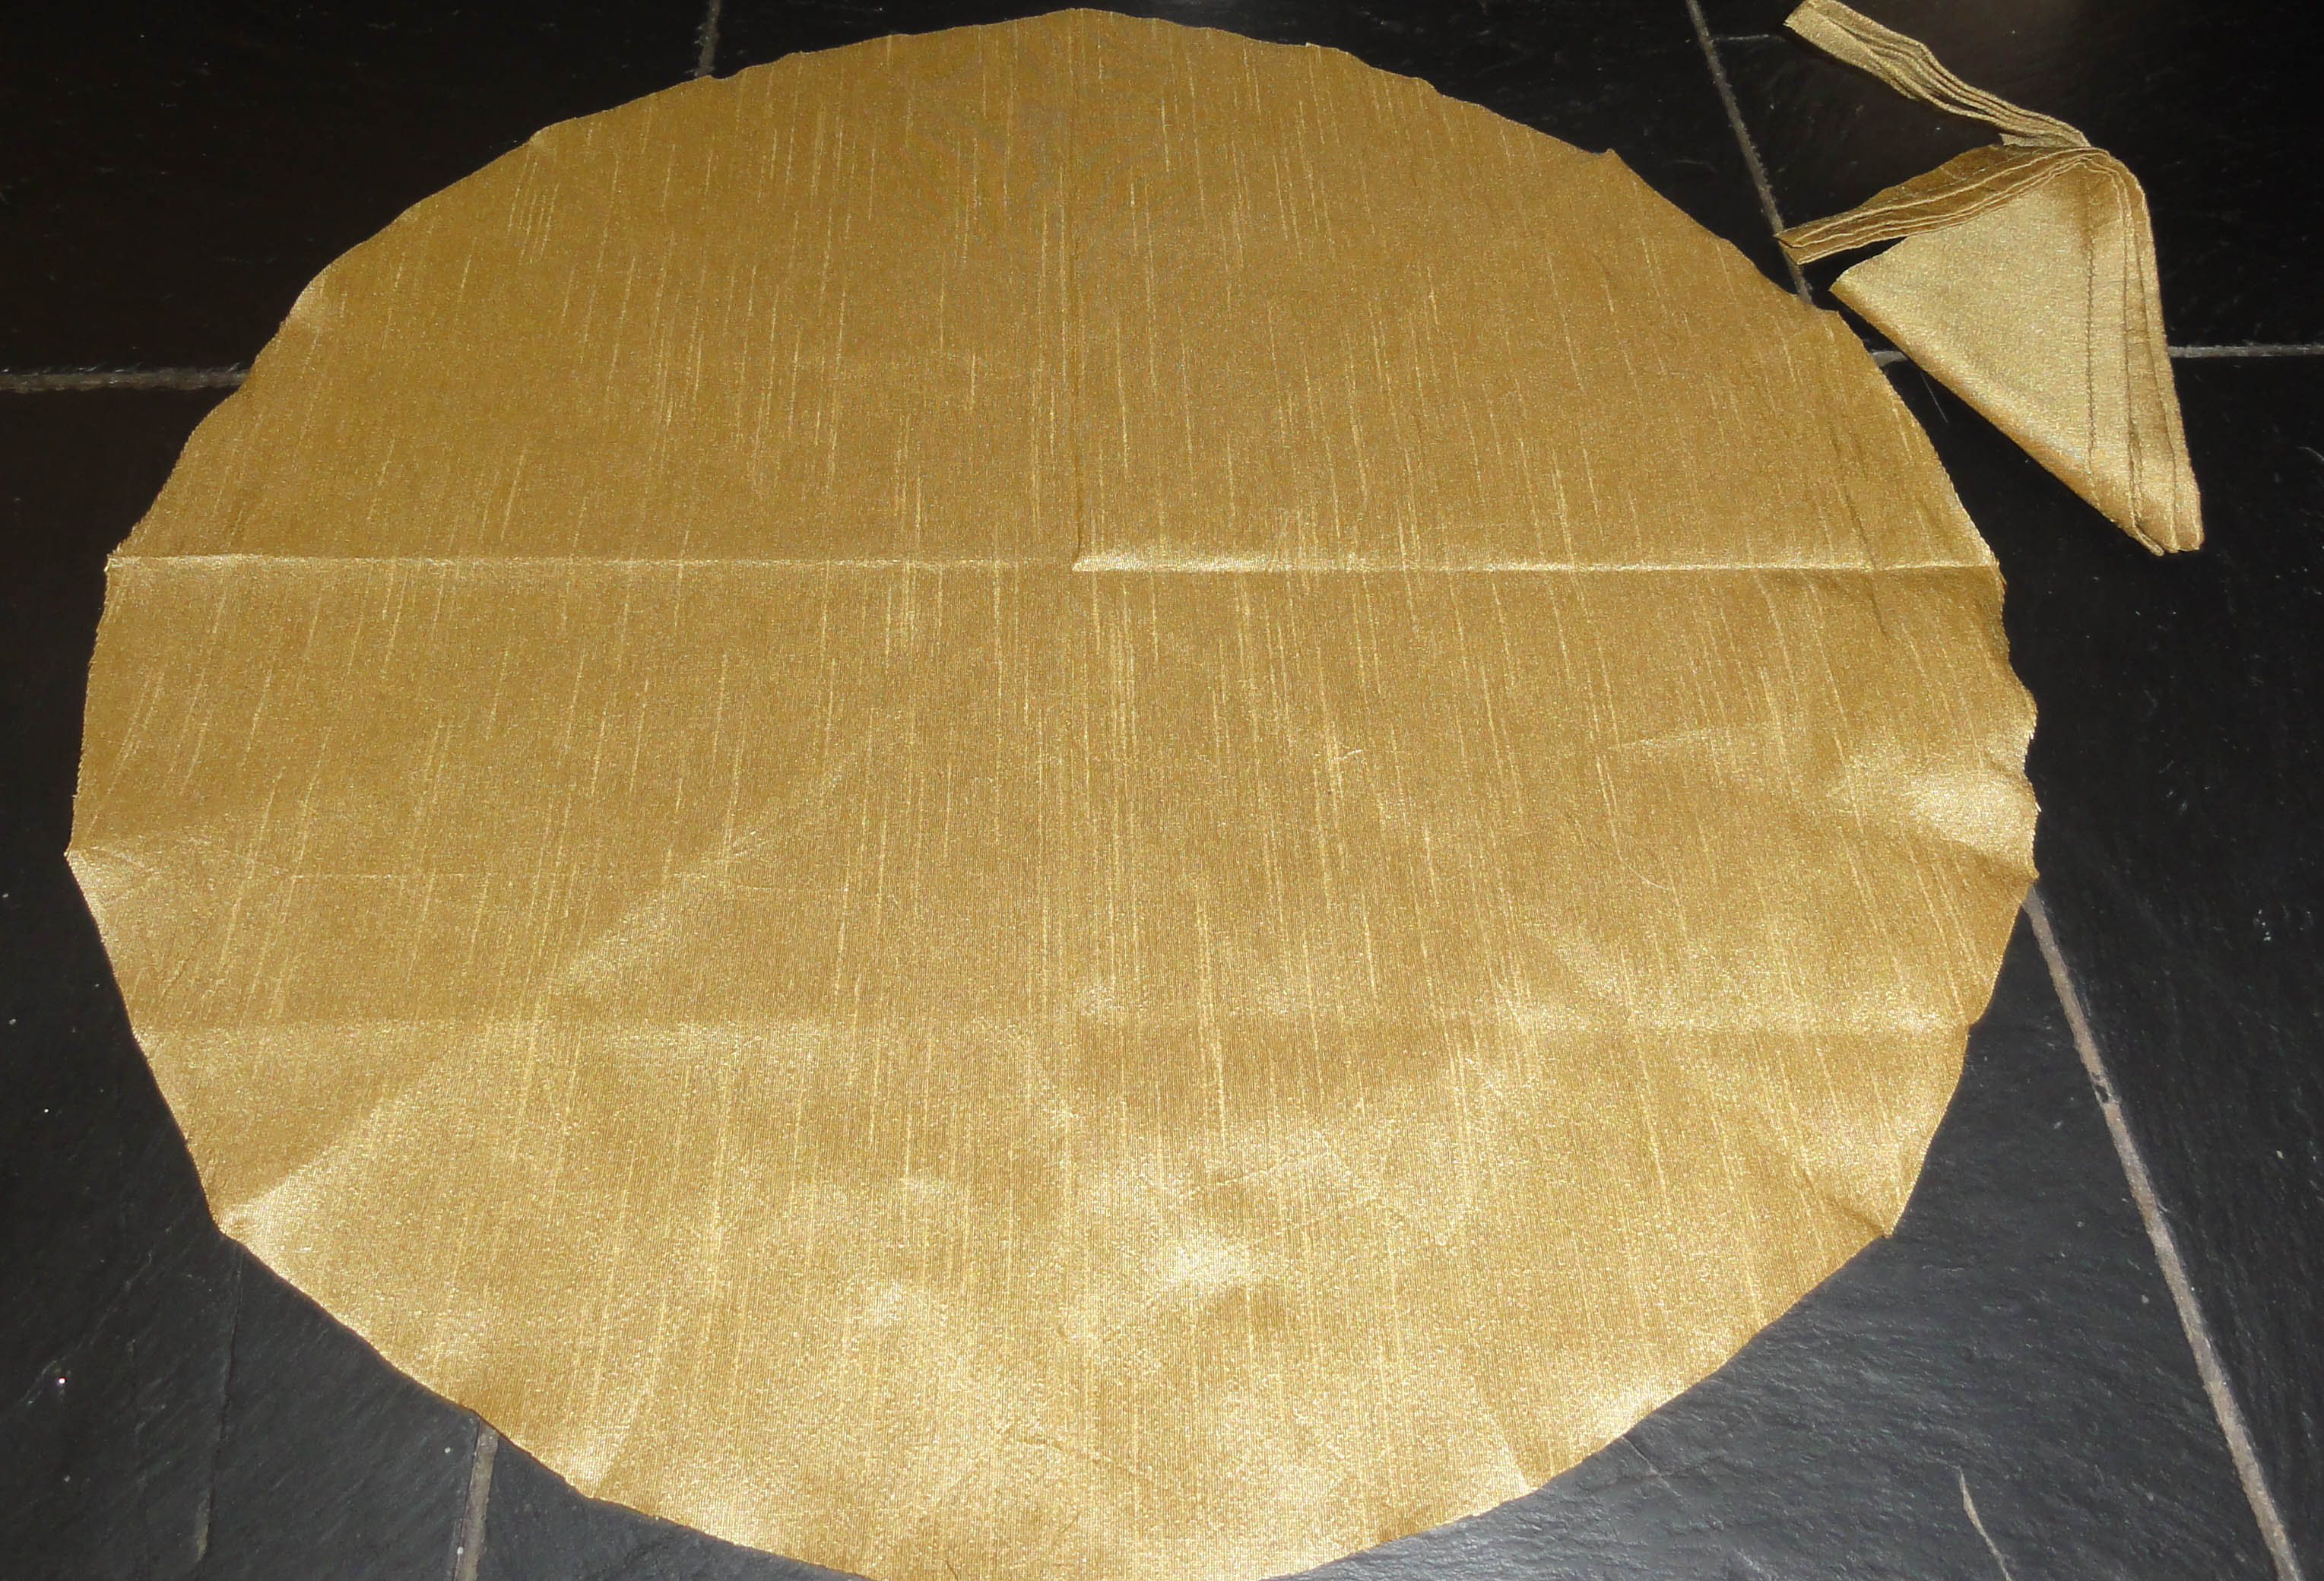
Unfold and look where it needs to be trimmed. Refold if it will make it easier to trim. It doesn’t have to be perfect for this situation. Press out the creases before you use it.
~~~
NEXT POST: the Pink Hat goes all bonnet on tTSRCE!
~~~