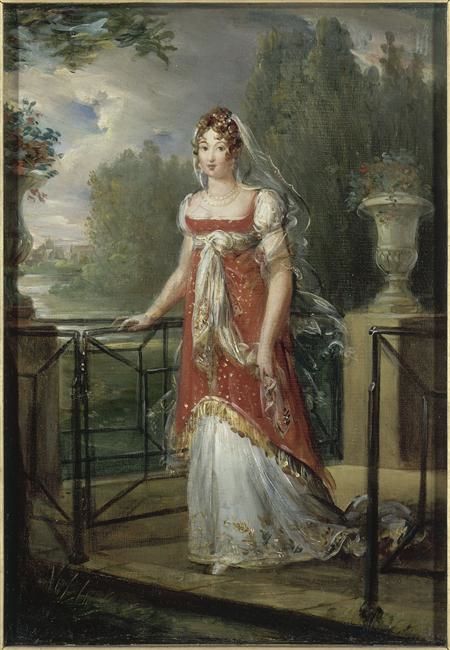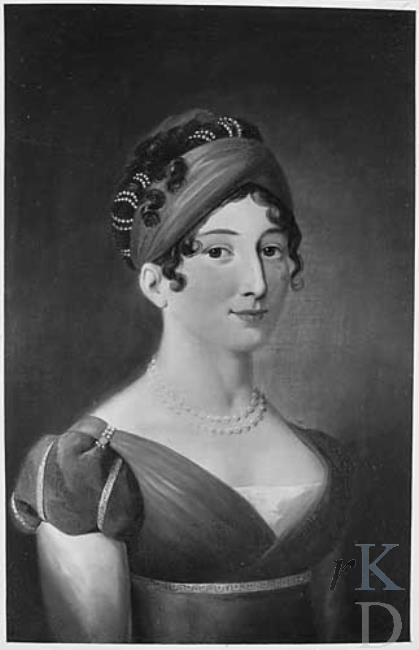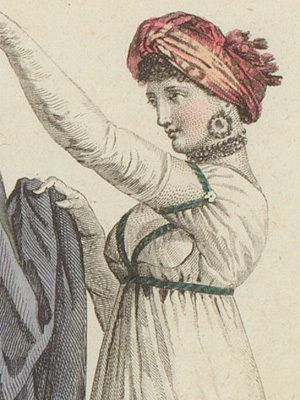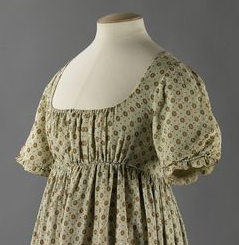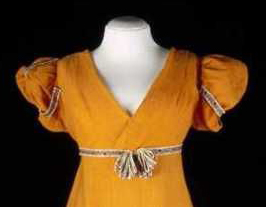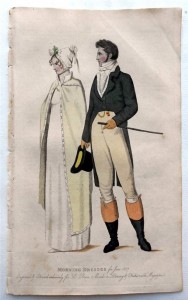
Beau Monde, 1807, Morning Dress
Mr. Suze used to bug me to let him read my Regency writing. I told him he’d have to read Jane Austen’s Pride and Prejudice first, so he’d understand it better. I didn’t expect him to actually read my favourite novel, but he did! What choice did I have but to share Alias Thomas Bennet with him? I was preparing to submit it to Meryton Press at the time, and he was a good final cold reader.
He became a big fan of my writing, and joined me to watch the A&E/BBC 1995 production of Pride and Prejudice. A good sport, he went along with me on half a dozen meet-ups of my online friends from A Happy Assembly while we were on vacation in Washington, Oregon, and California over several road trips.
When I told him I wanted to go to Louisville, KY for the JASNA AGM, he said I could go on my own; he’d had enough of Jane Austen events. Over time, he softened to say he’d join me and enjoy the city on his own while I was at the conference, and later, he agreed to dress in a Regency costume for the Saturday festivities. In May, my vintage and thrift shop trips to finalize my own costume included searches for his items. I quickly got the lay of the land.
For this post, I’ll speak to two items: the tailcoat and waistcoat. The rest of the costume will be seen in future posts.
I saw only three tailcoats in vintage and thrift stores, at $65 and $35, but two were too large and one, too small. There were no suitable vests for a waistcoat, even if I looked at size extra-large in Ladies’ wear. Mr. Suze is not a large man, and I thought if I did a good job, he’d be okay with this.
Please note these are sewing projects. The same result will not be easy to achieve with no-sew iron-on tape, and the fabric is too heavy for that product in any case.
Upcycling a garment into a Regency tailcoat
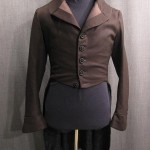
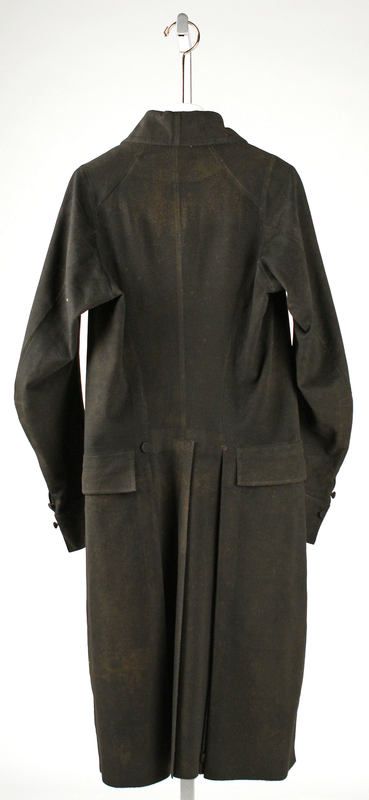
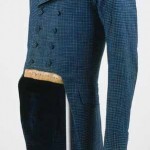
Coat, 1810, dark brown herringbone.
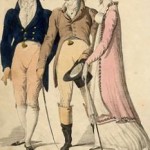
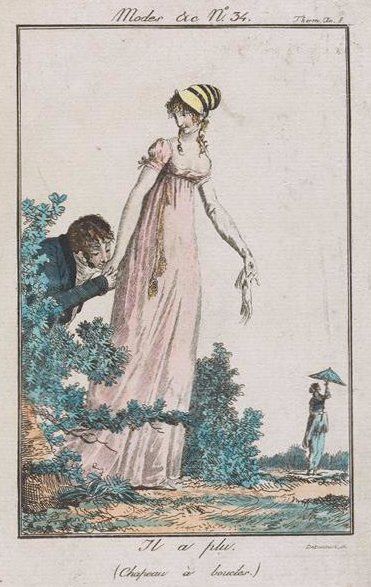
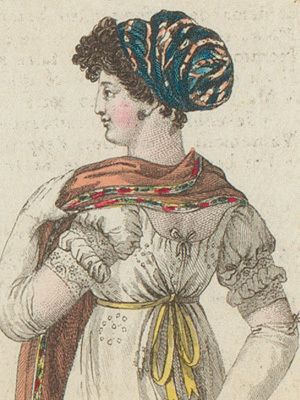
Le Beau Monde, 1807
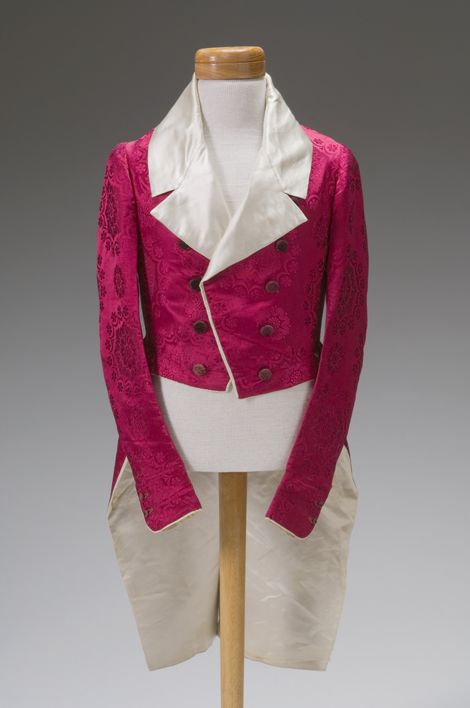
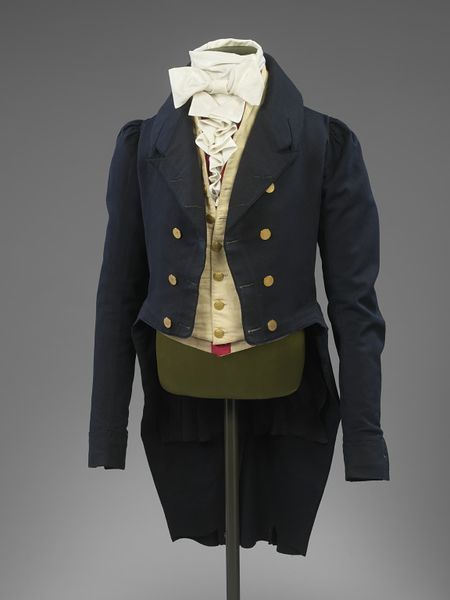
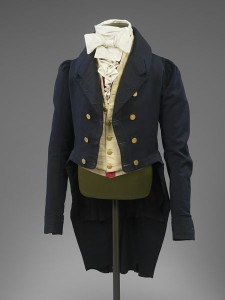
Regency tailcoat 1815, Metropolitan Museum of Art
Post-Regency example for fun! 1825-1830 dress coat
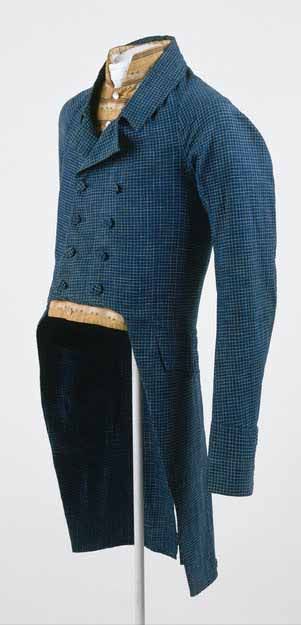
Regency tailcoats were by no means all the same. They came in many colours, and some had interesting textures, as shown in these thumbnails, which can be enlarged if you click on them.
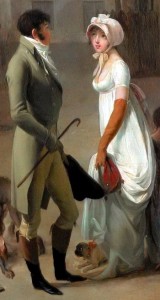
Louis-Léopold Boilly – The Arrival of a Stage-coach in the Courtyard of the Messageries (Detail), 1803.
Both single and double-breasted designs were stylish, but double-breasted appears more frequently in the examples I could find, and I’ve been told they outnumbered single-breasted by about 2:1. Lapels tended to be wider, and the opening quite high in comparison to modern menswear.
Many modern tuxedo tailcoats require slight modifications to straighten the bottom front to match the style of the early 19th Century. The Regency tailcoat has no back waist seams: each panel is one piece of fabric, whereas post-Regency, the seam at the waistline came into play, and continues in modern tailcoats.
Because I couldn’t easily find a used tailcoat in thrift shops, I looked to the Internet, where previous rental tuxedo coats are readily available at under $100. Problems that rule out some modern tuxedo tailcoats include trim such as velvet or satin that do not look Regency. Shawl collars or narrow lapels are common. Most are black, white, or grey. Black would do for a court suit or a formal ball, but the other two would not work, unless I decided to buy a white one and dye it the popular dark blue of the Regency.
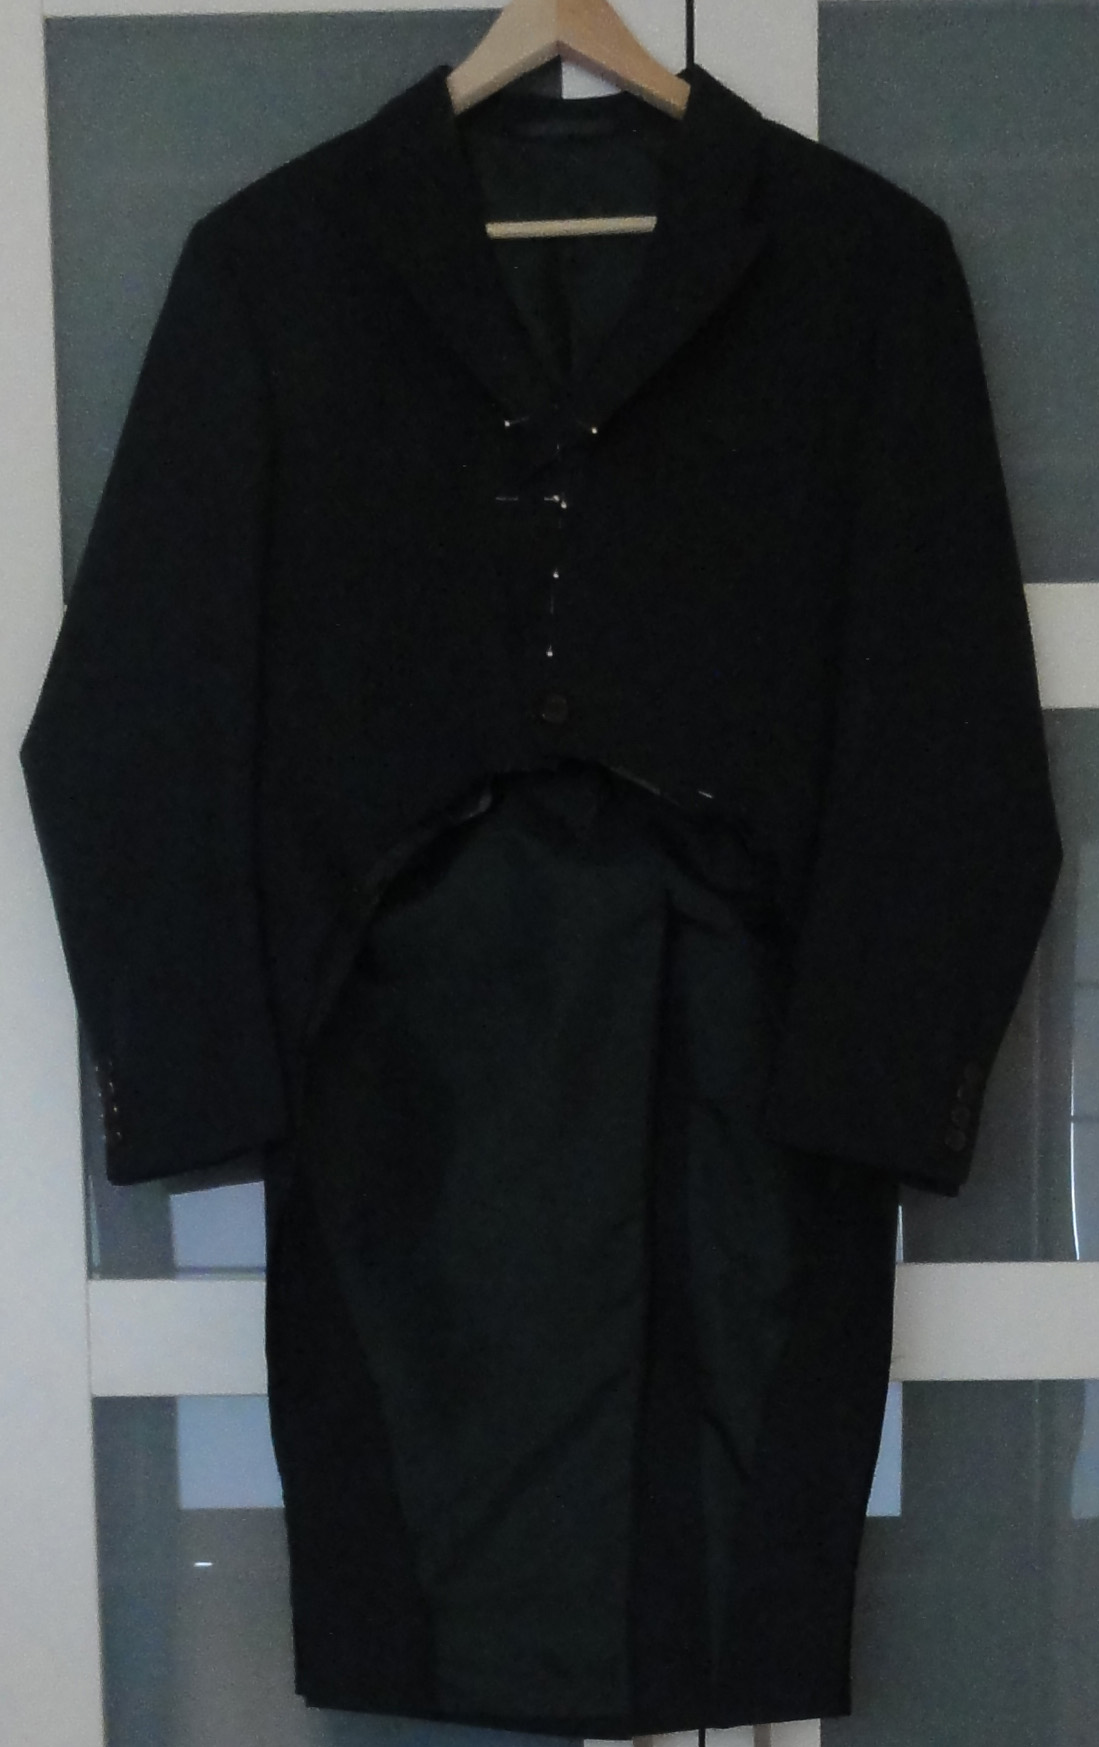
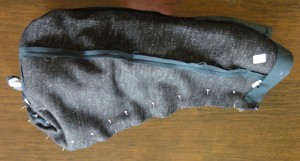
Modern morning coat, dark green wool, herringbone.
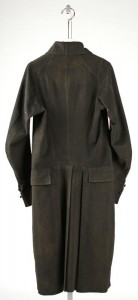
Back view of Regency tail coat to show the single panels of fabric, with no waist seams.
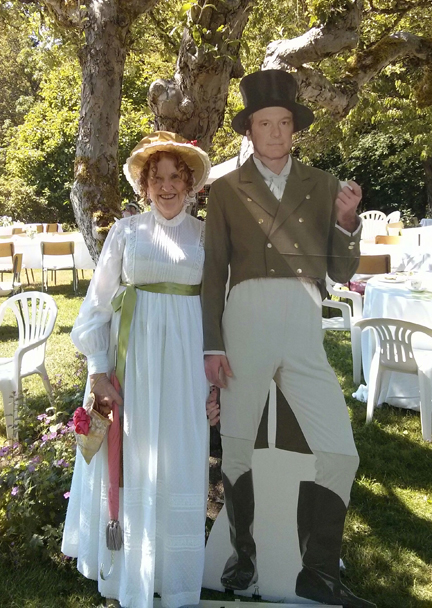
A wool morning coat in dark green, with a fine herringbone pattern and slightly wider lapels, caught my eye and got approval from Mr. Suze. Of course, he doesn’t know that Jane Austen fans love the idea of a green coat ever since Andrew Davies had Colin Firth choose it to ride into Lambton the day Elizabeth got her fateful letter from Jane!
This coat appeared to have no back waist seam in the photos online, but when it arrived, it did. Also, the collar was not self-lined, so it would have to stay down. Oh, well, we knew we were not going to be perfect by any stretch of the imagination, and it fit well, so that was a huge relief. It was advertised on eBay at £25, or $80 with shipping.

Green tailcoat after first cut of shape of front opening and tails.
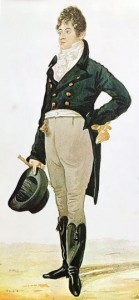
George “Beau” Brummell, watercolor by Richard Dighton, 1805.
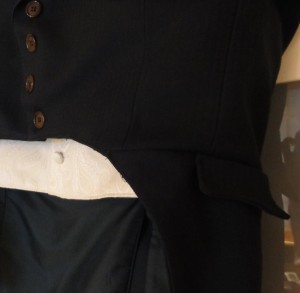
Mr. Suze is a bit particular about his clothing. His father was a menswear tailor at the Canadian institution of high-class shopping: Eaton’s. My husband is accustomed to a well-fitted, flattering suit in quality fabric, and that was my goal for the Regency tailcoat. We looked at numerous examples from museum pieces and fashion pages like Ackermann’s, and decided on a full curve at the waist, as opposed to a straighter line. A painting of Beau Brummel served as reference. The line was pinned while “my Beau” wore the coat, and the future wearer did a mirror check to approve it. To further achieve a Regency look, the lapels were pressed higher, and extra buttons are needed to suit this modification. The front of the cut coat is shown above, on the left.
I re-applied the matching fabric facings to the underside of the new shape of the tails. To sew the new contour front edges together, I thought about pinning them under and top-stitching, but I opted to sew a normal seam with the fabric pinned right sides together. That meant I had to turn half the jacket inside out.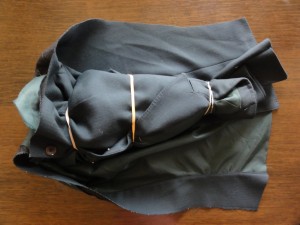
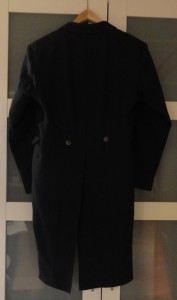
Green tailcoat, back, final except buttons.
I tied the upper portion together with elastic bands as shown and laid it inside along the length of the tail, where I’d opened the bottom hem. The tail was pinned right sides together over it all, and sewn with a 1/2″ seam. It was turned it right side out again by pulling it through the open bottom of the tail.
I did a test run with the narrower side before I was brave enough to photograph it for this blog!
I used scraps of fabric to fake Regency by putting flaps that look like pockets at the sides of the jacket. Regency coats sometimes had a cuff, so if your modification allows more fabric, that’s another way to make it more authentic in appearance. Mine did not.
The Regency coat design didn’t always close, but boasted decorative buttons, and men wore them buttoned or unbuttoned, though I’d assume formal circumstances would demand a tightly-buttoned look. The buttons are plastic, and I have yet to purchase proper buttons for the tailcoat. As mentioned earlier, Regency menswear often had fabric-covered buttons in the same colour, though not always the same fabric as the garment. Regency coat fronts have buttons closer together, so my mockup has 4 buttons where the original suit had one.
My intention was self-covered buttons with a brass ring trim from Dressew, and I had enough extra fabric left for them. But I didn’t have enough buttons of the right size, and none of the stores in my city have the snap-on brass trim. I won’t be able to get to Dressew (in Vancouver, BC) prior to the JASNA conference, so I can’t use these buttons at this time.
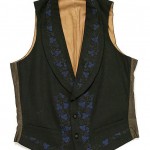
Suit, 1815-1820, The Victoria & Albert Museum.
The alternatives are thread buttons, which are a lot of work I don’t have time for, and metallic buttons. Brass buttons were a must on blue coats in the Regency, and seen on other colours sometimes, too. The estimated cost for this tailcoat is $20 on sale. Some attractive steel buttons with an insignia will cost about $7 at Fabricland, so next shopping trip, I’ll purchase them.
Making a modern vest into a Regency waistcoat
The modification of a vest into a nice facsimile of a Regency waistcoat was an easy sewing project, once I found the suitable vest. Strange, since I was lamenting that I’d have to make this item from scratch!
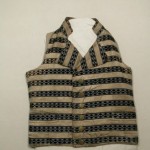
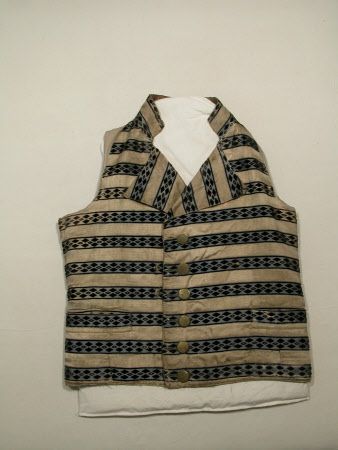
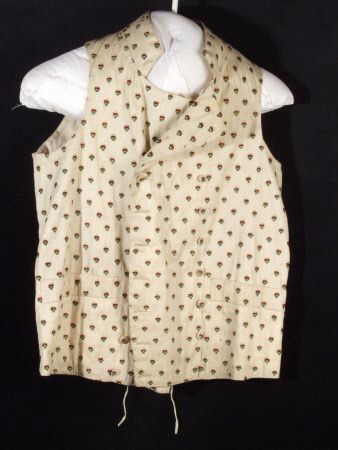
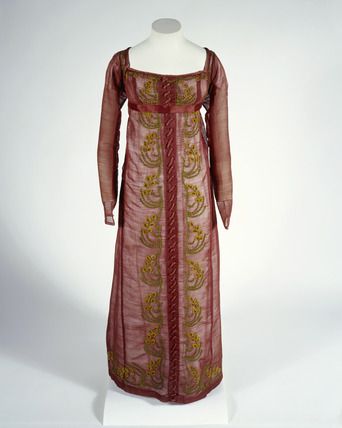
Waistcoat, 1810-20, National Trust Collections
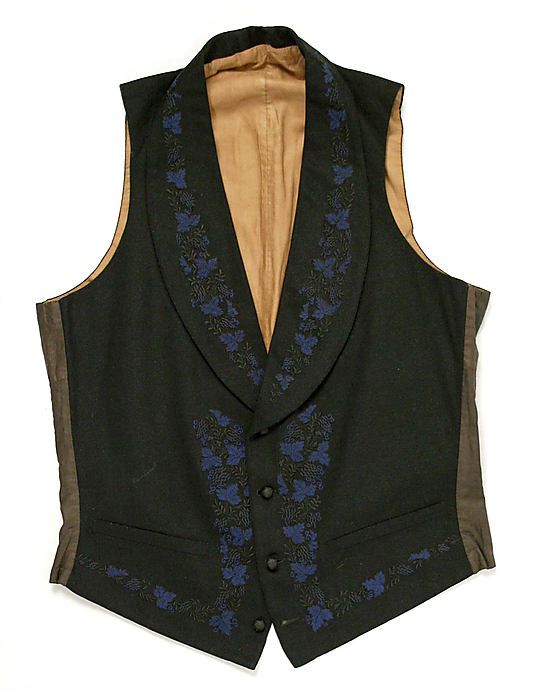
Waistcoat, early 19th century, British, wool and silk. 21″ by 33″, Metropolitan Museum of Art.
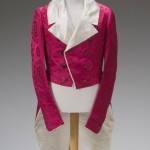
It’s not that Regency waistcoats are so limited in design that it’s impossible to find them: this clothing item was the pizazz in the man’s outfit. Almost limitless possibilities existed for colour and pattern, as seen in the set of thumbnails. Click to see larger images.
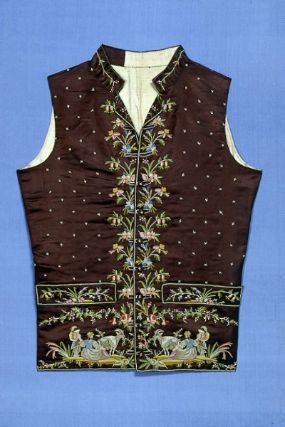
The most common fabric was silk, but cotton and linen were worn as well. Some boasted gorgeous detailed embroidery. Similar to the tailcoat, the waistcoat could be single- or double-breasted.
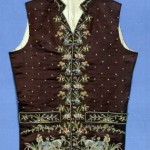
Waistcoat French or English, 1790–1810, Brooklyn Museum of Fine Arts. Note the detailed embroidery.
Waistcoat, 1805-1810, Mccord Museum, Montreal. Note the embroidery.
The trouble with modern vests is their simplicity. Plain, pin-striped, or herringbone wool or wool-like synthetics are as good as it gets for suit vests, which are difficult to find. Most thrift shop vests are casual, with zippers and fleece and plaid and quilting and such.
Regency vests usually had stand-up collars and lapels, too, which modern vests lack. The balance is that Regency vests were straight across at the bottom, so I knew I had a fabric source for the collar and/or lapels: that double V-shape on a dressy modern vest.
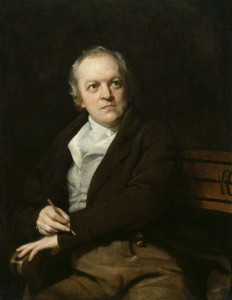
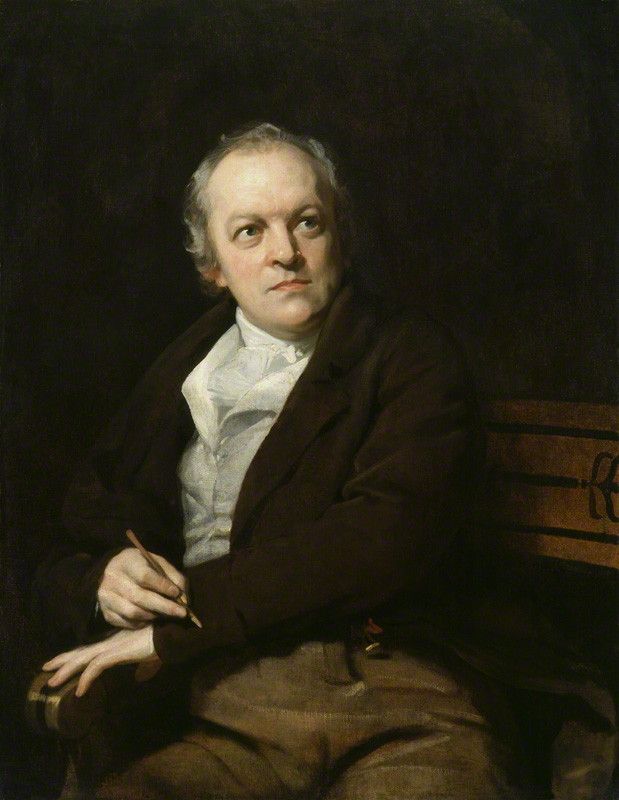
William Blake, by Thomas Phillips, oil on canvas, 1807.
The internet, and used tuxedo rentals, offered more options in terms of colour and pattern, and the satin vests mimic the look of silk. Mr. Suze and I agreed on a paisley pattern for a fullback vest. It cost $11.99, and included a matching bow tie; the total was $25 by the time we paid for shipping.
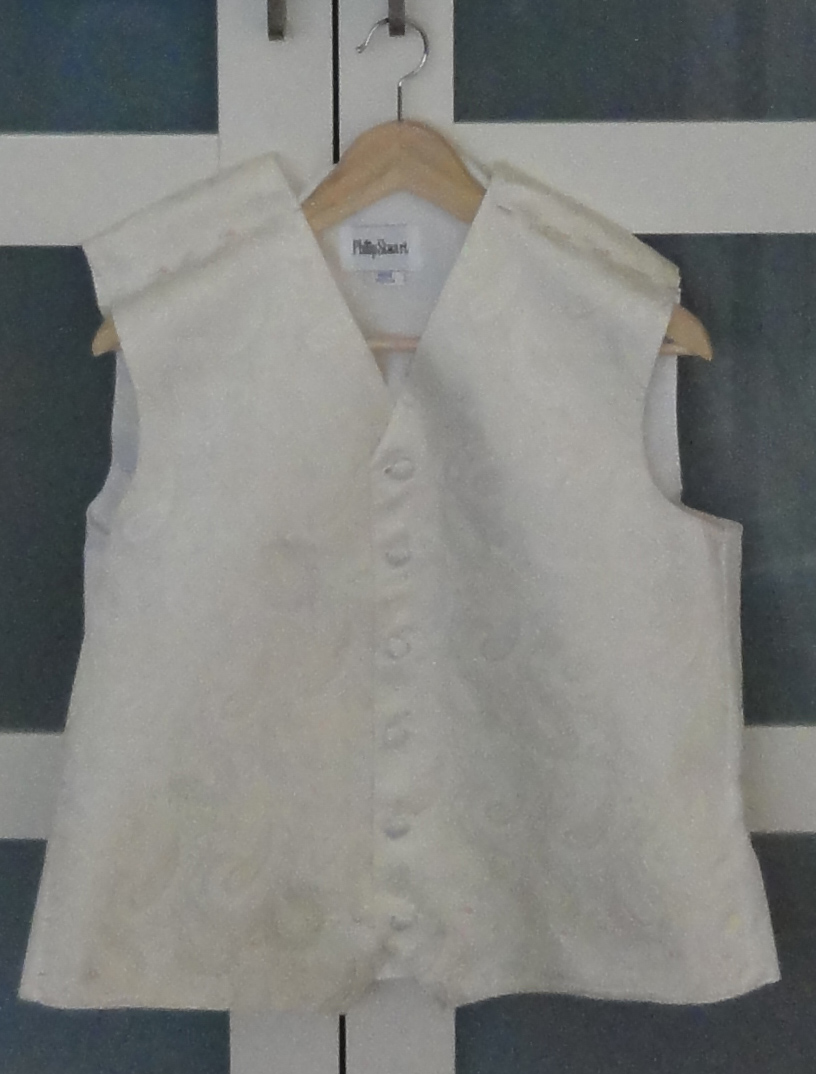
He selected ivory since it best suited the green coat, compared to the bright colour palette otherwise available. The other colours would be great with a black or blue tailcoat. We had also noted that many of the waistcoats in paintings were white or ivory.
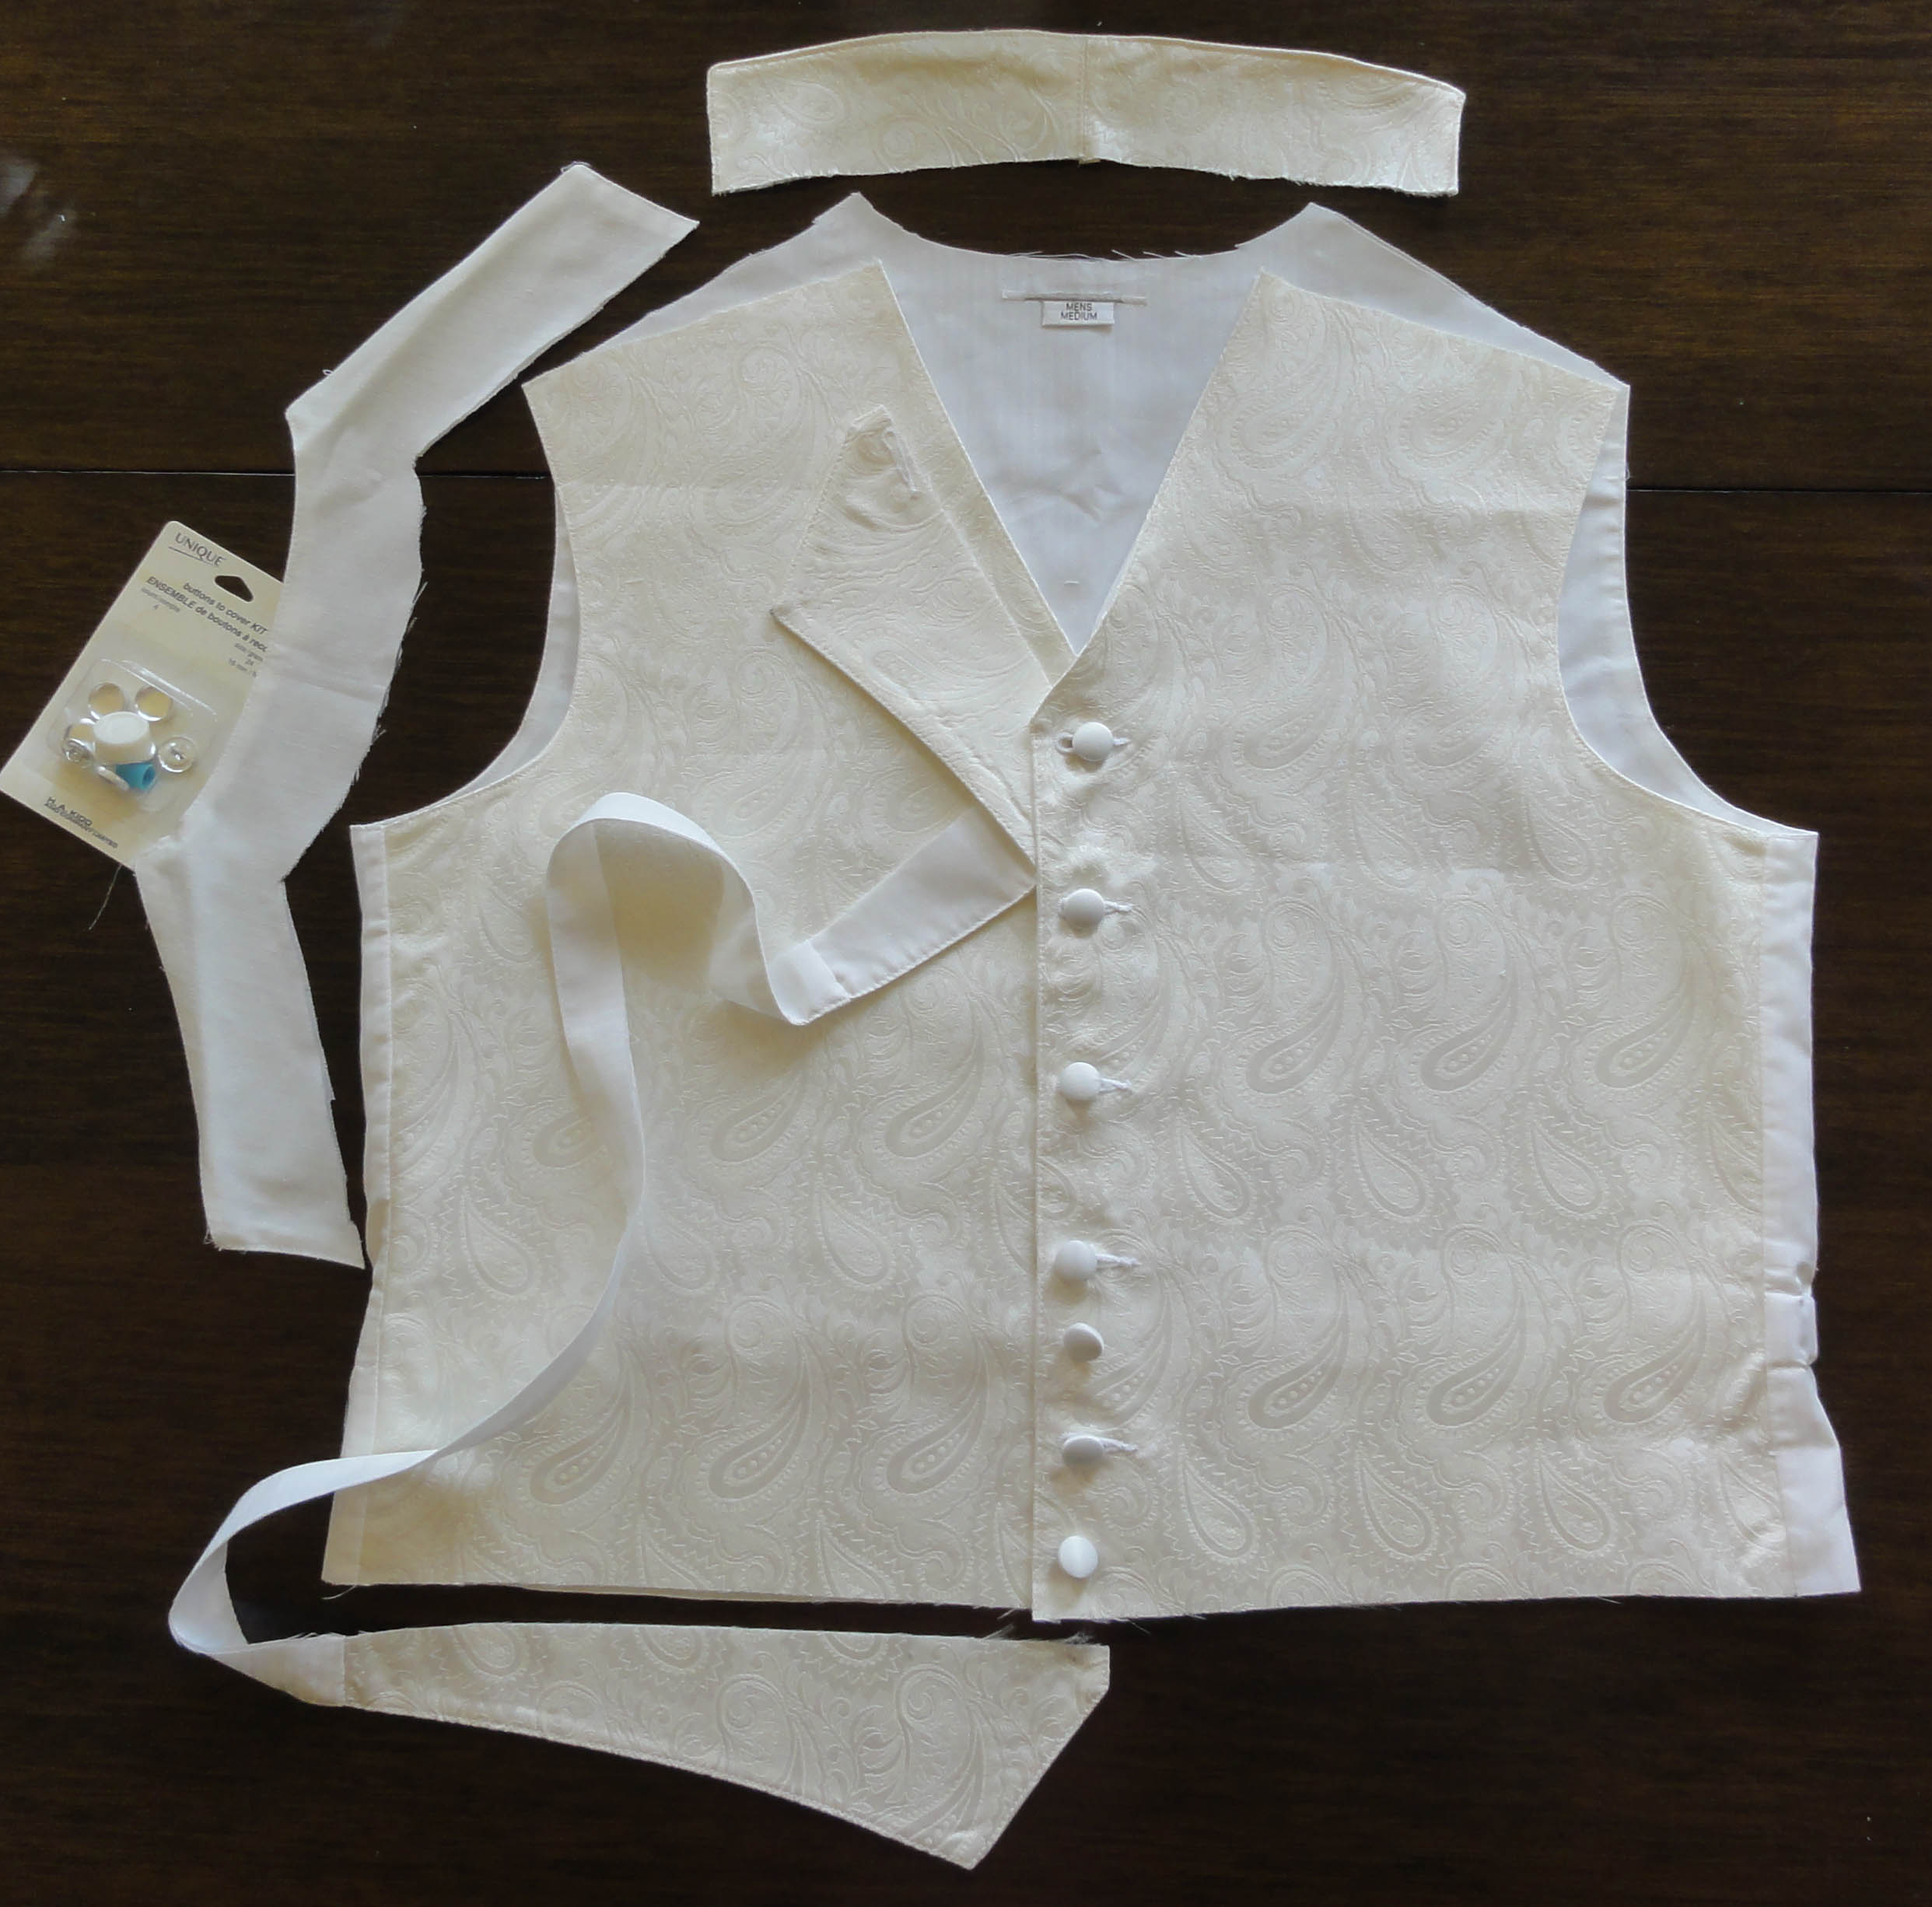
The vest was a bit on the big side, and I realized I could use that to my advantage, as I pinned it up at the shoulders to get extra fabric to make a short stand-up collar, plus raise the V of the neckline higher, to make it more Regency in appearance. The photos show it pinned up before the cut (left) and after the collar is made, but not attached, and the bottom is trimmed (right). Two extra buttons are on the bottom in the photo on the right, to show how it would look if more were added.

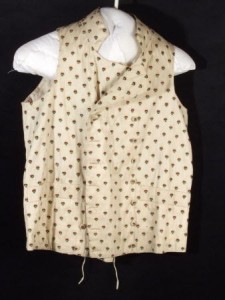
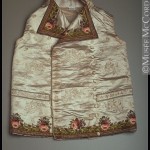
Waistcoat, National Trust Inventory, 1790 – 1810, Cotton and silk, Chastleton House, Oxfordshire.
Regency waistcoats sometimes had distinct lapels, but more often, the front panel rose to the collar above the button line, and that upper portion was propped open by the cravat. Unfortunately, when I removed the two Vs from the vest’s bottom front to straighten the line for a Regency look, I couldn’t put it on like the latter design, as it was lined in herringbone, the same as the back panel of the vest. The option was a small lapel.

If you have additional fabric, a detail that appears on some, but not all Regency waistcoats is a small pocket on each side, which can be faked with a piece of finished size of about 1-1/2″ by 5″. I tried to make them with what I had left, but they were too small.
This vest had matching satin-covered buttons, perfect for Regency. One was cut off with the bottom V, and there was one spare. Because Regency had lots of buttons, I’ll add more in between the current buttons if I have time after my other projects are complete for Louisville.
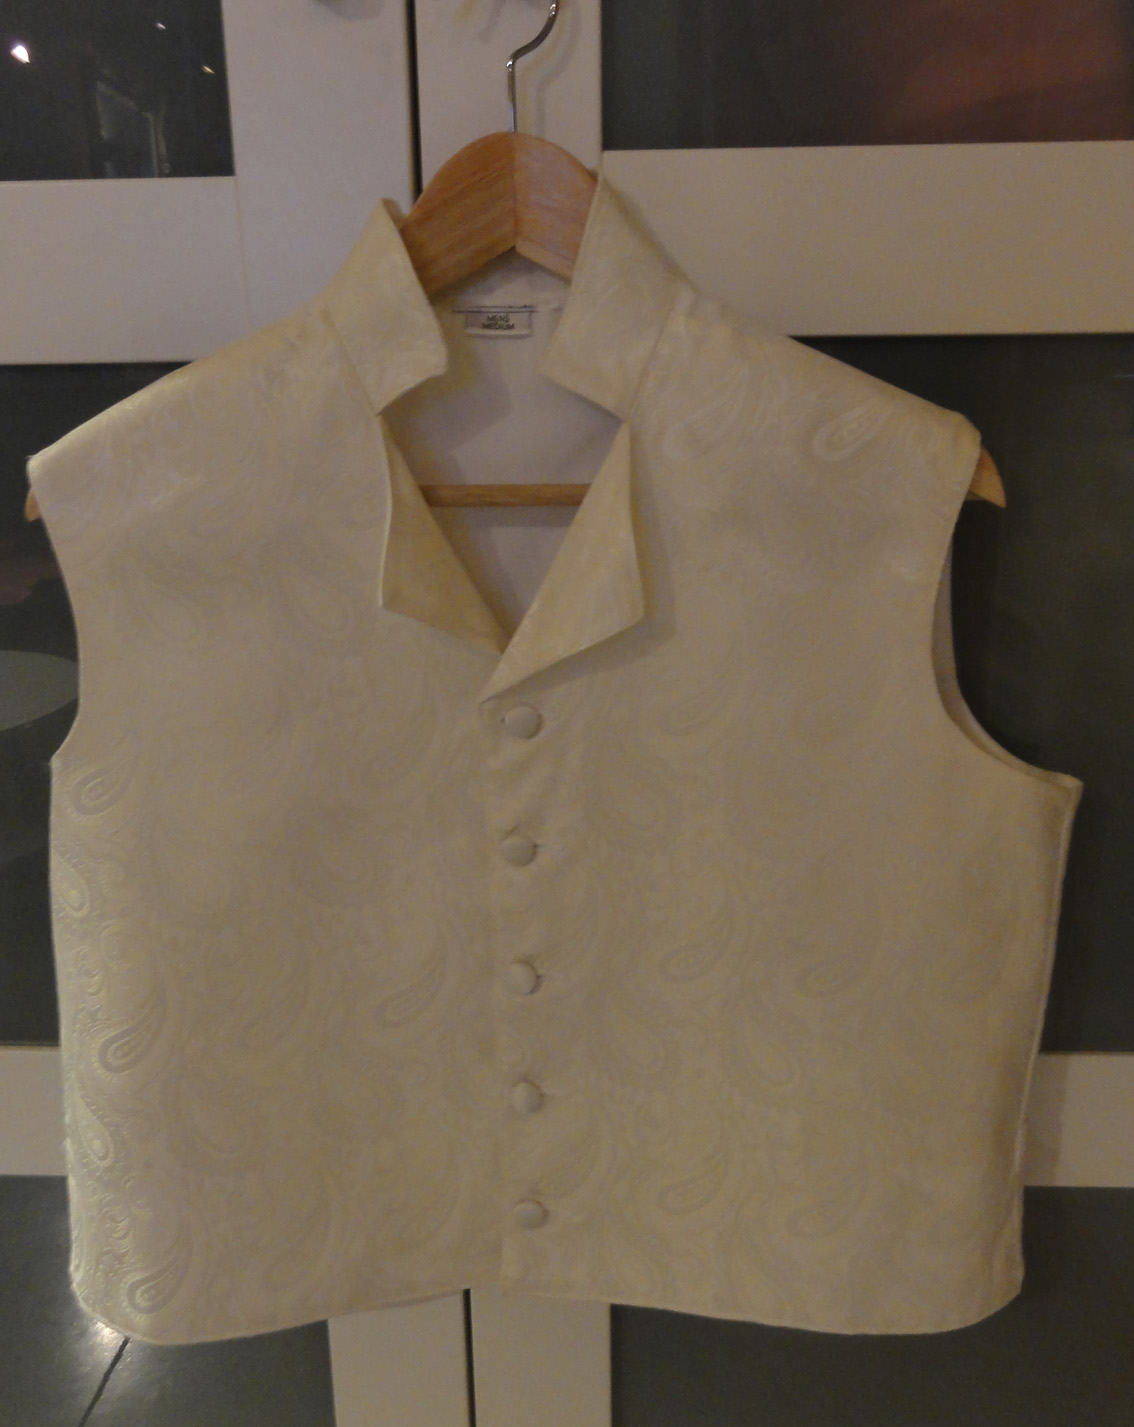
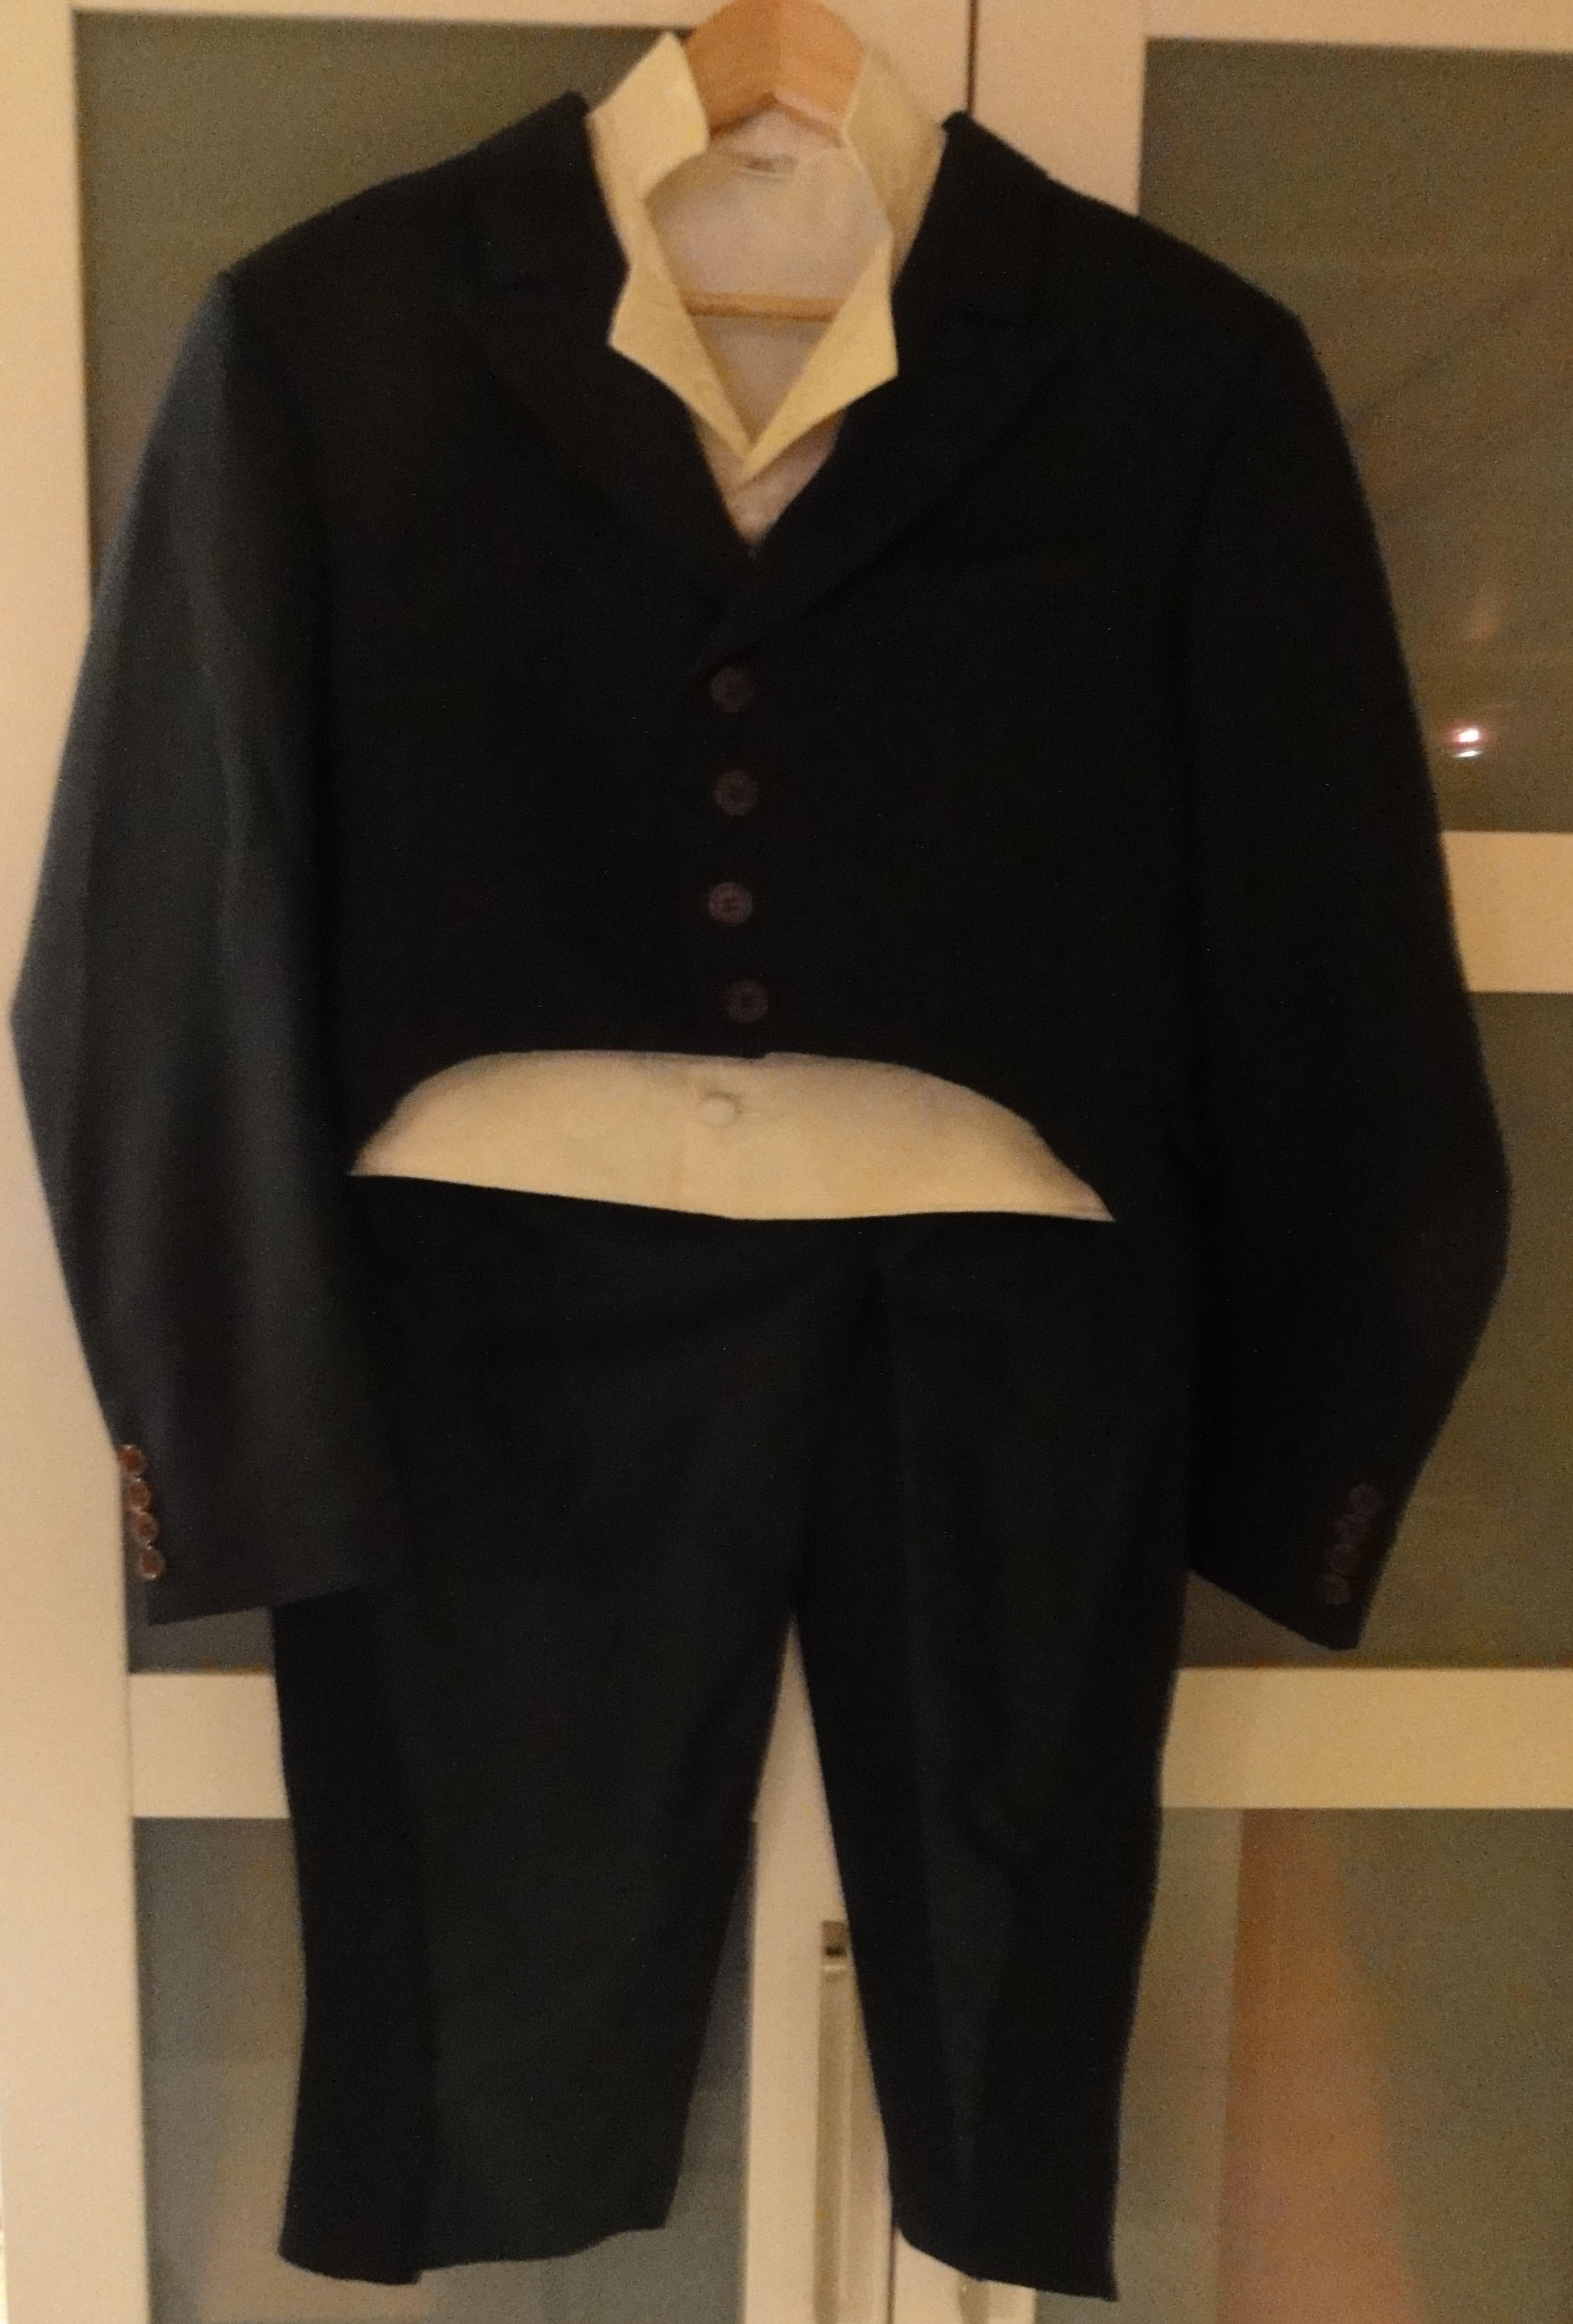
The two pieces put together look nice! There’s about 2″-3″ of waistcoat showing below the bottom of the waistline of the tailcoat, a fashionable length. The small lapel on the waistcoat fits neatly into the higher opening at the collar of the tailcoat. We’ll see the shirt ruffles and cravat fill that space in a future post!

TSRCE for Gentlemen: Green herringbone tailcoat and ivory paisley waistcoat.
Next post: Who knows? My time has become filled with editing for myself and a fellow author, fitness programs that stopped for August, as well as new activities.
I’m scrambling to complete the most important Regency costume projects now, as time is running out. The balance of Mr. Suze’s costume will come some time this month, and I have lots of little projects I want to finish for Louisville. If I can manage to write something to accompany photos, that will be the topic for upcoming posts!
Like this:
Like Loading...