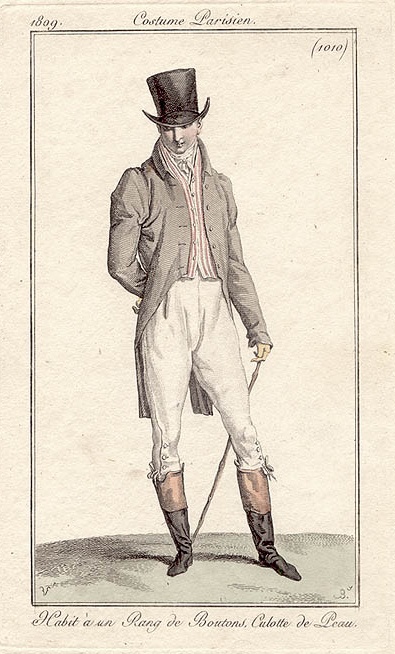
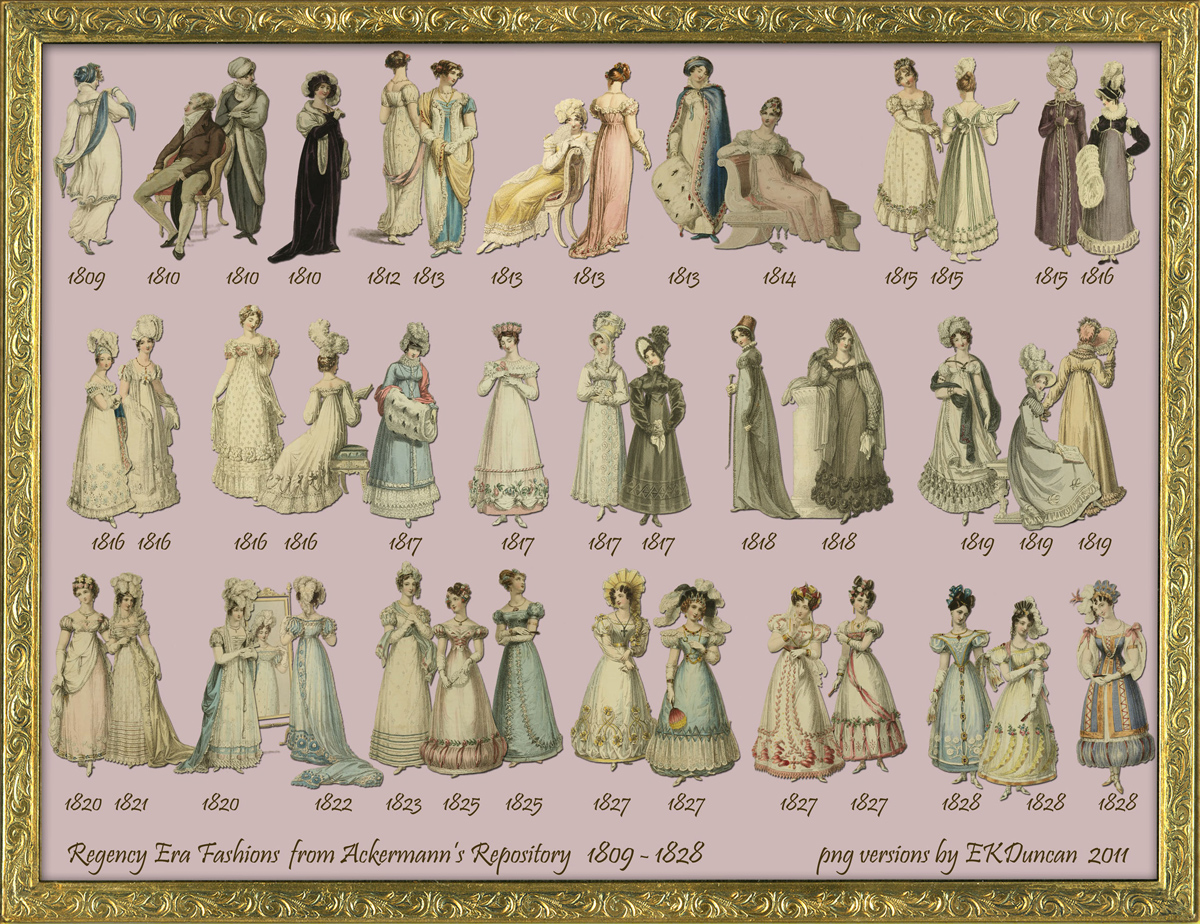
A Regency-costumed event that’s longer than a 21st century afternoon poses a problem: you need at least two gowns! From waking until dinner (at 4pm), you’ll wear a morning gown, which is modest, with full- or three-quarter-length sleeves and a high neckline. As the day wears on, you’ll be allowed short sleeves and a lower neckline, until the ball, when the bodice is brief. This is called “full dress,” as in the lady is fully dressed up in her best!
Sometimes a gown for “later in the day” was worn with a lightweight, white fabric insert or cover at the bodice and/or long sleeves, temporarily sewn under the short sleeves, for a morning gown look.
Chemisettes, Tuckers, and Fichus
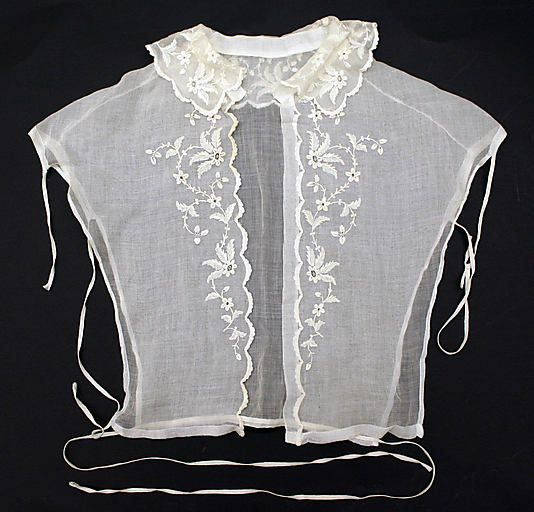
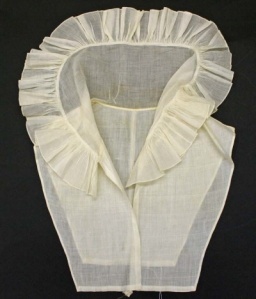
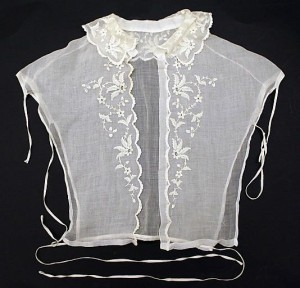
A chemisette is similar to a dickey in fine white fabric: it tucks into the gown neckline to make it high cut, and cover the chest, shoulders, and back. It has a collar to suit a morning gown look.
A flat, sheer fabric panel called a lace tucker can be worn to artificially raise the neckline a few inches for an afternoon or dinner gown. It’s like the chemisette without the collar.
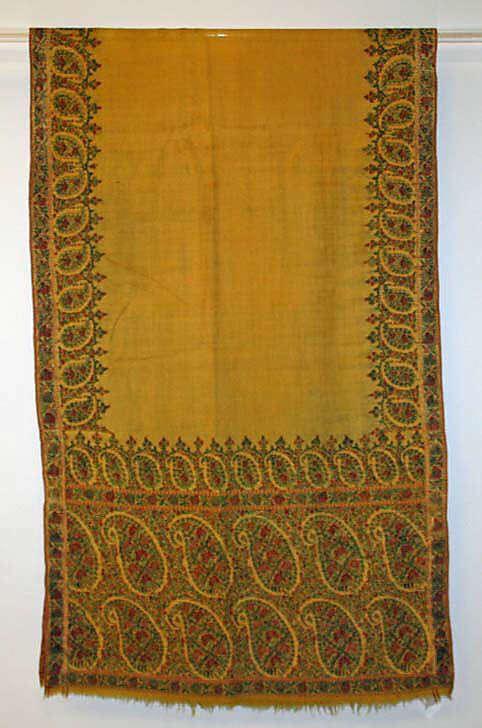
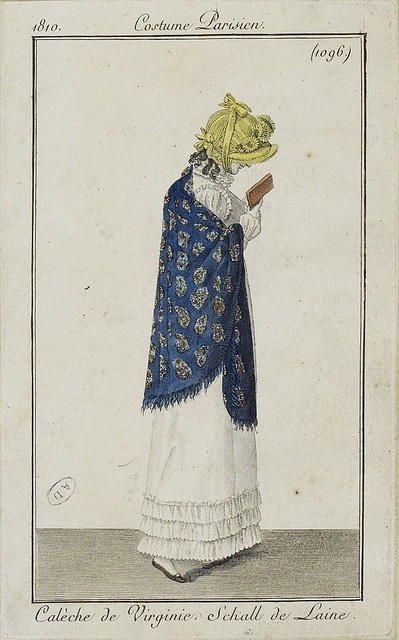
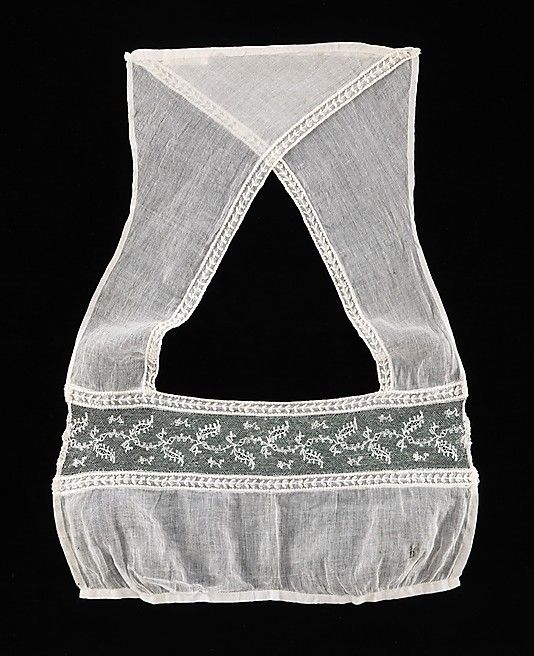
Alternatively, a lace triangle like a small shawl or scarf can be worn atop the gown and tied at the centre front, and this is called a fichu.
All of the above were made of light, translucent or sheer fabrics such as fine Regency muslin, cotton, or heavier net. They tended to be white with lace or whitework (white embroidery, drawn thread techniques, or darning) accents, not unlike the lace caps we saw in an earlier post.
Removable long sleeves took care of the other aspect of modesty, and these were often made in the same fabric as the gown.
In the late Regency, there was also a “summer bodice,” which was a high-necked, full bodice with long sleeves. It was super-light muslin, and sometimes had stays incorporated into it.
Re-purposing to make any of these items for yourself is an easy project. Some of the alternatives suggest “sewing,” which can be accomplished by use of no-sew tape.*
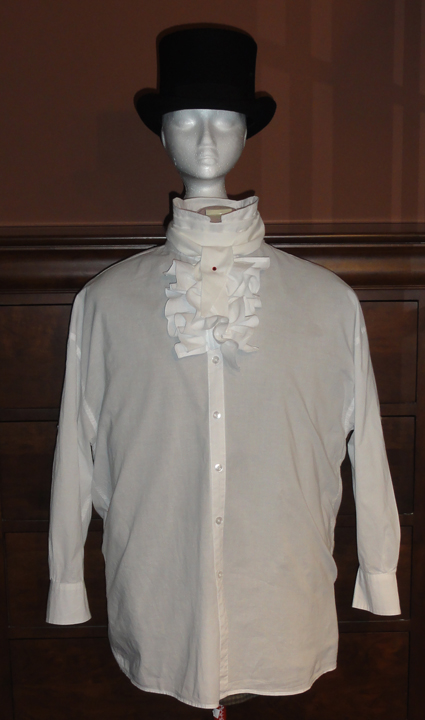
 Make your own chemisette:
The top of a white, sheer, natural fabric blouse can easily become a chemisette: Excess fabric is cut away to leave a dickey-like garment.
Fabric for the chemisette should not be stretchy or look synthetic. The chest should not be covered with ruffles, and a tuxedo style is not Regency, but fine pin-tucks, sections of smocking or ruching, simple lace, or embroidery on the front are nice. Embroidery designs should be reasonable for Regency. Silver or white are the best colours, with natural or simple geometric patterns. Please, no psychedelic stuff!
The blouse should have a collar that fits close to the neck. Almost any style but double lapel, drapey cowl, or boat-neck will be fine, and ruffled collars were common on chemisettes. If there is no collar, add some lace to achieve the look.
To make your chemisette, put the blouse on under the gown, mark the neckline in a wash-out product. Trace a parallel line to the neckline about 1 ½-2” wider on each side and cut off excess. Finish the cut edges.**
Disguise or replace modern-looking buttons and button holes on the blouse.*** Remove zippers and, if necessary, replace with ties, easily made from a pair of matching narrow ribbons about 6” long, tacked at the edge of the opening. Hand sewing is recommended for this. Make sure visible stitches look neat. Note one of the examples uses ties to hold the chemisette in place, too.
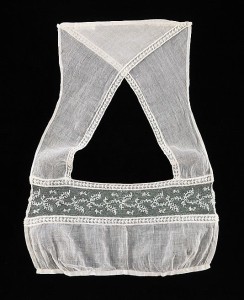
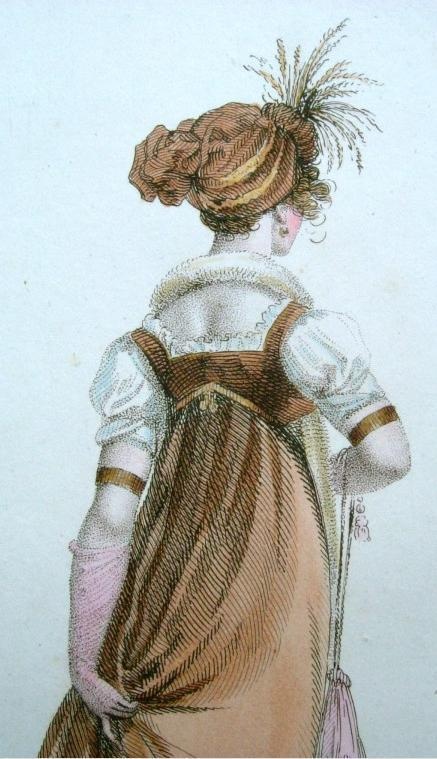
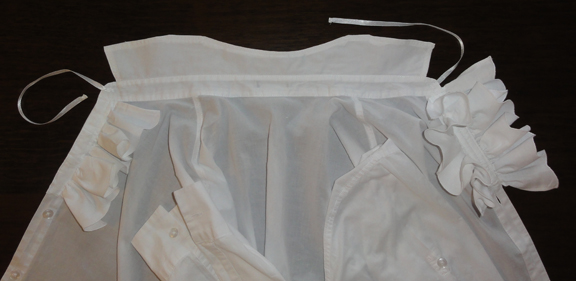
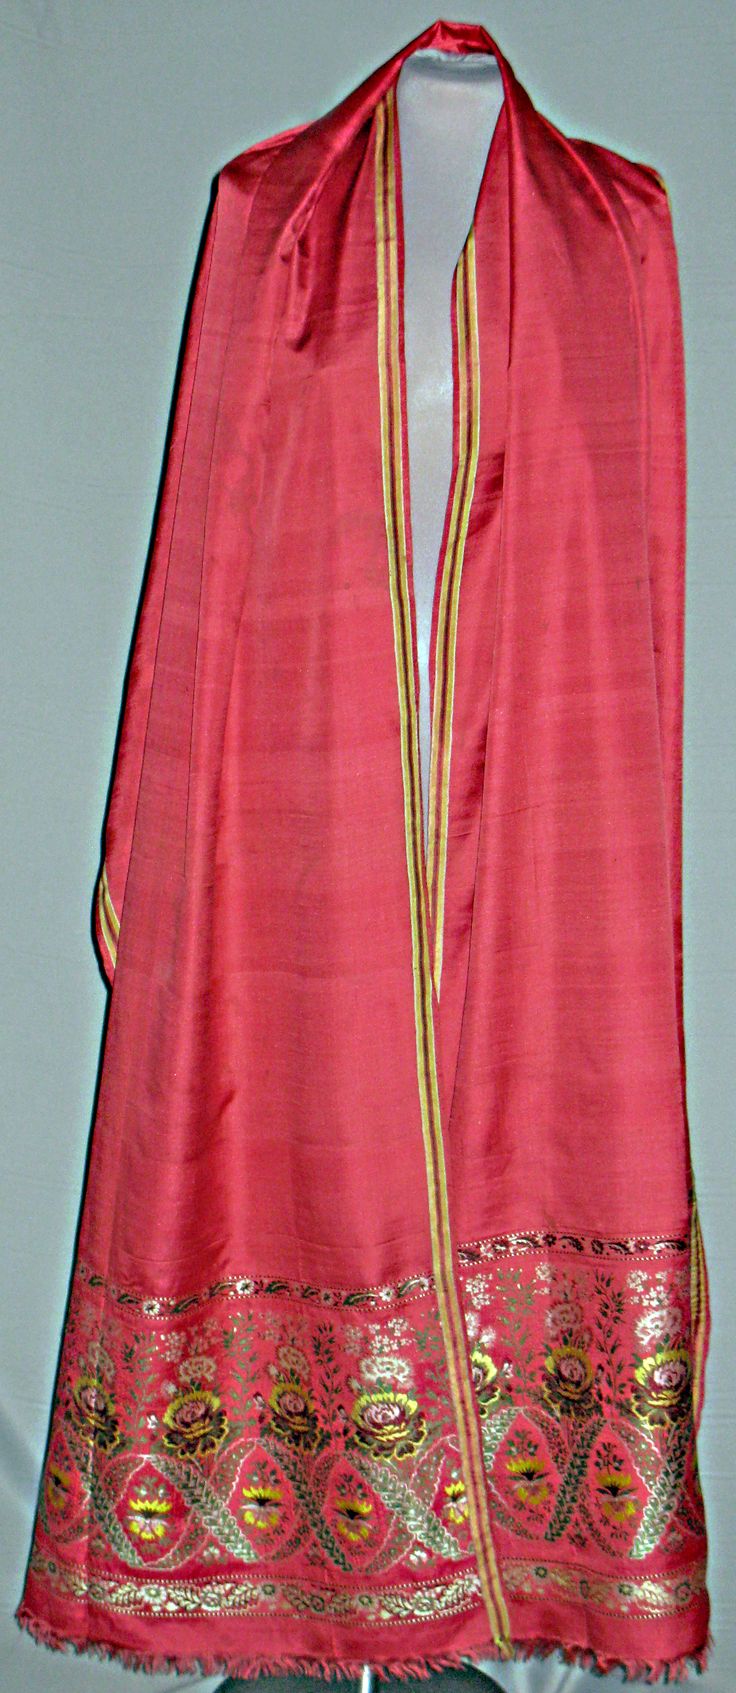
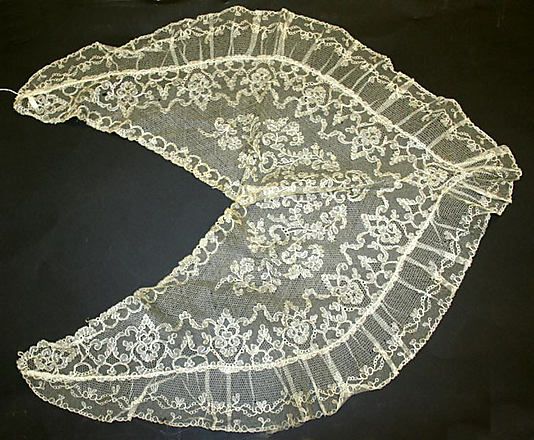
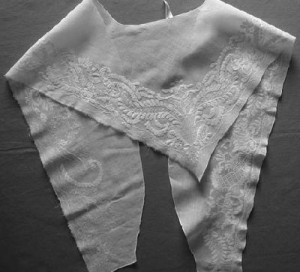
Lace Tucker, 1820’s, French
Make your own lace tucker:
This is like a chemisette, but simple, collarless, and flat. The fabric should be similar to the caps we saw in a previous post: white-on-white super-fine cotton or linen, so it’s sheer.
A lower kitchen or bathroom curtain with a nice lace design will be more than enough fabric. Remove any flounce. As in all areas of the Thrift Shop Regency Costume Experiment, if you use polyester, it must be of good enough quality to appear as if it is fine cotton, linen, or silk.
If you can’t find a nicer curtain panel, a scrap of fine, sheer fabric with a lace insert, or a panel of a sheer silk scarf with an interesting design can be made into a tucker if trimmed, hemmed, and remade into a shape like in the photo above.
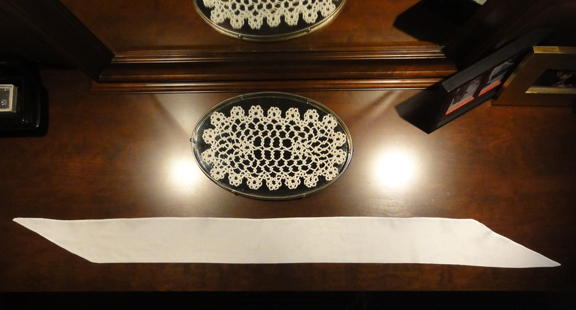
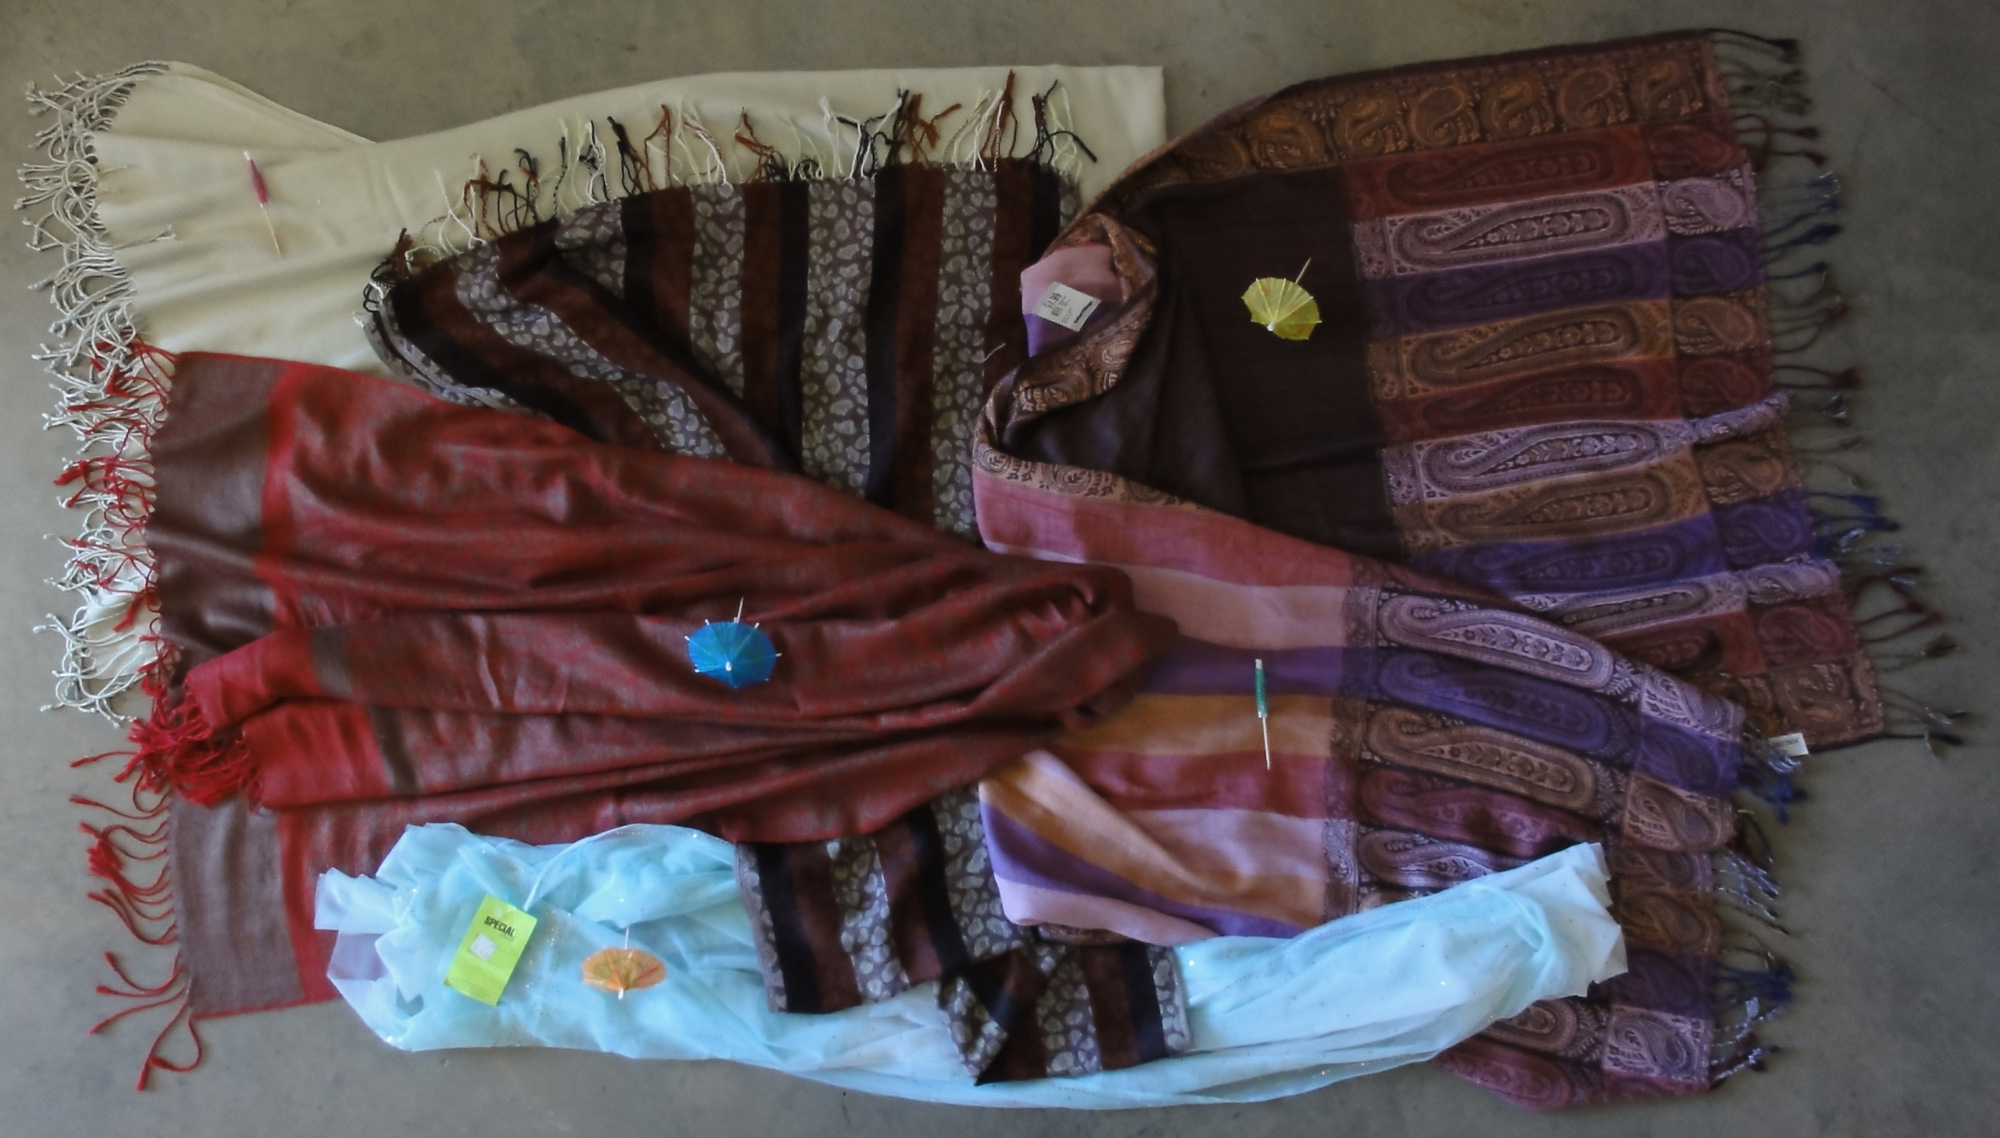
 The second pillowcase from the set of two for $1.99 (lower right in photo; the other was to be made into my cap) will be my tucker. If the outside edge of the lace pattern is wide enough, I can cut right up to it, and the heaviness of the Battenberg tape will suffice for an edge, otherwise I’ll have to leave a hemmed panel to tuck in.
It’s up to the wearer to decide the coverage, i.e., depending on preference, the neckline can be looser about your neck. For a morning gown look, it should be close to your neck, so I would need to add a back slit with ribbon ties on mine. Otherwise, a bigger hole is required to fit my head after hemming. Finish cut edges as needed.**
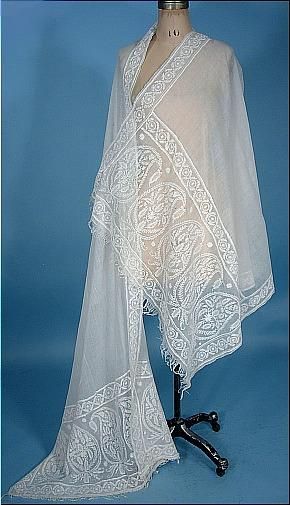
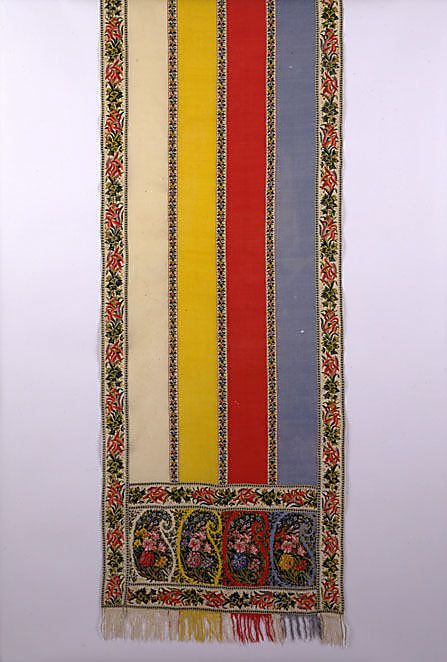
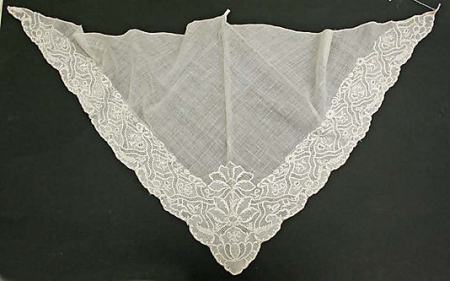
Make yourself a Regency fichu: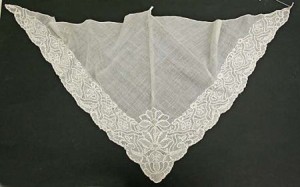
A light shawl-type garment, the basic design of a fichu is a white or light-coloured lace triangle in natural fibres. Its size can vary, but it must wrap over the shoulders to cover any the back to the neckline, then tie or tuck at the centre front neckline: in most cases 30 inches on the long side will suffice. Either an all-over lace design or something special on the two short sides of the triangle is desirable. It should be white on white, or at most, minimal pale or silver embroidery.
A square silk scarf with an intricate border, folded or cut in half on the diagonal;** a sheer triangular evening shawl; or similar garment will work.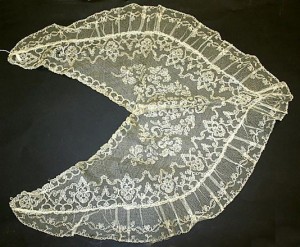
The corner of a lace or sheer curtain panel or tablecloth with a wider embroidered, lace, or applique edge is a good choice, if you can find one where the fabric looks natural and not plastic. I had no luck there, but I know I’ve seen them.
Another option is a doily or lace table runner. The rectangular doily at top centre in the photo is 16 inches on the long side. It can be cut on the diagonal, then the pieces moved and the short edges attached so it makes a triangle. Similar to the Regency cap I made, this lace is a bit heavier than true Regency, and I suggest working to find something lighter weight.
Fake sleeves:
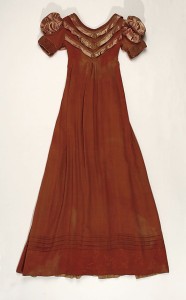
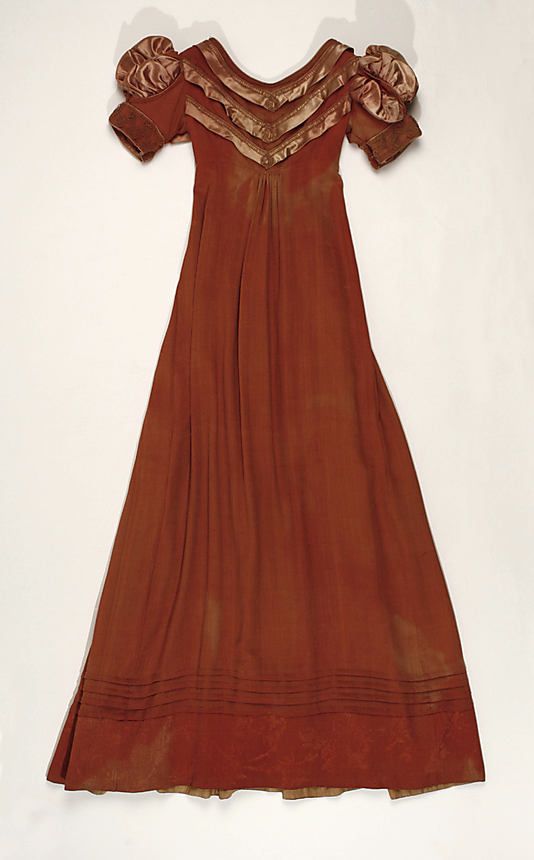
Dress with long sleeves removed, 1818, Metropolitan Museum of Art
Matching detachable sleeves from gown of 1818, Metropolitan Museum of Art
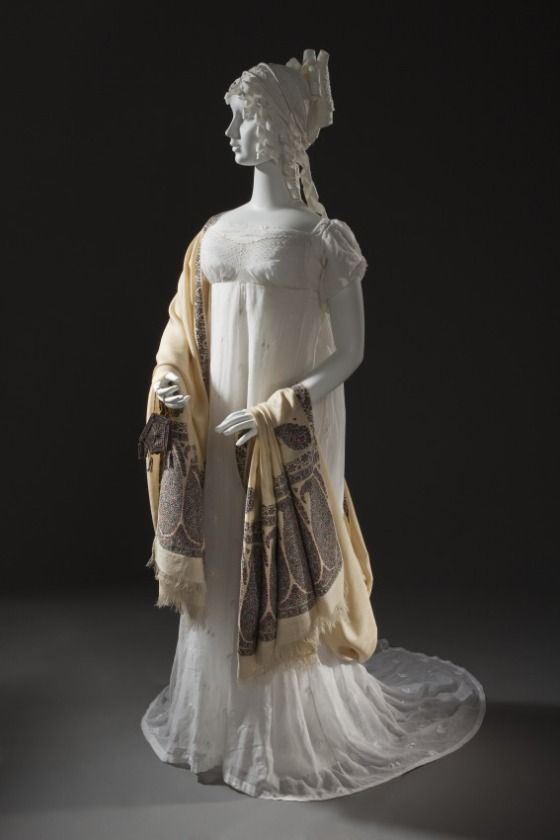
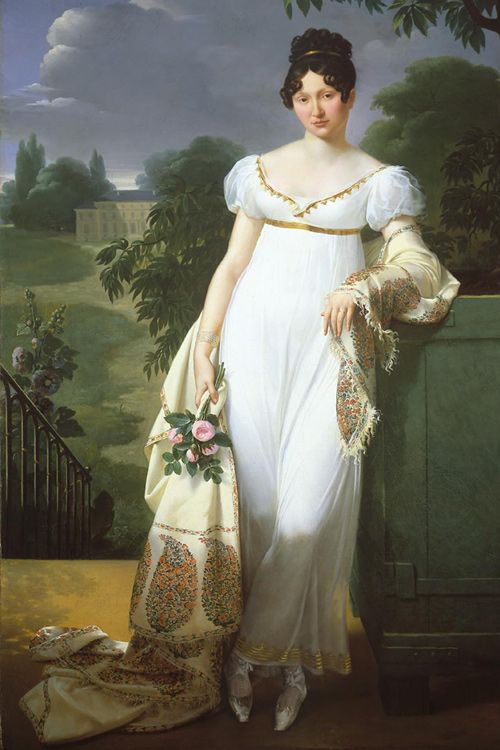
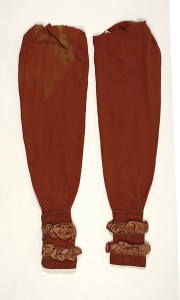
In the same vein, it was not uncommon for a gown to have removable sleeves to create a morning gown from an evening gown. They fit over or under the short, puffed sleeves. Sometimes, they were made in the same fabric as the gown.
Basic sewing skills are recommended for making a convertible gown by removing long, puffed sleeves from a thrift shop gown and remaking both sleeves, or making new sleeves to be added.
If you choose to cut a long sleeve off, co-ordinating fabric will be needed for the cuff of a new short sleeve. It may be possible to steal it from elsewhere on the dress: a wide hem, a too-long skirt, moving a seam, the cuff of the long sleeve, etc. If you’re lucky, you might find a scrap elsewhere in the same colour and texture—but unless you made the original dress, that’s almost impossible. Cuffs were narrow, so it’s not a lot of fabric, but it should co-ordinate well, and match any cuff on the long sleeve.
If a match proves difficult, a complimentary fabric that’s obviously unmatched can enhance your gown if you use it elsewhere, for example, make the cuff from the same complimentary ribbon at the gown’s high waist or new trim you’ve added at the neckline or on the skirt hem. Another alternative is to put coordinating flat lace over the cuff to disguise a slight mismatch.
If the original long sleeve was puffed, the part you cut off should be narrowed a bit, and the end to be tucked under the new short sleeve should be finished with matching bias tape so you can keep as much length as possible, yet have a sturdy edge to whip-stitch inside when needed. Don’t make the cuff or new long sleeve too tight!
If you’re making new sleeves, keep in mind that Regency long sleeves tended to be very long and close-fitted. Take advantage of making them new, and have them go from inside the cuff of your short sleeve to your fingertips, flared a bit to go over your hand. Wear them slightly tugged up along your arms.
New sheer long sleeves can be added over a puffed sleeve, too, as in the example from this article in Jane Austen’s World.
When you want to wear the long sleeves, you baste or whip stitch the tops of them inside the cuffs of the short sleeves.
My cool idea for an alternate!
An interesting additional option makes it super-simple to create a convertible gown: A very lightweight, white, sheer or lace, long- or three-quarter-sleeve blouse with a high neckline and collar, in cotton, silk, or similar fabrics, can be worn under or over the corset of a ball gown!
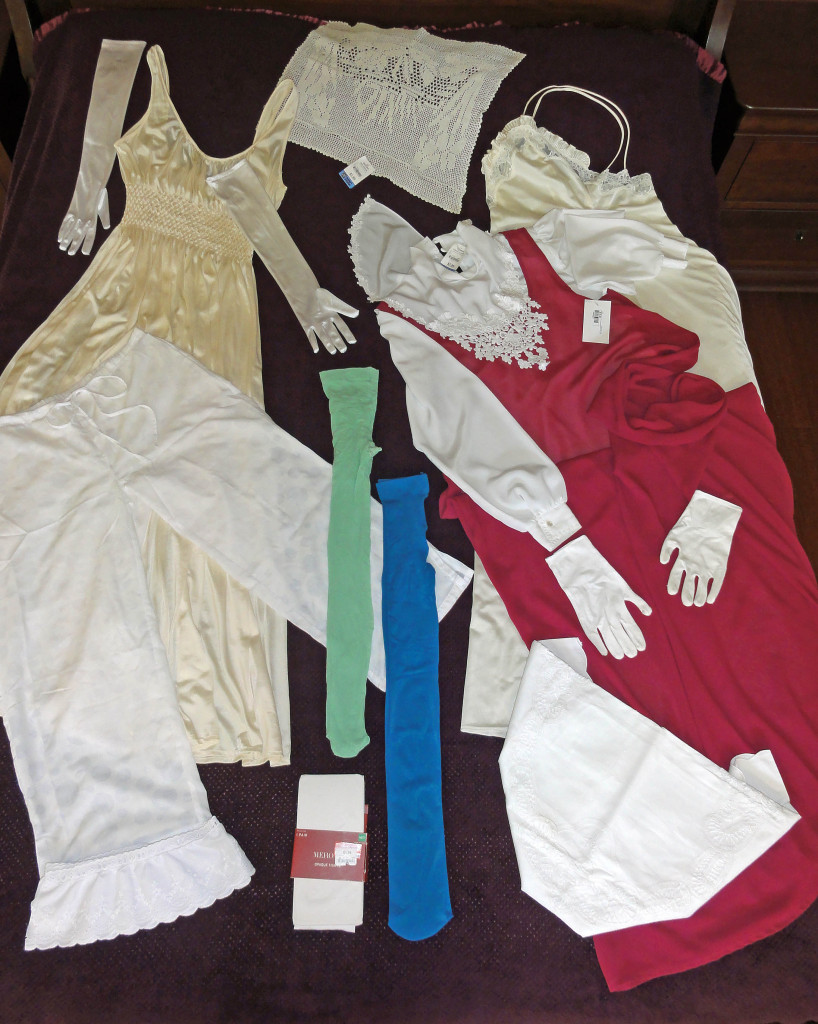
You now have a combination of a chemisette, a set of removable sleeves, and the top of the chemise. You can see the effect under the fuschia under/overdress in the photo of my selections, above.
Add a floor-length half-slip or your version of pantalettes, pop on your ball gown, and you have a morning gown, and you’re ready to make calls!
But watch out—the “morning” didn’t start until 11 am, and a fifteen minute stay was all that was polite unless you were close to the hostess. Of course, you didn’t want to risk offense by making any assumption, so at fourteen minutes, you began to say your farewells! It took more time to travel between calls than was taken chatting!
The AHA Chat Chits could not handle that. At least they would be able to ghost a bit in the carriage. I wonder what priorities in conversation would be chosen if they had to minimize their chat time? Austen’s novels? Novels based on Austen’s work Hot men? Chocolate? Dodgy history topics?
When the night time comes, of course, the add-ons come off and you’re left with the abbreviated bodice again! Roll that top down, honey, it’s a convertible, and it’s time to have fun!
~~~
NEXT POST: I’m running out of time in this series, because I promised to show the whole costume by the end of June, and we still have to do reticules, bling, show the final outfit, and provide the quick checklist. I’m pretty sure reticules will be two posts, unless I can figure out how to show how to make the clever designs without showing the whole process.
Anything I don’t absolutely need for a base costume will be in bonus posts, though: Outerwear (spencer, pelisse, shawl), additional accessories (fan, parasol), ball gown, the “tricks” to fake Regency, In addition, I had an idea for give-away’s in Louisville.
~~~
Notes:
* “No-sew” or hemming tape is a non-woven tape that can be used instead of machine or hand sewing where there is not too much load or stress on the seam. It must not be used alone for such things like setting sleeves, bodice seams, crotch seams, or attaching a skirt. It works well for hemming and finishing cut edges. It comes in two types: iron-on (fusible) or no-iron, which is similar to double-sided tape, but the tape is fabric and not plastic.
** When you adjust the product you buy or salvage at home, you should finish the cut edges by machine or hand stitching, or with ¼” wide hemming or “no-sew” tape. Invisible cut edges can be hemmed with a double fold pressed in before attaching. If the edge is visible, a narrow ribbon, flat lace, or matching narrow bias tape is nice.
*** The Problem of Regency Buttons
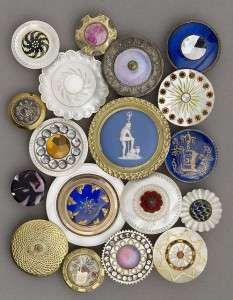
Pearl and metal buttons, 1780 to 1820, Luckcock Collection, Birmingham Museum of Art
In what remains of her letters, Jane Austen commented to her sister, Cassandra, that buttons were expensive. Examples from the Regency can be seen in the photo. It’s not easy to find inexpensive buttons to match, and reproductions come with a hefty price tag. There is also the issue of hand-sewing buttonholes or eyelets to be authentic.
The good news is that buttons and laces appear to have been used in only about 20% of gowns: ties were more common, as well as hooks and eyes.
If your chemisette (or gown) has modern buttons, you should replace them. Oyster-shell buttons or kits for self-covered buttons are inexpensive and common in fabric stores. The self-covered button-making kits are easy for the novice. They were common on waistcoats for men.
 The craftier costumer may like to try making buttons from cording, such as knot buttons or Dorset buttons. It takes a fair bit of experience on larger sizes to be able to make Dorset buttons well. Small plastic loops in bags of around 20 are inexpensive in draperies departments of fabric stores. Sea Green and Sapphire has a tutorial.
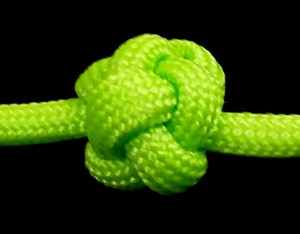 In my old sailing days, I tried making a Monkey’s Fist knot one rainy Saturday, and it took far more time and patience than I had, and I was working with rope large enough to make a knot a little large than the size of a ping-pong or squash ball. This is a bit simpler, and Paracord Knots’ video shows how to make it.
If you’re sensitive that the existing button holes on your chemisette or gown look machine made, either hide or remove the button hole panel, with alternatives as follows:
- Remove the button-hole panel, re-hem, and add fine ribbon ties or make loops for the buttons at the neck, plus more locations as needed. The edges do not have to overlap: the layers of other underthings will hide skin!
 In front, hide with trim such as a co-ordinating flat lace panel. When you attach this trim, leave gaps to allow access to fasten buttons. Replace buttons with flat ones if they make lumps on the trim panel. For a gown, check out historical pieces with decorative panels on the front of gowns, such as the example.
- For back buttons, use period-looking buttons large enough to cover most of the hole.
Note that frogs are not the best choice for this type of garment, but are good for outerwear in the Regency.
~~~
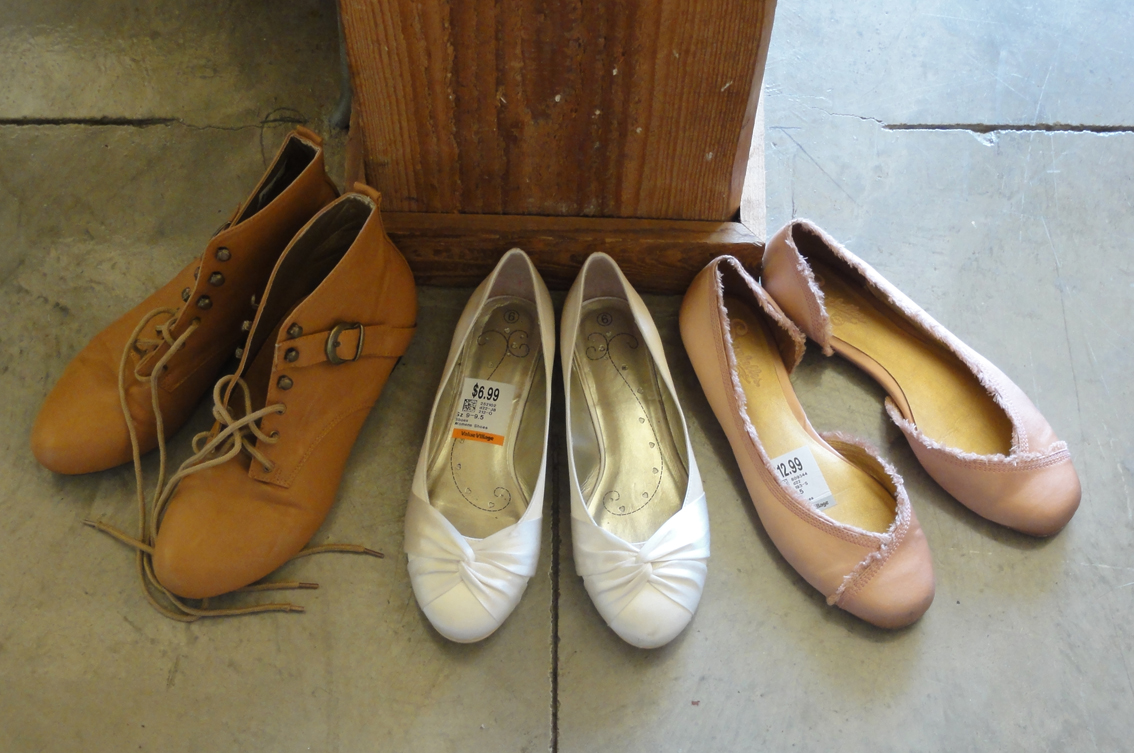
I had a good shopping day today. I found satin ballet flats in white and in pink, plus buff-coloured flat, laced ankle boots, with a light sole and heel, for Regency half-boots.
Ribbons were on sale in a craft store, and I got a dozen colours of varying widths. Some will be for the tricks that I’ll show as a bonus post after this series ends the end of June, and some will be used for that Lydia hat.
All this modifying of gowns has made me consider making a simple one or two, and there just happened to be Regency-looking fabric for $7.99 for 2.5m at Value Village. I hope it doesn’t wind up in my closet for 20 years like the last time I said I’d make a dress!
~~~
Like this:
Like Loading...

 I was fortunate to attend a performance of the musical adaptation of “Jane Austen’s Persuasion: A Musical Drama” by Barbara Landis on July 6, 2018 as part of the Port Alberni Jane Austen Festival. It was a brilliant performance highlighted by 49 musical pieces from music of Jane Austen’s time to Irish folk tunes to classic opera, much of which is enhanced by lyrics and arrangements by Landis, who also took the lead roles in the play. Landis is certainly a flexible force behind this production, taking on the role of playwright in this variation of Jane Austen’s shortest novel as a tribute to the 200th anniversary of its publication. In discussion with some of the cast later on, I found out that she also takes a lead financial role and is a sort of mother to the very large cast and team involved in the performance, which has toured the world since 2013. To top off her ties to this situation is the fact that she’s a distant relative of Jane Austen. I’m sure that was as much of an impetus to do this show as any other reason.
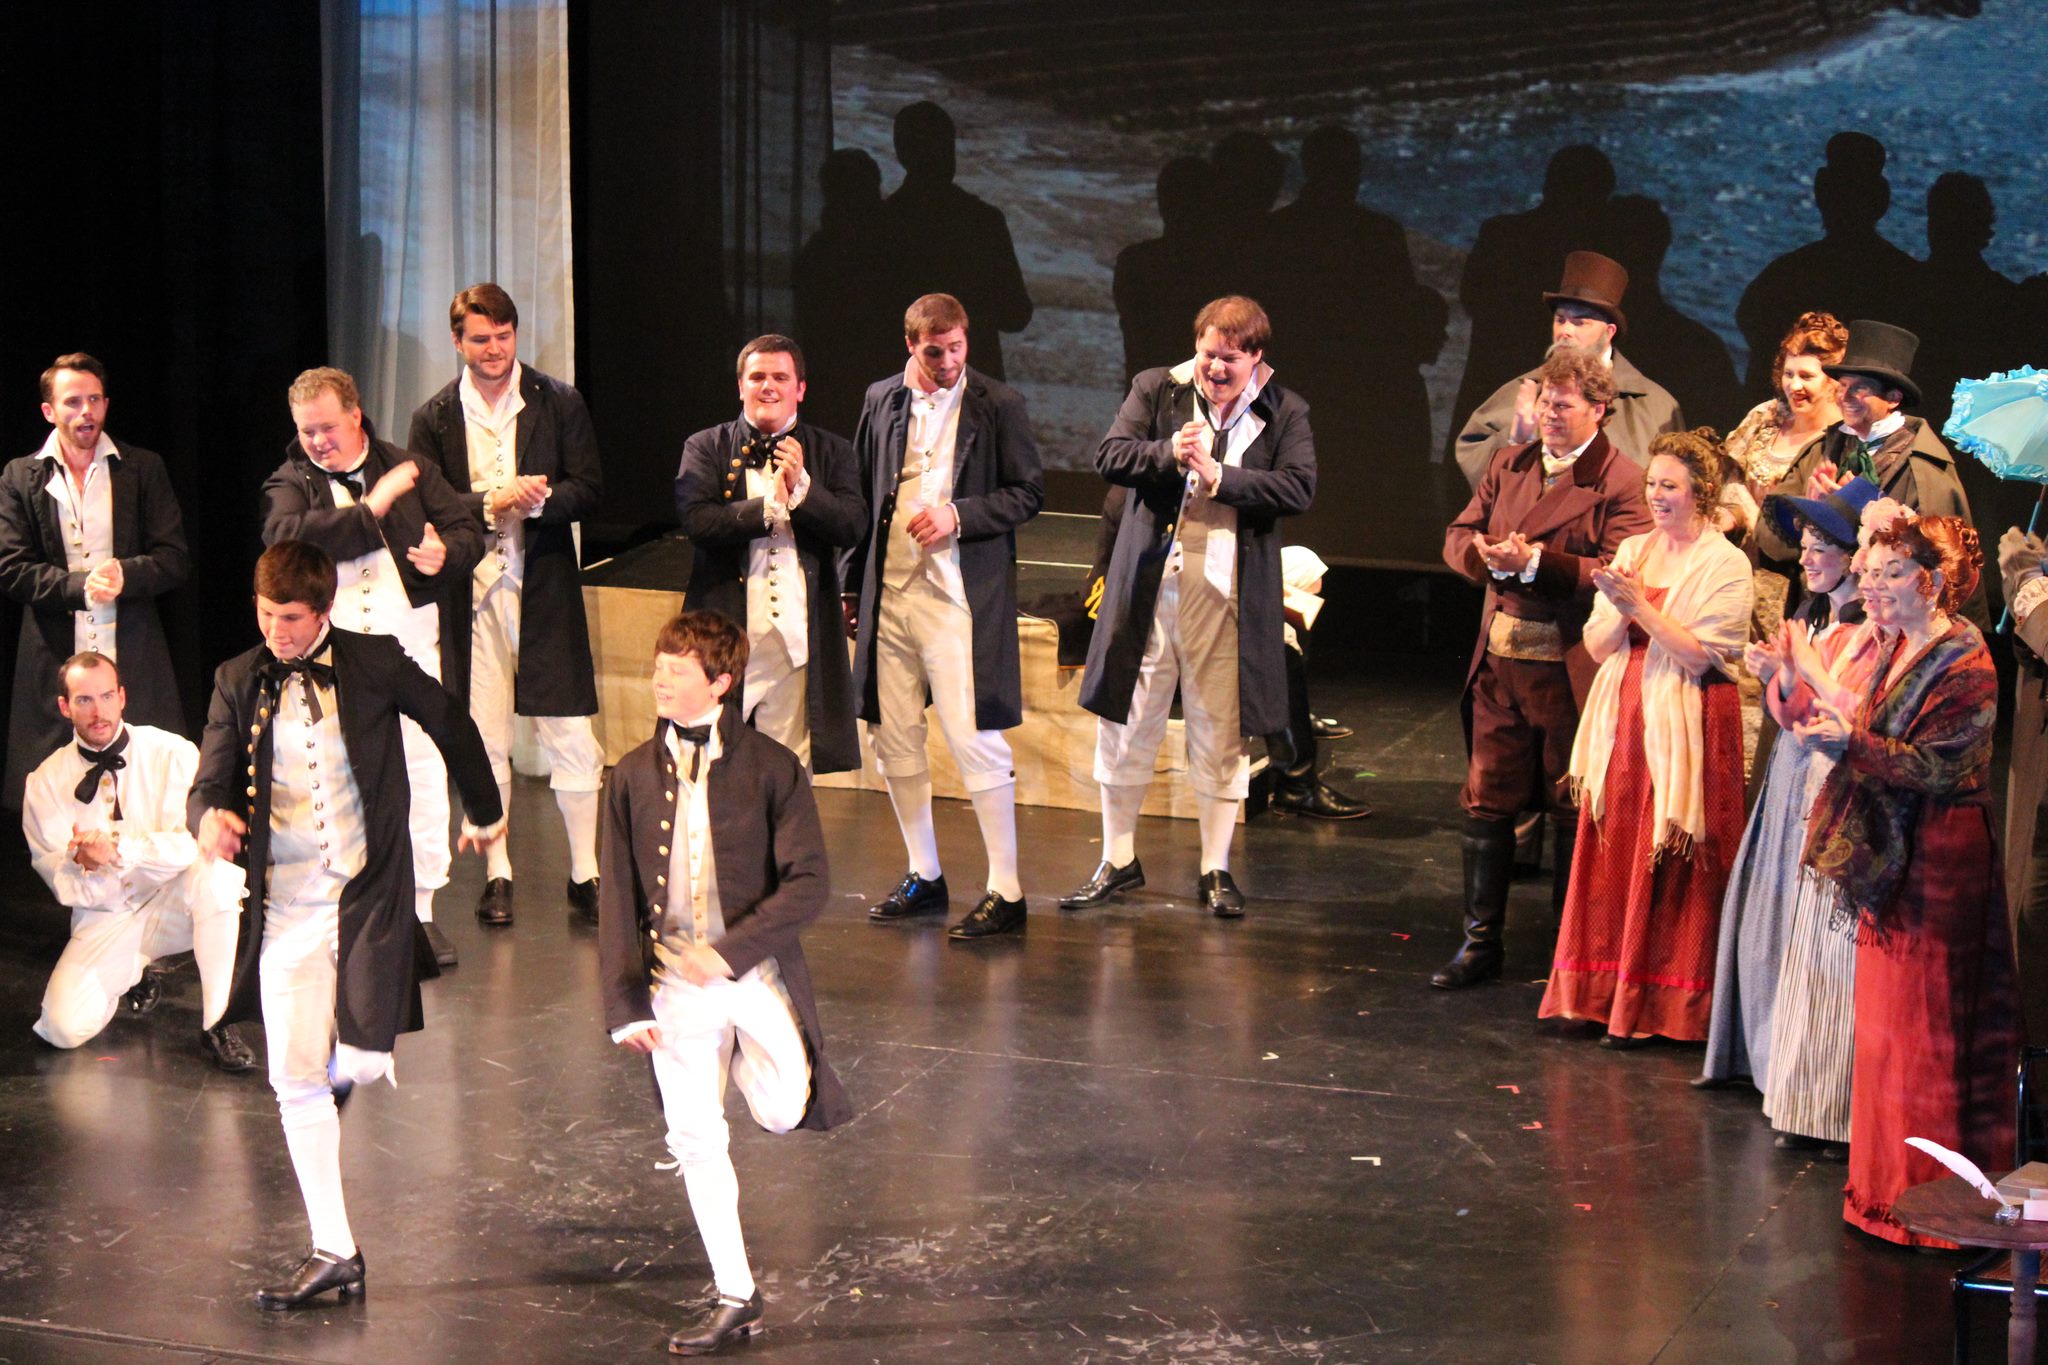 Many in the audience were particularly enthralled by the two professional Irish dancers, but for me, the cameos that were most enjoyable were the choral music and classical opera, but that’s purely because I love those types of music. This brings up an interesting point about the production: it’s got something for everyone, yet no one style was so overdone that those who weren’t big fans could be tired of it.
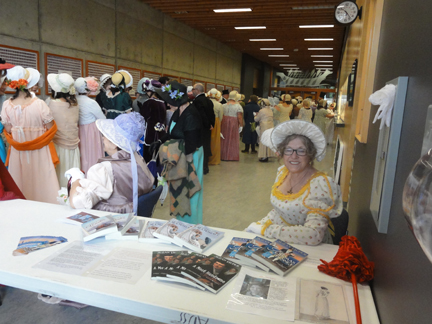
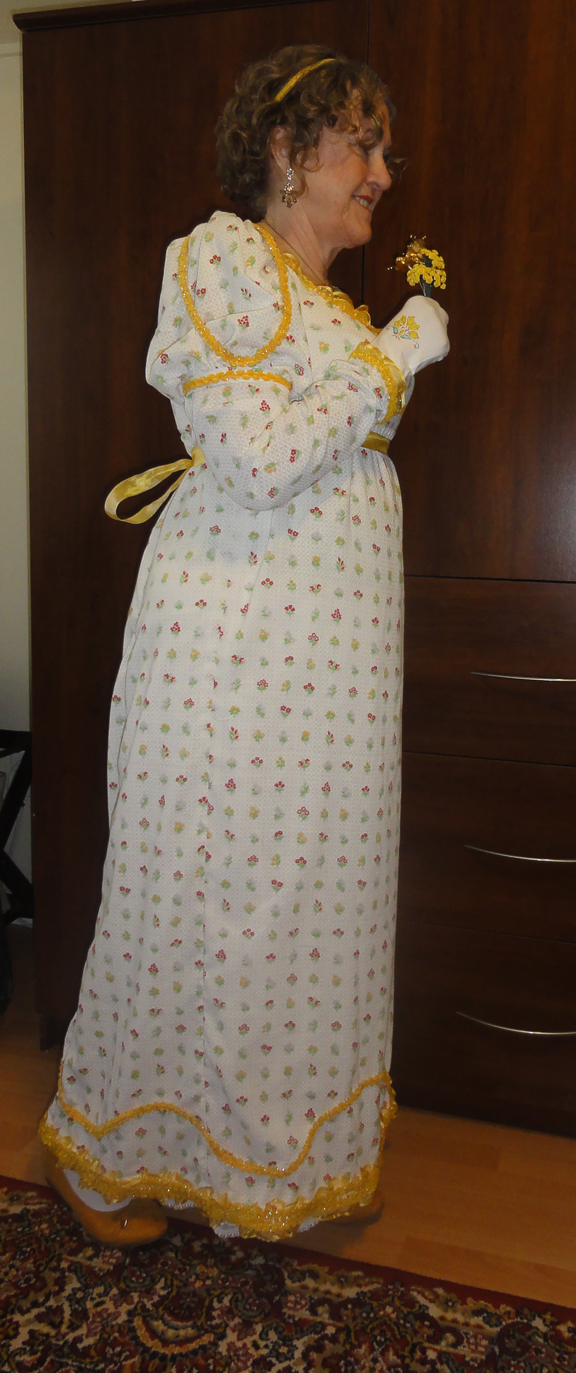 For those of you who have followed the Thrift Shop Regency Costume Experiment, I made a gown from a Value Village bed sheet at $7.99 and a ton of chenille and lace from Parasina in Mexico at about $5 and tried to match it to a Regency fashion plate for the Port Alberni Jane Austen Festival this year. What do you think? I wore Joe Fresh earrings at $3 and a Jane Austen topaz necklace that was a gift. I also had some ballet flats from Coppel in Mexico on sale at $49–yeah, expensive for me, but super comfortable for a whole day of activities, including the signing and selling of my Jane Austen Fan Fiction novels! As expected, A Most Handsome Gentleman was the most popular, given that many festival-goers had already bought and read the back-list. I got lots of encouraging comments from those fans!