The finely-fitted out modern woman has a few things in her hobo. Trouble is, the 19th century woman’s hobo was pretty tiny. Thank goodness a full set of cosmetics, hair gear, phone, tablet, photo album, and dishwasher were not necessary to tote around during the Regency.
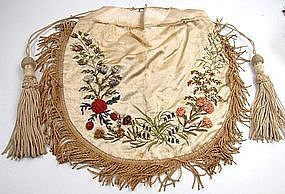
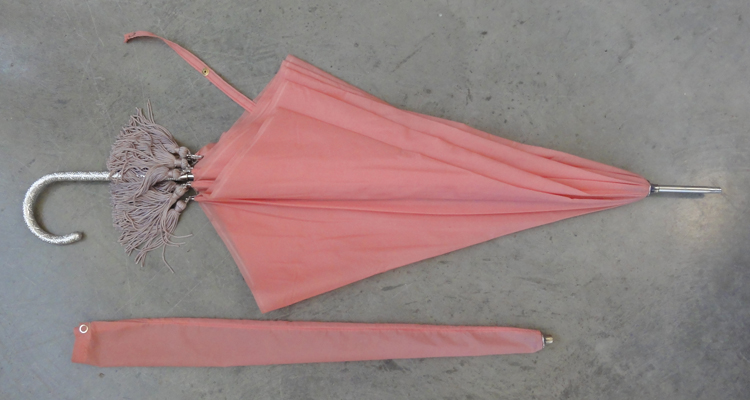
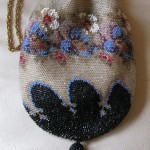
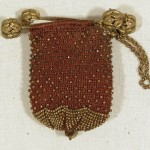
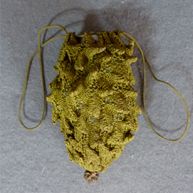
Early 19th century silk purse, 8 inches, with silk embroidery, fringe, tassels
The Regency lady carried a small drawstring bag or purse called a reticule. For some reason it’s been jokingly called a “ridicule” on occasion, but I don’t know why, and frankly, I don’t care, because how could you make fun of such pretty little purses?
Here’s the low-down on them:
- Roughly 4-8 inches wide and 4-8 inches tall, plus closure (most in the mid-range). (Click on the thumbnails for larger images.)
- A multitude of shapes.
- Closure is typically drawstrings at the top.
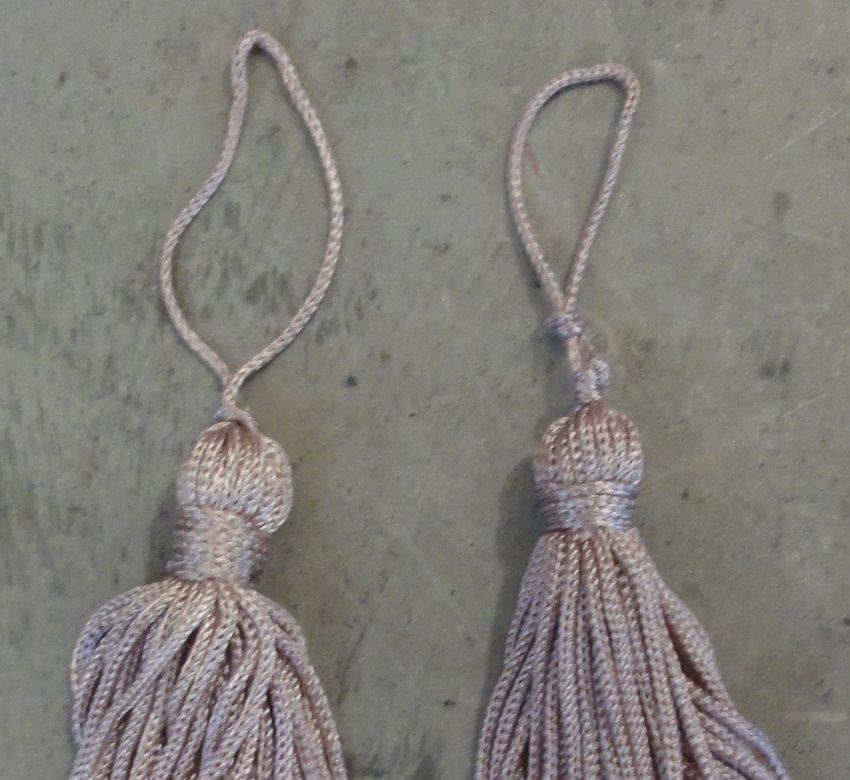
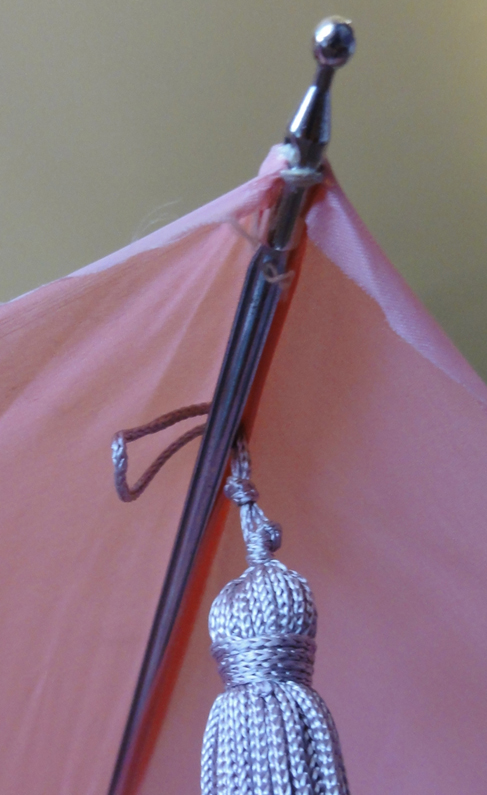
- Drawstrings are made of cording or ribbon, often with beads or tassels at the ends.
- Double or single drawstrings are seen.
Reticule with gate closure
- No zippers.
- Gate and metal clasp closures were less common but acceptable.
Early 1800s blue silk netted purse.
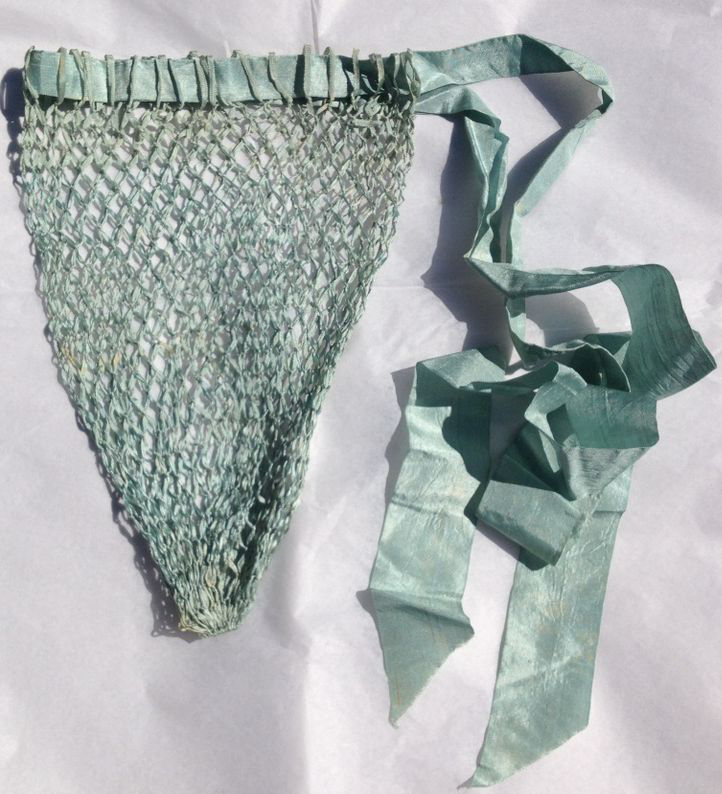
- Made of a variety of materials and methods, including silk, linen, tapestry, cording (including metal), straw, beads of all kinds, wool, and more, by sewing, netting, weaving, or knitting.
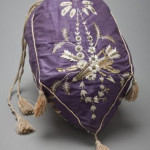
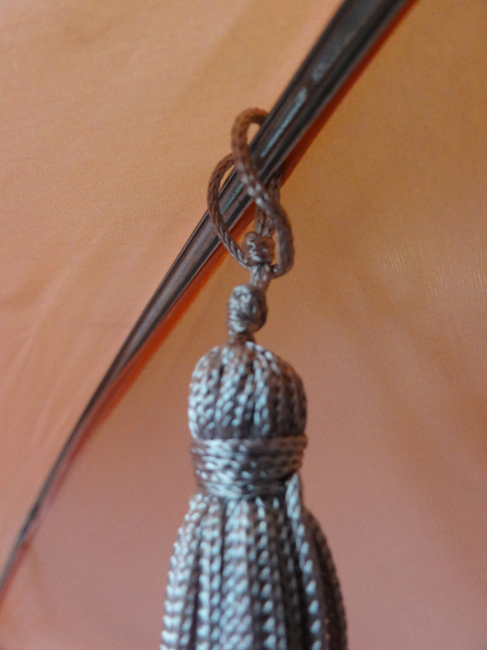
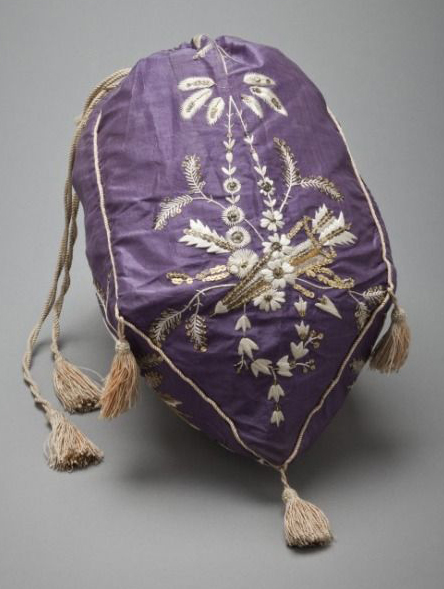
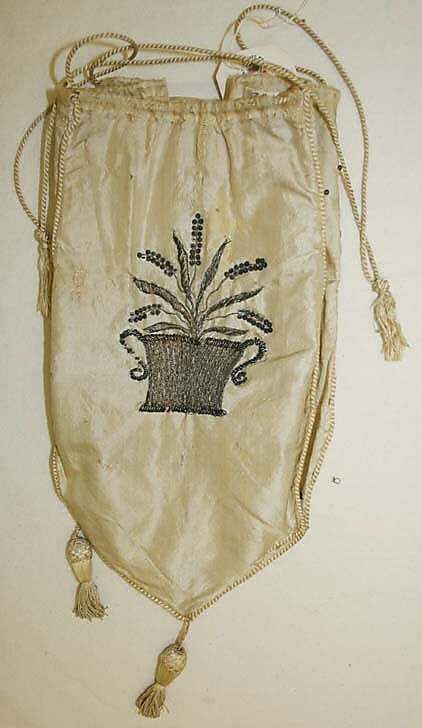
Silk reticule with embroidery and tassels, 1810, LA Costume Museum/.
- Embroidery was common on smooth silks, including chenille and tambour work; also painted designs.
- Designs can be anything, but most tend to be floral.
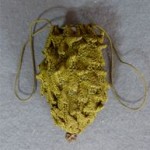
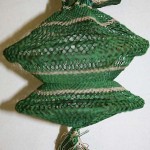
4.5 inches long knitted pineapple reticule, 1800, Kyoto museum.
- Pineapple purses made from straw or knitted were very popular.
- Some crocheted designs existed, but take care, as many modern crocheted bags are too loose and large of a design.
1800-1825 Brown crocheted silk bar purse.
- Many have tassels, beads, or fringe trim on the bottom.
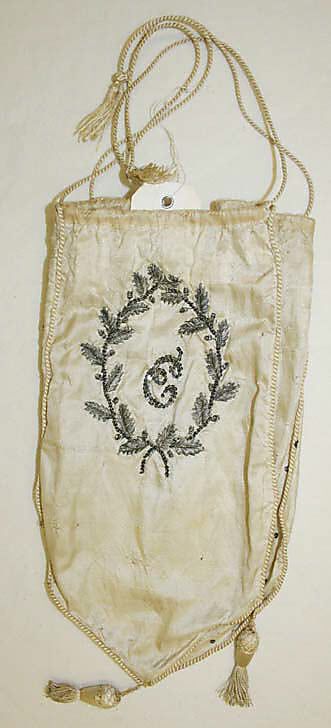
Reticule, 1800–1825, British, silk and metal, Metropolitan Museum of Art.


A bag that works like this can often easily be found in a Thrift Shop, or even at home, where it may have come as a cover to a product. You may have to trim it to make it more festive. Fabric for a bag like this can come from an old decorative cushion and trim from jewelry.
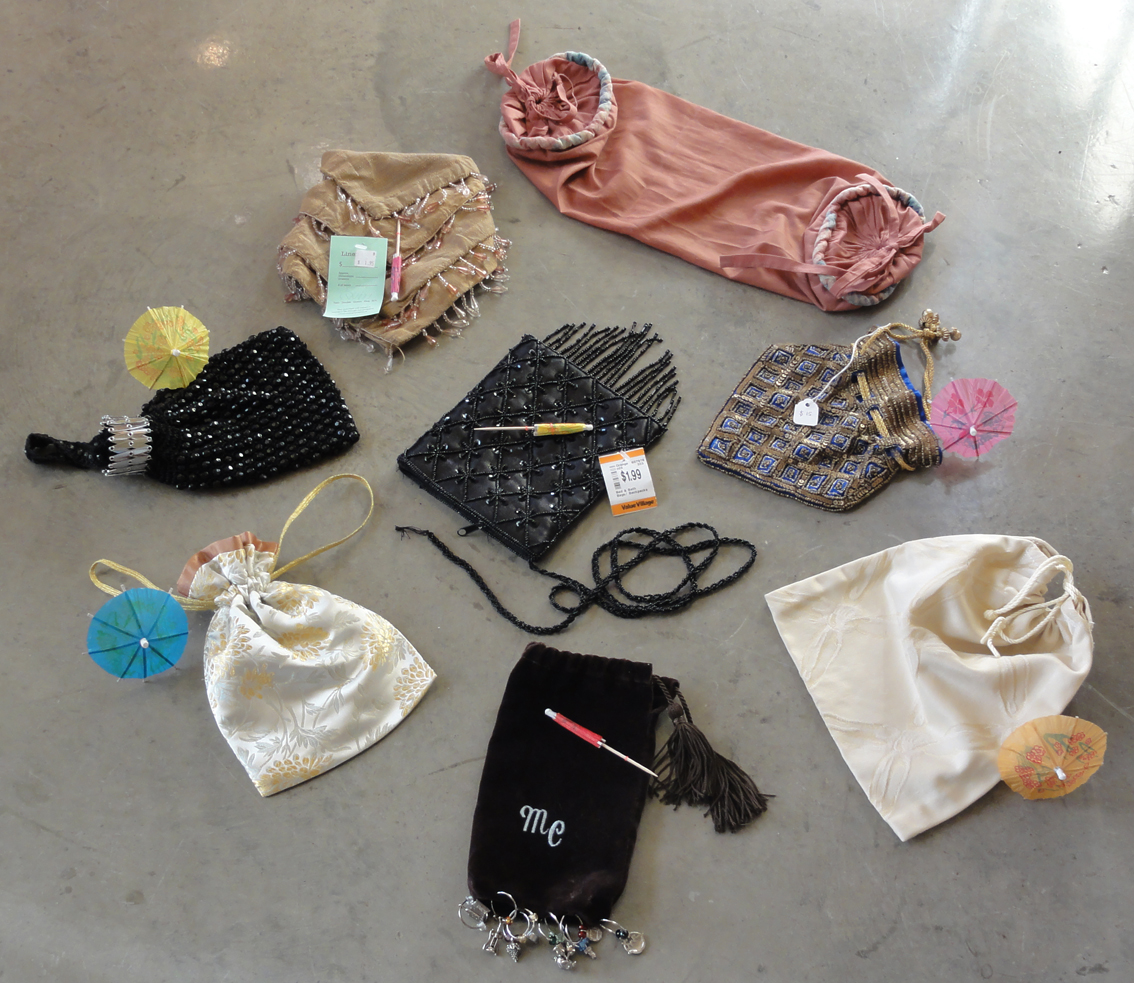
For the Thrift Shop Regency Costume Experiment, I bought three bags. Part of my second and third purchase for this blog (with the grey pelisse dress in summer 2014) was an crocheted beaded black purse with a short, beaded carry strap and a gate closure. It was $3.99 at Value Village and needs no modifications.
A black, designer-label, beaded satin purse with beaded fringe, a broken beaded shoulder strap, and a zipper closing was $1.99 at Value Village shortly after my initial find. I’m sure it was so cheap because of the broken strap.
 It cemented my view that the reticule was the easiest item to find, and that’s why I’ve left it to the end: so you could focus on the difficult items earlier on.
 The blue and bronze beaded bag has a pattern that reminds me of Moorish azulejo tiles seen in Sevilla, Andalucia, Spain. I lucked into finding it at Kalapuya books, a used books and gifts shop in Cottage Grove, Oregon, USA with a theater, bar, coffee shop, and excellent bakery all attached! At $15.99, it was more costly than most of the purchases I typically made for this thrift-based series. I also bought two books (English Cottages and an older copy of The Chicago Manual of Style) and got a free paperback of Jack Kerouac’s On the Road because my purchase was over $30!
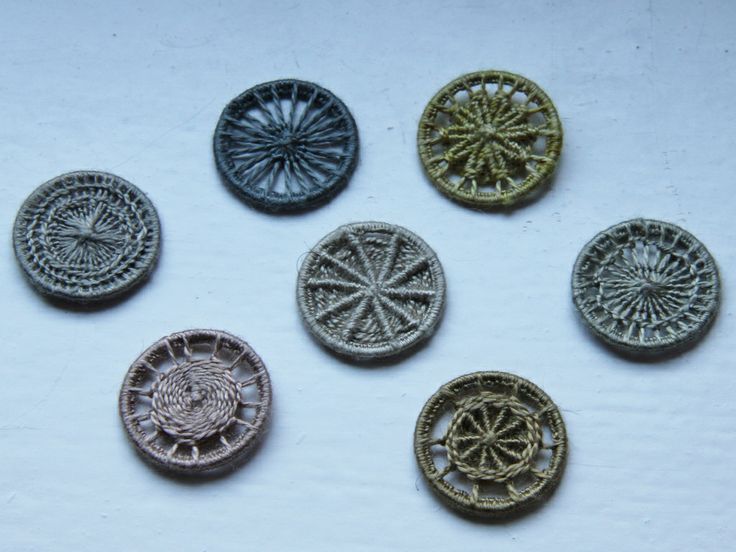
The reticule has gorgeous coordinating beads at the ends of its drawstrings. It’s a bit small, but so pretty!
A month later, I saw a fourth bag at a vintage store in Winnipeg, Manitoba, Canada, which was $25.99, and perfect for the Regency. I coveted it for a heartbeat or two, but knew it was too much, not just in cost, but in number of reticules!
I already had two simpler bags on hand when I started. In with my travel items, I had a cream damask bag that came with some beauty item or other. At 8.5″wide by 8″ tall, this is the largest of the reticules in my set. It was boring as-is, so I dressed it up in green. Click on the thumbnails for larger images.
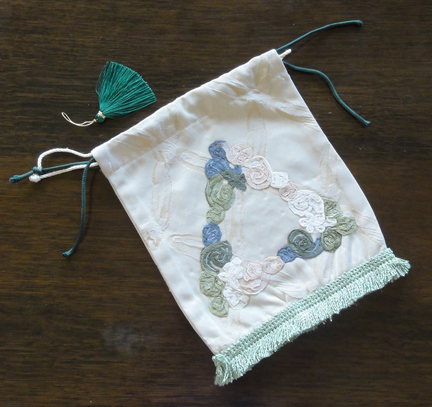
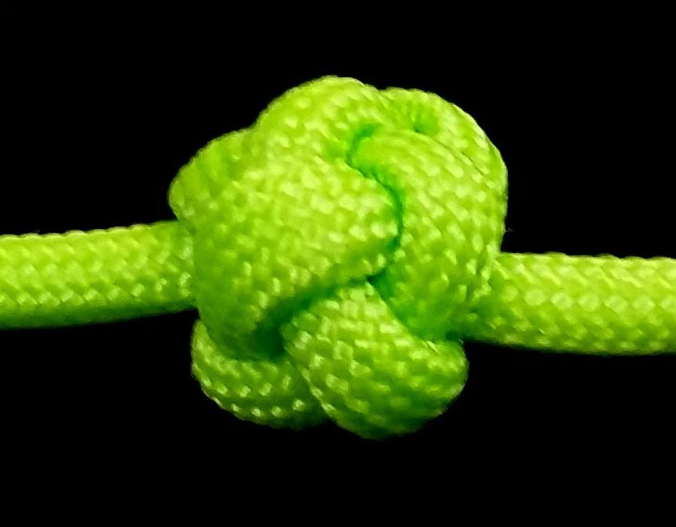
Fringe and ribbon applique ironed on with “Stitch Witchery.” Use existing off-white cord to thread two green cords in opposite directions. This is much easier to tighten and release than a single cord.

Loop tassel over cord near end, then tie a tight knot in the green cord over it, close to the end of the cord. Tie pairs of tasseled cords together just at the point the reticule is fully open.
$0.49 of sale fringe and some pre-made ribbon applique decorations (three small (left) on sale for $0.49 each, and $1.99 for the large, below) from Dressew Supply in Vancouver, BC, Canada were added and made a huge difference. I replaced the single, fraying cream cord with a longer green cord from another grab bag (cut into two), and attached four green tassels on the cord ends (on sale for $0.49 each at Dressew). Total price: under $6.
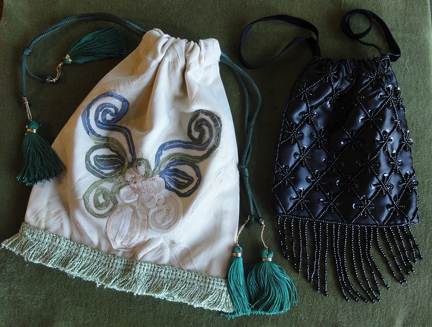
The completed green and black reticules. Note that with the black one, I tied the loose ends of the velvet ribbon together firmly, and slid them into the ribbon sleeve, rather than add tassels as on the green cord. (The black ribbon was not long enough.) You could also thread beads and sew them onto the ends instead of tassels.
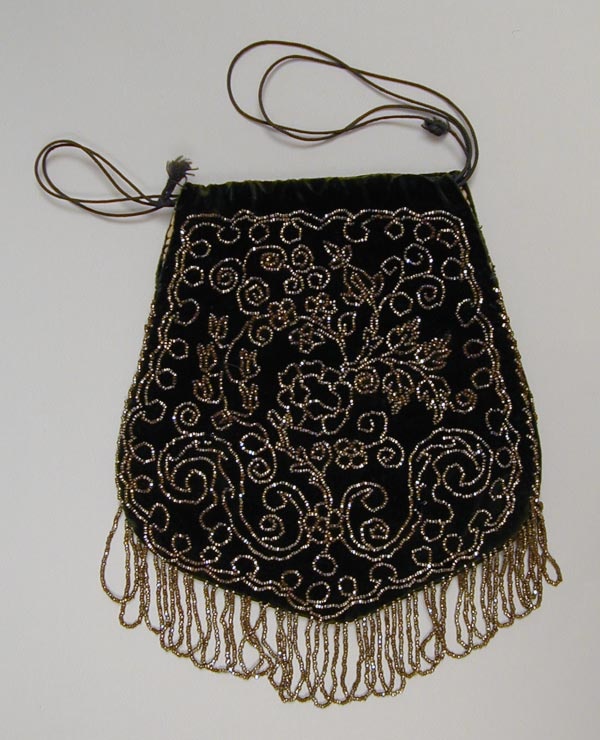
Silk reticule with steel cut beads, beaded tassels, and double drawstring, 1810, Bowes Museum.
To update the zippered black bag with beaded fringe (left), I removed the zipper and managed to free the other end of the shoulder strap without untying the strings, so no beads were lost in this venture! I may use this lovely braided string of beads tied around the Empire waistband of a ball gown.
I put a scrap of ribbon inside the purse to act as a sleeve for the drawstring, and threaded black velvet ribbon that I’d had on hand for a dozen or more years. Note that reticule drawstrings should each be at least 18 inches in length and threaded opposite ways to make for the ideal closure. The total cost for this bag was less than $3.
My wedding rings came in a little chocolate brown velvet bag with matching tasseled drawstring and the initials of the jeweler on the side, and of course, I kept it and the little metal boxes all these years. Before this blog was started, I went to a local stage presentation of Pride and Prejudice, I attempted to dress it up by hooking a set of wineglass rings along the bottom like jewels. I said all along I wasn’t crafty!
This drawstring bag is very small (5″x7.5″) and would only suit someone with the initials M.C. Perhaps Mr. Parachute Pants will come out of retirement for this? Oh, goodness! **blushes** It sounds like I think he’d like to dress like Elizabeth Bennet! M.C. Regency Cross-Dresser Hammer! Drop that thought!
Anyhow, this reticule is rated with a closed parasol at best: acceptable, but not the best choice. Better beads at the bottom would help its look, but it’s still small, with someone else’s initials on it.
I got another reticule for a gift last Christmas, as part of the A Happy Assembly Holiday Card Exchange, made by member Sharlotte. The fabric is a rich yet subtle silver and gold silk brocade fabric, with gold drawstrings and the satin lining trimming the top.
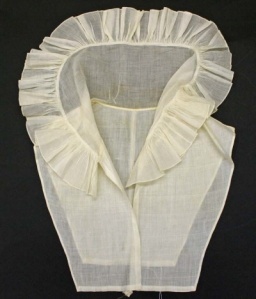
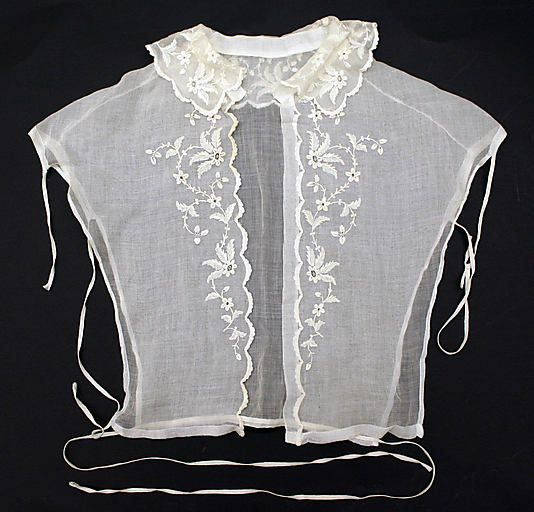
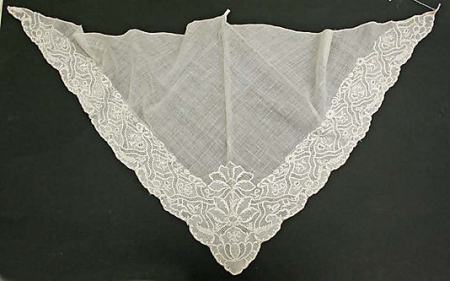
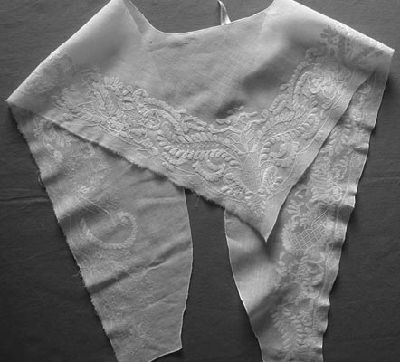
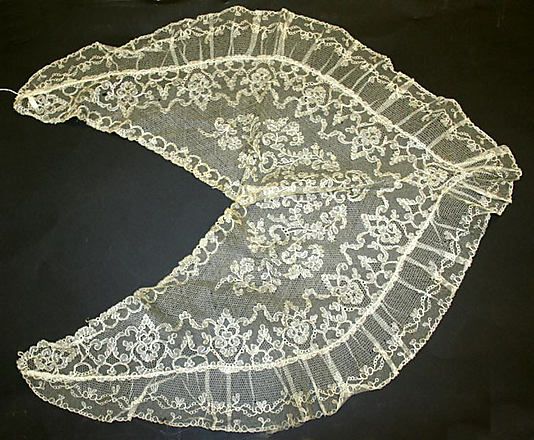
Inside, she included some “work” for the recipients: a new scallop-hemmed handkerchief with two skeins of embroidery thread for decorating it! To go with that theme, I’m showing my little collection of handkerchiefs. The whitework one with a purple lace edge and the daisy motif handkerchief both belonged to my mother, and were gifts for use at my wedding. The attendants were required to use them to hold the ceremonial gold crowns of the Orthodox wedding ceremony above Mr. Suze’s and my heads. The plain lace-edged one was also from my wedding.
The other whitework one and the pansy pattern handkerchiefs were purchased for $3.99 and $2.99 each at Women in Need (WiN) Thrift and Vintage.
This reticule seems better for a daytime reticule than the others. It could be fancied up with beads or tassels, but for now, I like it as-is.
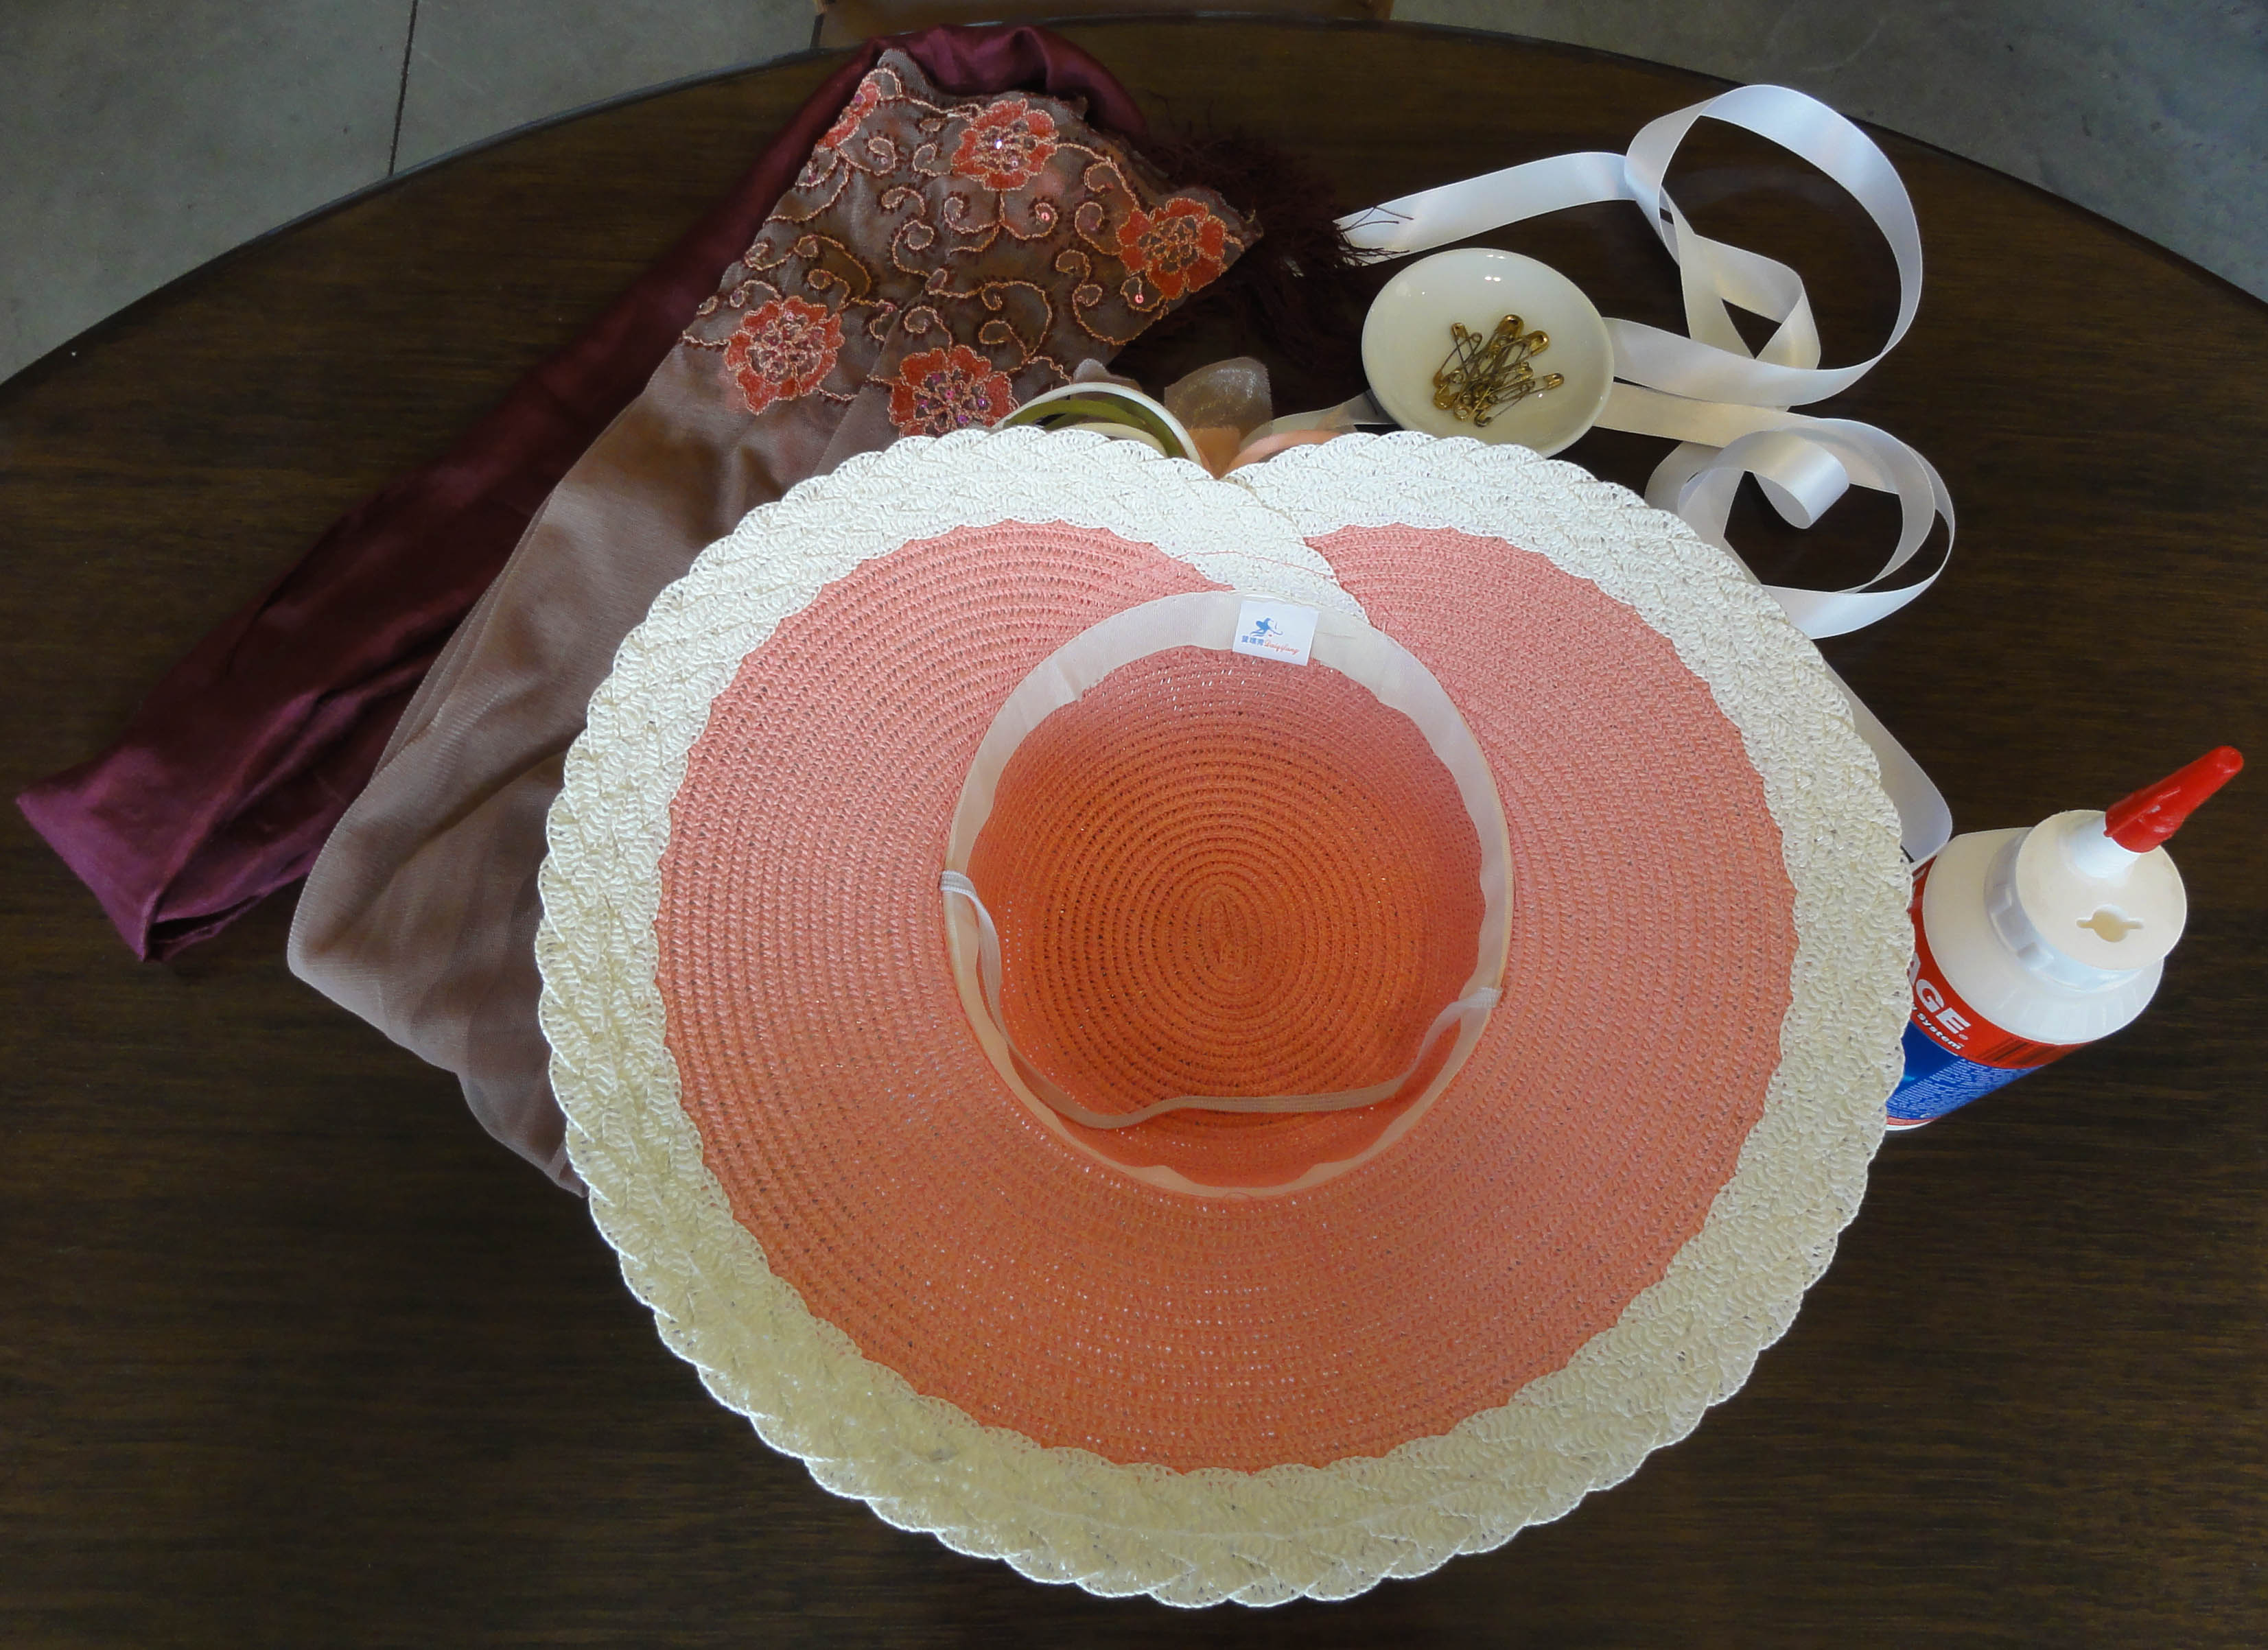
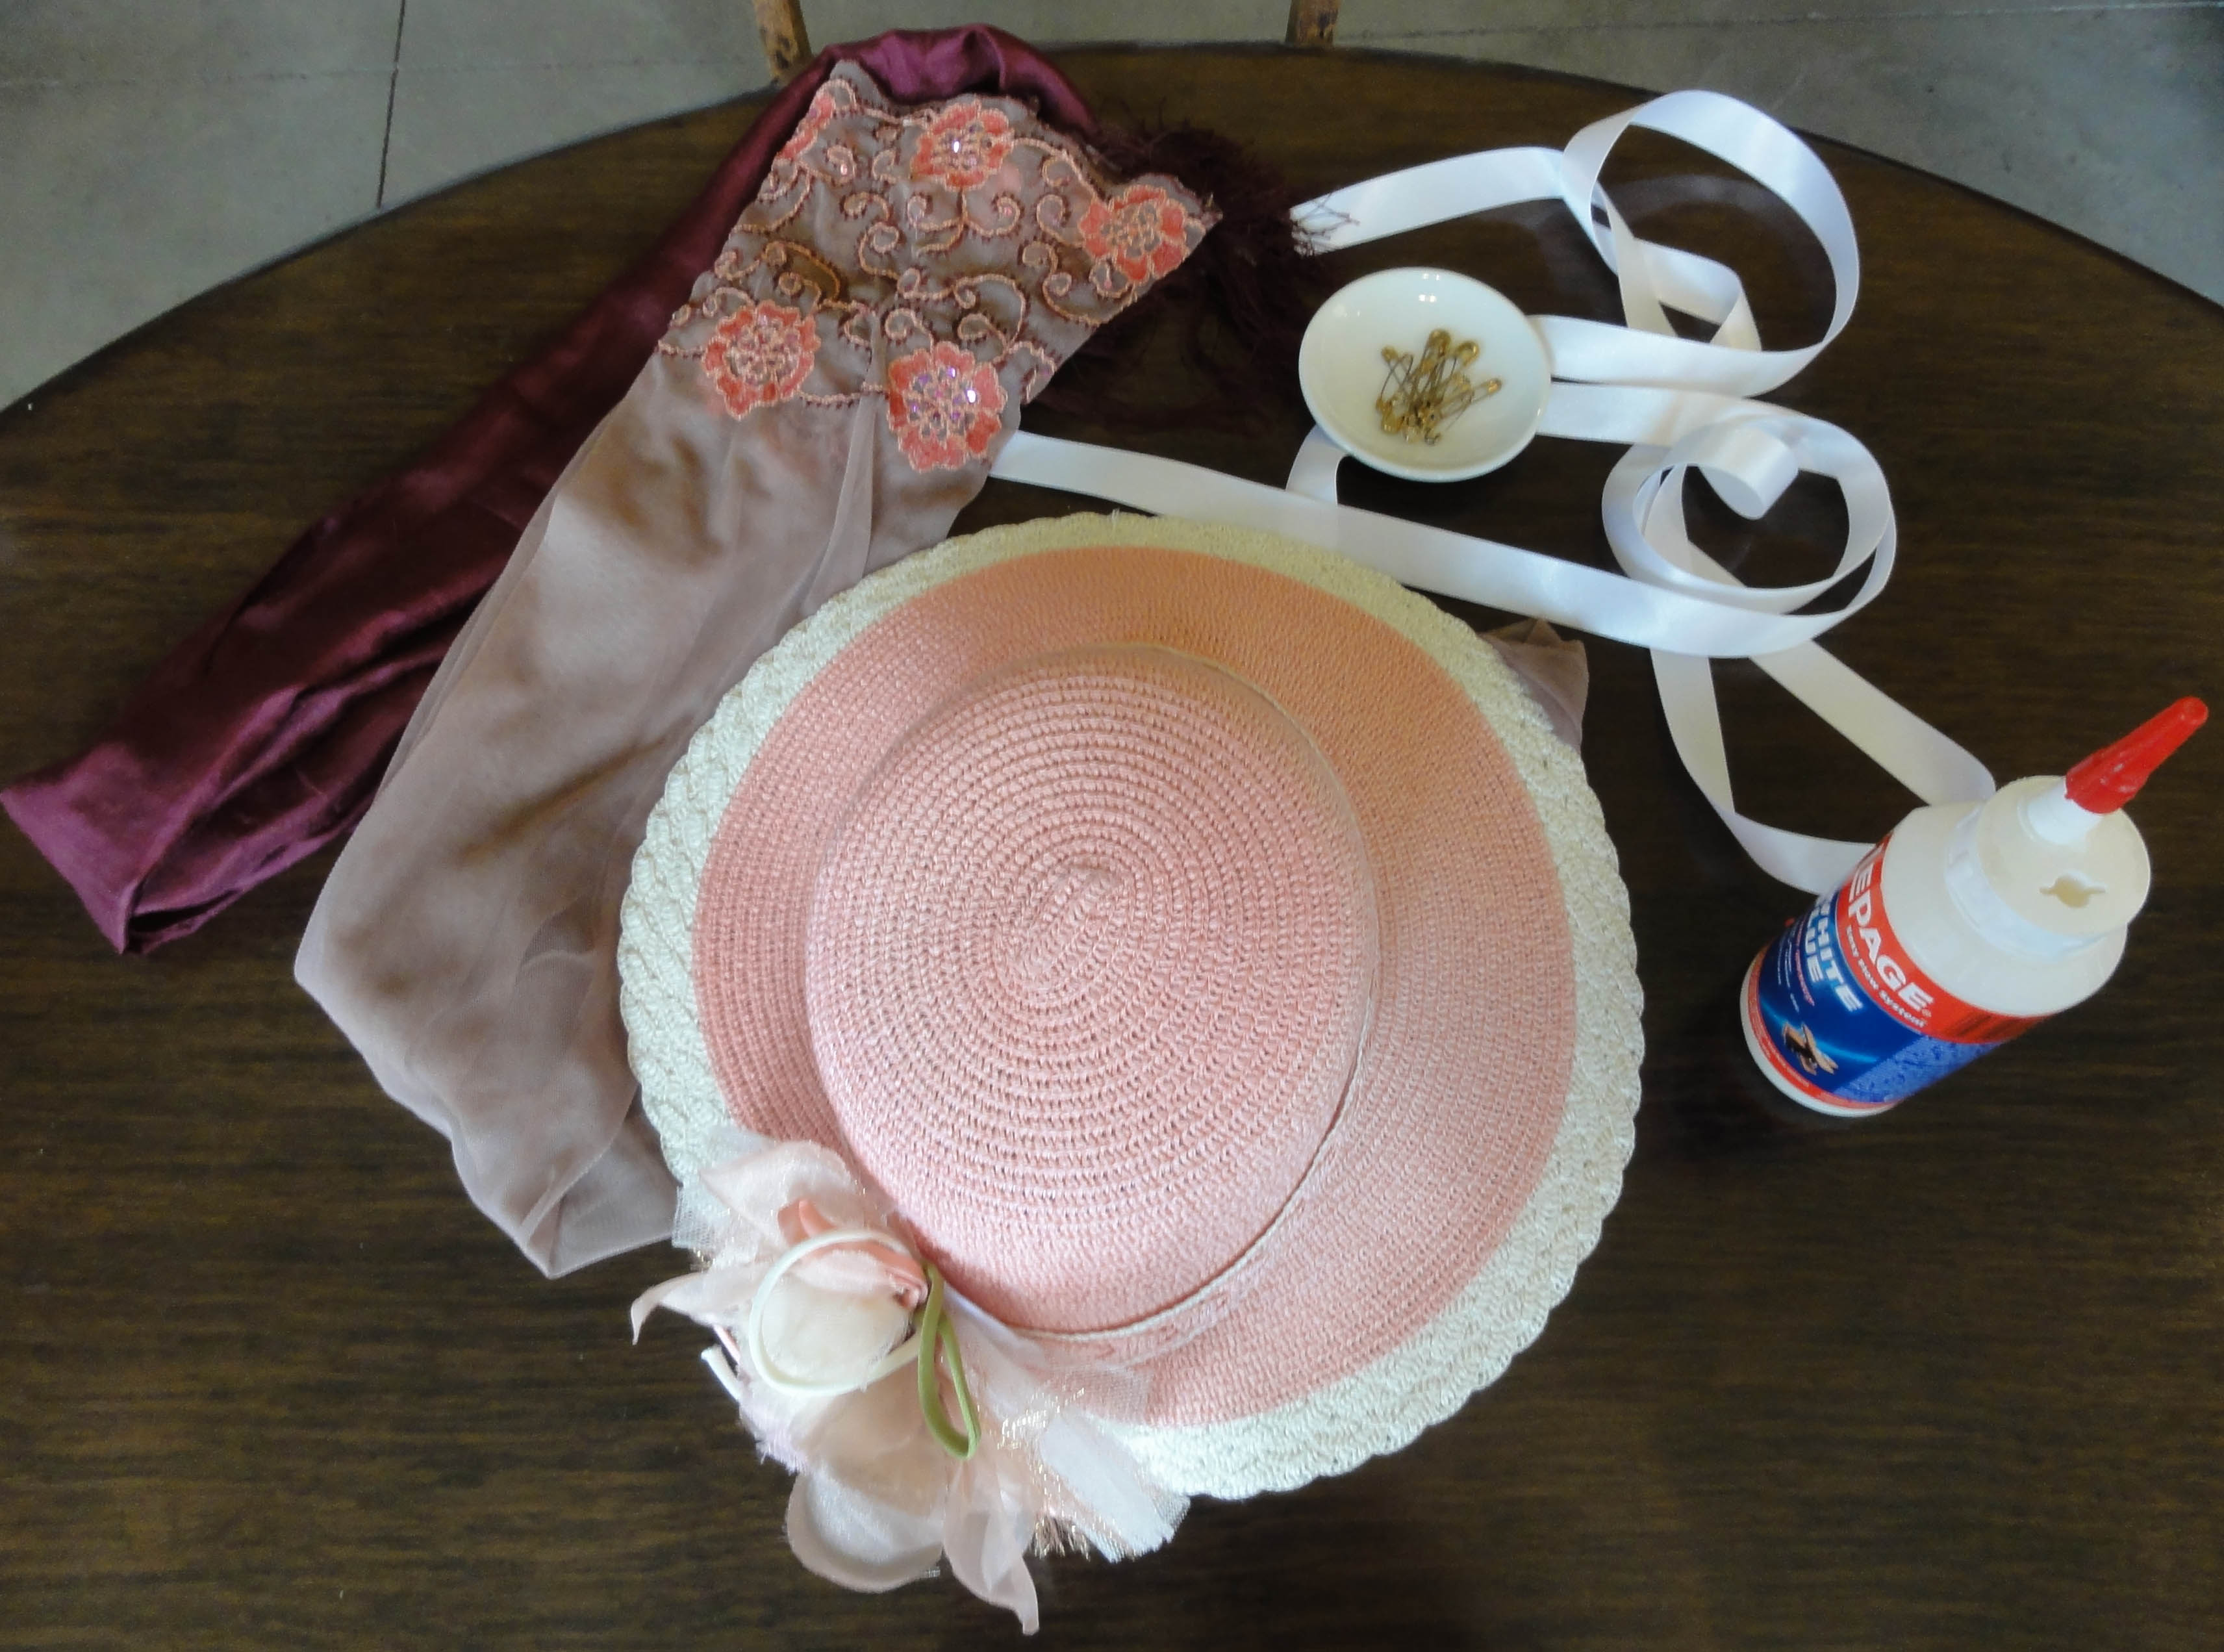
The other two items in the big picture of my reticules (above) are for demonstration purposes. Both are pillow covers, one oblong, and one square with beaded edges, folded up like a dinner napkin. These could be used to make reticules.
Although the shape would work to make two reticules, I don’t like the fabric or colours for the oblong one, hence, no parasol. As for the other, one of the bonus projects this summer will be making several designs of reticules from a cushion cover using a pattern I developed myself.
Simple and elegant reticule with lavender embroidered on one side and the lady’s initial on the other surrounded by flowers, 1800-10 Metropolitan Museum of Art.
The opposite side. 1800-1810, Metropolitan Museum of Art.
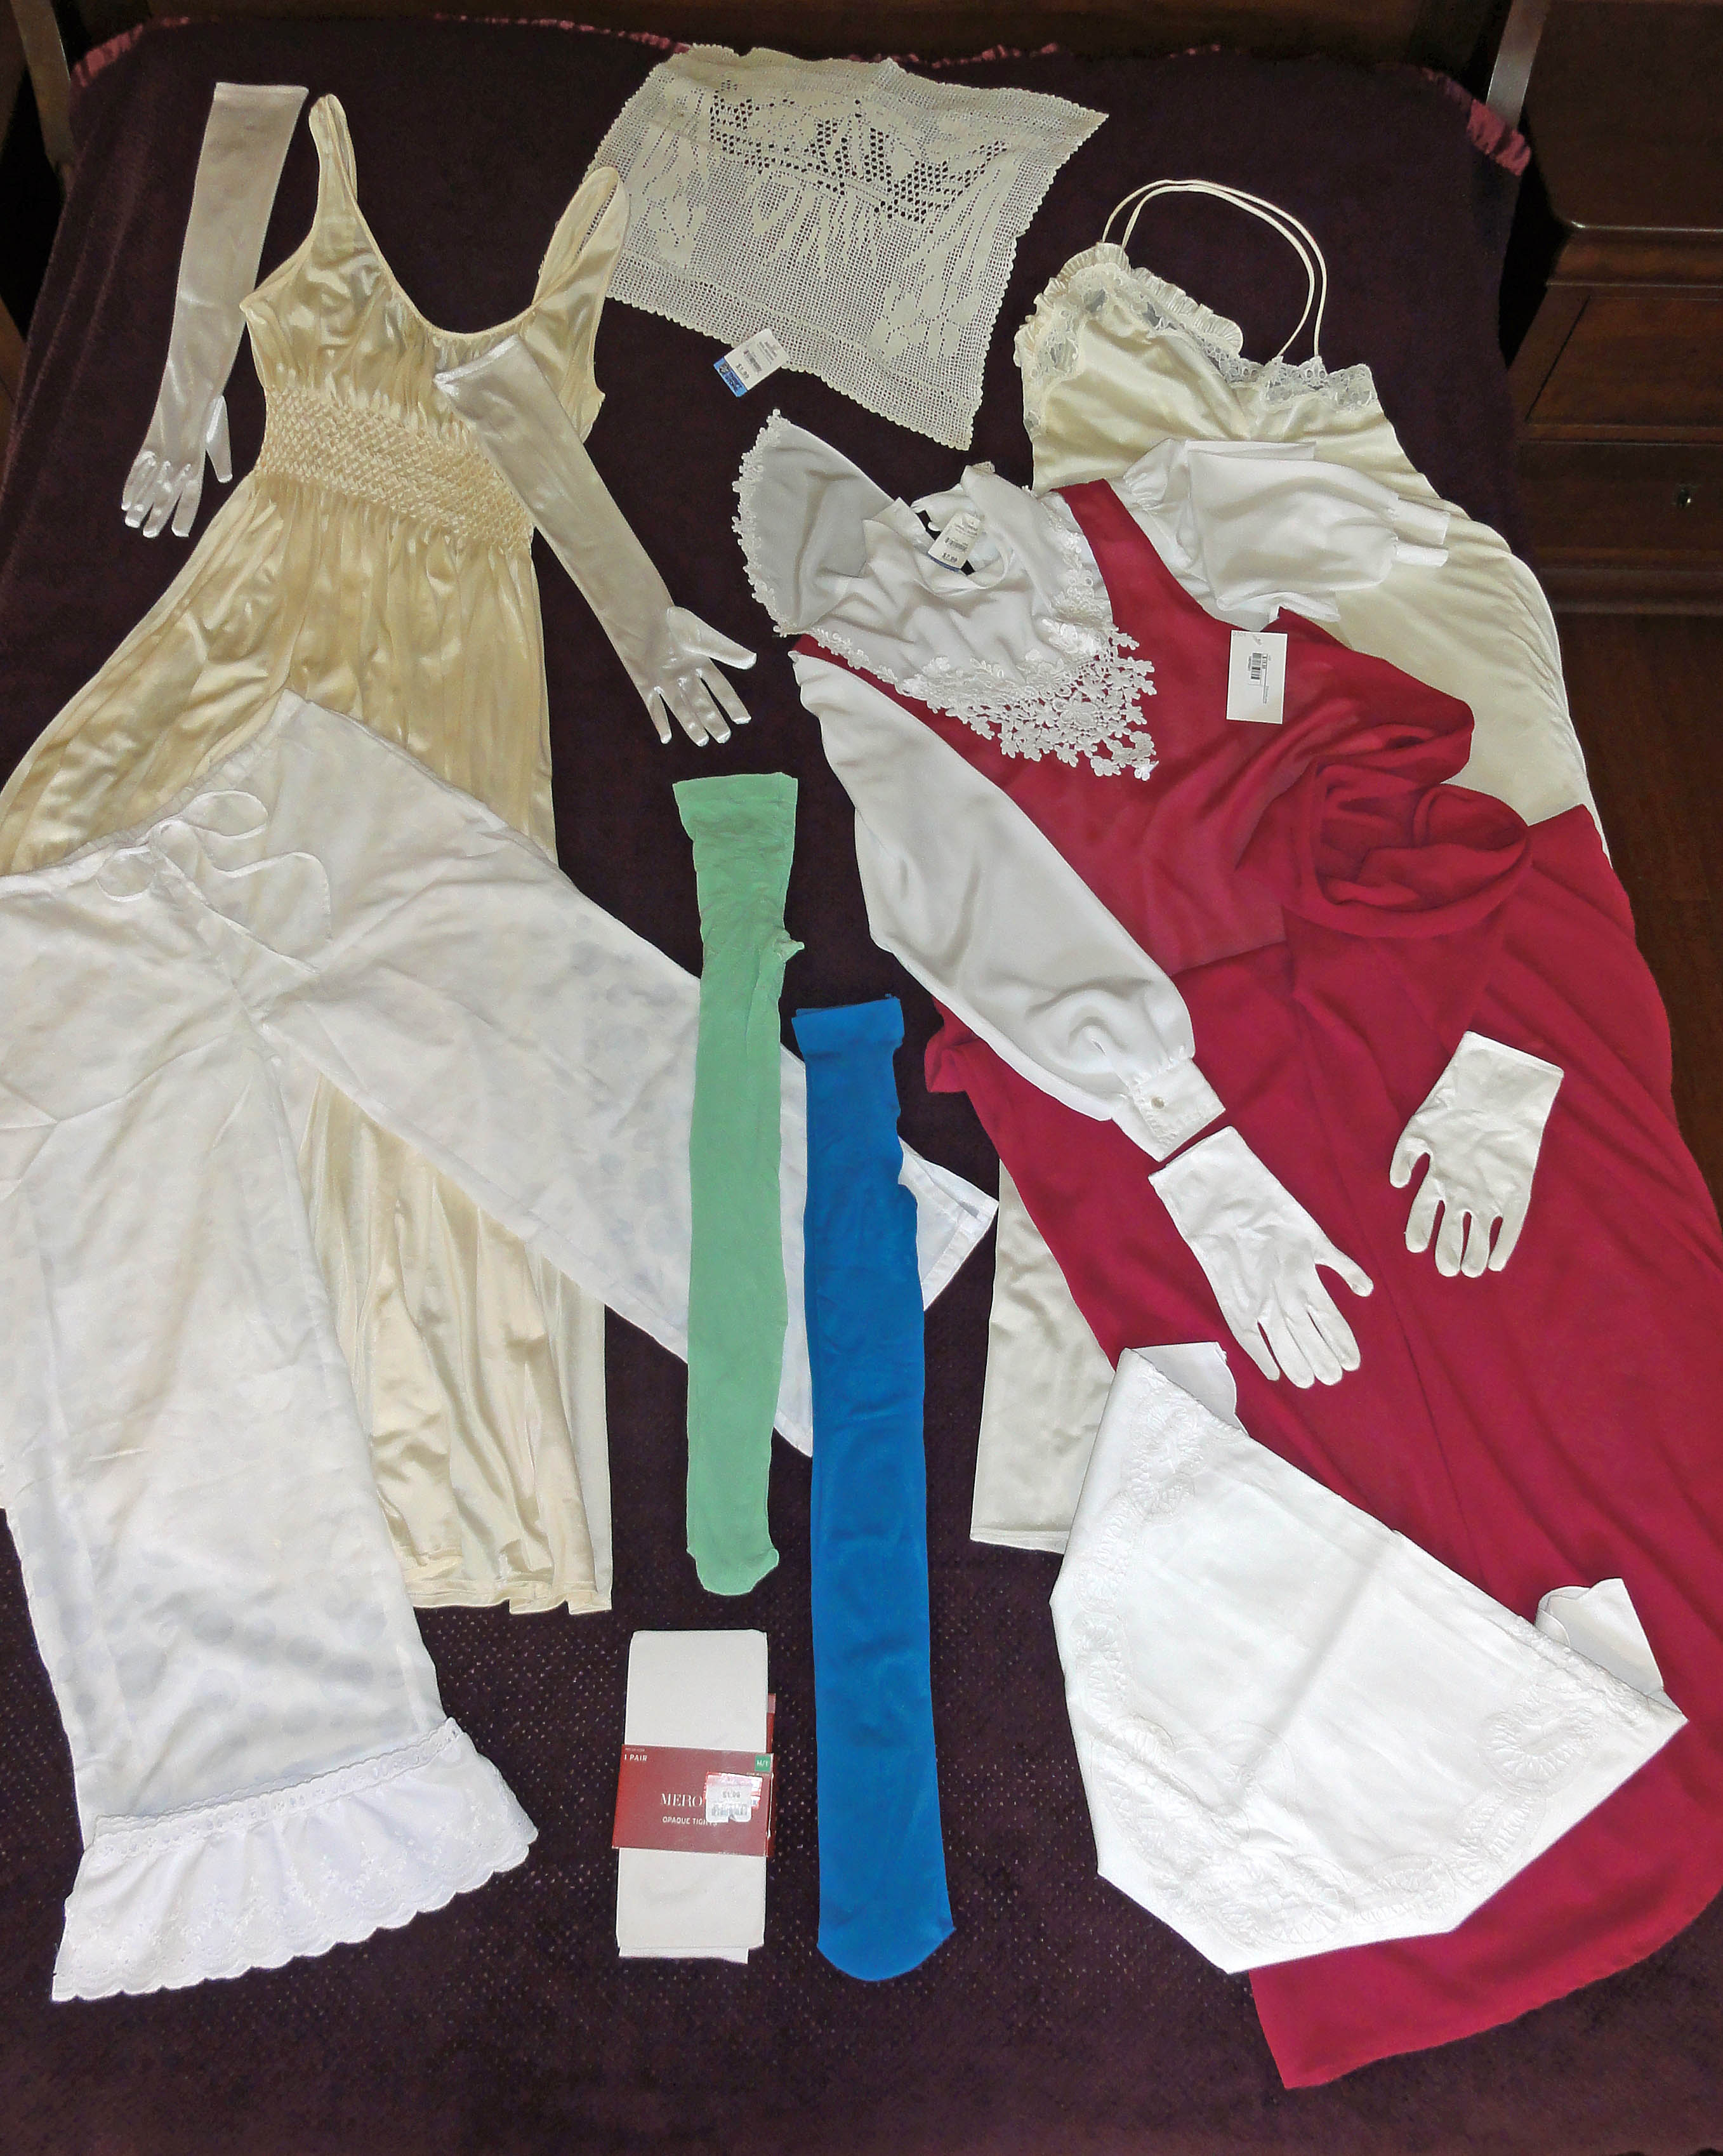
How does one manage with such a tiny purse instead of the hobo? I’m sure you’ve used a tiny dress clutch for a formal situation before! In this case, we don’t need a stash of makeup on hand, for starters.
I intend to minimize the size and number of items I have with me. For Louisville, instead of a wallet, I’ll put my US cash in an envelope, my change in Frida (the name of my little zipper coin purse from a gallery in Mazatlán, Sinaloa, Mexico), and the minimum of cards (driver’s license, health services card, and one credit card, all in RFID* sleeves) in a small card holder. An organza bag will organize my small pill holder and an emergency kit: some safety and bobby pins for repairs; blister strips, in case the new shoes bug me; and wax for my braces. Glasses and case and cleaner cloth (“those lion eyes”), and it’s full!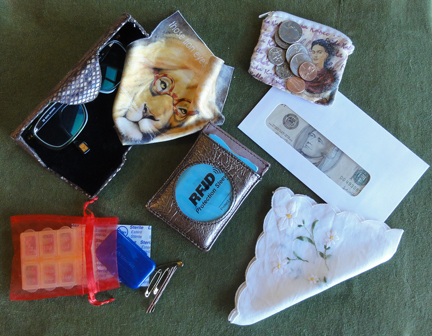 If you’re accustomed to having a photo album in your wallet, pare it down to one or two. Even better, trace the important ones onto onion skin paper, fold like a Regency letter, and put it in the envelope with your cash.
Last but not least, a Regency lady must have at least one embroidered handkerchief on hand, in case she winds up featured in one of those Romance novels where it is plays a starring role!
~~~
This was the last item for the full Regency costume as planned!
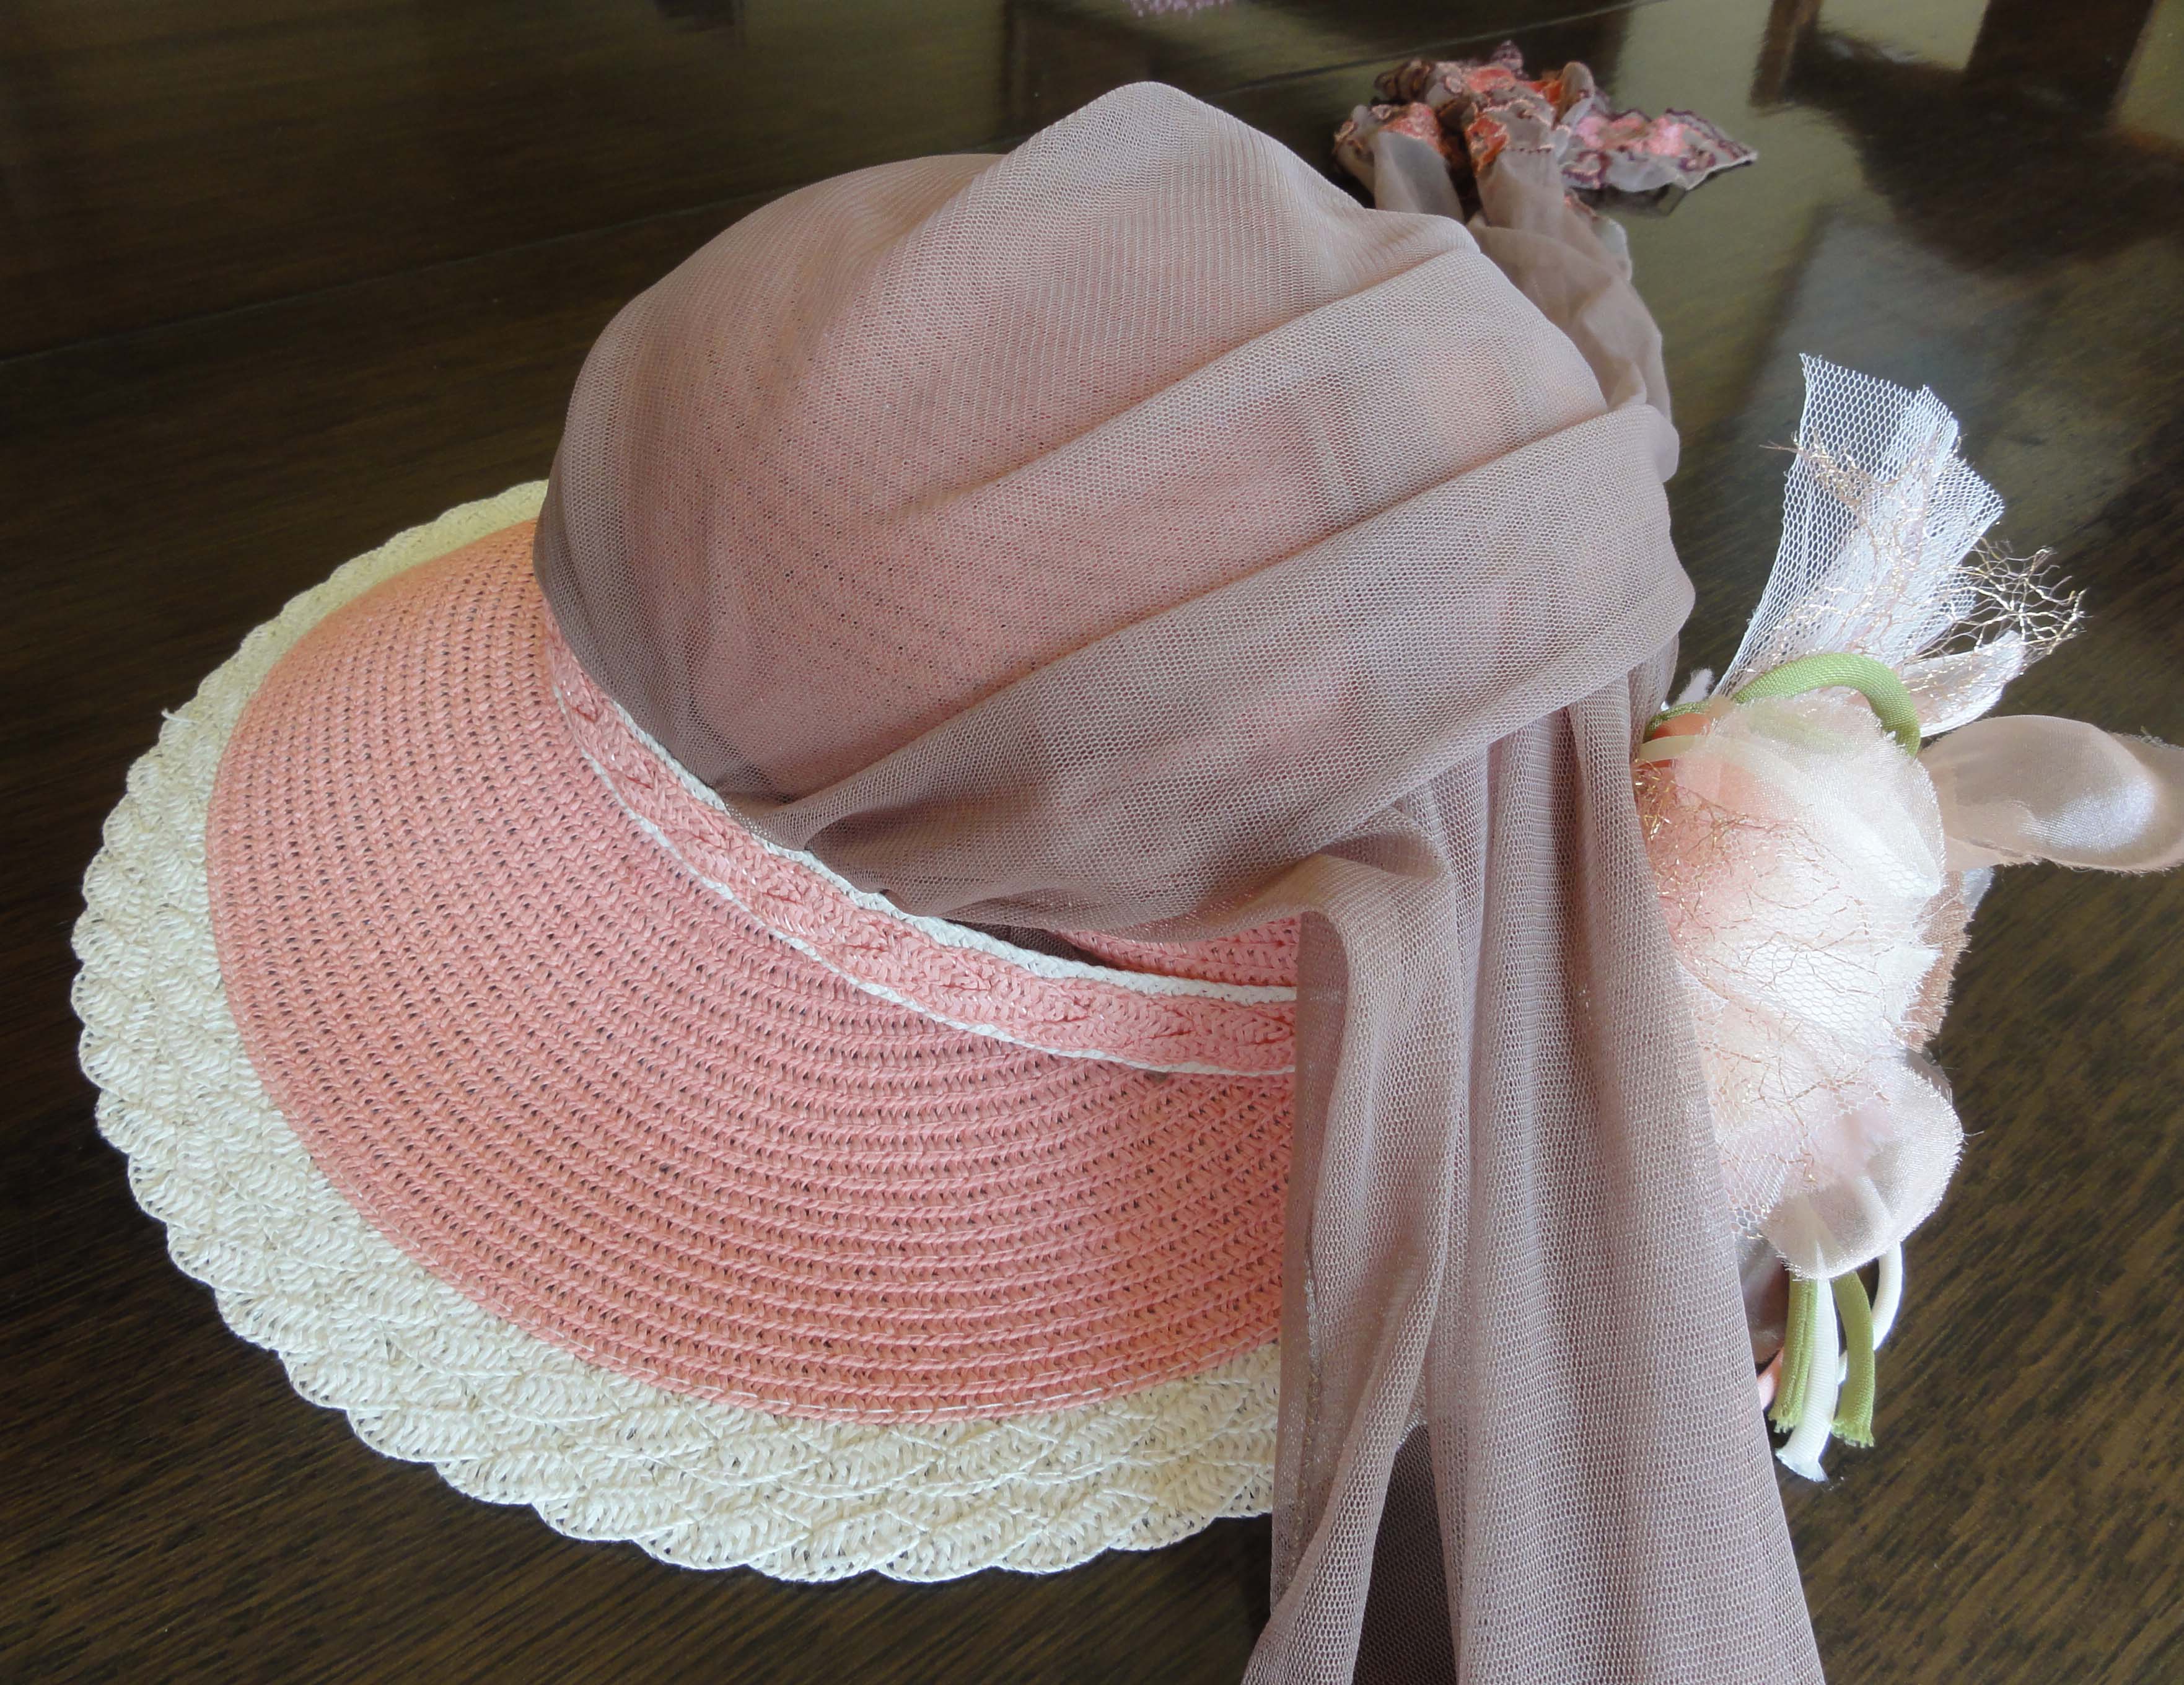
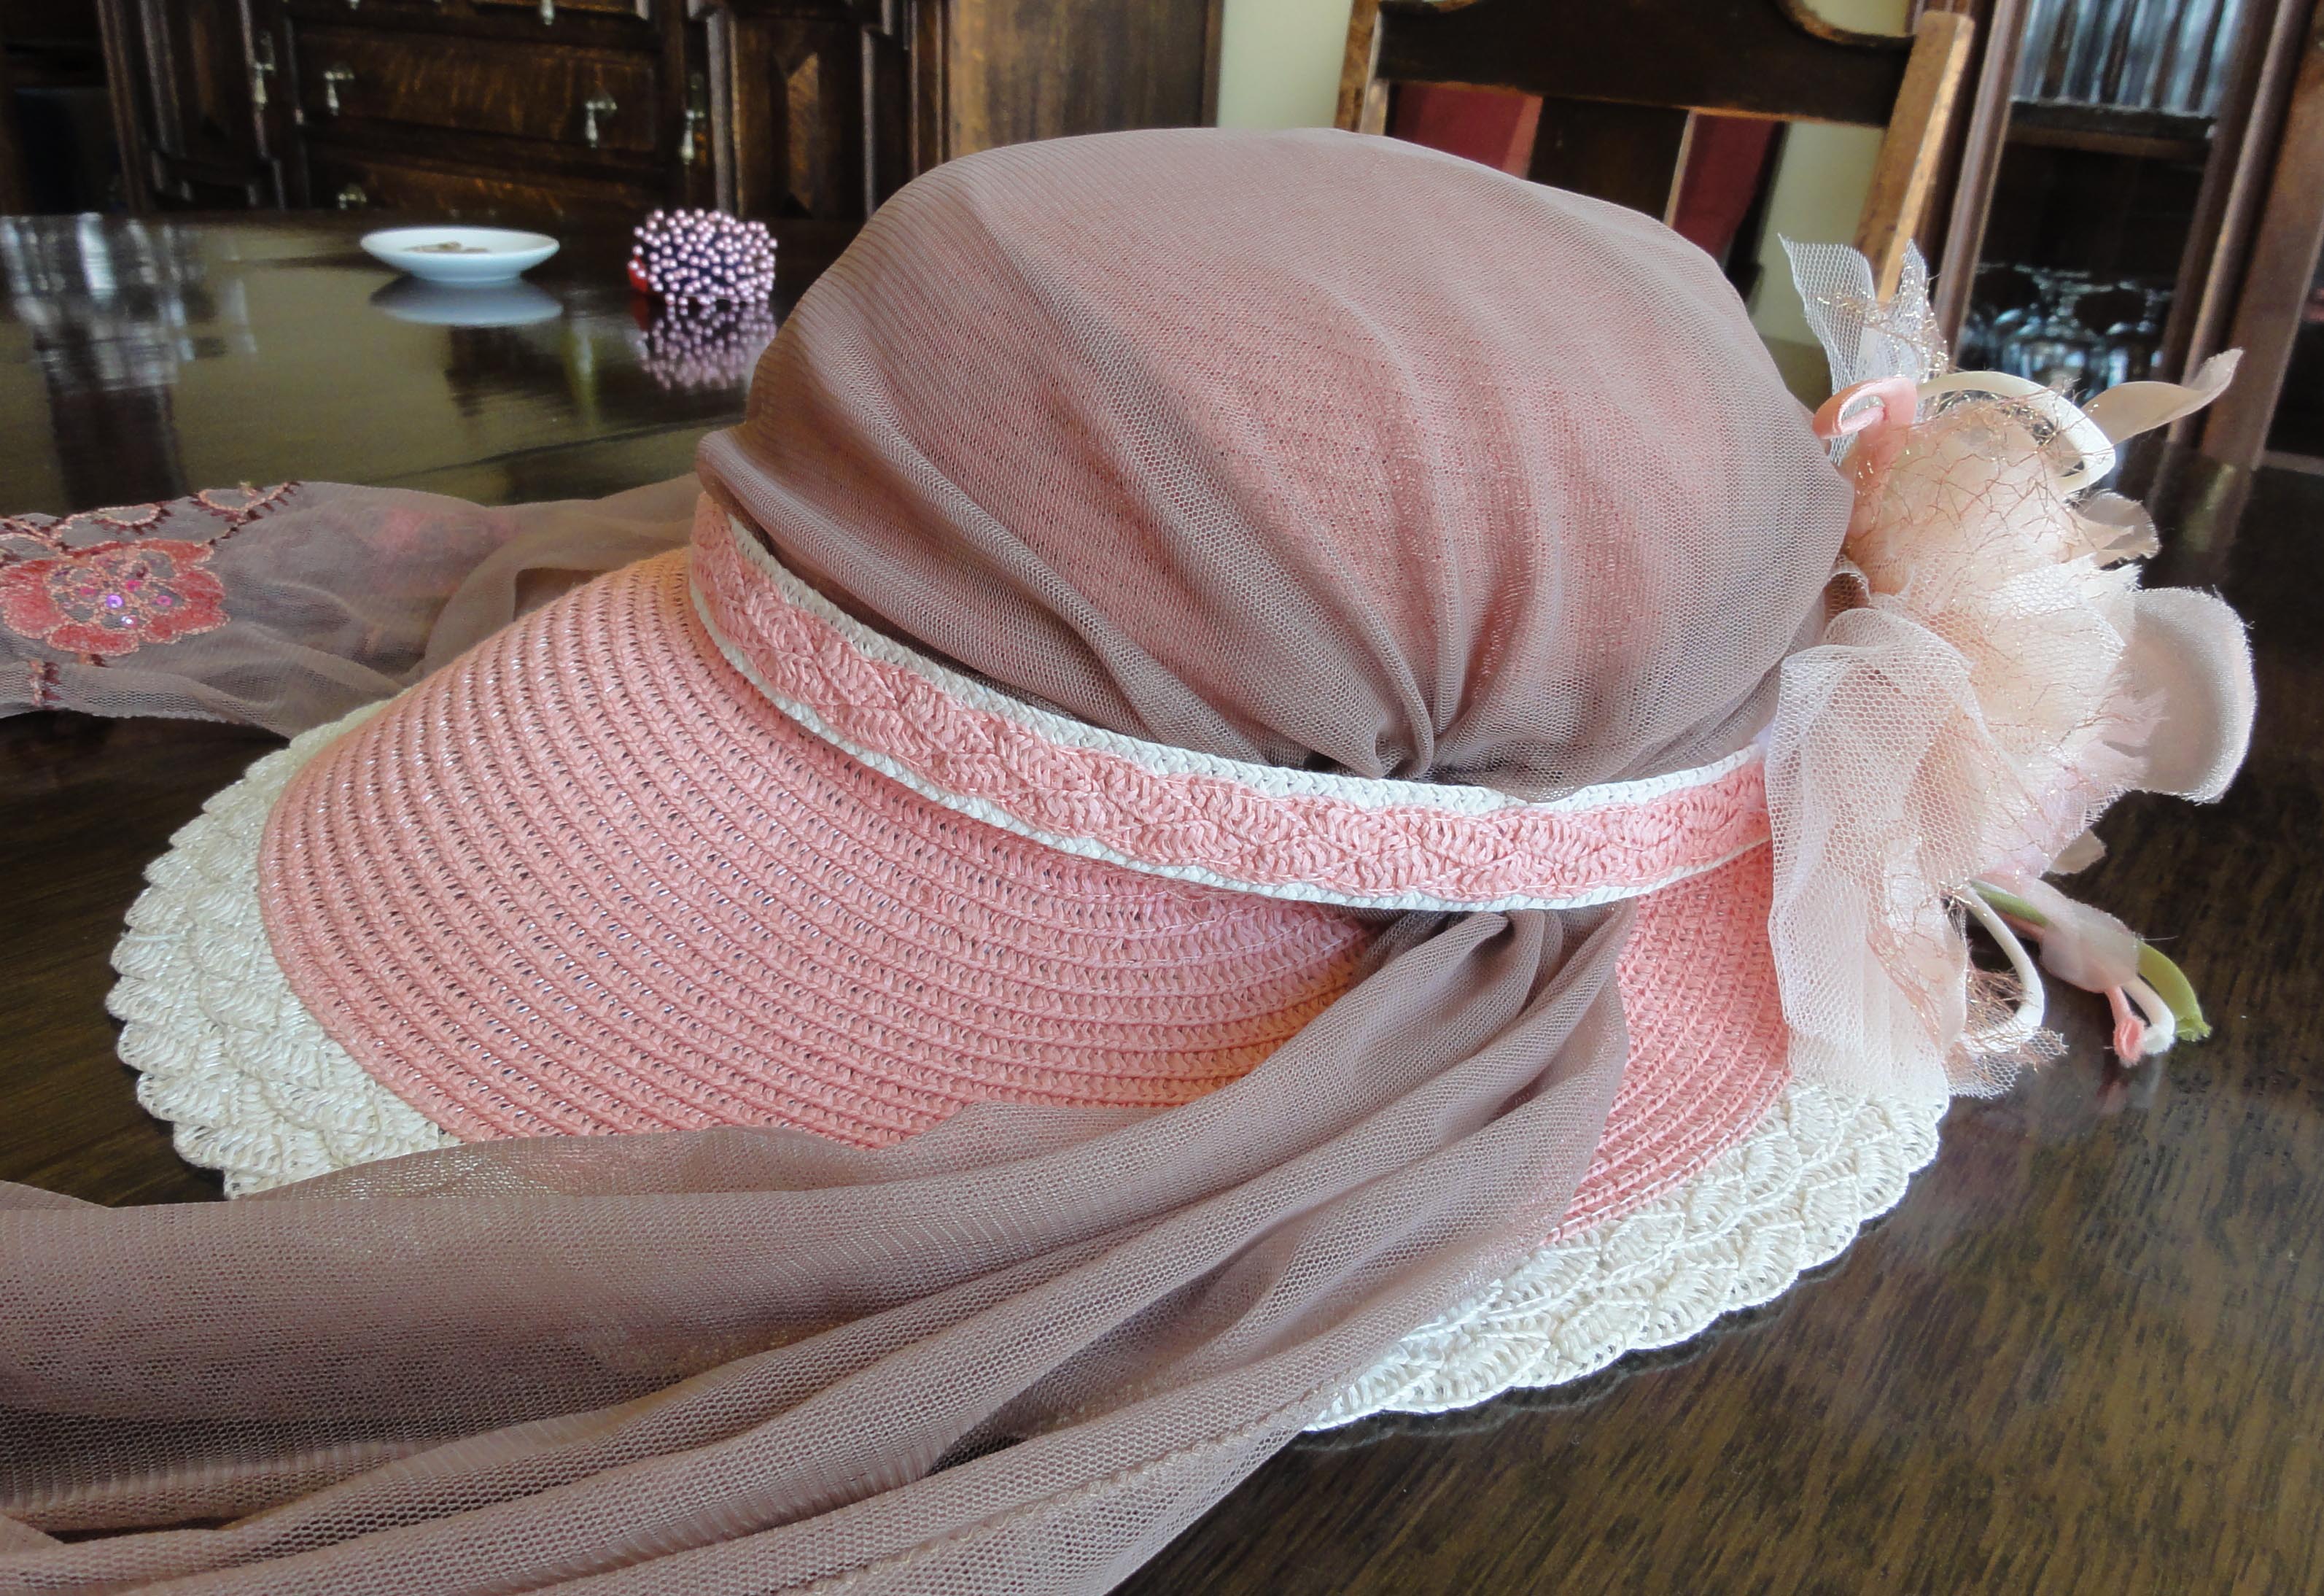
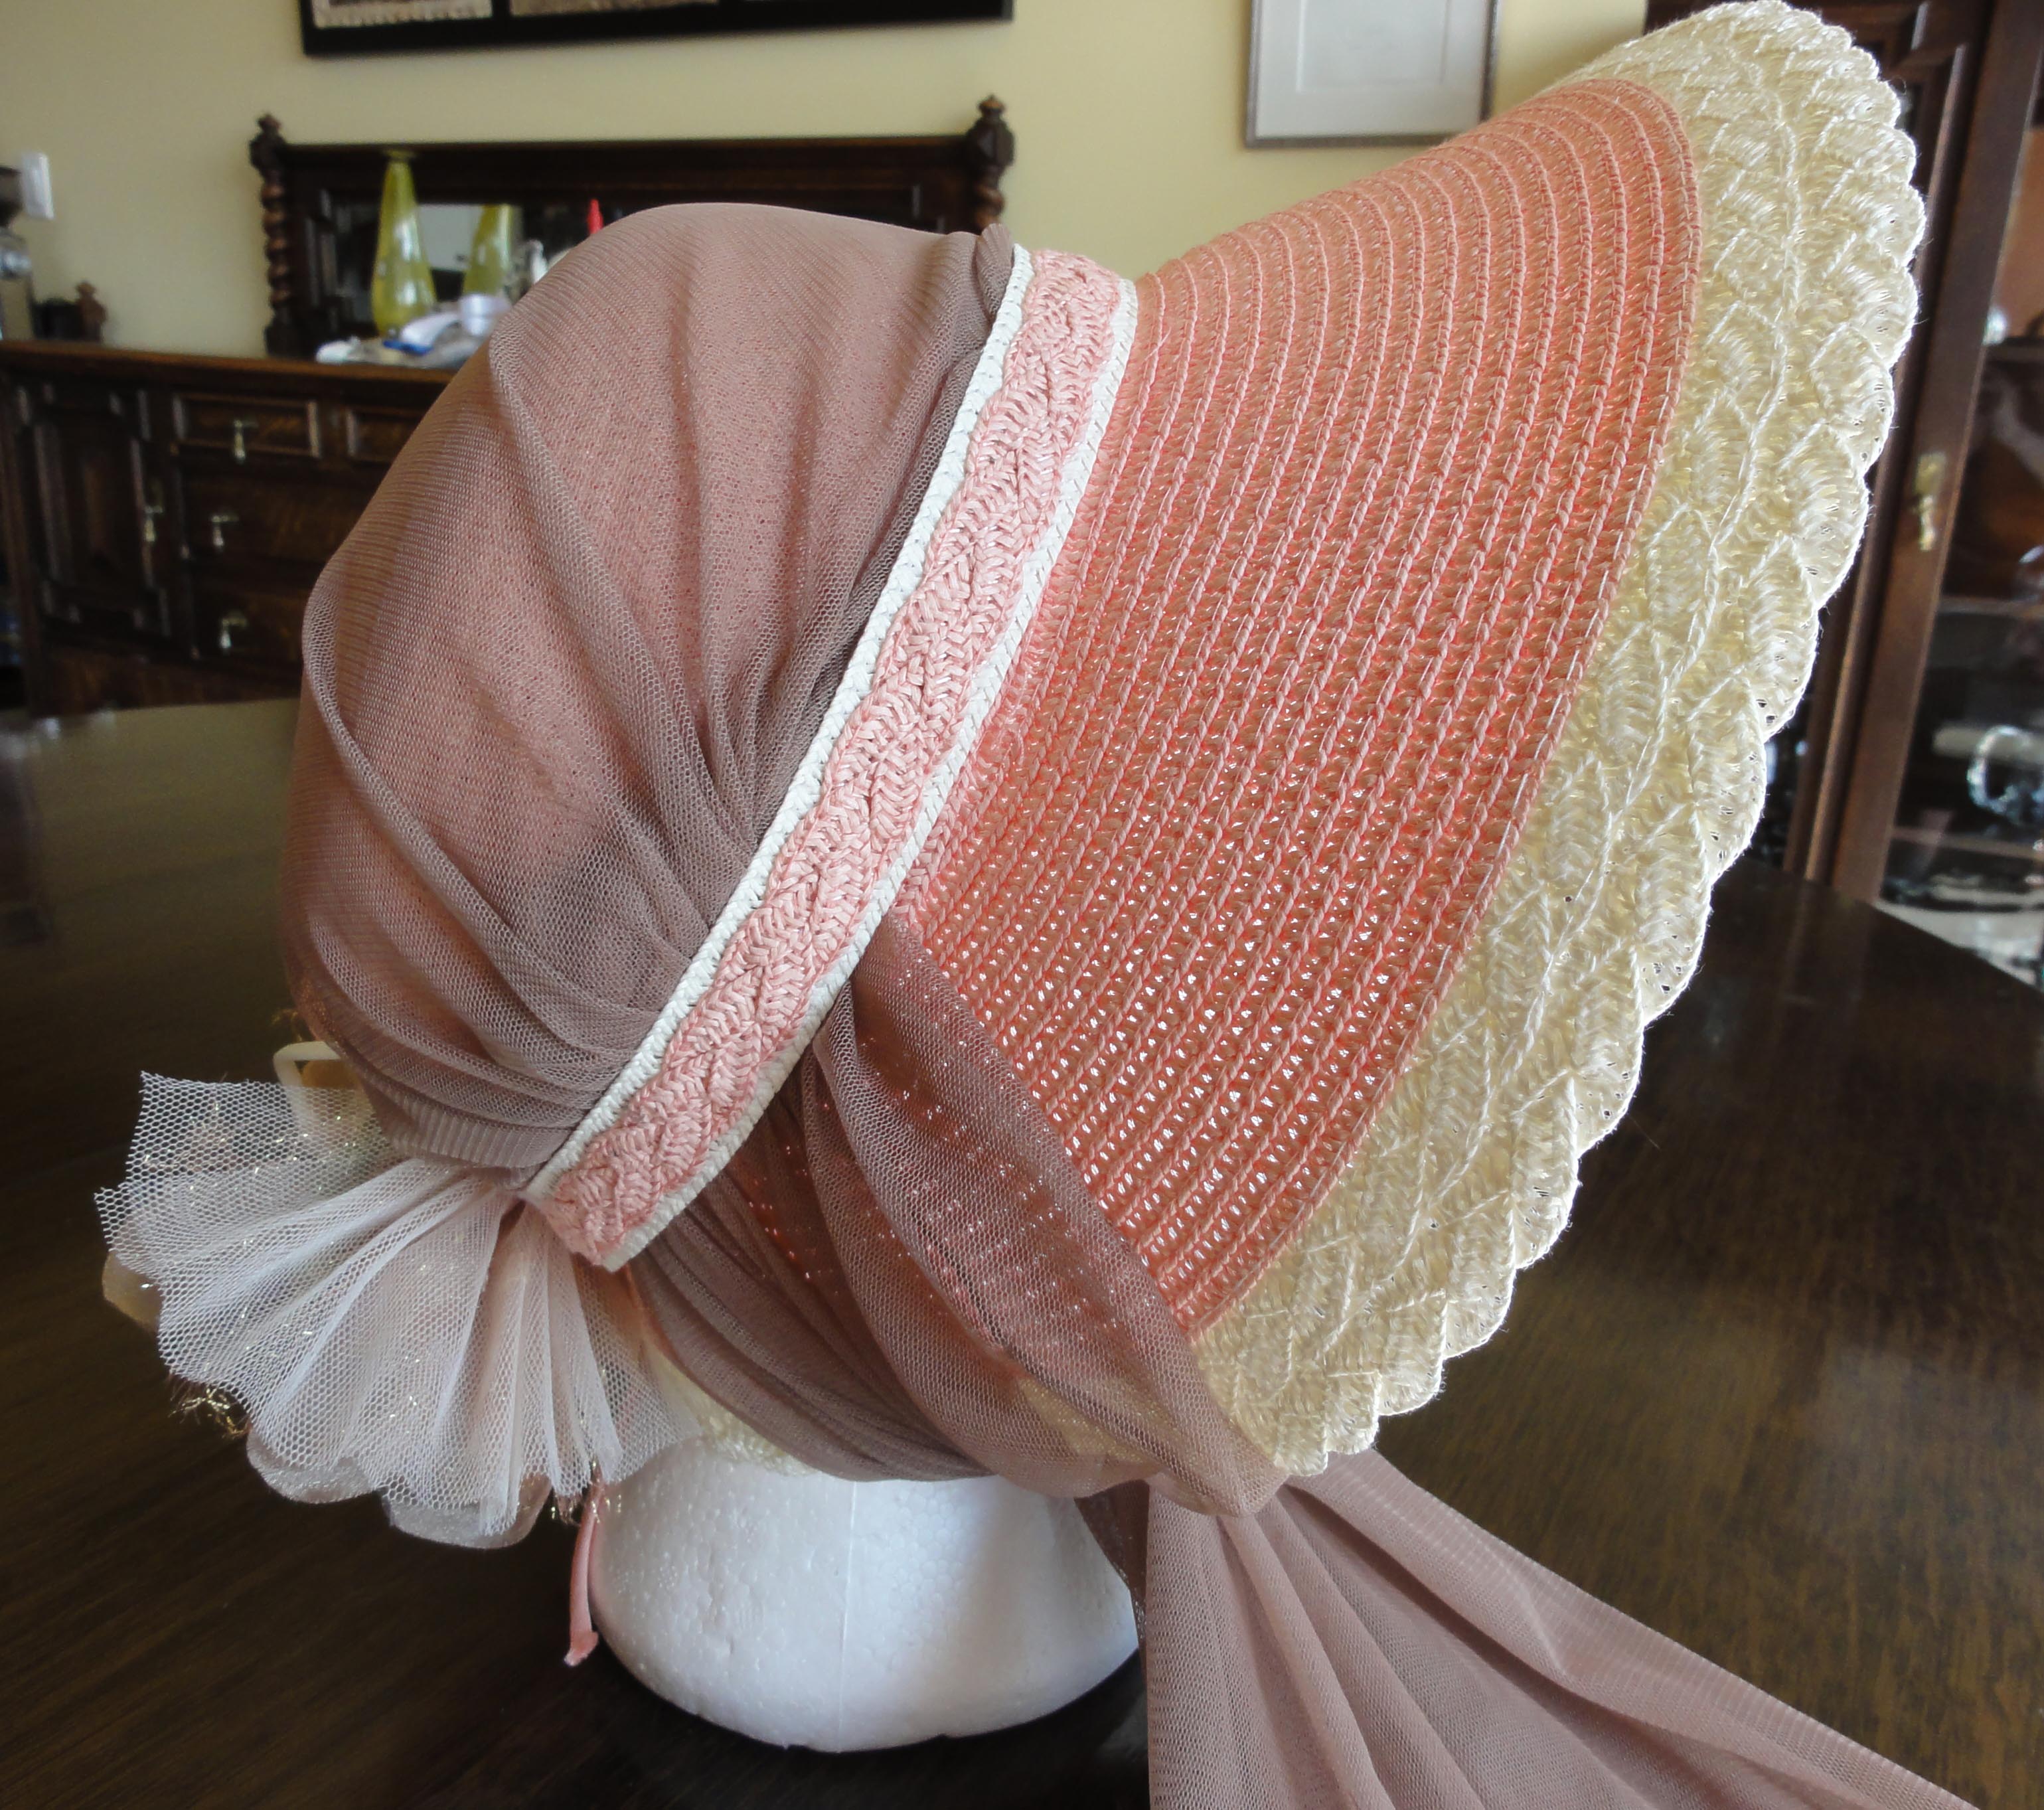
On Saturday, I was at a “Jane Austen Tea” fundraiser that I heard of only two days before. The costume was ready, but I decided to make a better version of my lace cap at the last minute. Up until then, I was okay, since there was the other cap for this series, and I had until Louisville in October to make one closer to my needs for my Regency costume.
This project was out of the scope of the “Experiment,” as it was machine sewn, but only because of time constraints. I’m super-proud of how I used a 1900’s pattern that was almost unreadable, figured out the instructions (how many “nails” large my head is!), made a mock-up, adjusted it to fit me, and made my version simple, but cute. Pity it was under my hat most of the day! I’ll share more about this “dress cap” next month, once I’ve drafted a tidied pattern.
The photos from the tea will be part of next Monday’s post, with the full costume featured as the end to the “Experiment.” In the meantime…
NEXT POST: The promised “quick checklist” to summarize the Regency costume, with links back to the articles on each topic, and a number of my favourite web resources… and it will be later this week! WOO-HOO! Two posts in a week again!
The fabulous Zorylee Diaz-Lupitou fixed the comments problem, and there’s a “Reply” link at the end of the list of Tags! For Monday’s post, let me know if there’s anything I missed in the series. Do you have any questions or feedback to help ensure the last post of the series is satisfying?
~~~
*RFID sleeves are metal lined paper covers used to hold identification and credit or debit cards that have information that can be read by radio frequency. Though the odds of unauthorized information access are extremely low, the information is pretty much useless to the person who gathers it, and my bank will cover any losses, I still use them.