Hypothesis challenged, testing complete, final report now available

A photograph session with my antiques was the plan. It worked for all the individual costume parts, so why not for the reveal of the entire Thrift Shop Regency Costume? Because a better opportunity came out of the blue!

When a Jane Austen Tea fundraiser was mentioned by my local JASNA group on Facebook, I realized I’d be able to wear the full costume for an earlier photo op. Lucky me! I hopped in the little car for the short drive out to the event at Starling Winery, which was a great grand finale for my blog series. The grounds are stunning, and the day was warm and sunny.

austen tea party young ladieshats


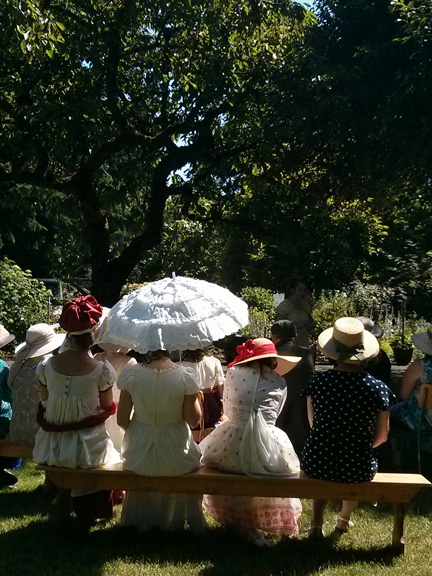
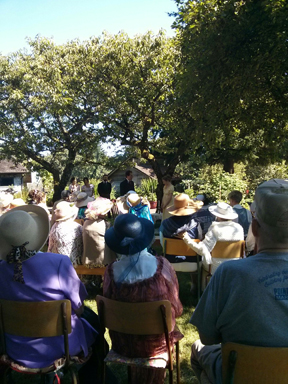
About 10% of those attending had a clue about Jane Austen era clothing, at least, that’s what I gathered from the costumes. Most of the rest wore a picture brim hat with mounds of netting, a long rayon sun dress from their closets, and sandals. There were a few fans and pairs of gloves, too. No one minded, though. Suddenly, I was less ashamed of my zipper.

Jane Austen Tea Party Starling Winery June 20 2015
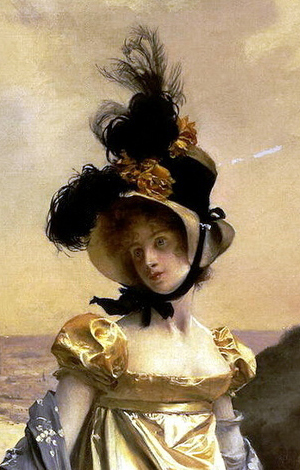
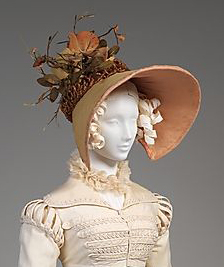
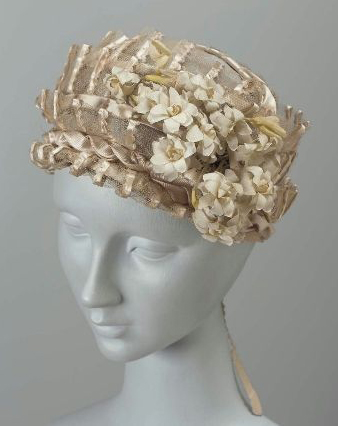
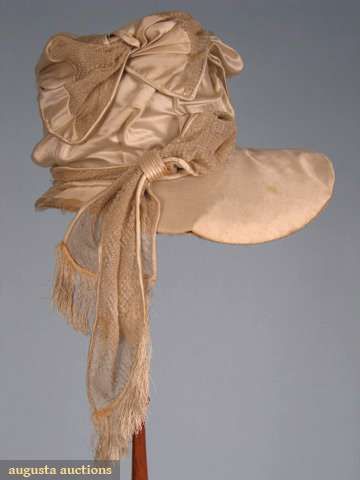
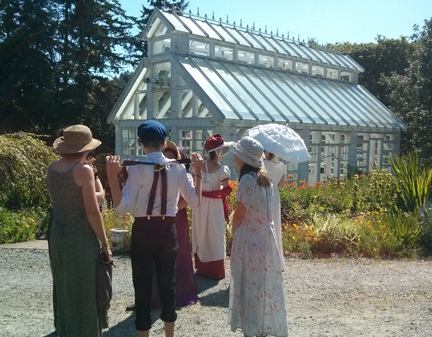
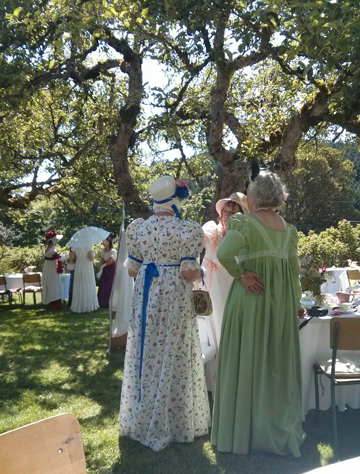
The Regency costumes were wonderful to see. Some had marvellous fabrics, others remarkable lace. A group of young women had bonnets to die for.

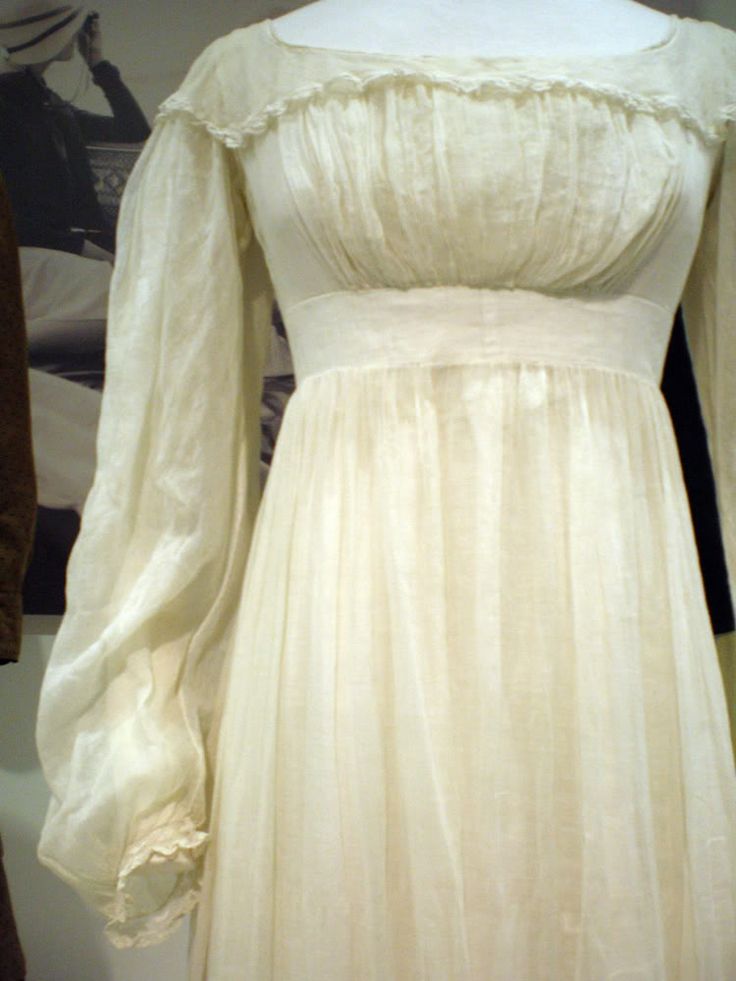
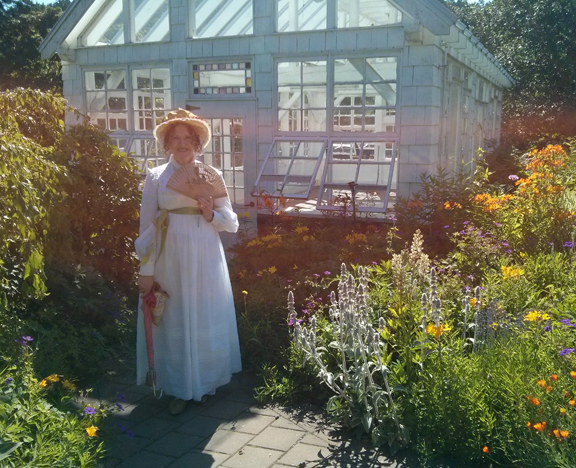
I discovered that, although I was wearing a dress with long sleeves, a high neckline, and a floor-length skirt, I wasn’t as overheated as expected, as the super-fine fabric breathed very well, and I could feel the day’s light breeze through it.

So here it is (drumroll)… TA-DA!Austen Tea Party Starling Winery 2015 Lame Mr. Darcy
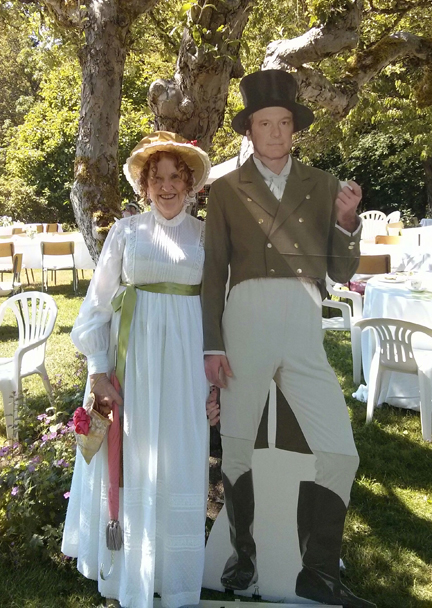
Sorry about Mr. Darcy. He was wearing one of those £50 All-in-One Regency Men’s costumes that actually has no shirt or waistcoat, just a dickey with a pre-tied cravat, and those are boot covers. He’s aged about 20 years, too. But he’s such a fine, tall, person, with handsome features and a noble mien!

~~~

Great buys:

  • The sage shoes with slightly pointed toes were new from a thrift shop at $7.99, and the trim on them meant no extra work.
  • The vintage, black, crocheted and beaded, gate-closure reticule (a different reticule is included in the cost estimate) was a steal at $3.99, and is beautifully unique.
  • Ribbon and lace at a 3 for 1 sale.
  • Braid, ribbon, lace, fringe, and an ostrich feather from a fabric store in Mexico for $5 total.
  • $1 tassels from an Indian fabric store for my parasol and future reticule project.
  • The vintage, 1980’s, white, Swiss-dotted cotton, Prairie Dress-style wedding gown for the Regency gown.
    • I had budgeted up to $100, believing it would cover a gown that needed no more than back gathering and a waist ribbon.
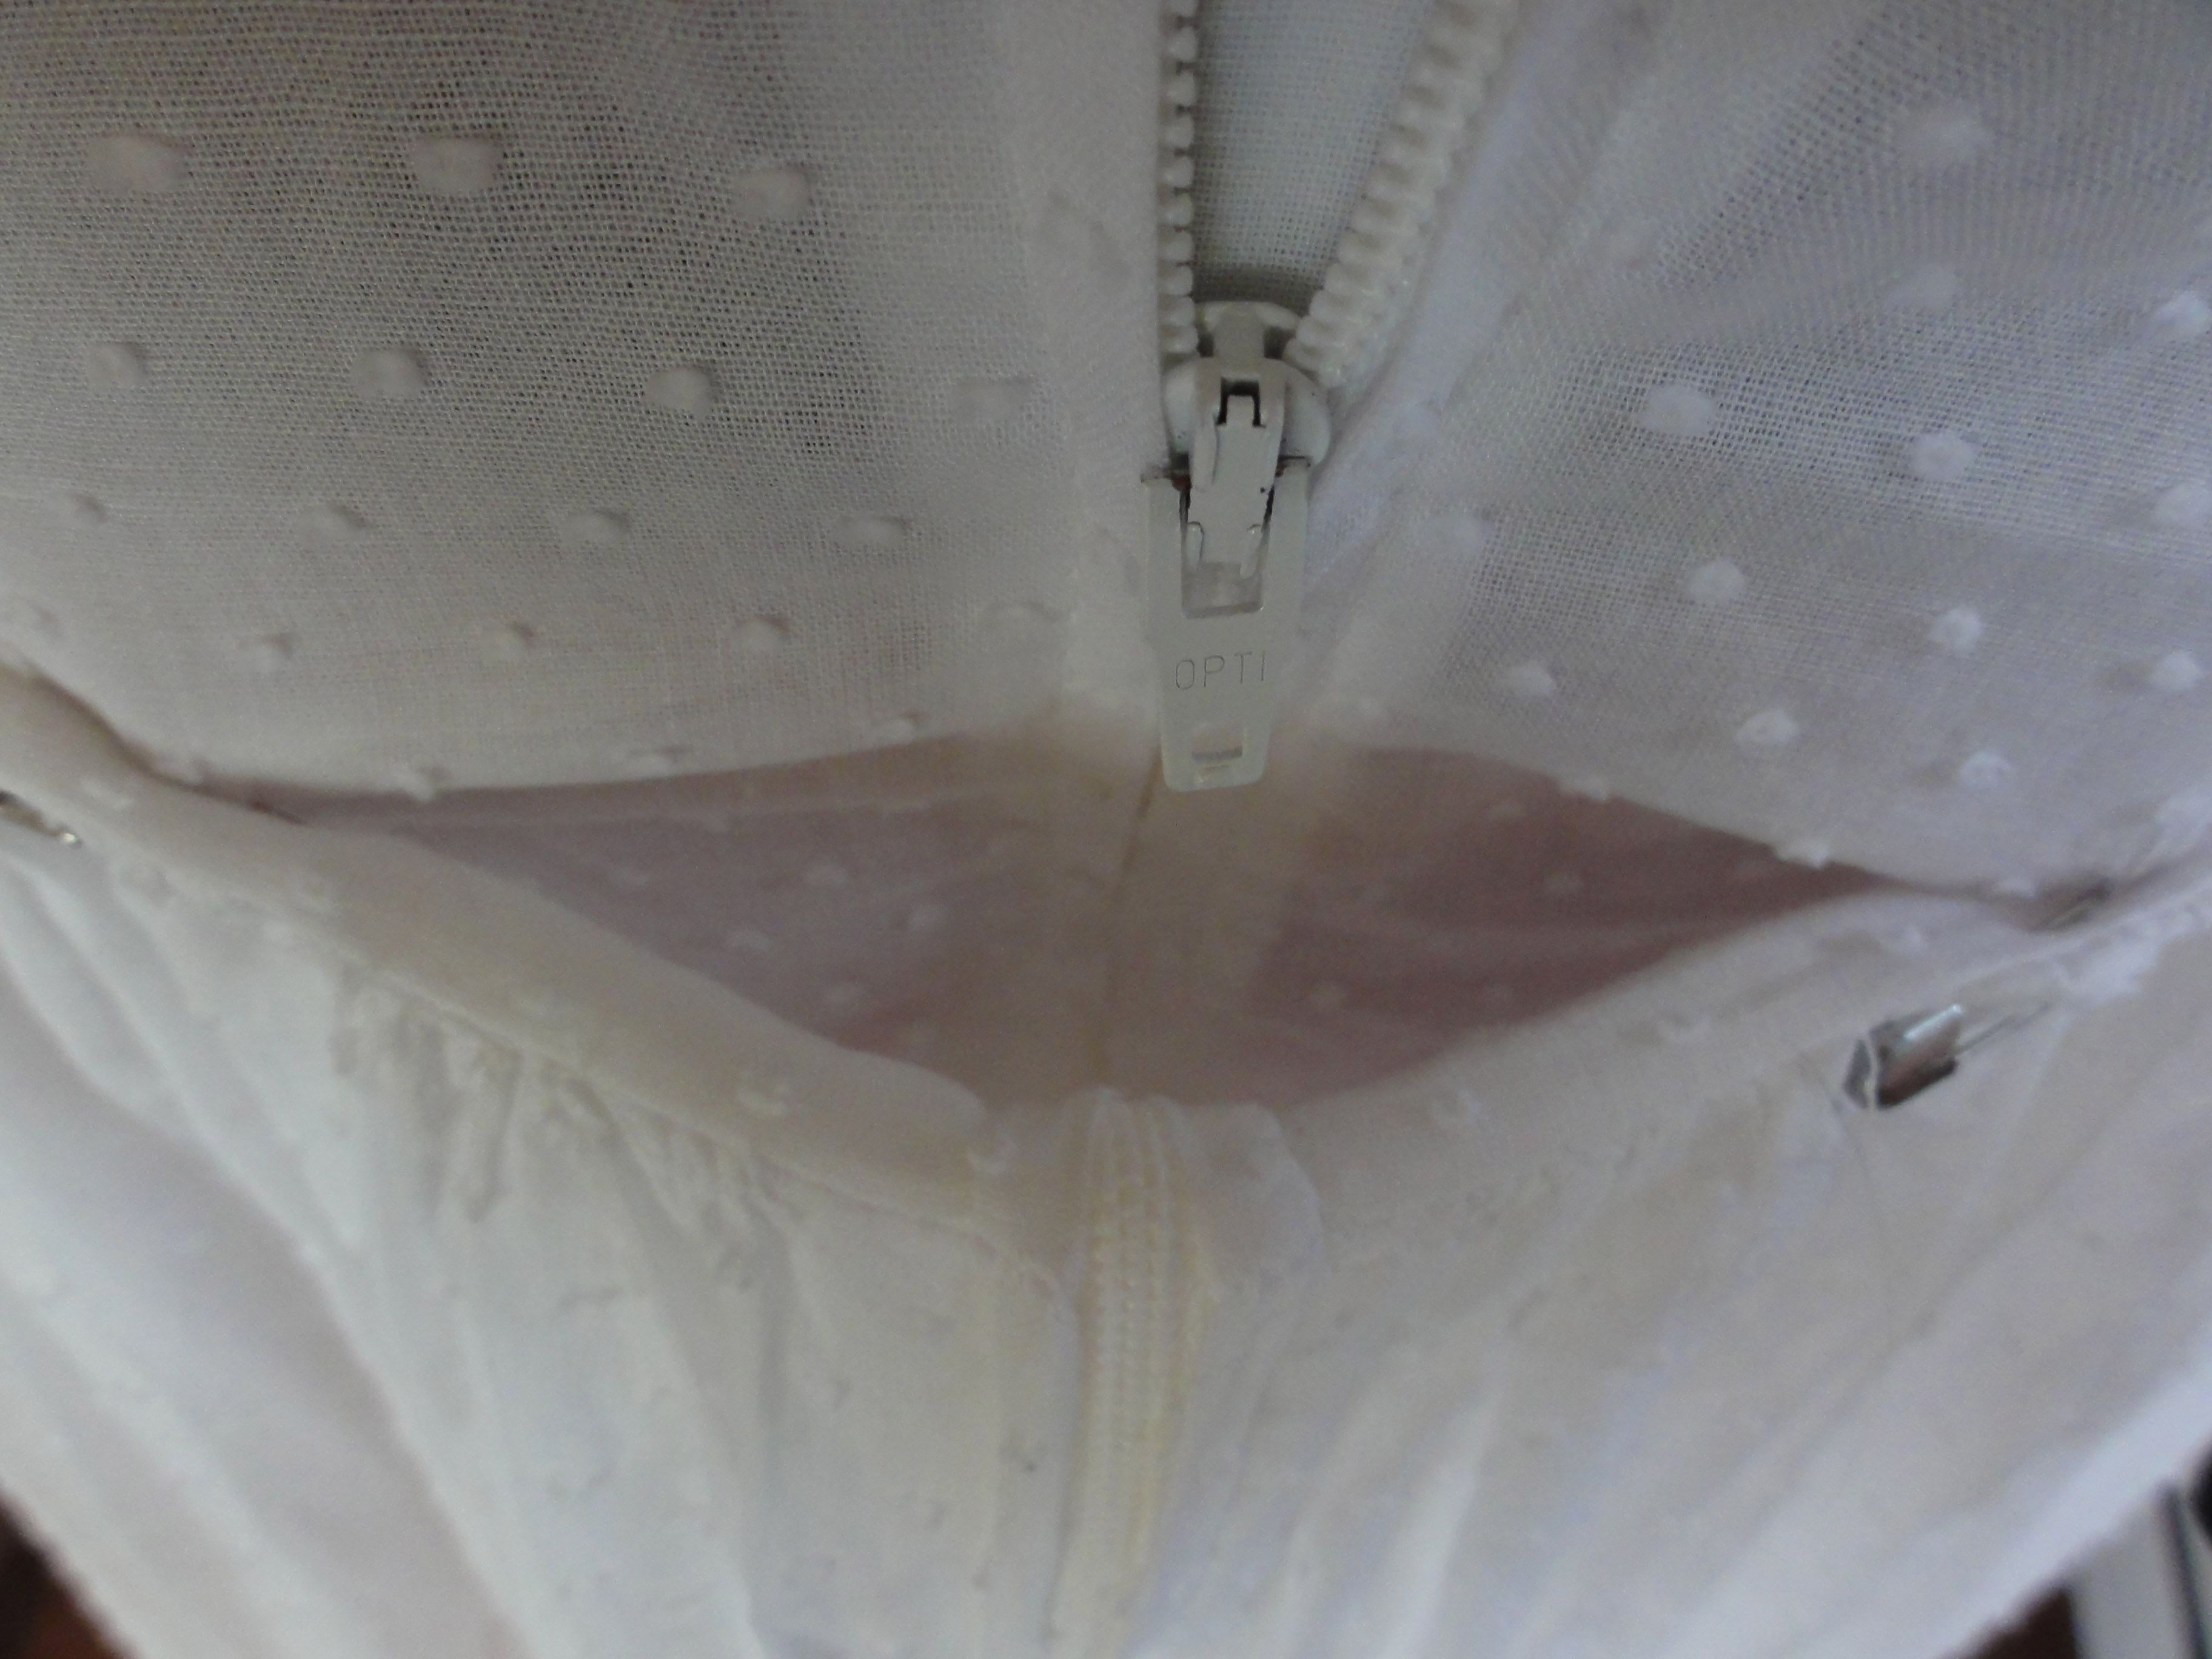
    • This $33.95 gown needed the skirt raised from natural to empire waist.
    • It has a fine cotton skirt lining and camisole, so I had no need for petticoats.
    • For the JASNA AGM in Louisville, KY in October 2015, I’ll remove the zipper and add hooks and eyes.
    • An extra cost was a coloured ribbon I preferred in the place of the self-coloured tie that came with the gown.

Total cost: $114.92

Shoes $7.99
Stockings $1.99
Pantalets $1 + $1 lace = $2
Balconet bra $27.50
Waist cincher $5.50
Gown $33.95 + $1 sewing tape, thread + $2 hooks and eyes + $1 waist ribbon = $37.95
Gloves (on hand for many years) $0
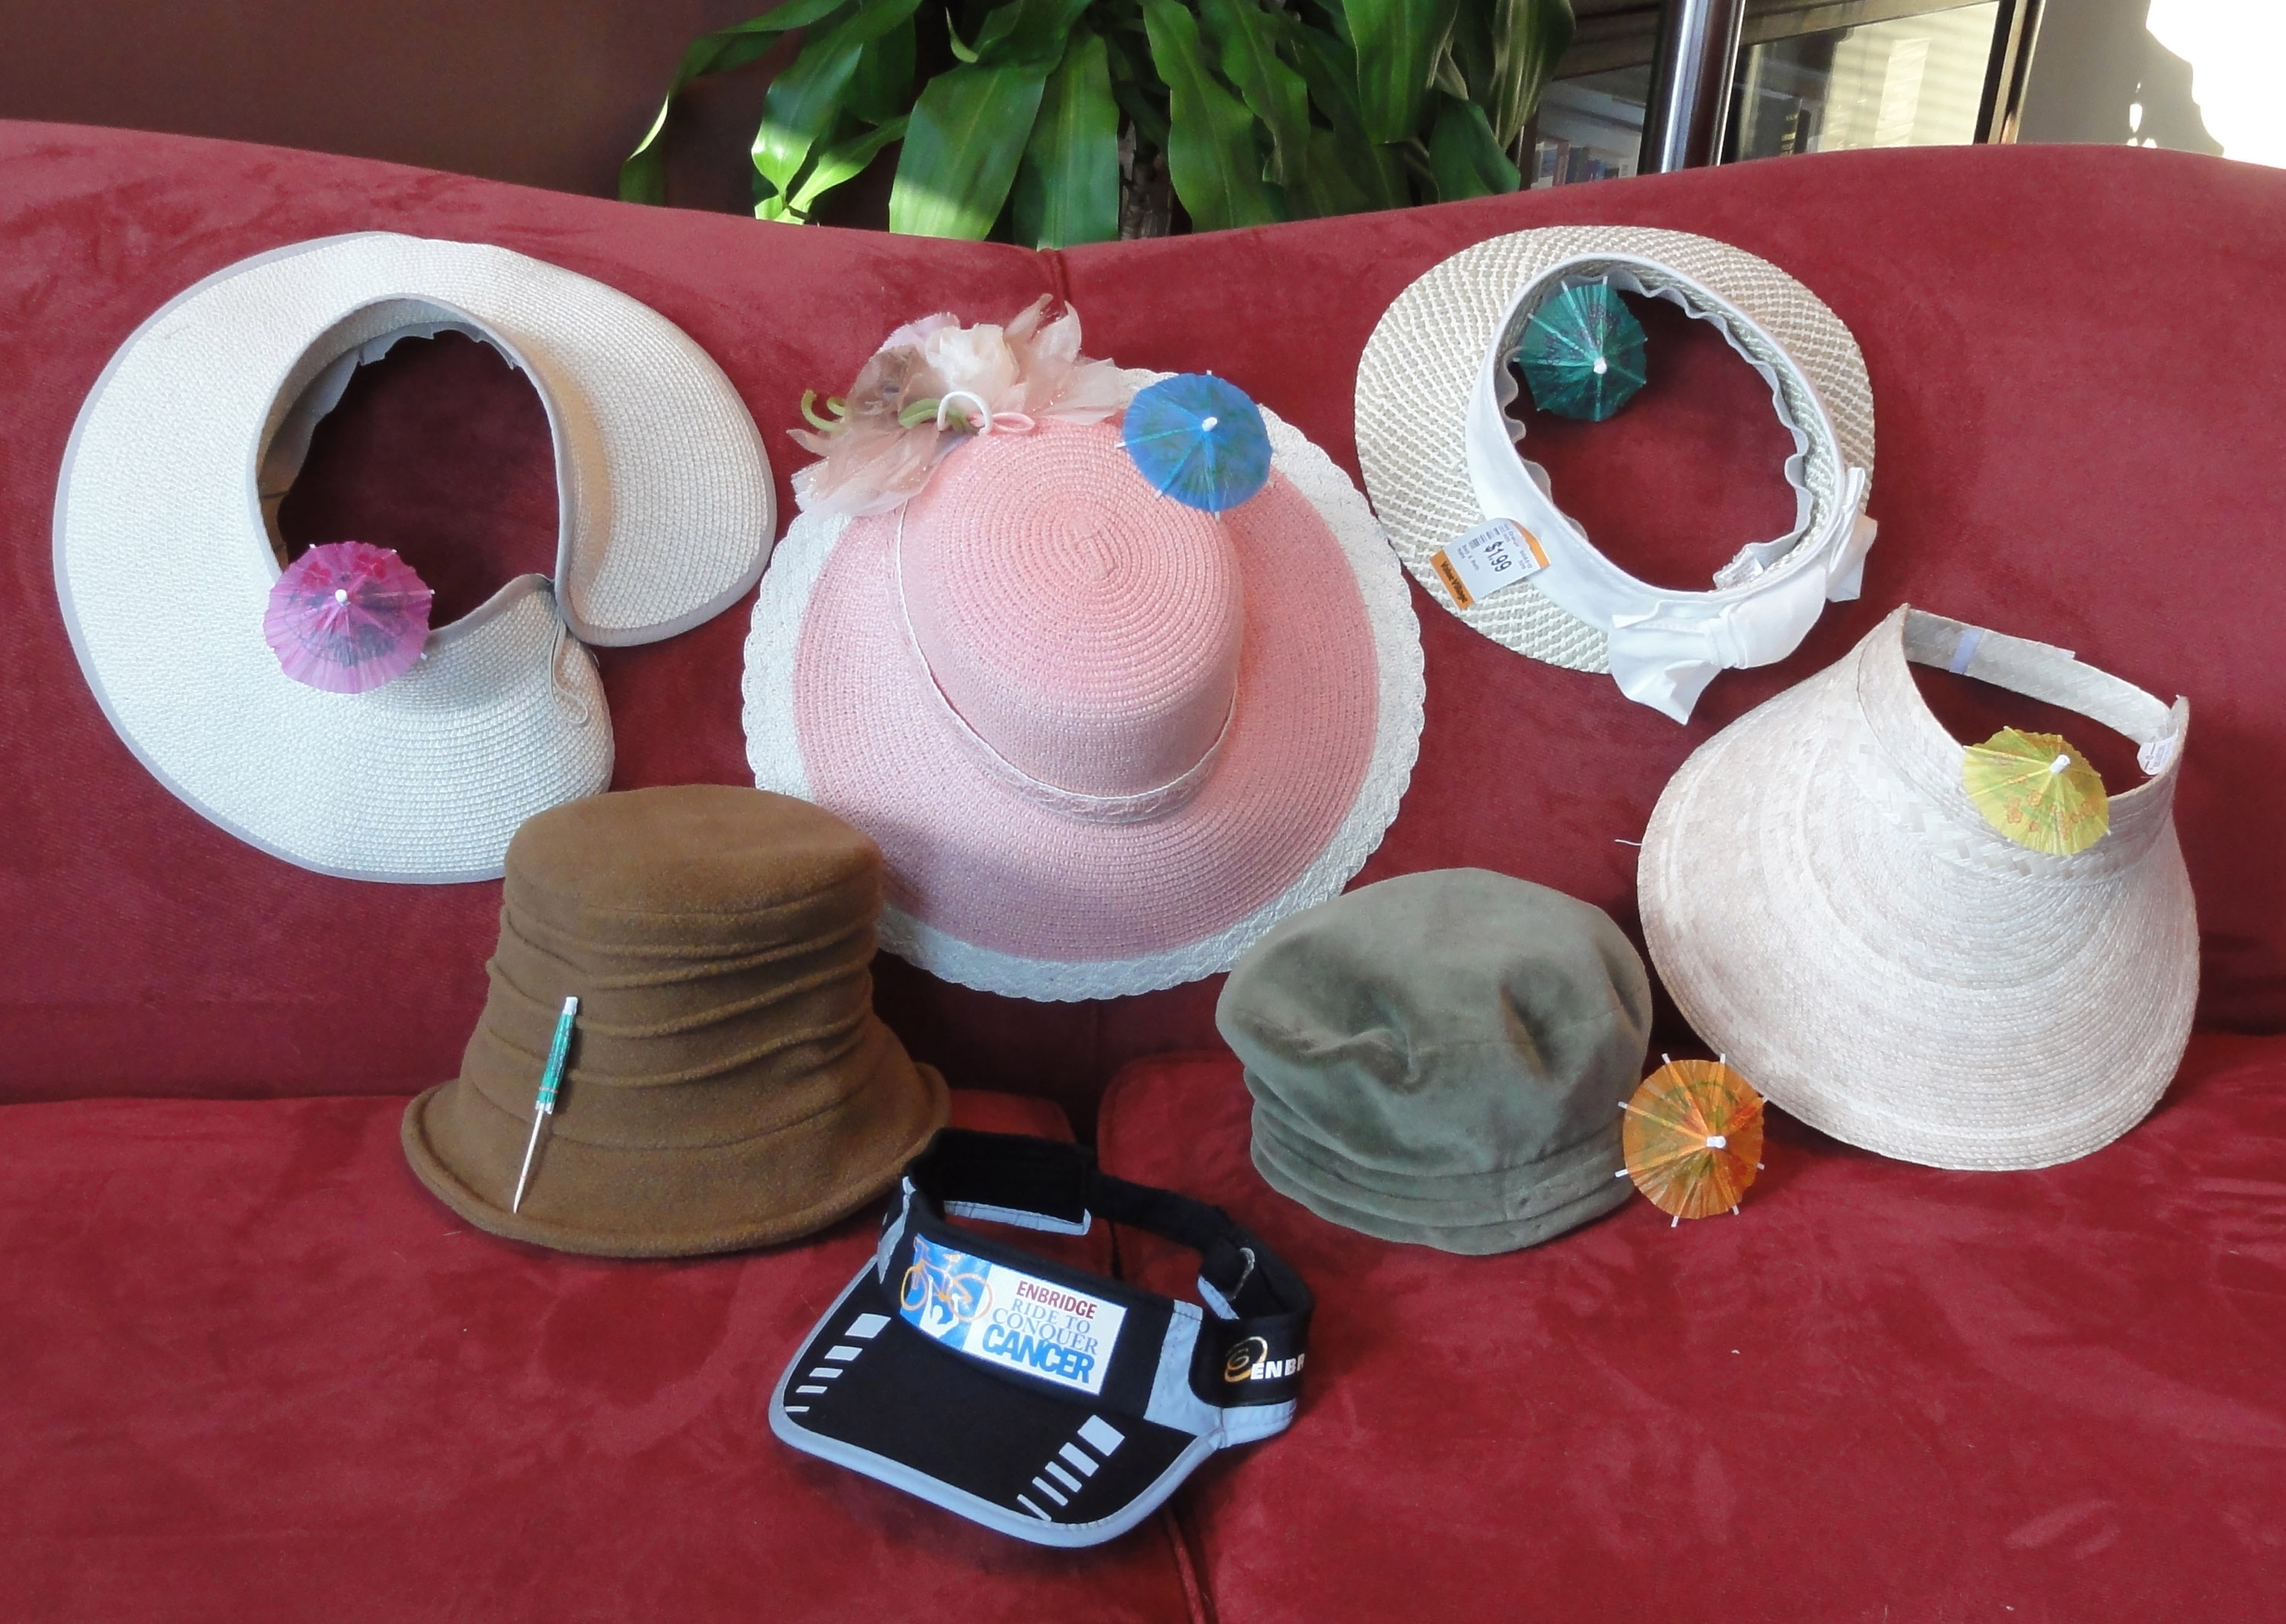
Cap $2
Hat $8
Modifications to earrings $2
Ring $1
Fan $1
Parasol $9.99 + 8 x $1 = $17.99
Reticule and handkerchief (gift) $0

$115 is about entry level price for a basic, Regency style, long-sleeved morning gown in unpleasant-looking but probably appropriate fabric, but with no petticoats or lace. It will also get a short-sleeved gown in a pretty cotton print and nice Regency cut, but none of the lace. Plus, this is an entire costume, not just the gown.

This means the Thrift Shop Regency Costume Experiment was a success. Yes, it is possible, and not all that difficult to assemble a nice, Regency acceptable costume at a low price using found, budget, and upcycled materials.

While I was checking for examples of gowns for my cost on Etsy, I was dismayed to see horrible non-Regency ball gowns being sold as such for $175 (plastic-looking fabric and buttons, modern cut) and $250 (modern fabric, non-Regency application of contrasting colour, and strange collar)! The interest in this topic has made all kinds of uneducated sellers decide they want a piece of the pie.

On the other hand, a couple of really nice ball gowns with attractive details and trim were offered for around $170, and both pulled off the look in synthetic. They were from different dressmakers. So if you want to buy a custom Regency gown rather than search the thrift shops, it doesn’t have to be horribly expensive.

Then a blouse for a morning gown look, etc., etc… well, you just have to follow the rest of the series!

~~~

Beyond the basic costume:

I have more materials than required for my base costume, but it gives me a different outfit for every event at the conference, plus some things to give away as gifts to Janeite friends!

In addition to the above, ready to wear articles include 4 reticules, three pairs of ballet flats, one pair of half-boots, three pairs of tights, two floor-length full slips, one black bustier, one fuchsia slip dress for an over or underdress, the makings for two turbans (scarves from one can also be bandeau head wraps), a medium-length, slightly curly pony tail hair fall, a second cap, The Pink Bonnet, two necklaces, a second pair of earrings, a bracelet, and a Regency-look Pashmina shawl.

Items requiring modifications to be worn include the Lydia Bennet hat, the Lady Catherine bonnet, a light blazer for a summer spencer, a pelisse dress, two long dresses requiring minimal modification to become evening/ball gowns. A lucky buy was a piece of faux silk in exactly the right colour to match the jonquil 1960’s dress for a ball gown. I was going to add a contrasting front panel to free up fabric for back gathering. Adding a panel at the back while I remove the zipper will be much simpler.

A variety of ribbon, lace, tassels, fringe, braid, bias tape, cording, beads, and some fabric remnants also are available for completing the above. The only items I may have excesses of are ribbon and a huge roll of 6” wide lace from a grab bag that can be used for sleeves or caps. I have material to make up to 12 reticules with my new designs!

~~~

Time spent:

At first, I went to one or two shops every two or three weeks for up to two hours. In February, I started to go at least once a week for 2-4 hours. Construction, modification, and decorating probably took 40 hours total. The greatest amount of time was spent in my head, thinking about how to best approach designs, and match colours and fabrics.

As this is a leisure activity, I hesitate to value my time any more than I would for redecorating my home or reading. Any excess of material (caps and reticules) will be given away.

~~~

Problems Encountered:

The learning curve on Regency fashion:

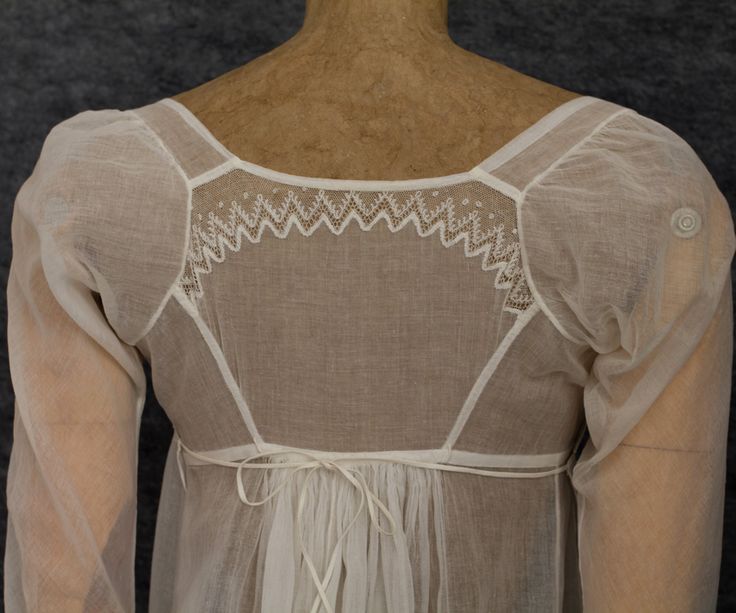
  • Examples of things I learned along the way: Long sleeves are typically very long, so they are up the arm and fall over the base of the hand. Laces and buttons were not as common on gowns as I thought: ties were most common.
  • The styles changed a lot over the period, and included very simple gowns to gowns with a great deal of elaborate trim.

Misunderstandings about Regency styles:

  • A cap is not crocheted lace, it’s very fine cotton, sometimes made into a lace-like look with pulled thread, darning, and whitework embroidery.
  • Puffed sleeves: There were many more types of sleeve than the short, puffed sleeve, or the long sleeves with a puff at the top, though both were so common, it’s a reasonable mistake.
  • Dark-based prints are uncommon, but do show in extant gowns.
  • The empire waist is not the only style. Some gowns had no waist, though the cut or an overdress was reminiscent of the empire waist.

~~~

Difficulties encountered along the way:

My own culling of items in my closet:

  • With moves and sale of a rental where we had some storage, we were living in a smaller space. I had given most of my clothes, and all of my fabric, crafts, and Hallowe’en costume parts to charity two years before. Some of the clothes and shoes would have been useful!

Jane Austen Tea Party Starling Winery June 20 2015 2
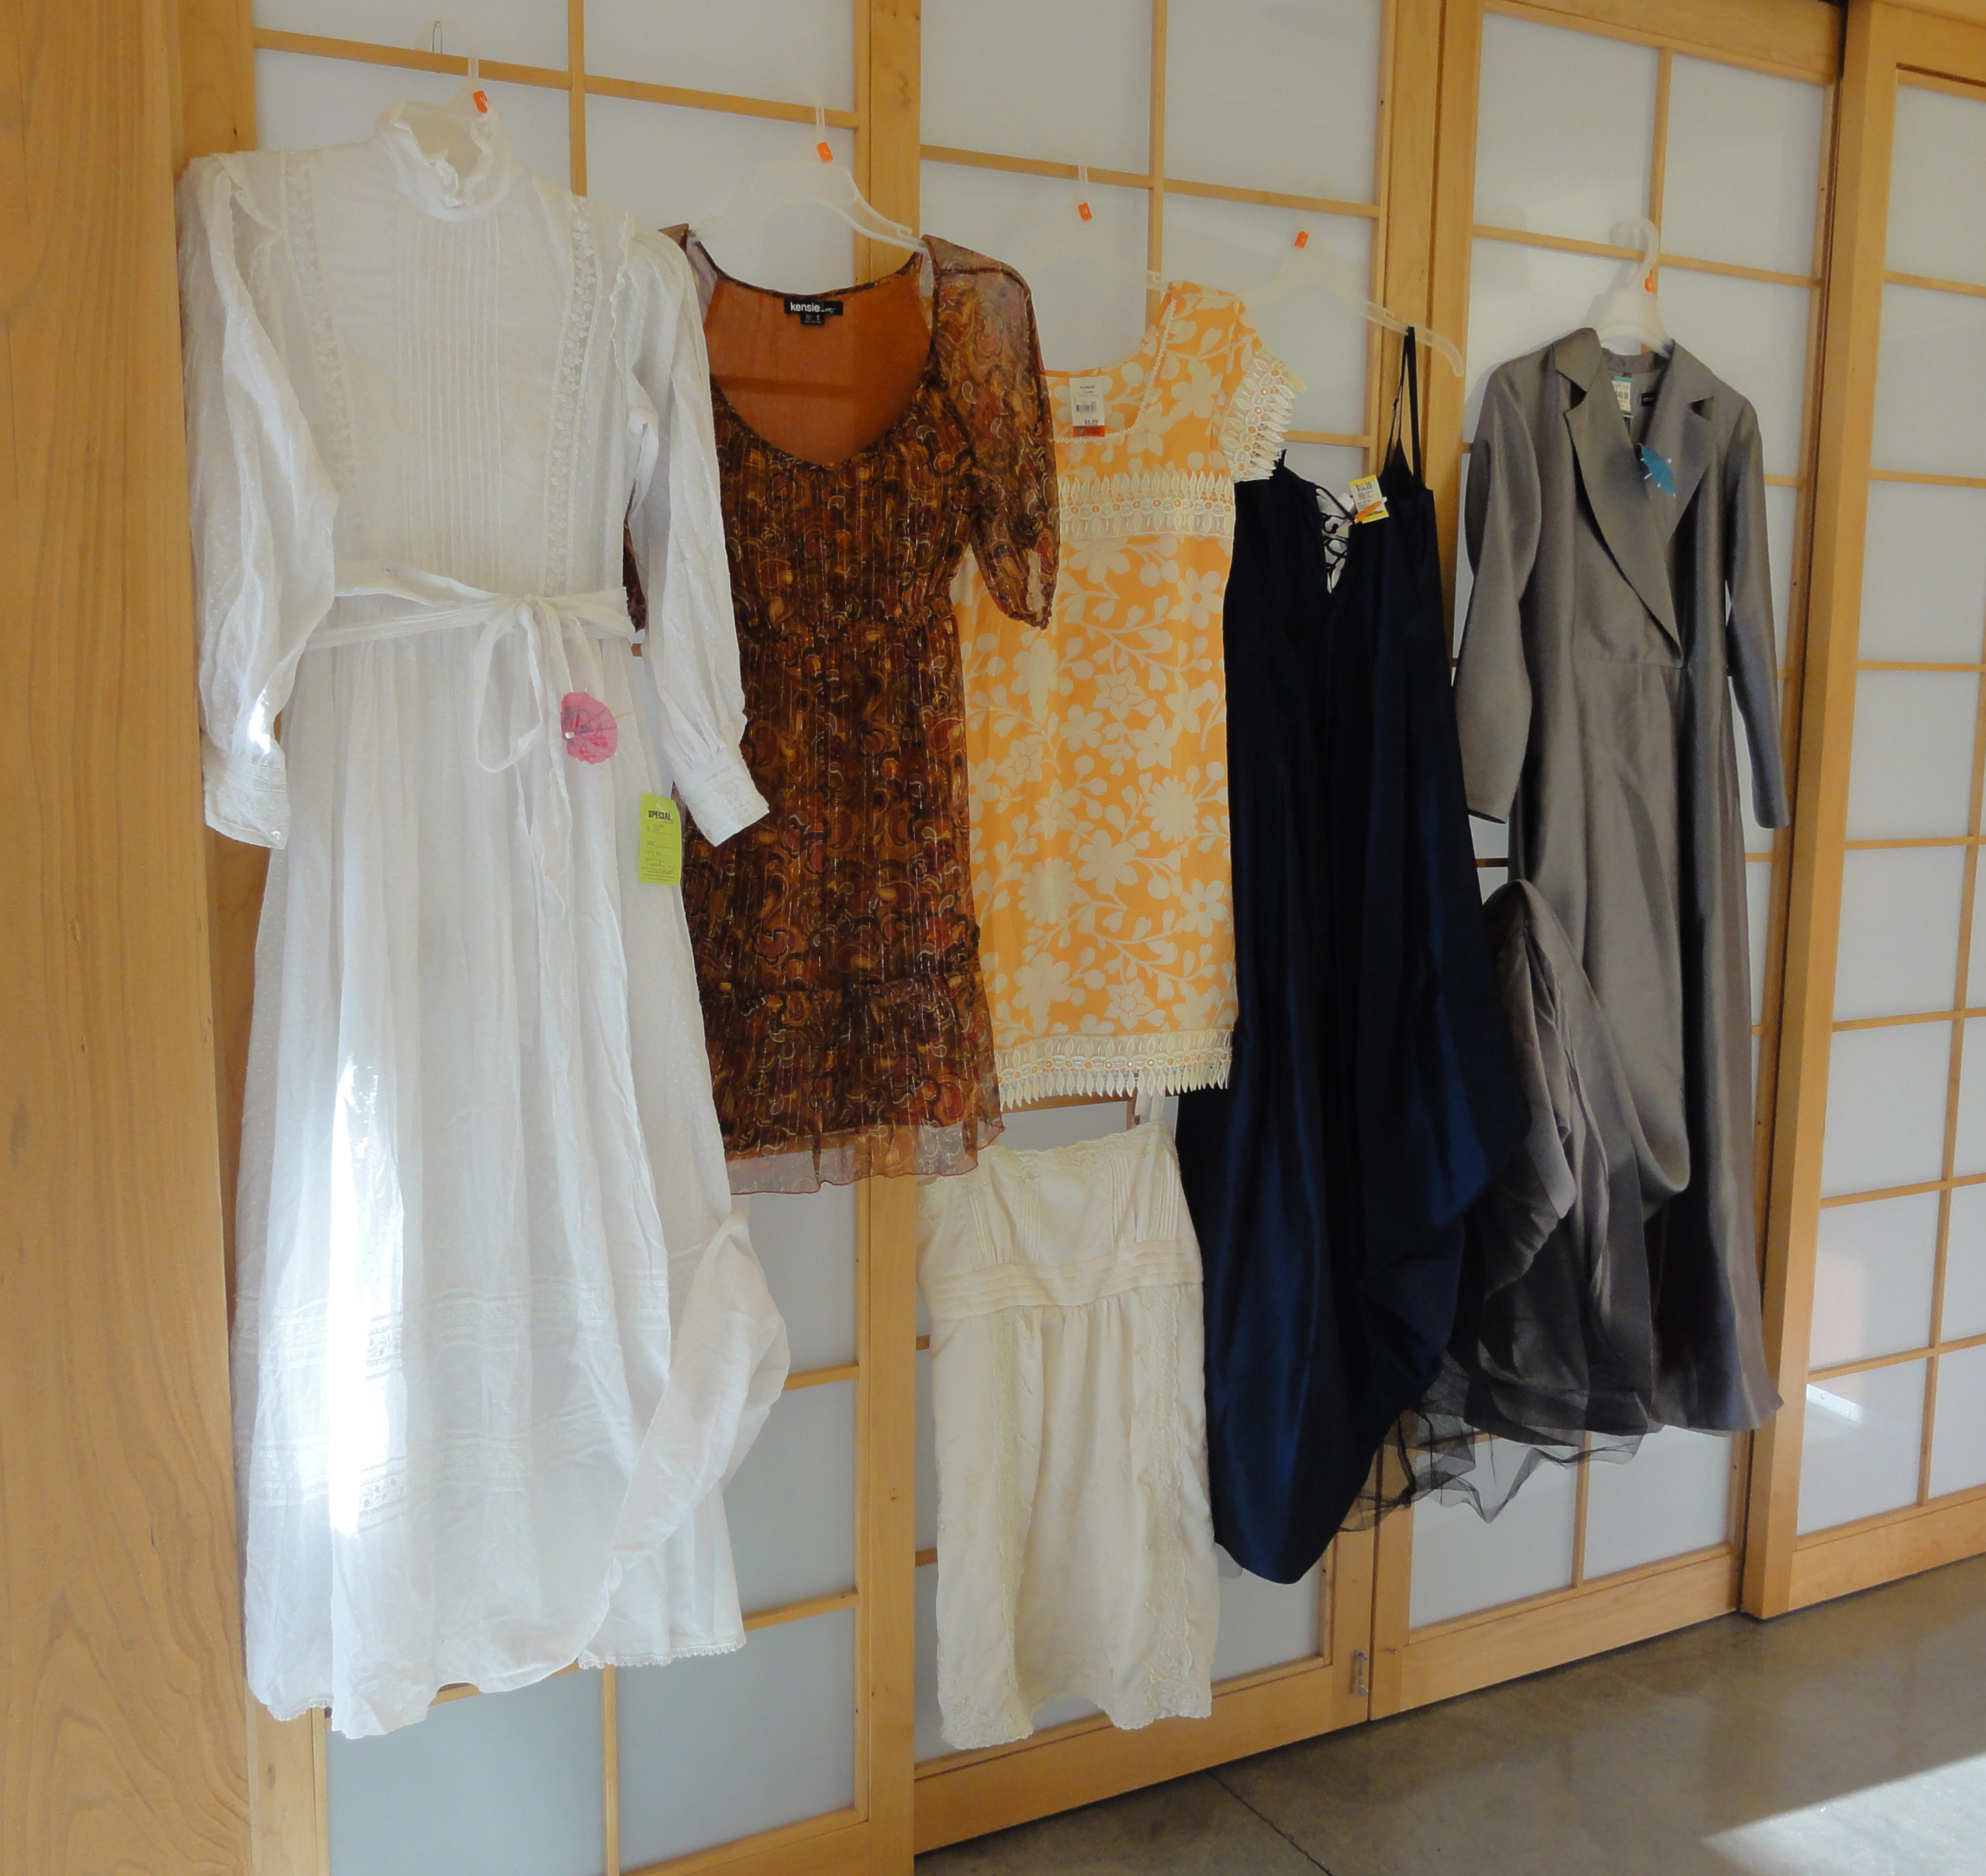
The dress I had in mind was elusive:

  • If all else seemed good, the thrift store dress would be polyester knit; black with huge roses; too fitted to make back gathers; sleeveless with no extra fabric for sleeves; covered in appliques or patchwork; have multiple long darts that would likely show if taken out; not my size; or too short.
  • A few true vintage items from the mid-20th century, in great condition, might have worked if modified, but I couldn’t bear cutting such a great piece of fashion history, so I wouldn’t buy them.
  • Polyester knit is ubiquitous, not just in dresses, but in slips, camisoles, and lace blouses (for sleeves), too. I saw one woven cotton camisole, and it was too small.
  • After the first few months, I purchased a couple of items that need more work because of fear I wouldn’t find anything.

Jane Austen Tea Party Starling Winery June 20 2015  me

The opposite of the impulse buy problem:

  • A bag of notions seemed pricey until I saw the price of the items new, but it was gone when I came back.
  • A blazer with a lot of soutache work could have been a lovely spencer, but I hesitated because I couldn’t easily see a place to break up the design. Someone else got it.
  • When I bought my shawl (not in this base costume, as it will be covered in outerwear), there was another similar, and I chose the one I thought went best with my evening gowns. I now believe that a shawl with that quality of design may not be common, and the price was cheap—if not for me, for a friend. But there were no more like it when I went back.

Other costume items:

  • Similarly, the fan and parasol were difficult to find. At least they were one size.

Availability of the right type of stores:

  • I live in a small city, so there aren’t many vintage and thrift stores, and similarly, fabric stores.
  • About half of second hand stores have good quality merchandise intended to be reasonably fashionable today, and none of that works well for Regency.
  • Thrift stores have more items that are older and out of style, and even more so in Vintage stores, though most of their items are funky for those on the edge of fashion, or items that are back in style and can be worn today.
  • I had four trips to larger cities during the course of the blog series, and was able to buy some good value items that I’ve never seen here.

Colour matching:

  • Even though you don’t have to be matchy-matchy with accessories, for back ties and fake sleeves it’s best, and it’s hard. Choosing a feather for a hat is similar.

Technical difficulties:

  • My new iron got glummed up one of the first times I used iron-on no-sew tape. You’re supposed to use a press cloth, and I didn’t read the instructions. The pieces of heat-activated glue tape weren’t fully under the fabric, and the hot iron in contact with a tiny piece tugged it out.
  • No-sew tapes (iron-on and double-sided) are fine for simple, flat attachments that take almost no load, but do not work well for more complex things such as pleats, drawstring openings, and the heavy texture of a straw hat.
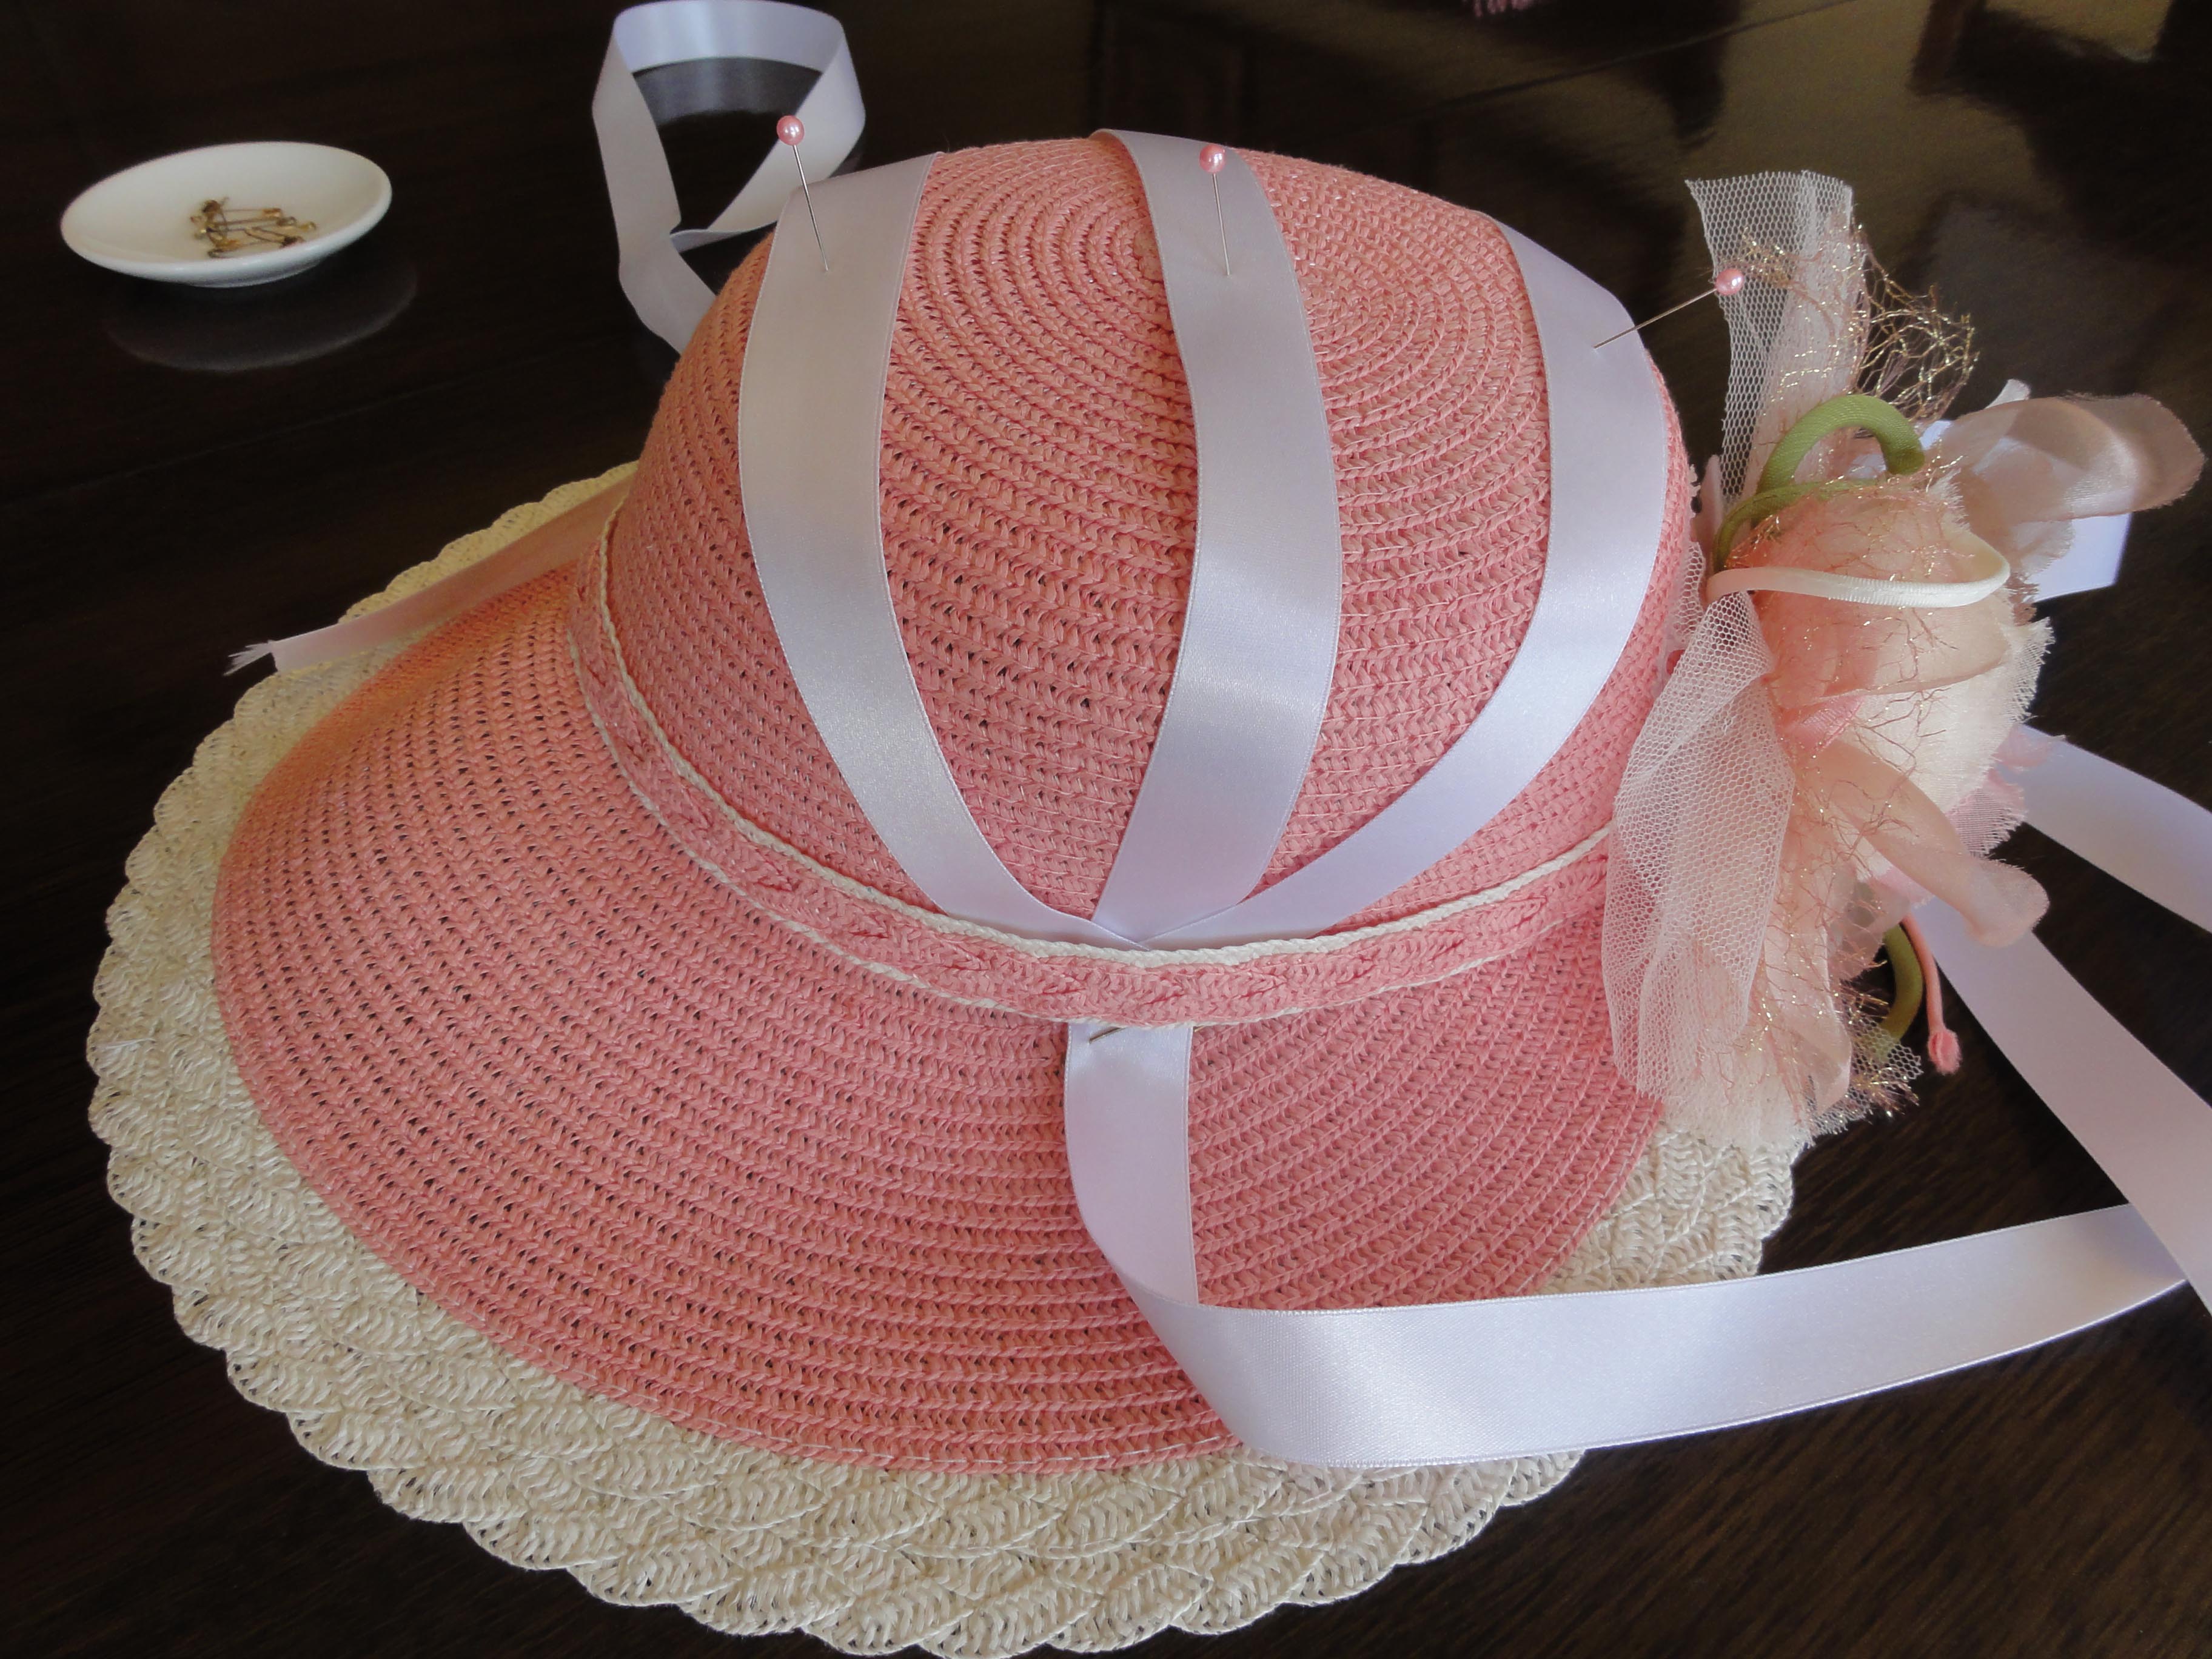
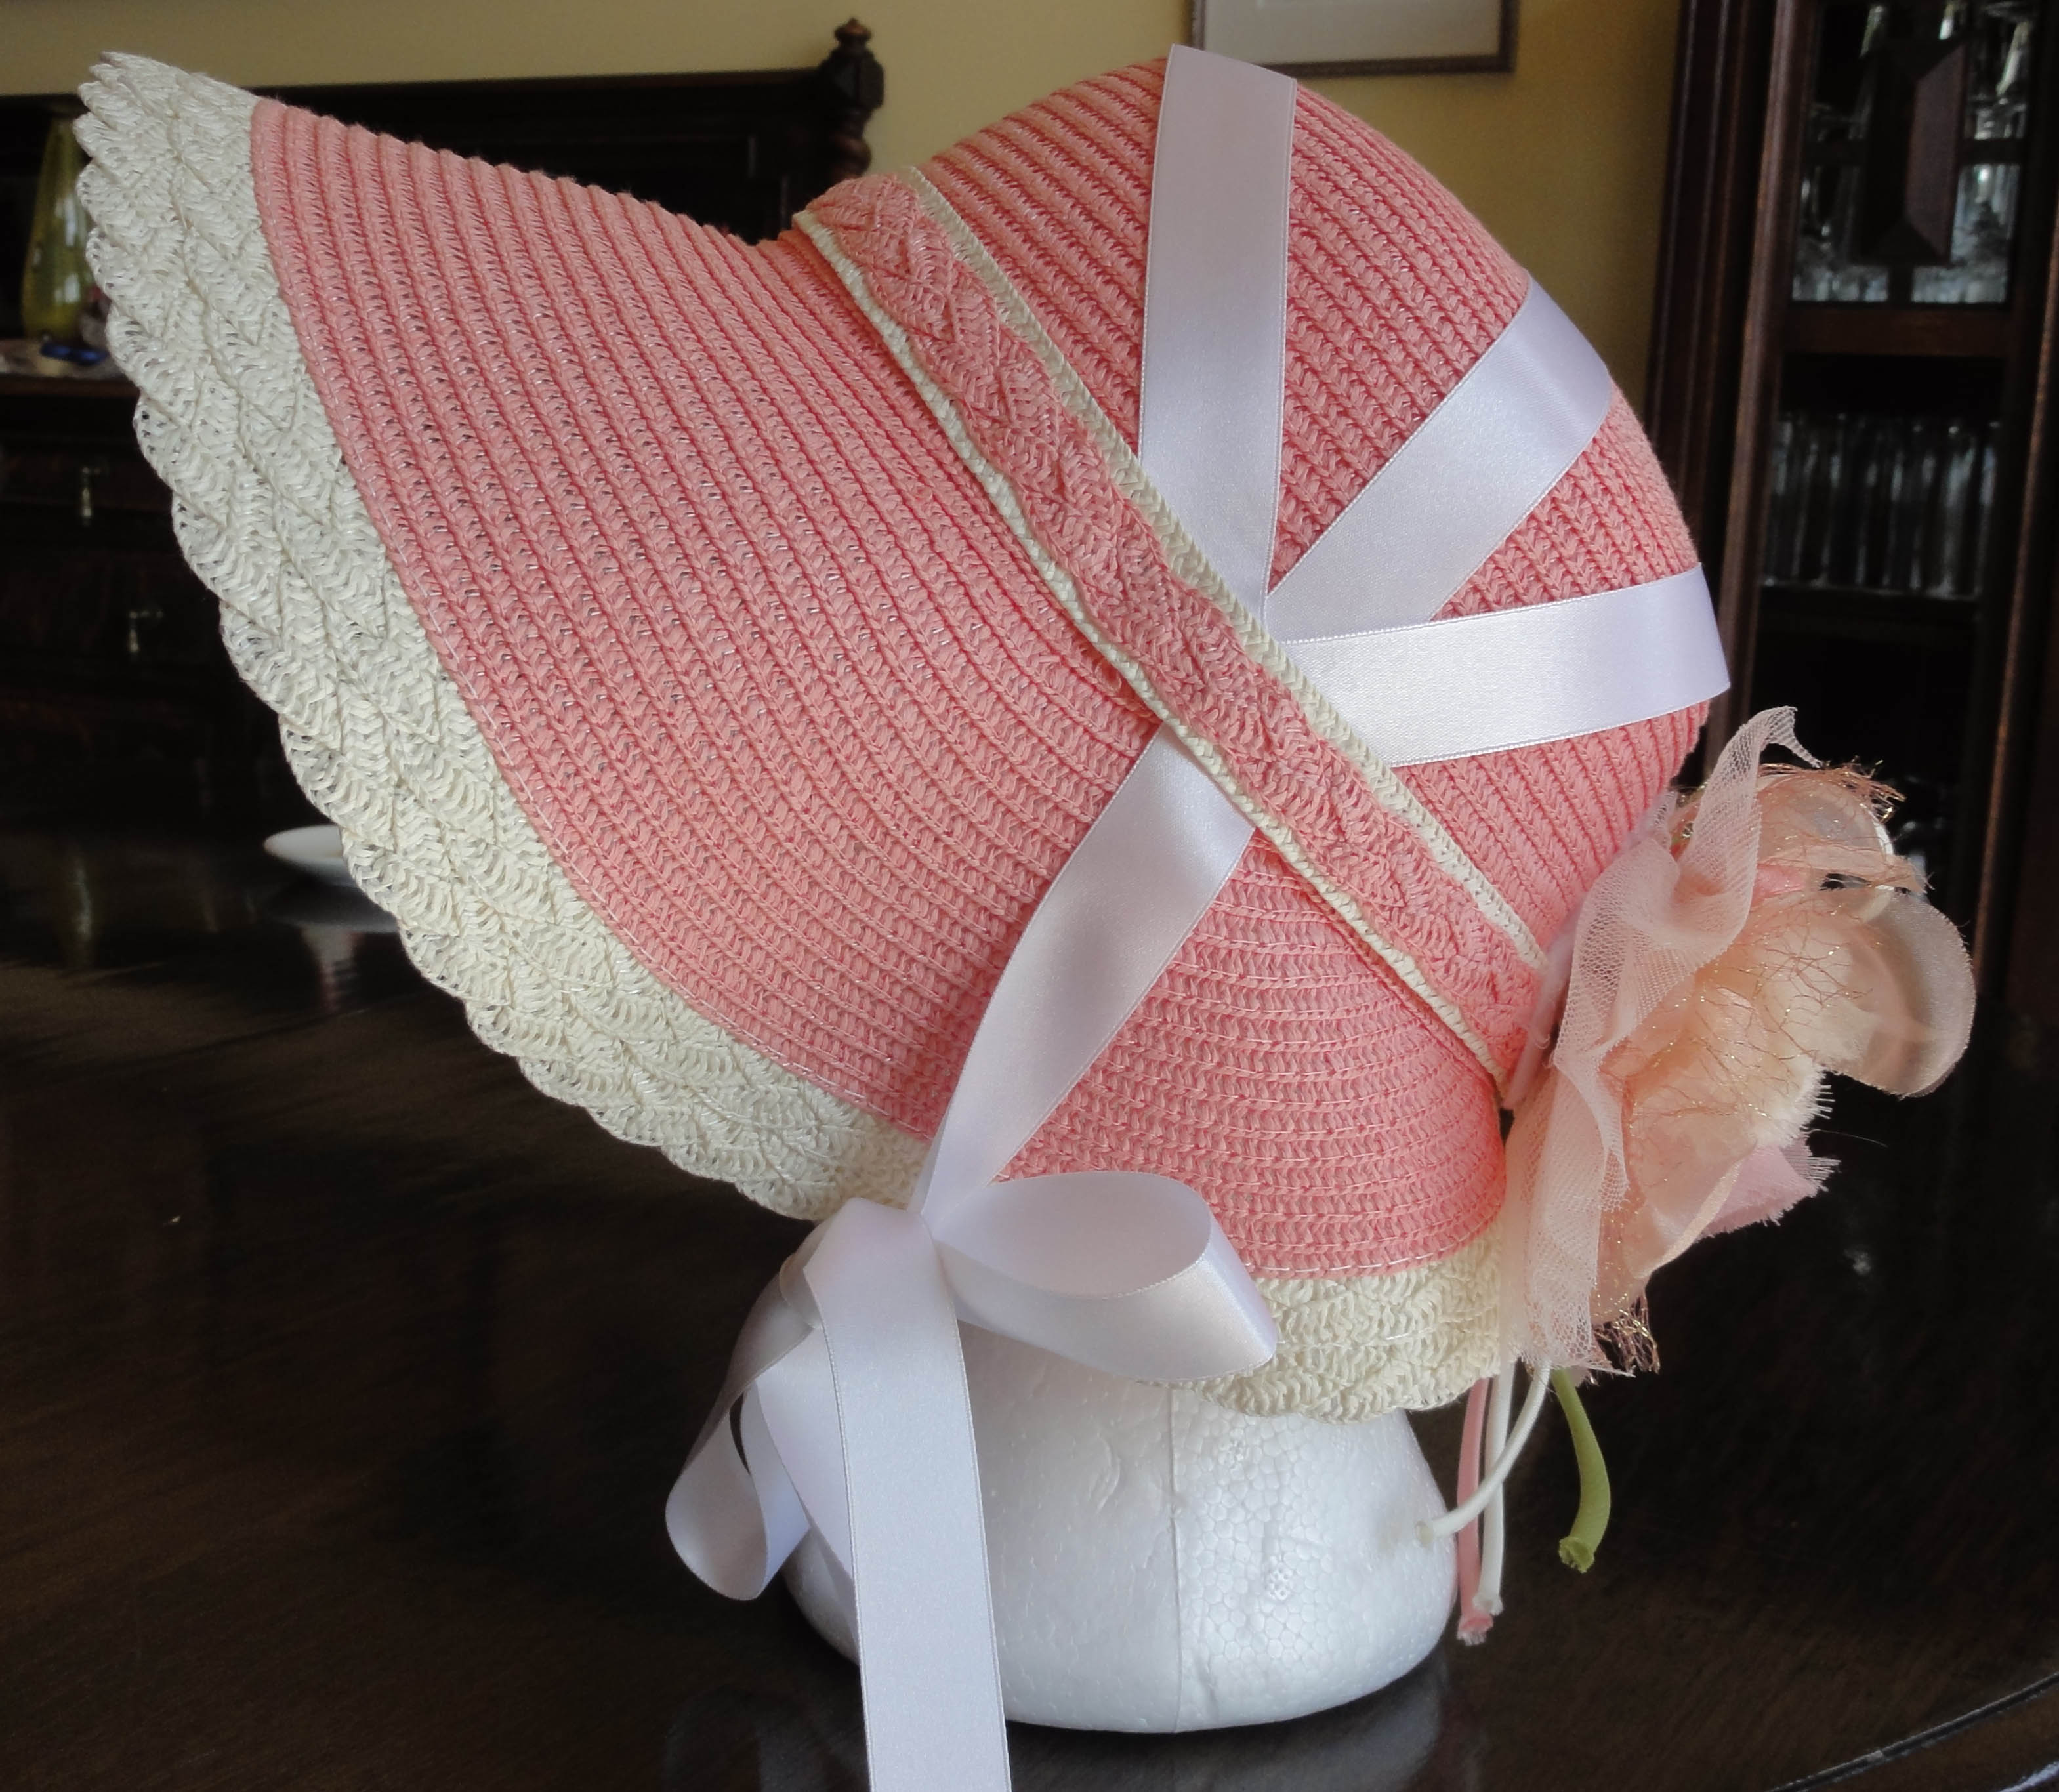
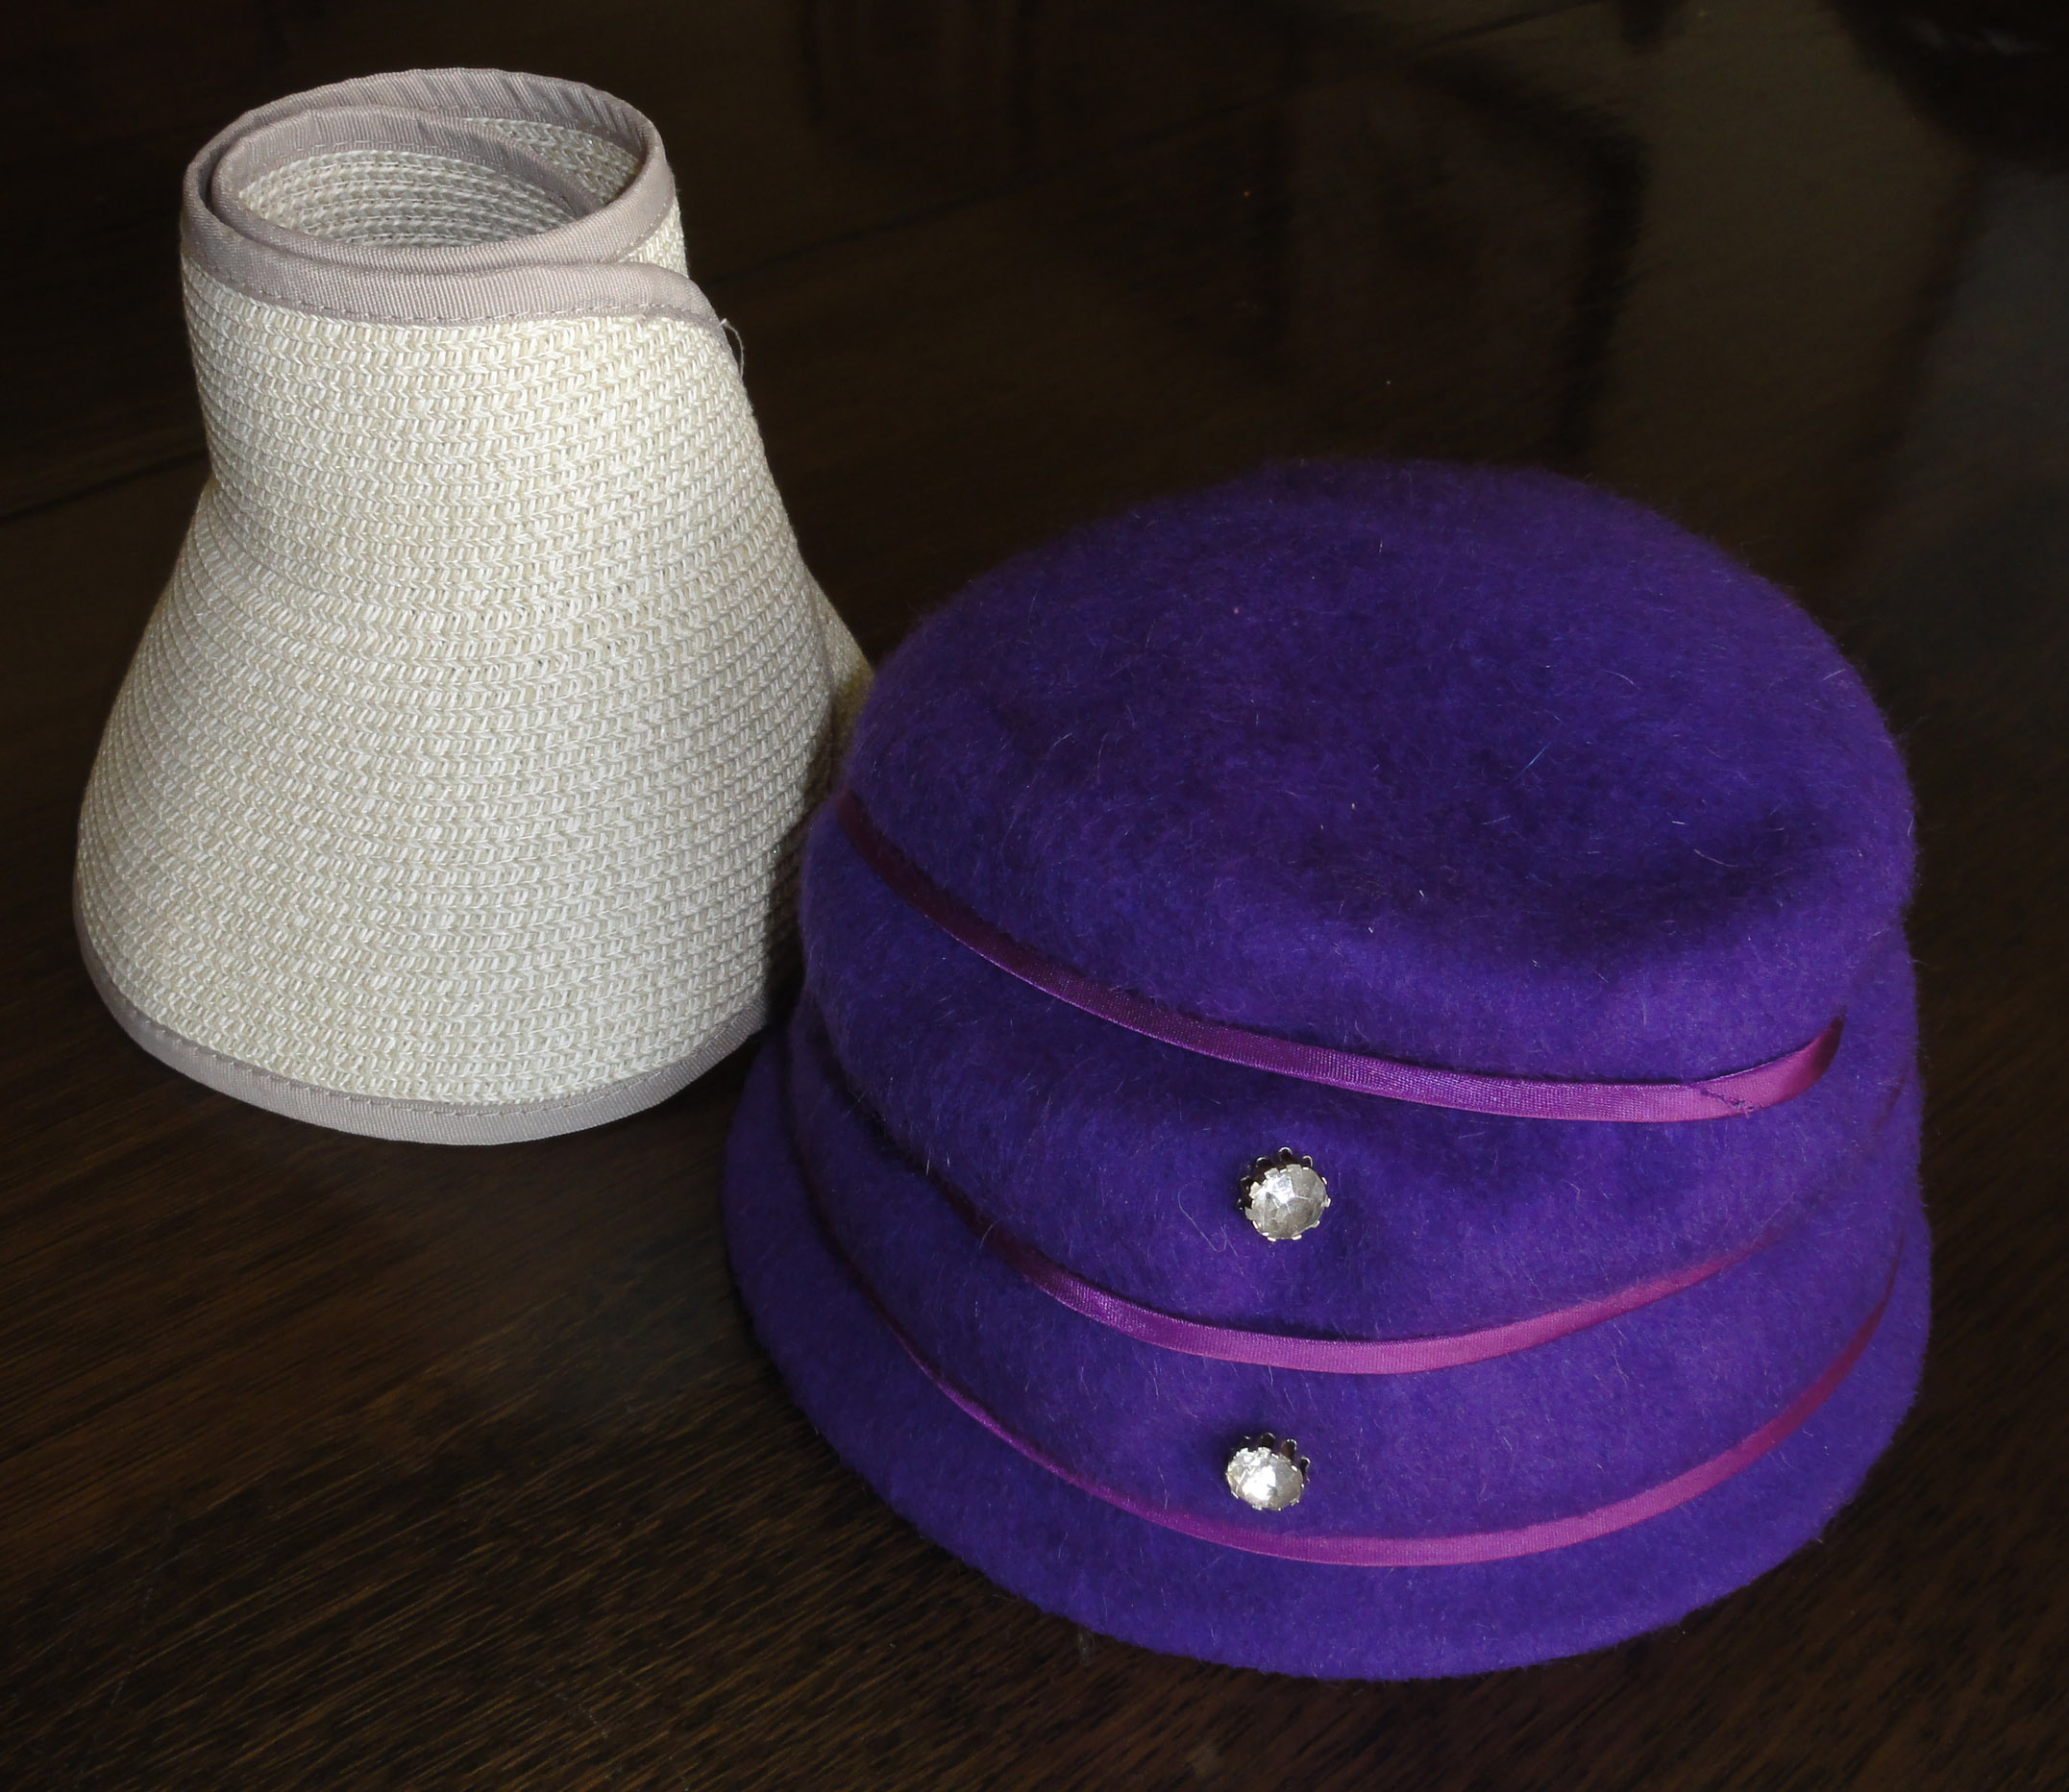
  • I am terrible at crafting. I don’t seem to have the manual dexterity to make things neat and tidy. If you zoom in on the inside of the Capote hat, you’ll see an uneven ribbon that thankfully will be hidden by my hair.
  • I tied the gown’s waist ribbon off to the side, and in photos, it appears like a droopy breast! Unless you are young and perky, centre front or back tie is better!

Prices went up and product availability changed:

  • When I started a year ago, shoes that would work were $4-10. Now the price in thrift stores is no different than for new shoes on sale at budget stores. Of course, the ballet flats weren’t on sale all winter, and won’t be until fall again.
  • The little flared kitten heel shoes disappeared before I bought, though I saw a half-dozen pairs in my size on a visit a few months before I started to buy, when I was just beginning to consider what I’d wear to Louisville. I think the style was too old. Lucky are those who still have them in their closets!

~~~

The biggest change:

I discovered a new love. I’ve started to follow Pinterest pages and Facebook groups on costuming, and have been tempted to buy books for more than coffee table use!

I know I’ll be using the sewing machine again, and this time, the challenge will be to use existing patterns and modify them to make them my own, as opposed to purchasing modern patterns. I may be crazy to do so, but I’ll learn along the way, just as I did for this Experiment.

My dream is to actually see the museum pieces. I constantly have little questions about this and that, and only looking at actual construction would help. Costumers with many years of experience and related degrees rarely have this opportunity, so it may be the impossible dream.

But if we did not dream, the death of our imaginations would turn us into black holes, imploding into the nothingness of an empty life. As an author, I rely on possibilities to light my life. Things seem to work out in the long run, in spite of any bumps in the road along the way!
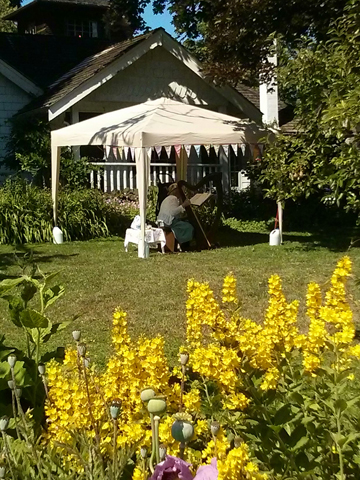
Jane Austen Tea Party Starling Winery June 20 2015 harpist

~~~

A point of pride:

I learned the bulk of the knowledge I’ve shared throughout this series by observing examples on the Internet. I read some excellent web site summaries, but avoided asking experts for help, and didn’t buy any books on the topic, as that cost could be put towards the costume.

I even got to the point in my acumen where I could pick out bloggers who knew enough to be dangerous and give inaccurate advice—kind of like how I started. I’m still learning, and it’s never been a chore. I enjoy the challenge of research.

The part of this story that was not intentional is important, that of the re-use of discarded items. It’s not just about being cheap, it’s about minimizing waste. Our society loves to buy and throw away, and the little thrift shops are full of evidence of that. But someone else’s discards became my treasure.

I’m going to miss those shopping trips. But wait… Mr. Suze needs a tailcoat, and breeches, and boots, and more!

I hope you enjoyed this little series of less than imaginative writing. I could never have imagined myself as a blogger, yet sometimes, fortune falls at your feet. It’s been an experience beyond the ordinary: I proved I could act outside of the box of consumerism, not just buy because I can afford it, and I’m proud of how far I’ve come.

Thank you for joining me on this trip.

~~~

NEXT POST: No promises on a specific topic.

This summer, I plan to focus on the final edits on Letter from Ramsgate, which has taken a back seat to this blog. Then I’ll be posting it twice weekly on A Happy Assembly!

At the same time, I’ll make my ball gown and a spencer, and there will be a post for each. I’ll show you my shawl, too. I promised a post on tricks to fake Regency, and I’ve developed my own pattern for reticules that I’ll share, as well as pulled an old pattern for a cap off a plate in a book and will draft it for you to use. So you’ll hear from me every 2-3 weeks or so, and then from Louisville, KY at the JASNA AGM!

Starling winery raspberriesI’d like to promote the Centennial Belles of Port Alberni’s Jane Austen Tea on July 3 and 4, 2015, and the Port Alberni Jane Austen Festival on July 8 and 9, 2016. This little town has ambitious plans for 2016: to break the world record of people in Regency costume, which is currently regularly broken by The Jane Austen Festivals in Louisville, KY and in Bath, UK. Perhaps a few of my Janeite and Chat Chit friends may decide this is a good time to come visit me on their way there!

How-to Times Two: Variations on Dressing up a Bonnet

Hat 2 underside and shape

Underside of hat to show brim shape and braided trim.

A bit of an impulse buy, as a few of my items were, the Pink Hat has a beautiful, perfect Regency shape and some nice trim. I was so pleased with those aspects, I overlooked the fact that it was overpriced for what it is and for the intention of this experiment, at $25 from a little second-hand store.

It’s so very, very PINK! I almost never wear pink!

I was uncertain whether to include it in this blog. I decided it represented a normal part of this type of project, and if my readership knew I could eat my mistakes, they may have less fear of showing up in an item that was slightly incorrect. The idea worked so well for me that I used the Pink Hat as a bit of a mascot!Hat 2 materials used

This post shares two quick and easy ideas for enhancing this hat and making it appear like a Regency bonnet. The materials for both are in the photos above.

~~~

The Pink Hat Design #1: A three-ribbon design is seen often in Regency hats and hairstyles. (Click on the thumbnails for larger images.)

  • Loosen the existing hat band around the front and sides.Hat 2 loosen band and loop ribbon under
  • Fold a ½” to 1″ wide by 2m long ribbon in half and tuck under the band from below, with the loop heading to the back of the hat.
  • Arrange so the ribbon is at an angle with the tails at the middle of the hat band front to back, and the middle of the ribbon is just barely over the back of the crown of the hat.Hat 2 pin ribbon to band at halfway back both sides and loop over back edge of top where it sits best and smoothest
  • Use the band to help you fold each side of the ribbon up and back over the hat, one going straight across the middle, and the other at a slight angle across the front crown of the hat.Hat 2 fold ribbon up and over top of hat, one end over middle and one over front of hat
  • Each tail can go under the far side of the hat. Adjust so the hatband is down and the ribbons are roughly in the middle, though they won’t be neat at this point.Hat 2 remove pin holding in place and add one at the fold of the ribbon
  • Safety pin the ribbon at the “V” made when the ribbon is folding under the hat band (the first fold you made) on each side.
  • Remove the ribbon. Re-install, but this time, do not wrap over band, instead, use the pin to help you place the fold behind the band.
  • Adjust until the bands are equally spaced and smooth over the crown, the hat band is down and in place, and the “V” is hidden.Hat 2 Remove ribbon, then put back in place only under the band, using the pin as a guide as to fold location
  • Pin in place from behind.
  • The ties will come down the middle of the side of the hat to tie under your chin, and the bonnet will sit back of your ringlets.


Additional ideas:

  • If desired, you can flip the front of the bonnet up, using steam to shape it, but be careful of burns.

    July 1812

    July 1812

  • I’ve left the existing fabric flowers in back because I like them, and they hide a gap in the brim trim.
  • A strategically placed ostrich feather, curved forward, with some smaller items at its base, would work instead of the fabric flowers.
  • Additional trim is optional, but a ribbon flower, a few clusters of flowers, a medallion, or whatever pleases you can be placed on the joint of the three ribbons. Remember, simple trim means early Regency, and embellishments became more elaborate, especially in the teens. Match to your outfit’s time period.

This bonnet cost about $28, plus any additional trim.

Hat 2 pin in place from behind and trim as desired

Note that a similar hat, in natural straw, without the hatband or trim, is $5 at major craft stores. I’d recommend going that way. A ½” to 1½” wide hatband should be attached at the centre back to facilitate the instructions in this post. Ribbon, braid, beaded band, or similar material can be used.

~~~

The Pink Hat Design #2: Inspired by hats in the Napoleonic Collection, with a sheer panel of fabric stretched over the hat and tied under the chin.Hat 2 design 2 fold scarf in half and slide under band from rear

  • Fold an oblong scarf (about 5 feet long) in a co-ordinating colour in half. A sheer or solid scarf can be used.
  • Slide down the front of the crown of the hat, under hatband, in a flat position.
  • Adjust so front (folded) edge of scarf is under hatband.Hat 2 design 2 roll edge of scarf and tuck under band
  • Roll up corners and tuck along sides under hatband. Adjust to your choice of fit: tight over crown of hat; with soft, regular folds; or puffed like a Capote hat.Hat 2 design 2 cross ends of scarf over back of hat
  • Pull tail ends of scarves so they cross to opposite sides and the back of the crown of the hat is covered.
  • Tug tail ends of scarf forward under hat band until they are midway between the front and back of hat.Hat 2 design 2 tuck scarf ends under band at about halfway point and adjust to hide extra fabric
  • Adjust folds and edges that are tucked under the band.
  • If necessary, pin, double-sided tape, or glue sections of the scarf under the edge.
  • The existing fabric flowers, with the frayed edges trimmed, are good embellishments for this hat. But each person has their own ideas, so add extra trim as suits your fancy!

Hat 2 design 2 completedThis bonnet cost about $32, plus any alternative or additional trim the owner selects.

~~~

Why are these called bonnets and not hats? The only difference I could figure out between a bonnet and a hat was that a bonnet was tied on and a hat was not. These are called “cottage” bonnets.

Luise Kleider der Konigen 1810

1810

Cottage Bonnet ca 1810, Meg Andrews

1810


 ~~~

I still have three—count ‘em—three more potential Regency hats/bonnets!hat basicsTwo hats in the original “group of seven” didn’t make the “Okay for Regency” grade indicated by an open parasol: their shapes and fabrics are intended to show contrast.

The brown synthetic fleece hat might be okay as a base, if wrapped with fabric almost like a turban; tulle or net might work.

The sad little baseball cap visor has no parasol, as it’s not worth the effort. Not even a tea cosy will revive it.

Close-up of painting, Portrait of a Woman--François Flameng

Close-up of painting, Portrait of a Woman–François Flameng

1814, Metropolitan Museum of Art

1814, Metropolitan Museum of Art

I want to make the larger-brimmed visor (far right, $4 from a Wal-Mart in Mazatlán, Mexico) into a Lady Catherine stove-pipe or leghorn bonnet, which involves a curved tube. After a lot of searches, I found a site that gave me an idea how to start it. There will still be lots of trial and error, so I’m leaving it to after the main blog series, in the “bonus” posts. (Click on the thumbnails to see larger images.)

Fez and rollupI’m not sure if I’ll create something with the roll-up hat from the San Diego zoo from 10 or more years ago (upper left), but I bought a little purple felt fez I could prop on top! It would assemble/disassemble well for travel! Hahaha! This hat is also suitable for a Capote-like covering or a tube, just like the other two topless hats. (Hmmm. That sounds nasty.)

The big reveal: the Lydia Bennet special! (Click on thumbnail for larger image.)

Lydia hat before

The “Lydia Bennet” hat, before.

“Look here, I have bought this bonnet. I do not think it is very pretty; but I thought I might as well buy it as not. I shall pull it to pieces as soon as I get home, and see if I can make it up any better.”

And when her sisters abused it as ugly, she added, with perfect unconcern, “Oh! but there were two or three much uglier in the shop; and when I have bought some prettier-coloured satin to trim it with fresh, I think it will be very tolerable.”

—Pride and Prejudice, Chapter 39

French, 1800-1805, Boston Museum of Fine Arts

French, 1800-1805, Boston Museum of Fine Arts

At first glance, this hat is quite pretty. But looks deceive: it has good bones, but requires some serious deconstruction of braided plastic ribbons, then replacement with satin and sheer ribbon in a similar design. You can see the look in these museum hats; that’s why I was drawn to this one.

1820, Augusta Auctions

1820, Augusta Auctions

American, 1810, Metropolitan Museum of Art

American, 1810, Metropolitan Museum of Art


~~~

There are more complicated hats and bonnets you can make, but sewing and more complex craft skills are required.

http://themerrydressmaker.blogspot.ca/2011/08/regency-bonnet-tutorial.html
https://teainateacup.wordpress.com/2011/08/01/how-to-make-a-regency-poke-bonnet-in-ten-steps/?blogsub=confirmed#blog_subscription-3

This video demonstrates the second of the more complicated sites above:
http://oregonregency.blogspot.ca/2008/04/how-to-make-regency-poke-bonnet.html

I can’t quite understand tearing apart a straw hat into its spirals, or cutting off the back half and having to cover it, when it’s more work than is necessary. Regency bonnets came in so many shapes; it’s odd to take a shape that would work, only to change it to another, rather than seek out the second shape in the first place. But these sites have other good ideas.

Modern reproduction Poke bonnet

Modern reproduction Poke bonnet

Even more complicated is a stovepipe bonnet from the late Regency, made with a buckram frame: https://www.youtube.com/watch?v=98vKEHfjOAA

If I do a stovepipe bonnet, I’ll likely use more traditional techniques as in the Regency: cardboard and/or papier maché. It’s not so much that I’m afraid of buckram (maybe I am) or have no clue where to obtain it, but I know my skills with wire, and I’d wind up with a bumpy cam-shaped thing when I need an oval.


~~~

More on my pillowcase cap: A web site with a series of cap patterns for sale included a comment that the more uppercrust caps had more than one style of lace on them, as did the lovely examples in an earlier post. I’d like to find some finer pieces of whitework or lace to fill in some holes, rather than use the plain cotton of the pillow case. Shopping never seems to be done!

~~~

NEXT WEEK’S POST: There’s more to undies than corsets! **Cue tawdry bump-n-grind music!**

~~~

A Morning Gown plus some Frankenstein Gown Parts

Poll time: Another instructional post on what to buy, or The Big Reveal: my Regency gown purchases to date? Okay, here’s the boring list… just kidding!

I started shopping for my costume for the 2015 JASNA AGM in July 2014. Early on, I decided my top dollar was $100 for a gown that required almost no modification to make it Regency-appropriate.

My second and third purchase for this blog, along with a $3.99 reticule, was a dove grey coat dress (far right) for $49.95 at Value Village, the most expensive item I’ve purchased to date. The pelisse-like style of this dress could not be passed up: the bodice has a double-lapelled crossover in front while the skirt has a faux front opening. It was intentionally purchased 4 sizes too large to allow modification for gathering in back. In the photo, the skirt is turned back so you can see it’s fully-lined.initial thrift shop gown set reduced

I consider this purchase a bit of a mistake that I hope I can wiggle my way out of! Even with the large size, it has minimal additional fabric at the under-bust level. The bodice is huge, and since the front opening is faked, it has an invisible zipper in back to make additional reworking complicated!

The skirt is flared, so between it and the bodice, there’s plenty of extra fabric to make a faux-puffed sleeve atop the long, straight sleeves. However, this flared skirt will look odd with the tiny amount of gathering. To make the grey dress into a pelisse that fits will be a lot of  work—and might not even be possible.

A navy blue strapless gown was purchased at Value Village for $19.95. The generous skirt has a pocket-pleated top edge that sits just above natural waist, so it’s about 2” too short for floor length at empire waist. This is easily remedied with a bit of lace at the hem. The bodice is tight, fitted and spaghetti-strapped, laced in back in a V-shape. The skirt has an underskirt; the top half is lining fabric that’s not an exact match to the gown, with the bottom two feet in black net crinoline (see photo above). These can be used to make sleeves and modify the bodice to attach them.

Unless I find a simpler solution, the blue gown will be my evening/ball gown; however, this gown will need to be almost entirely remade: remove the skirt at the top pleat cuts, then reattach with a flat front and back gathers, add lace to the bottom, add about two inches to the bodice to close the V-lacing for my comfort, make shoulder straps to attach sleeves, and make sleeves trimmed to disguise the fabric mismatch.

I made a bit of a panic decision when I bought it, as it seemed I’d never find anything suitable, it was cheap and had lots of fabric, and I had just realized my parking meter was expired! But completed, it will be unique!

My collection includes three short dresses for “spare parts” hence, the Frankenstein reference. I bought two garments for their trim from the Salvation Army Thrift Store. I spent $14.95 for the cream silk mini-dress, which has fabulous embroidered panels (perhaps instead of the lining and black net for sleeves and bodice trim on the navy gown!) as well as enough Vandyke (pointed) lace for a good-sized skirt bottom (navy, navy, navy!). The orange silk Indian blouse has elaborate pointed lace for $6.95. The fabric won’t work for anything Regency.

I already owned a multi-coloured paisley print silk dress with gold thread, a potential bodice and trim for a ball gown. I’m watching for a nightgown or slip dress in one of the main colours.

The star of the show is my most prized purchase: a white Swiss-dotted lightweight cotton 1980’s “Prairie dress” vintage wedding dress (on the left). This gown was $33.95 at WiN (Women in Need) Vintage and Thrift Superstore. I found it just after I had the difficult episode of social anxiety described in an earlier blog post, and it perked me up!

It features a lace-trimmed high neck; long, puffed sleeves with matching lace on the cuffs; lace-edged petticoats attached with the skirt (see photo above), and a separate, plain camisole. There are lovely lace insets and narrow pleats for subtle detail. The skirt is at the natural waist level, and well-gathered all around.

The dress fits well except for a tight bust area, and it’s back zippered, which means if I remove the zipper, the resulting relaxation of the fabric over “the girls” will result in a gap in back. I’m torn between being more Regency-correct and the work involved in figuring out a way to modify the bodice without too much work.

This is intended for my morning gown or day/walking dress. I’ve shown the simplest modification.white gown pinned up first example

The skirt was raised without removing it, and re-attached to the under-bust. I’ve safety pinned it every three inches or so, and when covered by the matching white waistband with ties (left of dress) or a ribbon for colour, it becomes a close enough facsimile to a Regency gown.

white gown showing folded zipperFor a neater finish than safety pins, no-sew fabric tape alone will not suffice, as it is not strong enough. The skirt can be tacked in place with the fabric tape, then either machine sewn or whip-stitched for strength.

No matter how the skirt is attached, if you keep the zipper, you must leave a width equal to the depth of the pocket of the zipper on each side, so you can operate it. I’ve propped it open for the photo, but it doesn’t droop since the zipper is stiff. I’ve been told you can hide the zipper with a shawl!

bath muslin 1815

1815 muslin morning gown, Bath Fashion Museum. Note the gathered skirt front that fits at the bottom of the waistband rather than at the underbust.

If raising the skirt makes it too short, you can add lace to the bottom of the dress or the petticoats as shown above, and/or raise the top edge of the skirt to a position where its top edge would be at the bottom of the matching waistband, as in the 1815 gown. However, around 1815, gowns were shorter!

bodice back

Detail of the back of a Regency gown bodice, showing shoulder seams several inches behind the top of the shoulder, diagonal seams to help fit the bodice, and sleeves fitted much farther back than a modern gown. This creates the a classic “diamond back” shape typical of the era.

A great deal more could be done with this dress: the skirt could be removed and all the gathering moved to the back, and at the same time, the petticoats could be attached to the camisole to make a separate garment that can be used elsewhere. The sleeves can be modified to look like a top puffed sleeve over a straight sleeve, from as simple as attaching a ribbon level with the bottom of the bodice, to as complex as adding lace panels to make them longer, with a slimmer cuff, which is more Regency. I mentioned the zipper earlier. Dare I go whole-hog and make a classic diamond-back? Yikes!

The thing is, the dress is close enough, in my estimation, with perhaps the exception of that zipper. What’s a Frankenstein without a zipper somewhere?


Newsflash:
Since I prepared the photos for this post, I bought a 1960’s jonquil dress (such a popular Regency colour!) that may need less work than the navy! Woo-Hoo!

Trouble is the bodice fits perfectly, but the skirt is 2” too tight—everywhere! I know! Who is built like that?

Good thing is a ton of sheer overlay plus a cape-like draping begging to be made into back gathers. I can put a period-style decorative panel along the centre front to accommodate my tummy and butt—I hope I can find the right fabric!

Also, I bought a cool hat, thinking it looked a lot like museum Regency ones, then realized the nice square-woven sections between the swirly fabric parts were made of synthetic ribbons—pretty much plastic! So I’m Lydia, with a very ugly bonnet that I’m going to rip apart as soon as I get home. Good bones, though.


NEXT POST: THE LAST IN THE THREE-PART INITIAL SERIES ON GOWNS WILL DISCUSS THE VALUE OF PURCHASING A CUSTOM-MADE REGENCY GOWN, AND WHAT TO LOOK FOR WHEN SHOPPING FOR A USED GOWN TO BE RE-PURPOSED FOR YOUR UNIQUE REGENCY GOWN. THERE WILL BE MORE GOWN POSTS IN JUNE TO SHOW THE FINAL PRODUCT AND SOME EASY TRIM TECHNIQUES TO MAKE YOUR GOWN SPECIAL AND FAKE SOME REGENCY DETAILS. BUT WE MUST MOVE ON TO HEADWEAR AND HAIR, RETICULES, JEWELRY, AND MORE UNDERWEAR KIND-OF-STUFF IN BETWEEN!