
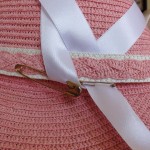
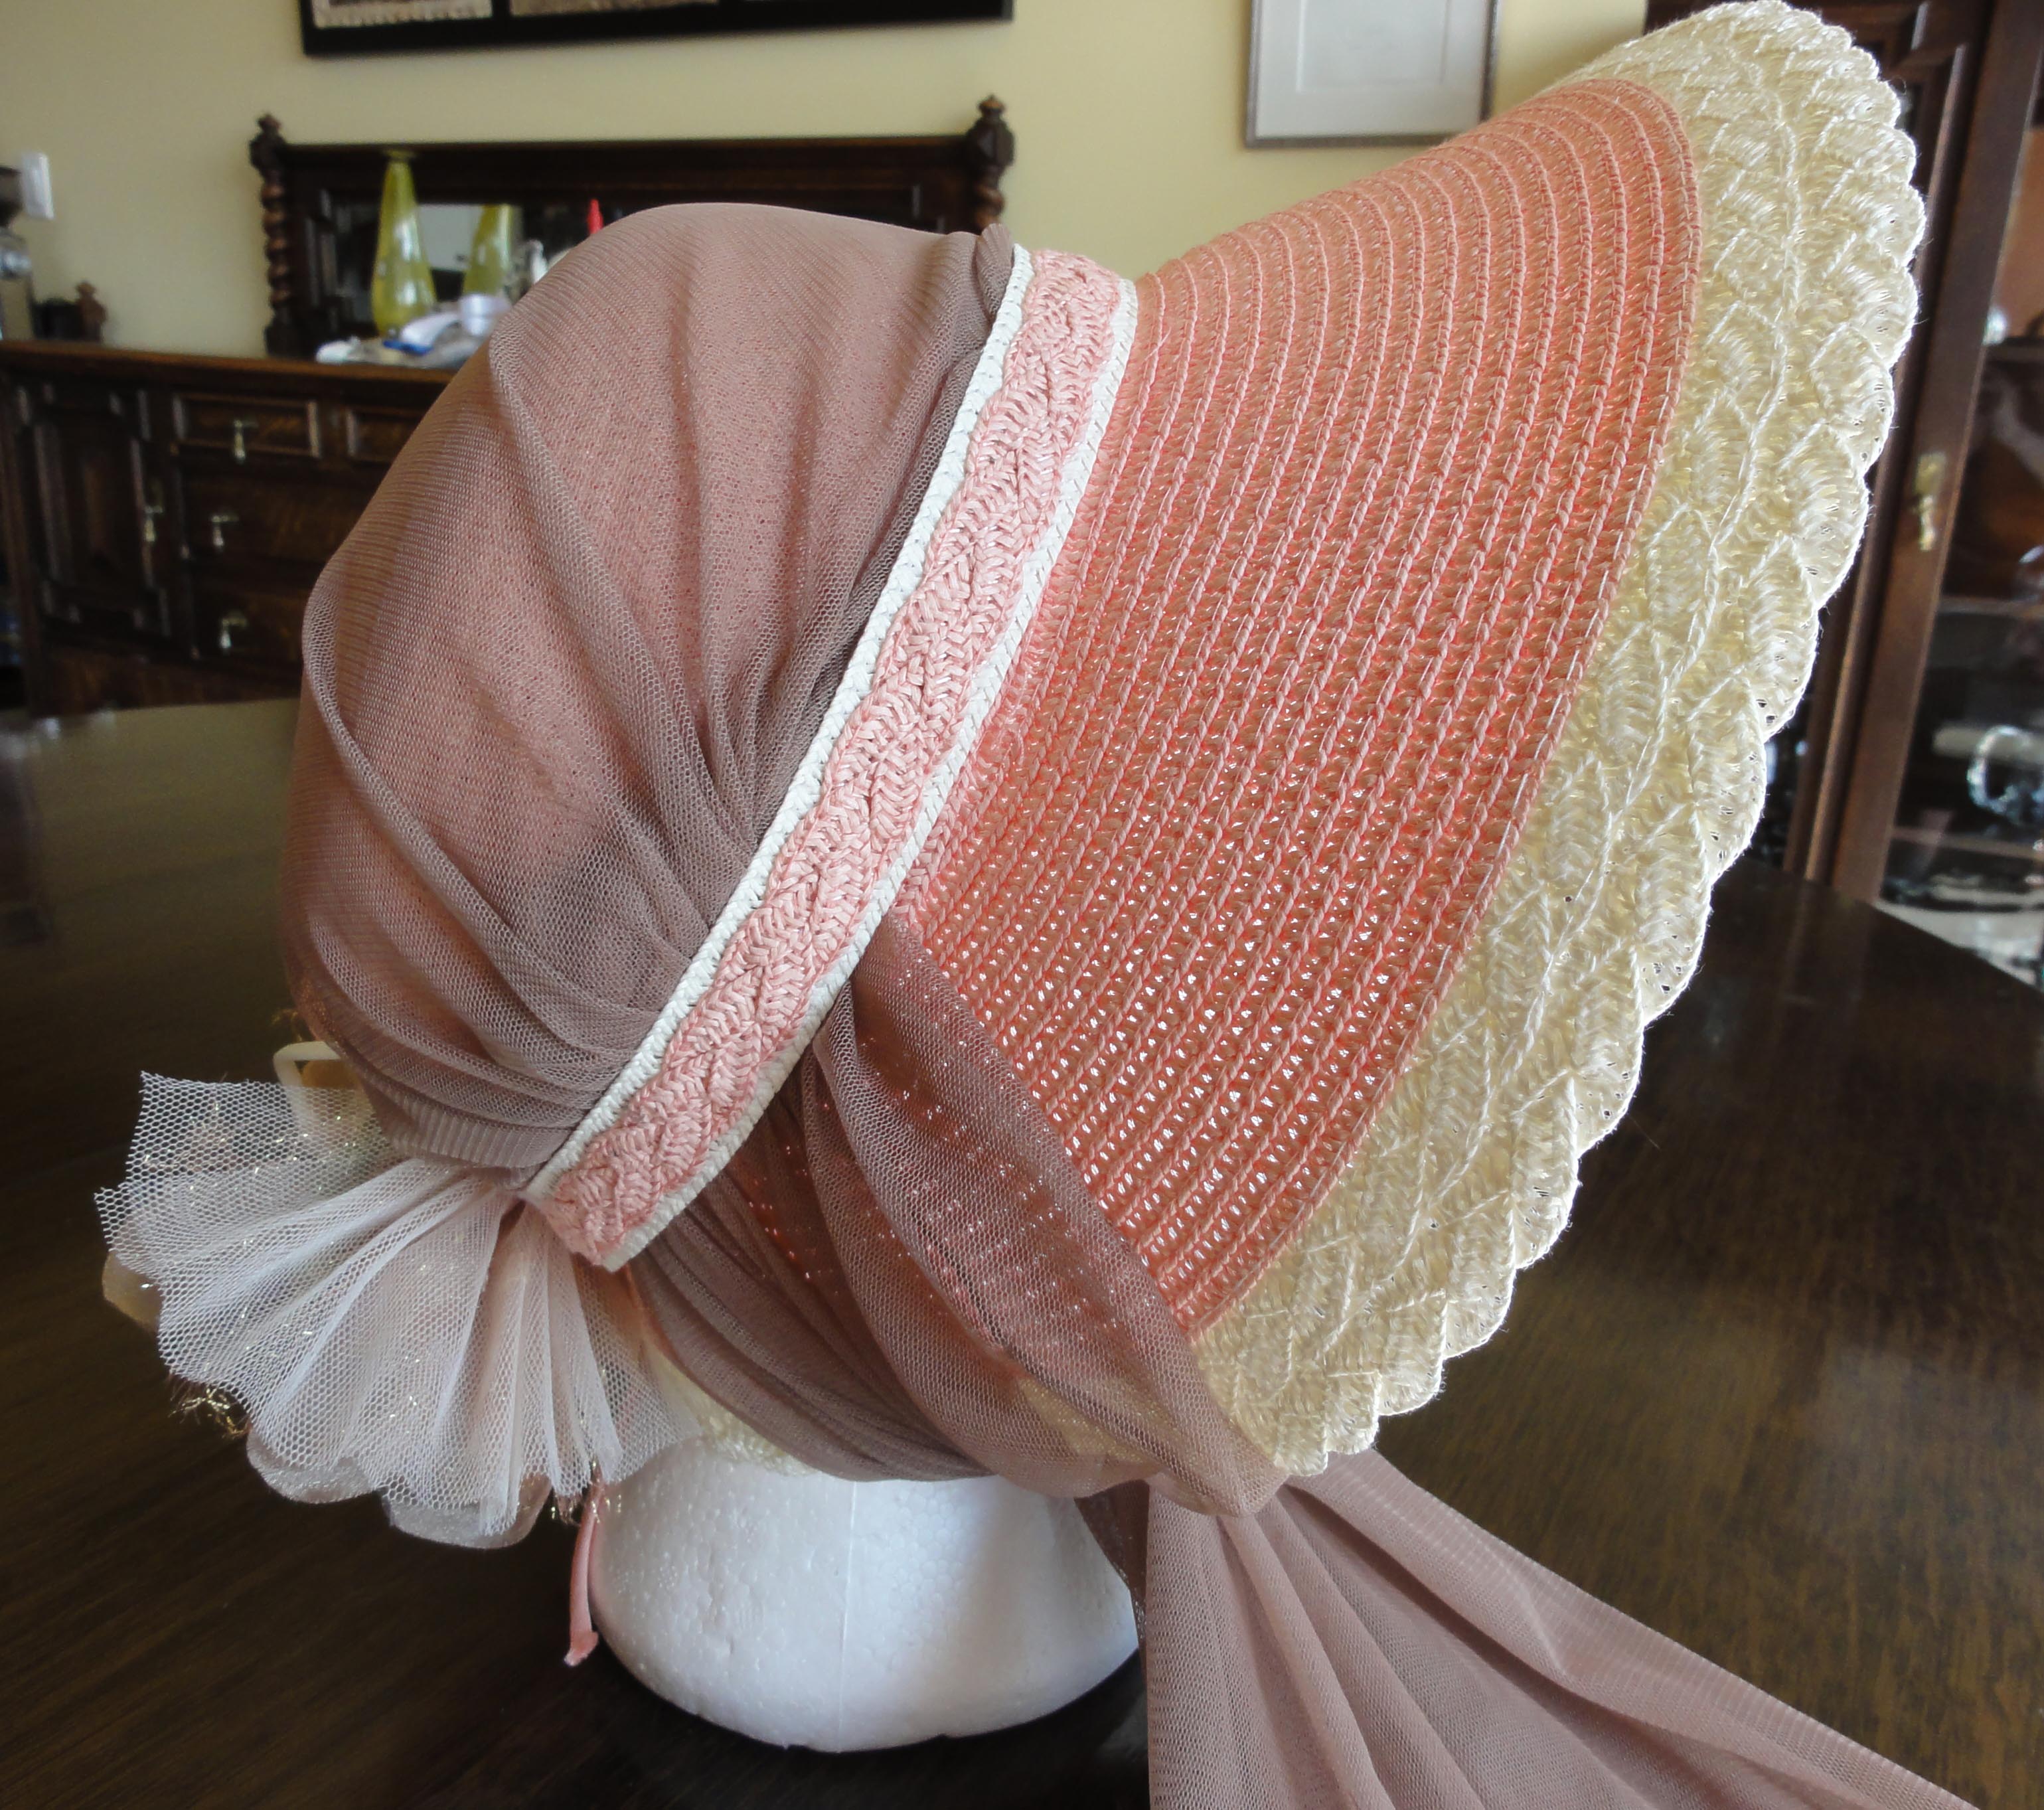
Underside of hat to show brim shape and braided trim.
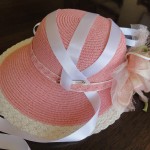
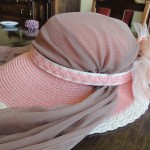
A bit of an impulse buy, as a few of my items were, the Pink Hat has a beautiful, perfect Regency shape and some nice trim. I was so pleased with those aspects, I overlooked the fact that it was overpriced for what it is and for the intention of this experiment, at $25 from a little second-hand store.
It’s so very, very PINK! I almost never wear pink!
I was uncertain whether to include it in this blog. I decided it represented a normal part of this type of project, and if my readership knew I could eat my mistakes, they may have less fear of showing up in an item that was slightly incorrect. The idea worked so well for me that I used the Pink Hat as a bit of a mascot!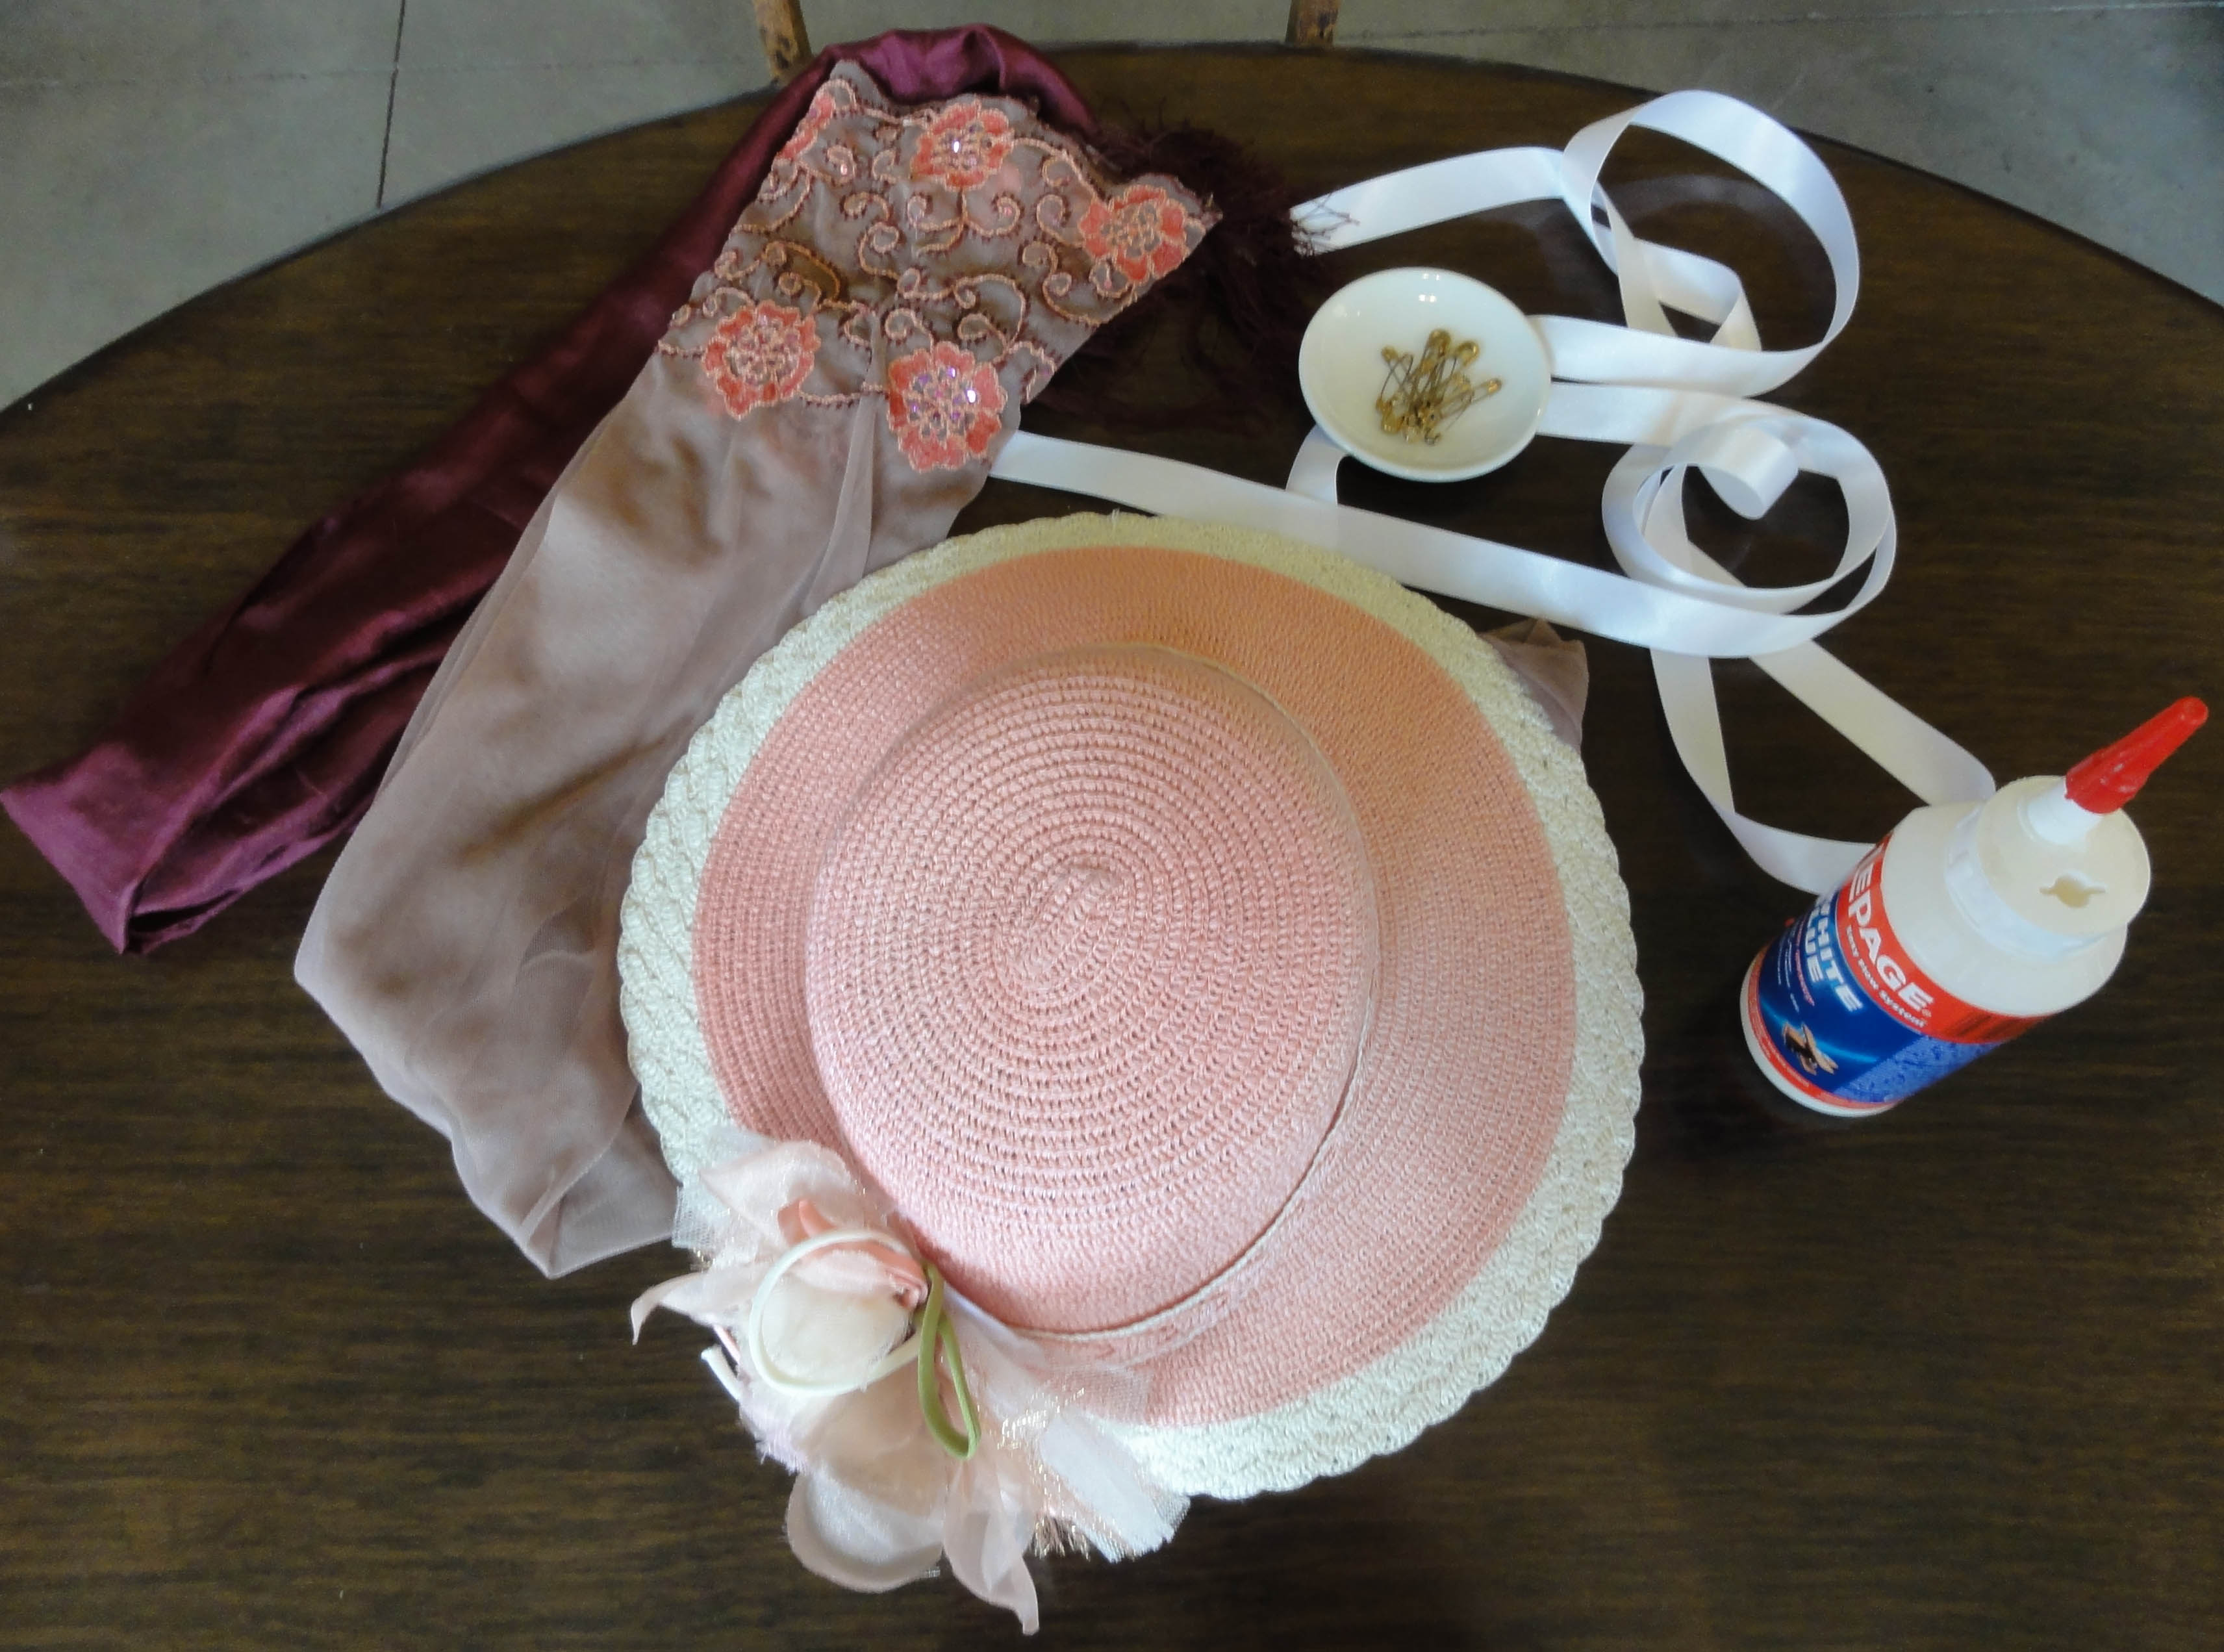
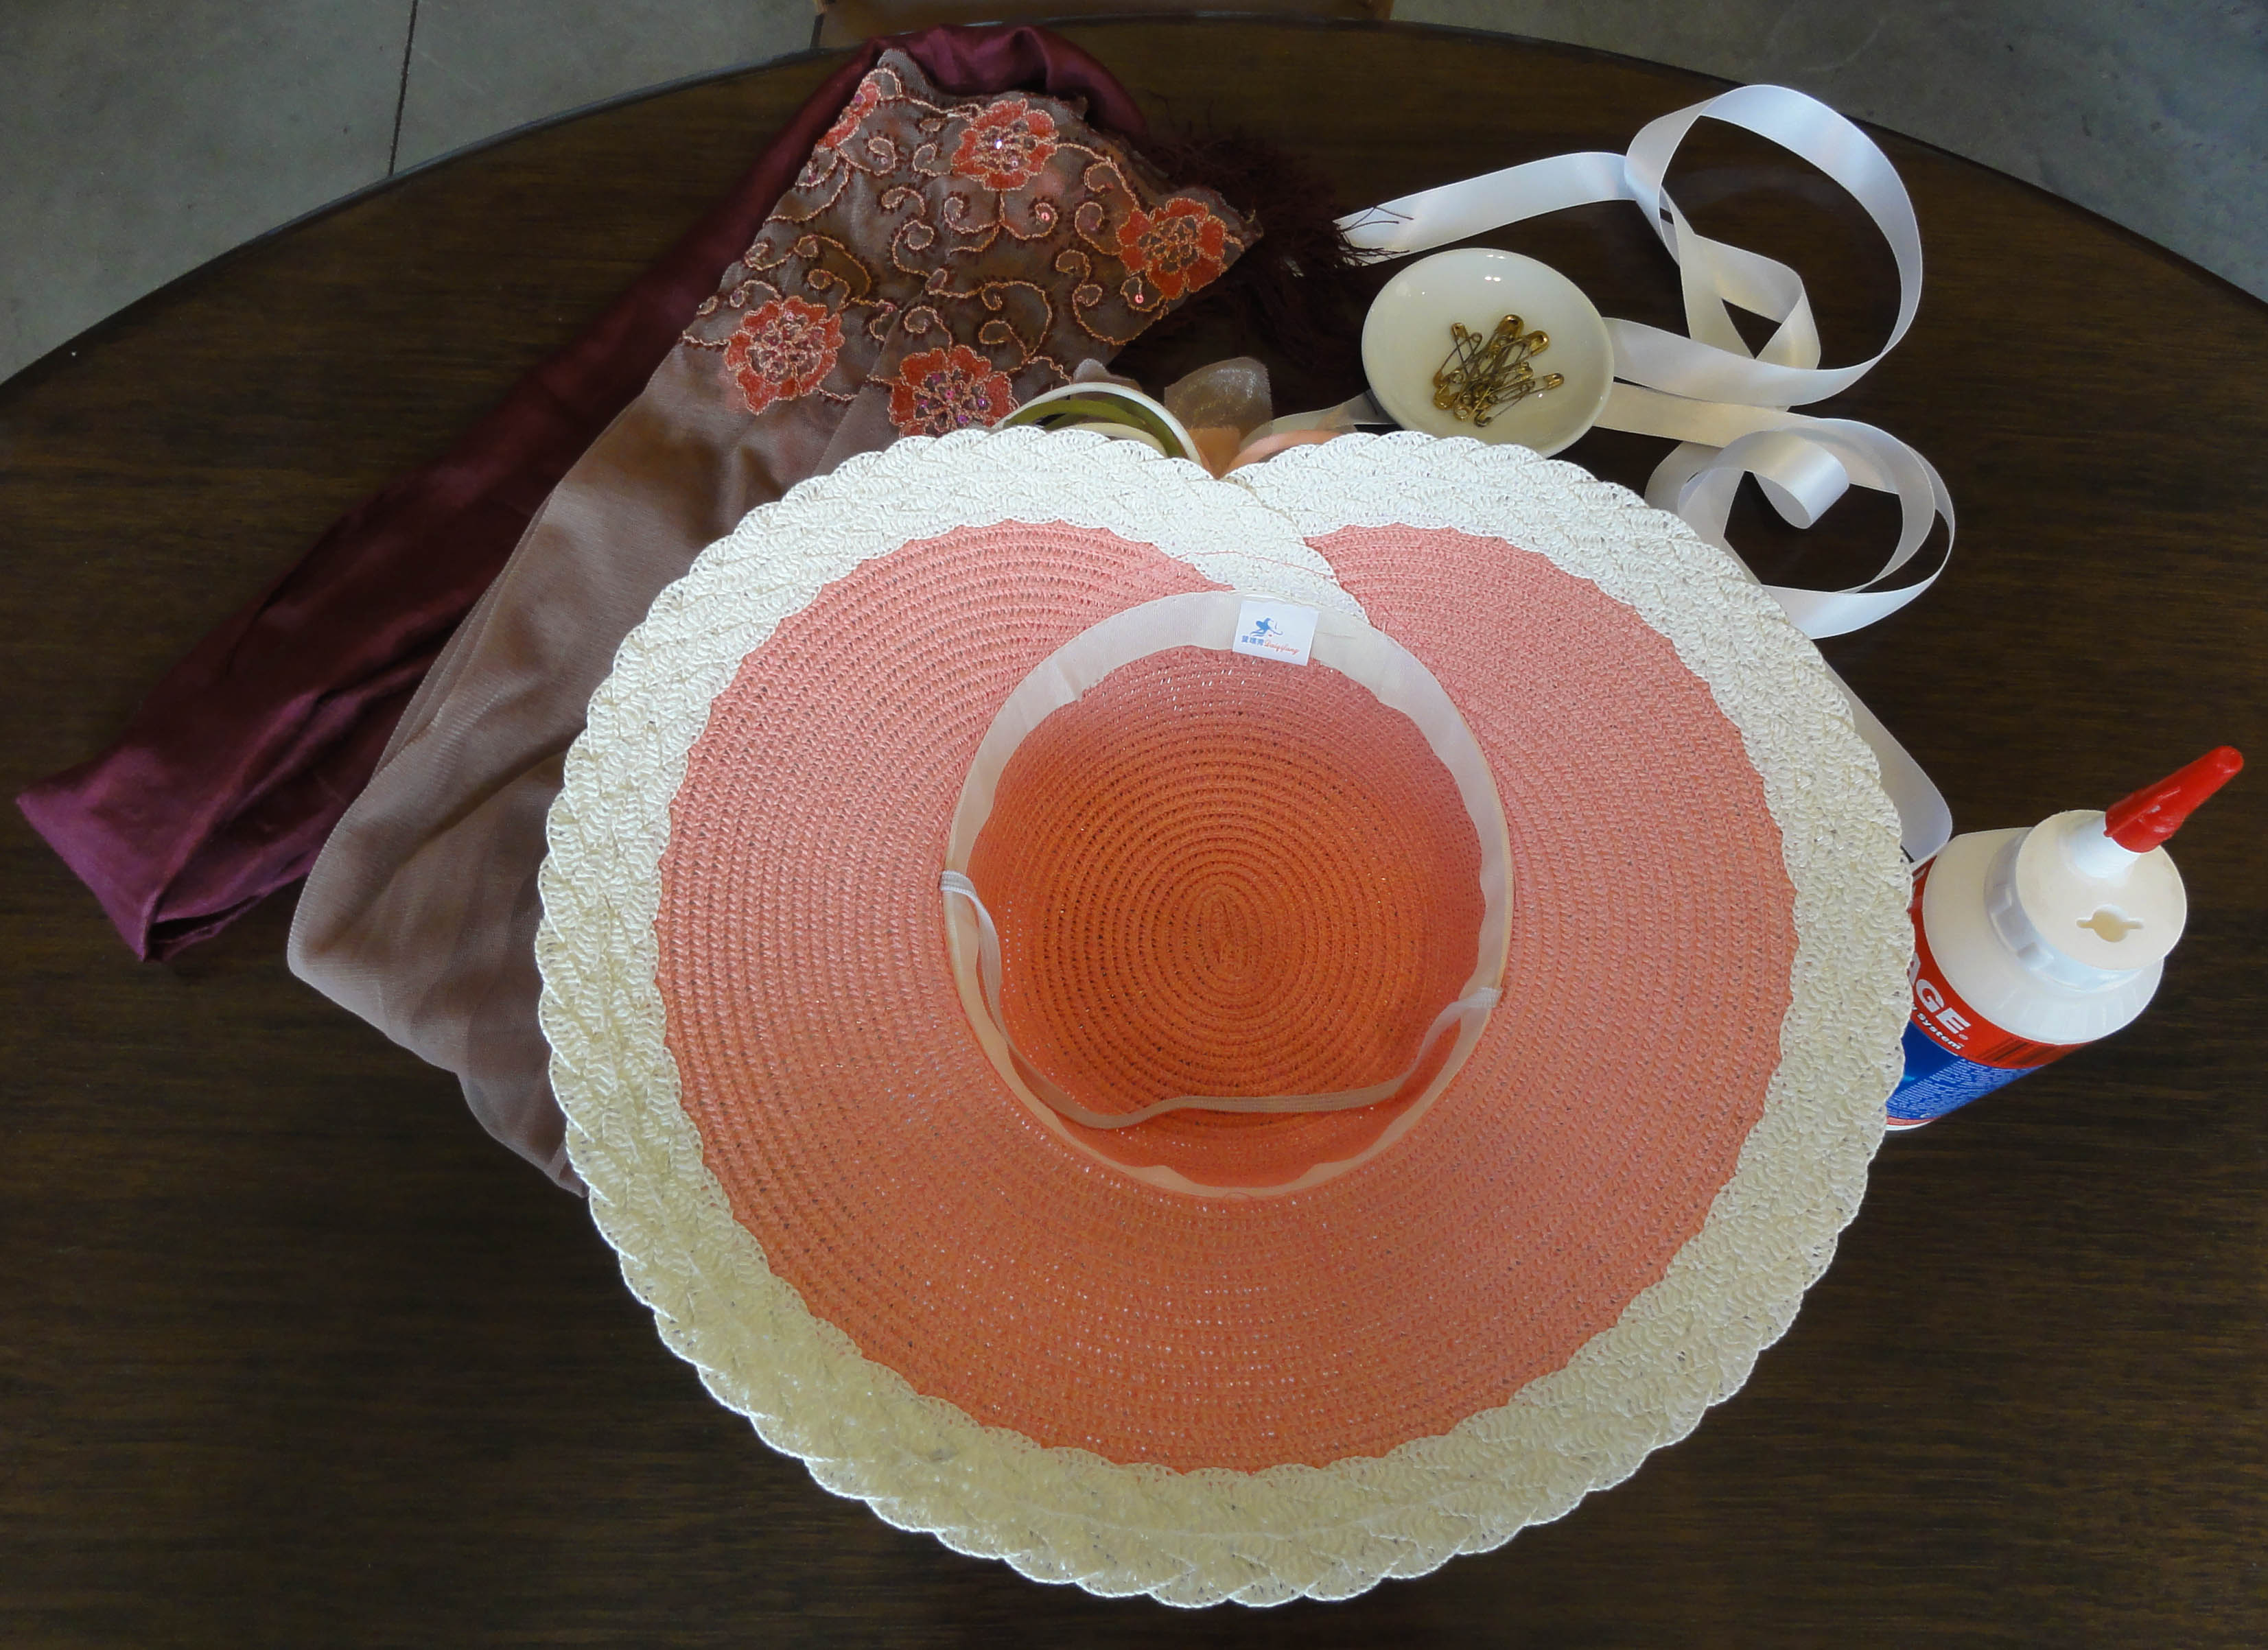
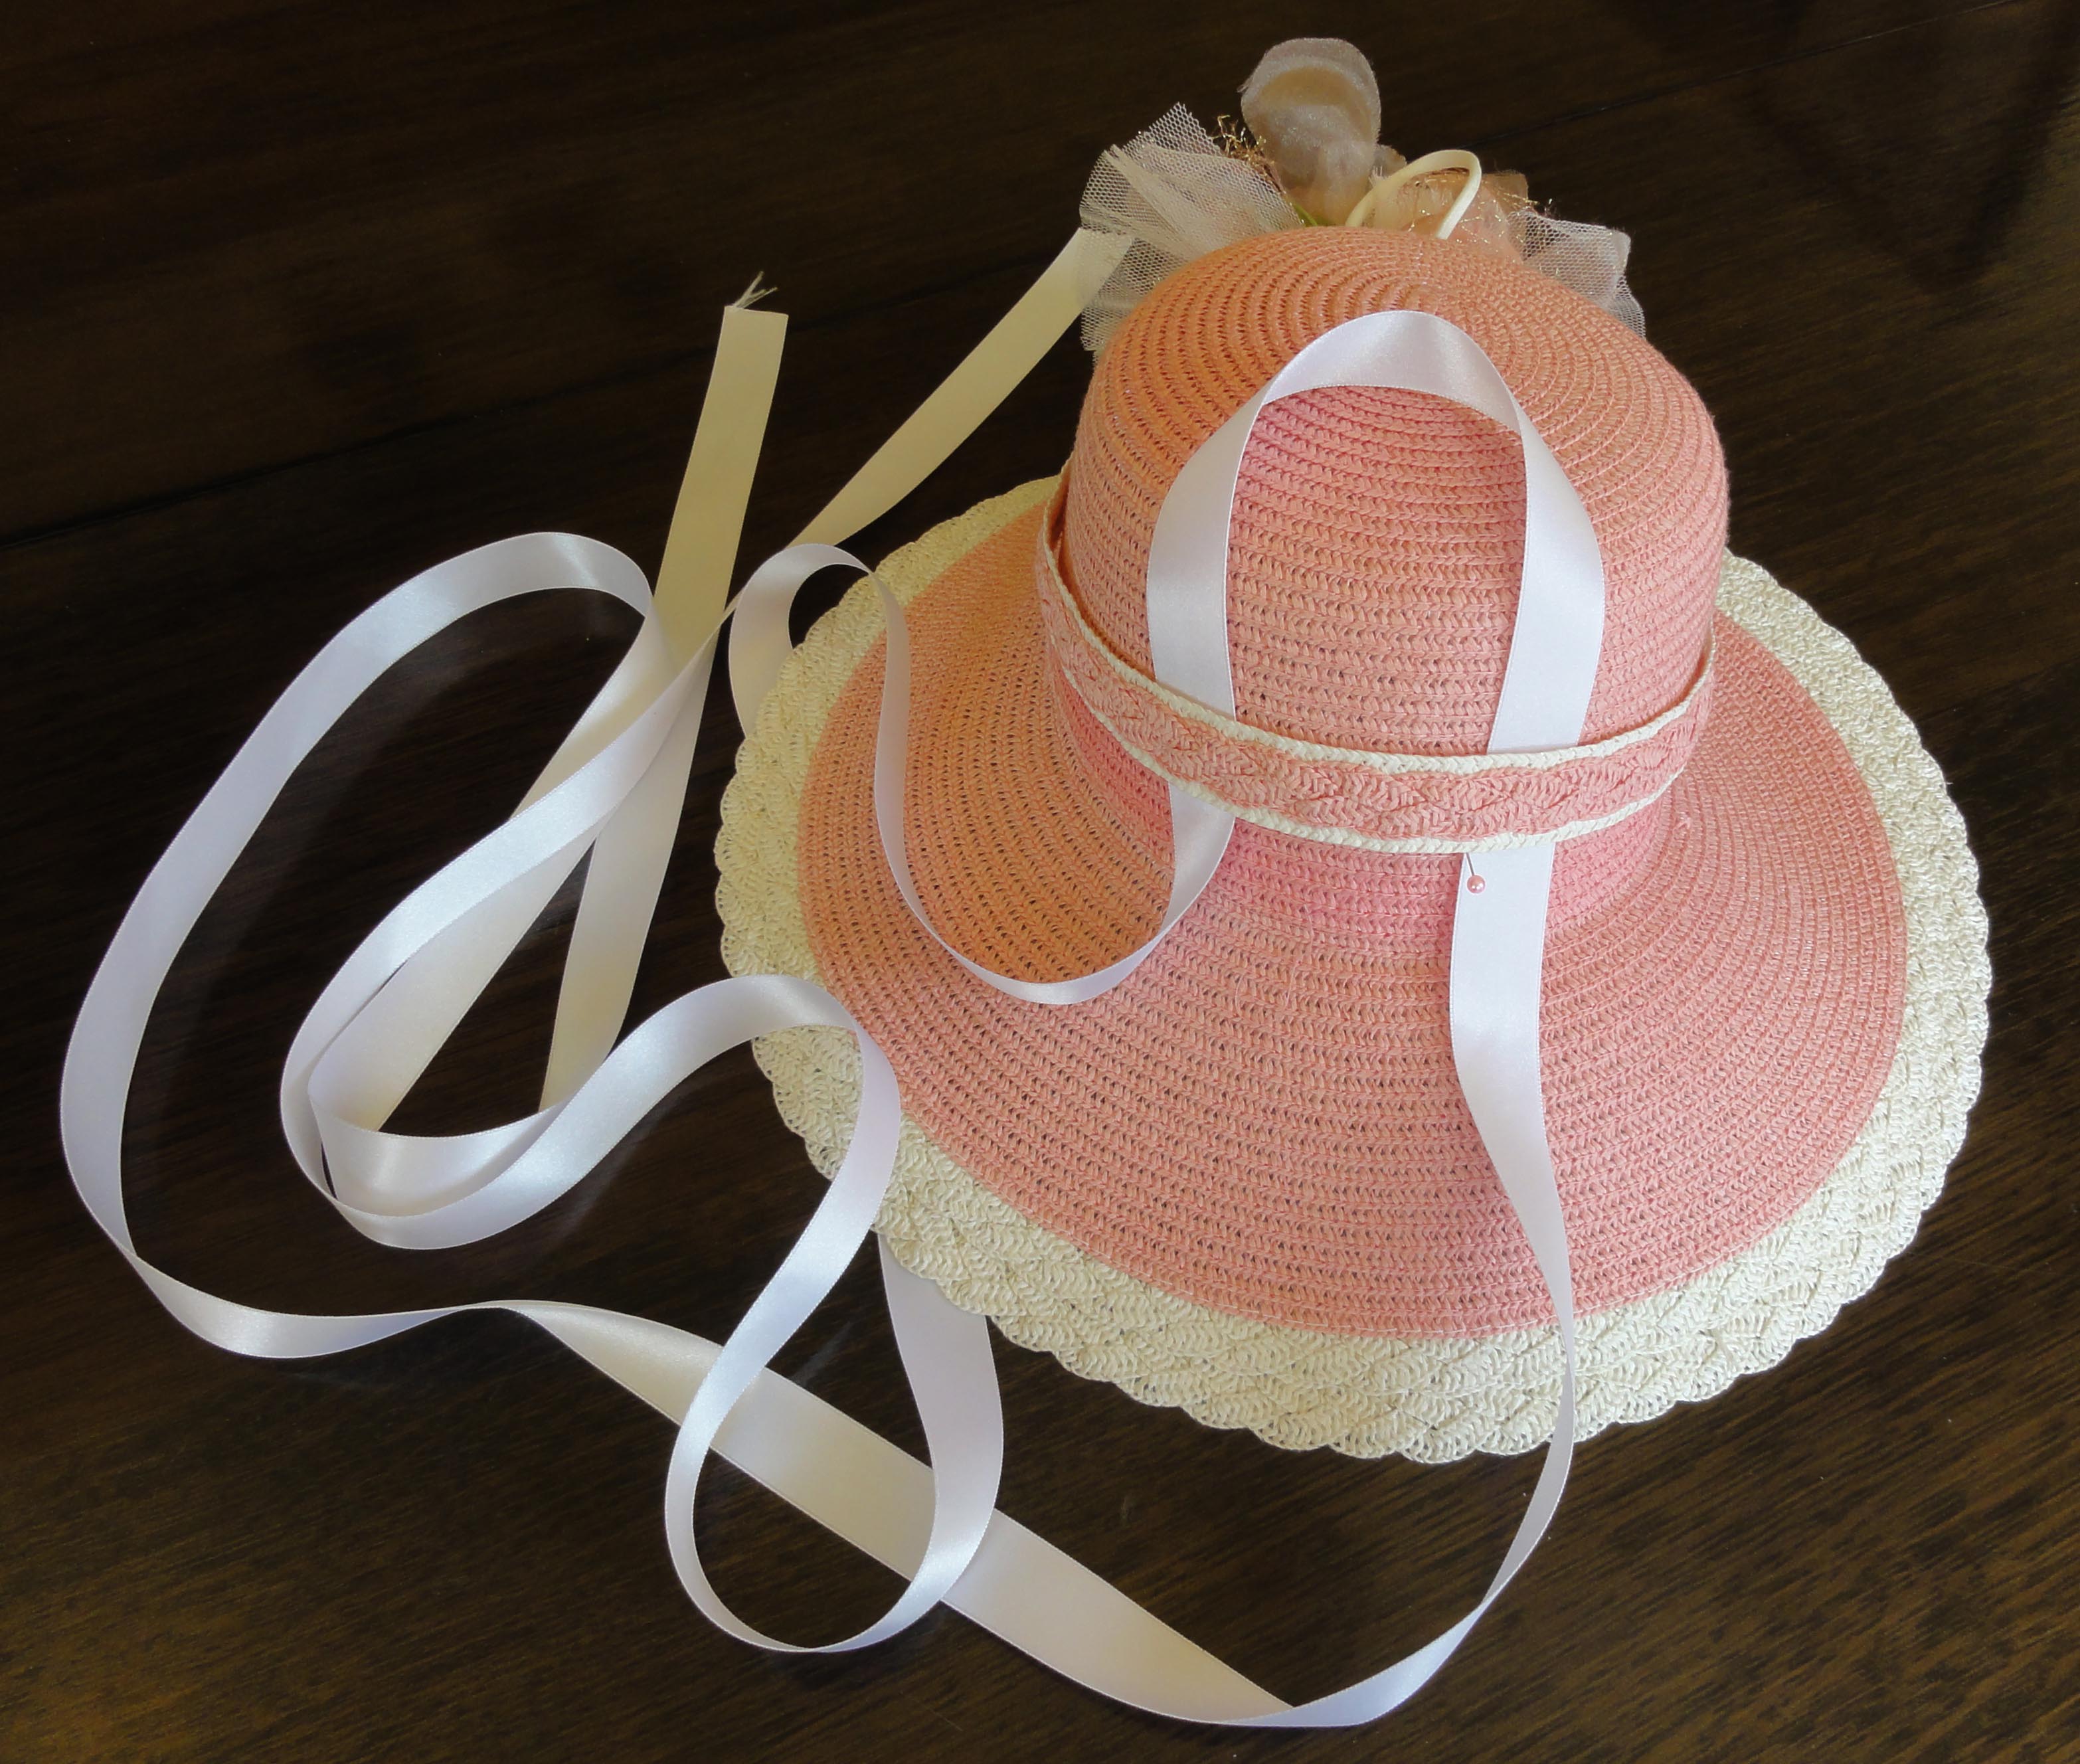
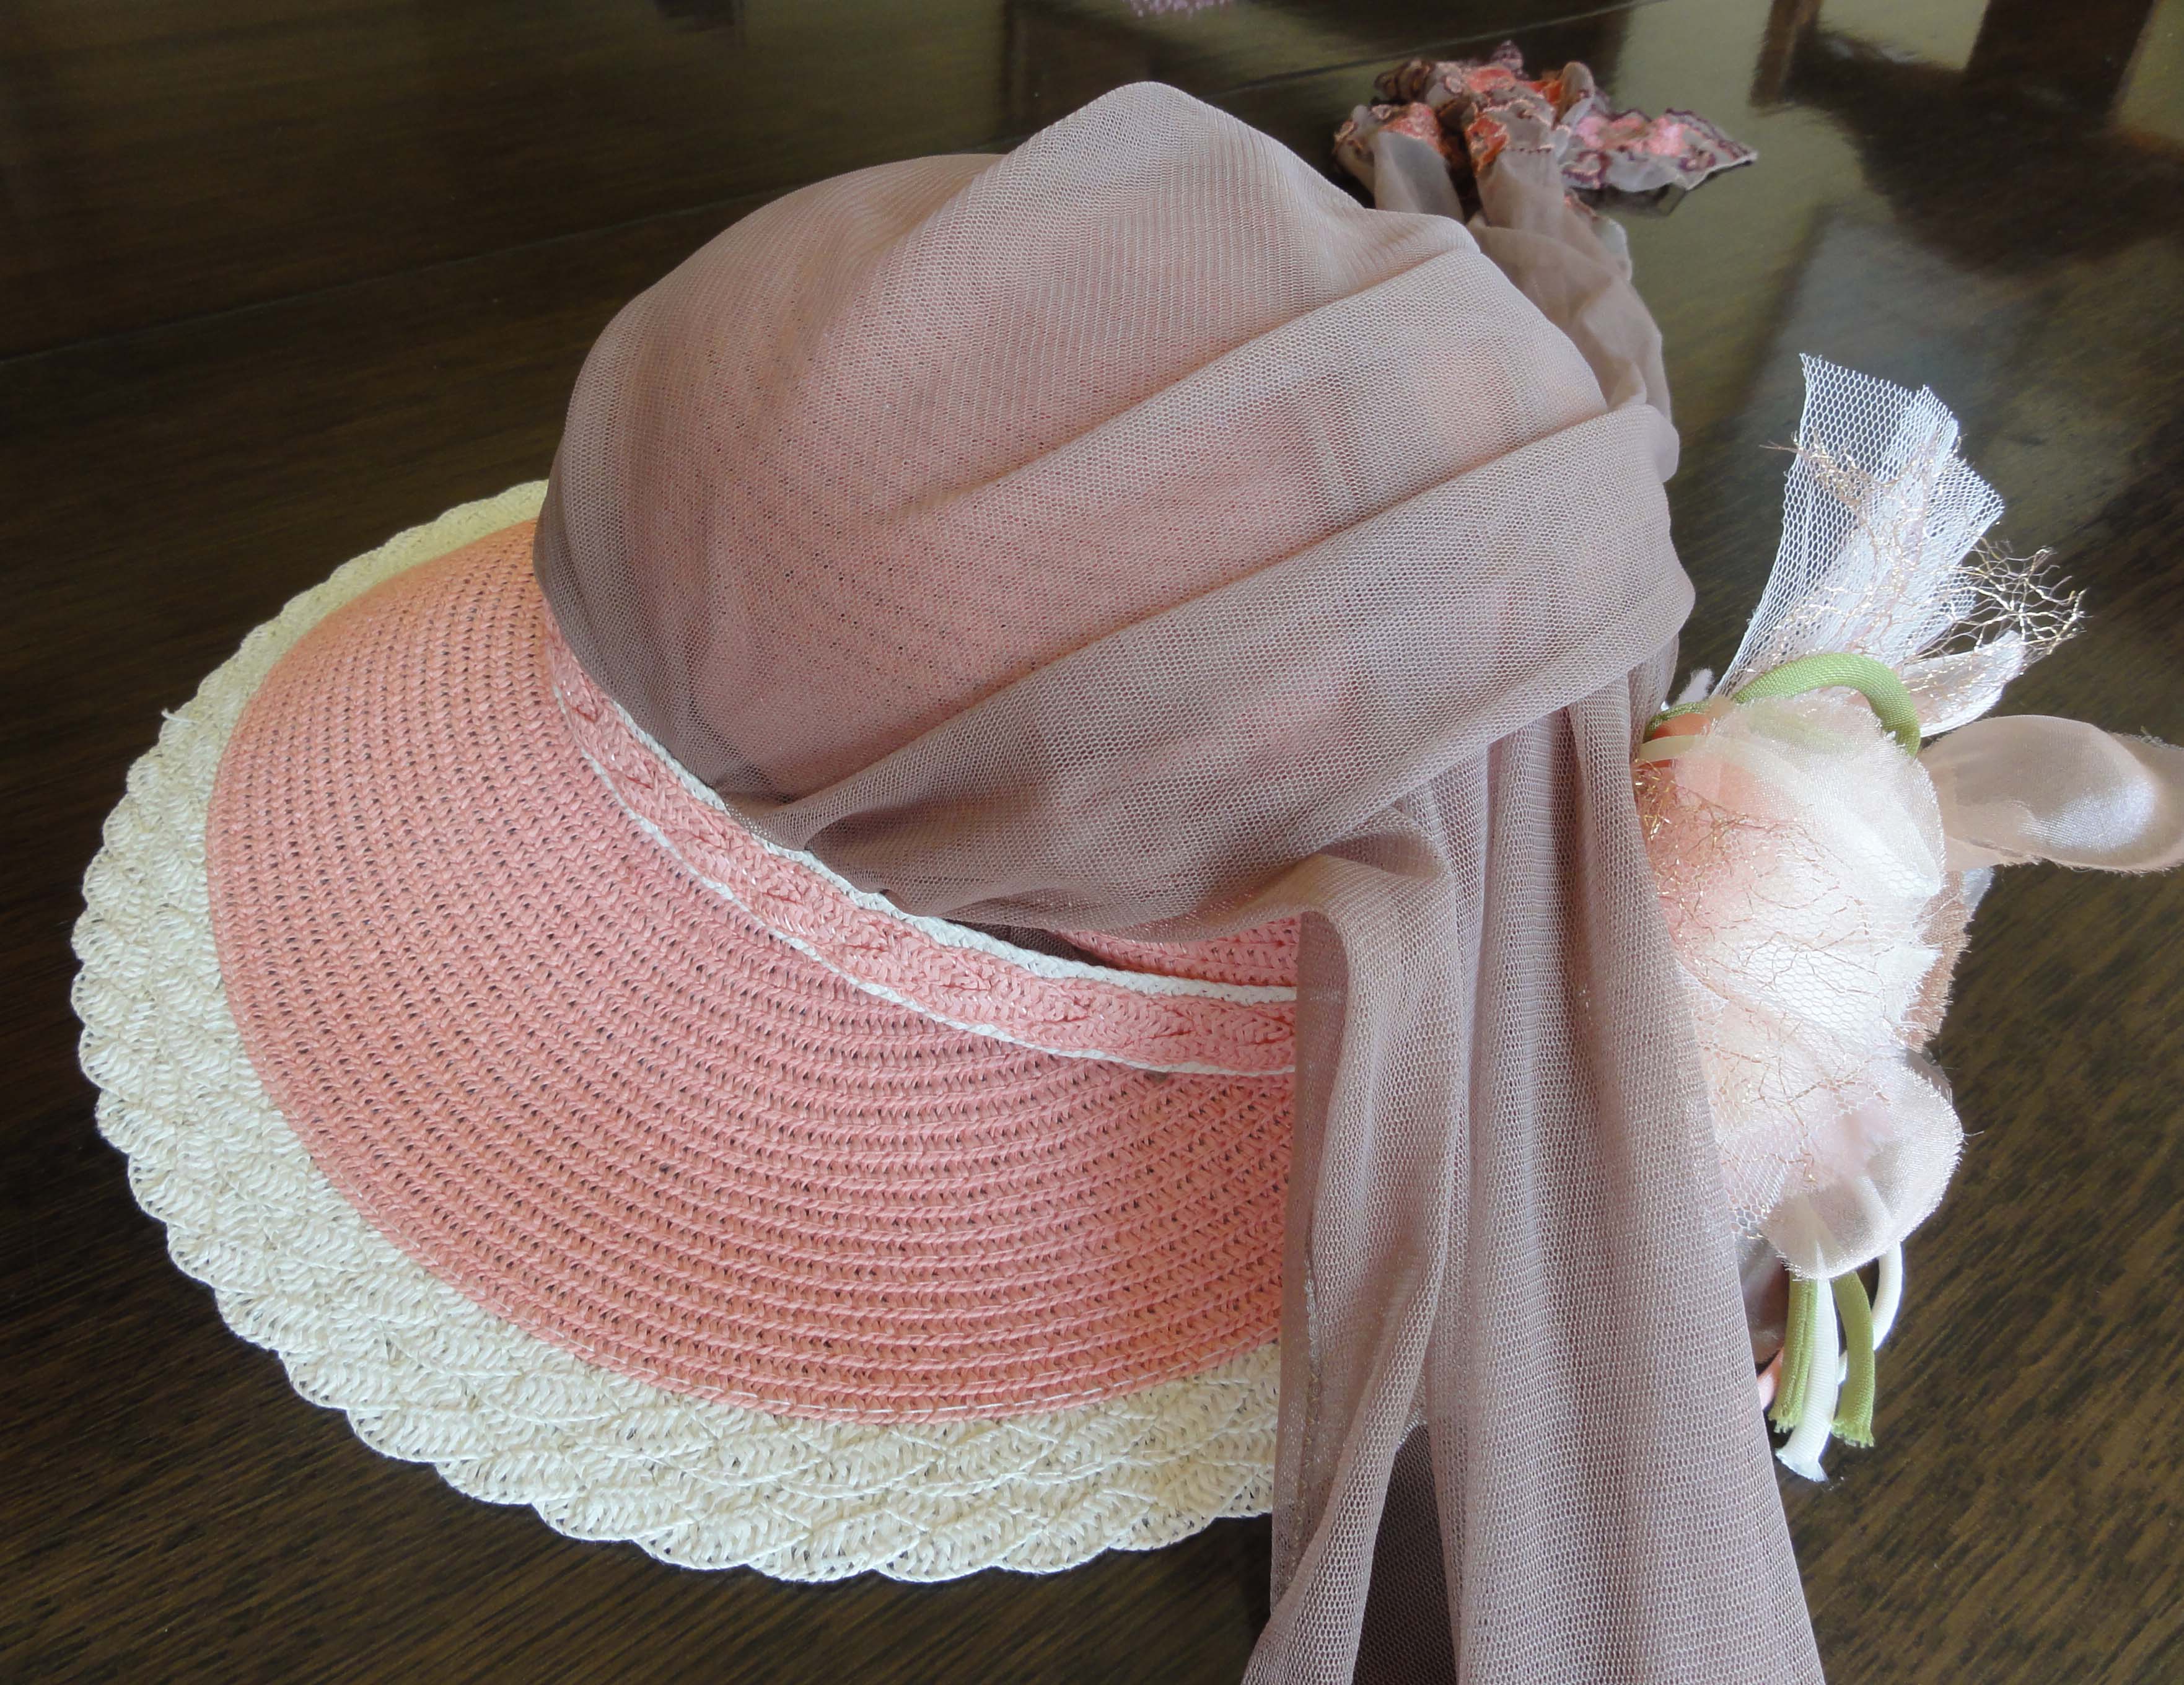
This post shares two quick and easy ideas for enhancing this hat and making it appear like a Regency bonnet. The materials for both are in the photos above.
~~~
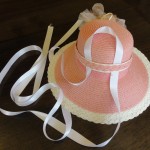
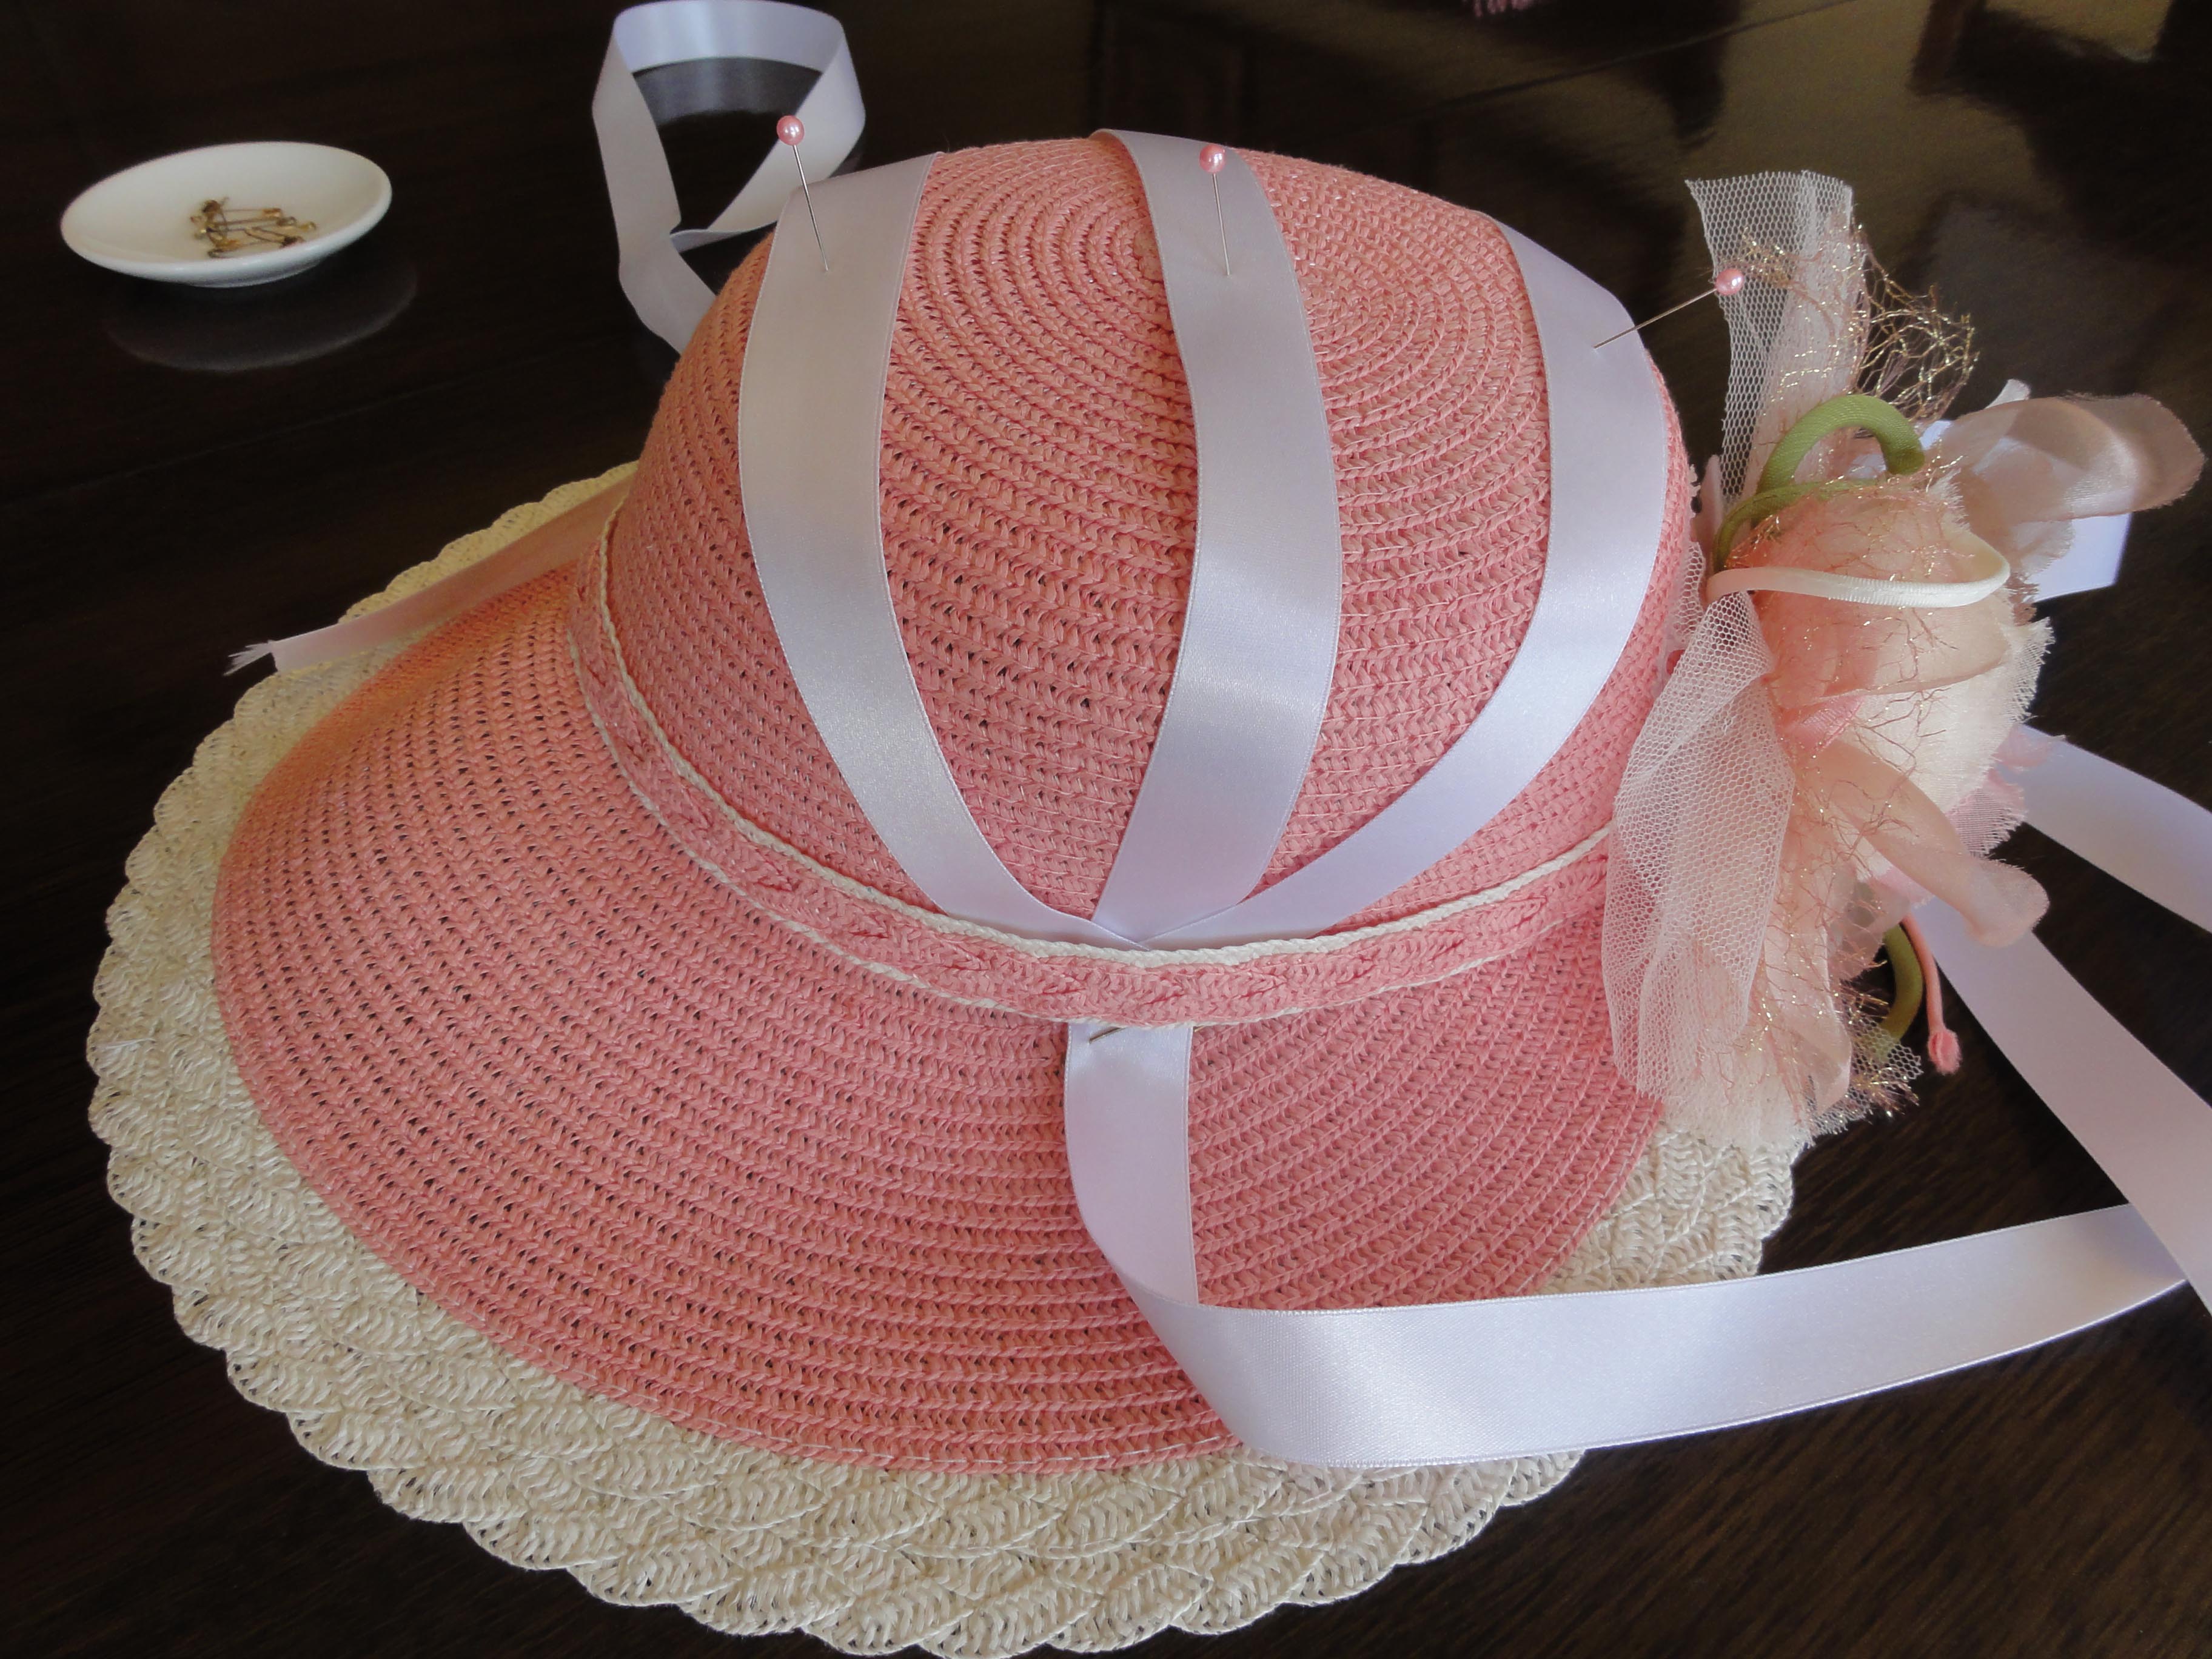
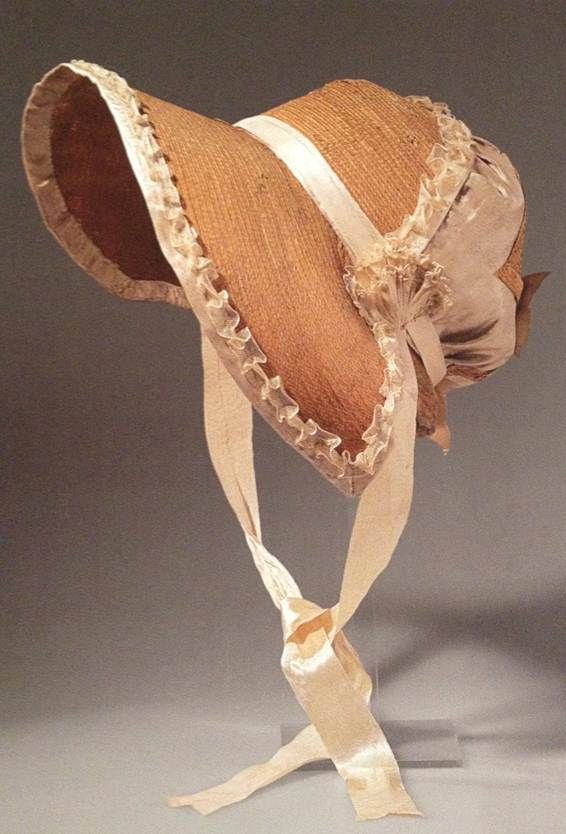
The Pink Hat Design #1: A three-ribbon design is seen often in Regency hats and hairstyles. (Click on the thumbnails for larger images.)
- Loosen the existing hat band around the front and sides.
- Fold a ½” to 1″ wide by 2m long ribbon in half and tuck under the band from below, with the loop heading to the back of the hat.
- Arrange so the ribbon is at an angle with the tails at the middle of the hat band front to back, and the middle of the ribbon is just barely over the back of the crown of the hat.
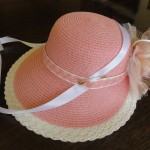
- Use the band to help you fold each side of the ribbon up and back over the hat, one going straight across the middle, and the other at a slight angle across the front crown of the hat.
- Each tail can go under the far side of the hat. Adjust so the hatband is down and the ribbons are roughly in the middle, though they won’t be neat at this point.
- Safety pin the ribbon at the “V” made when the ribbon is folding under the hat band (the first fold you made) on each side.
- Remove the ribbon. Re-install, but this time, do not wrap over band, instead, use the pin to help you place the fold behind the band.
- Adjust until the bands are equally spaced and smooth over the crown, the hat band is down and in place, and the “V” is hidden.

- Pin in place from behind.
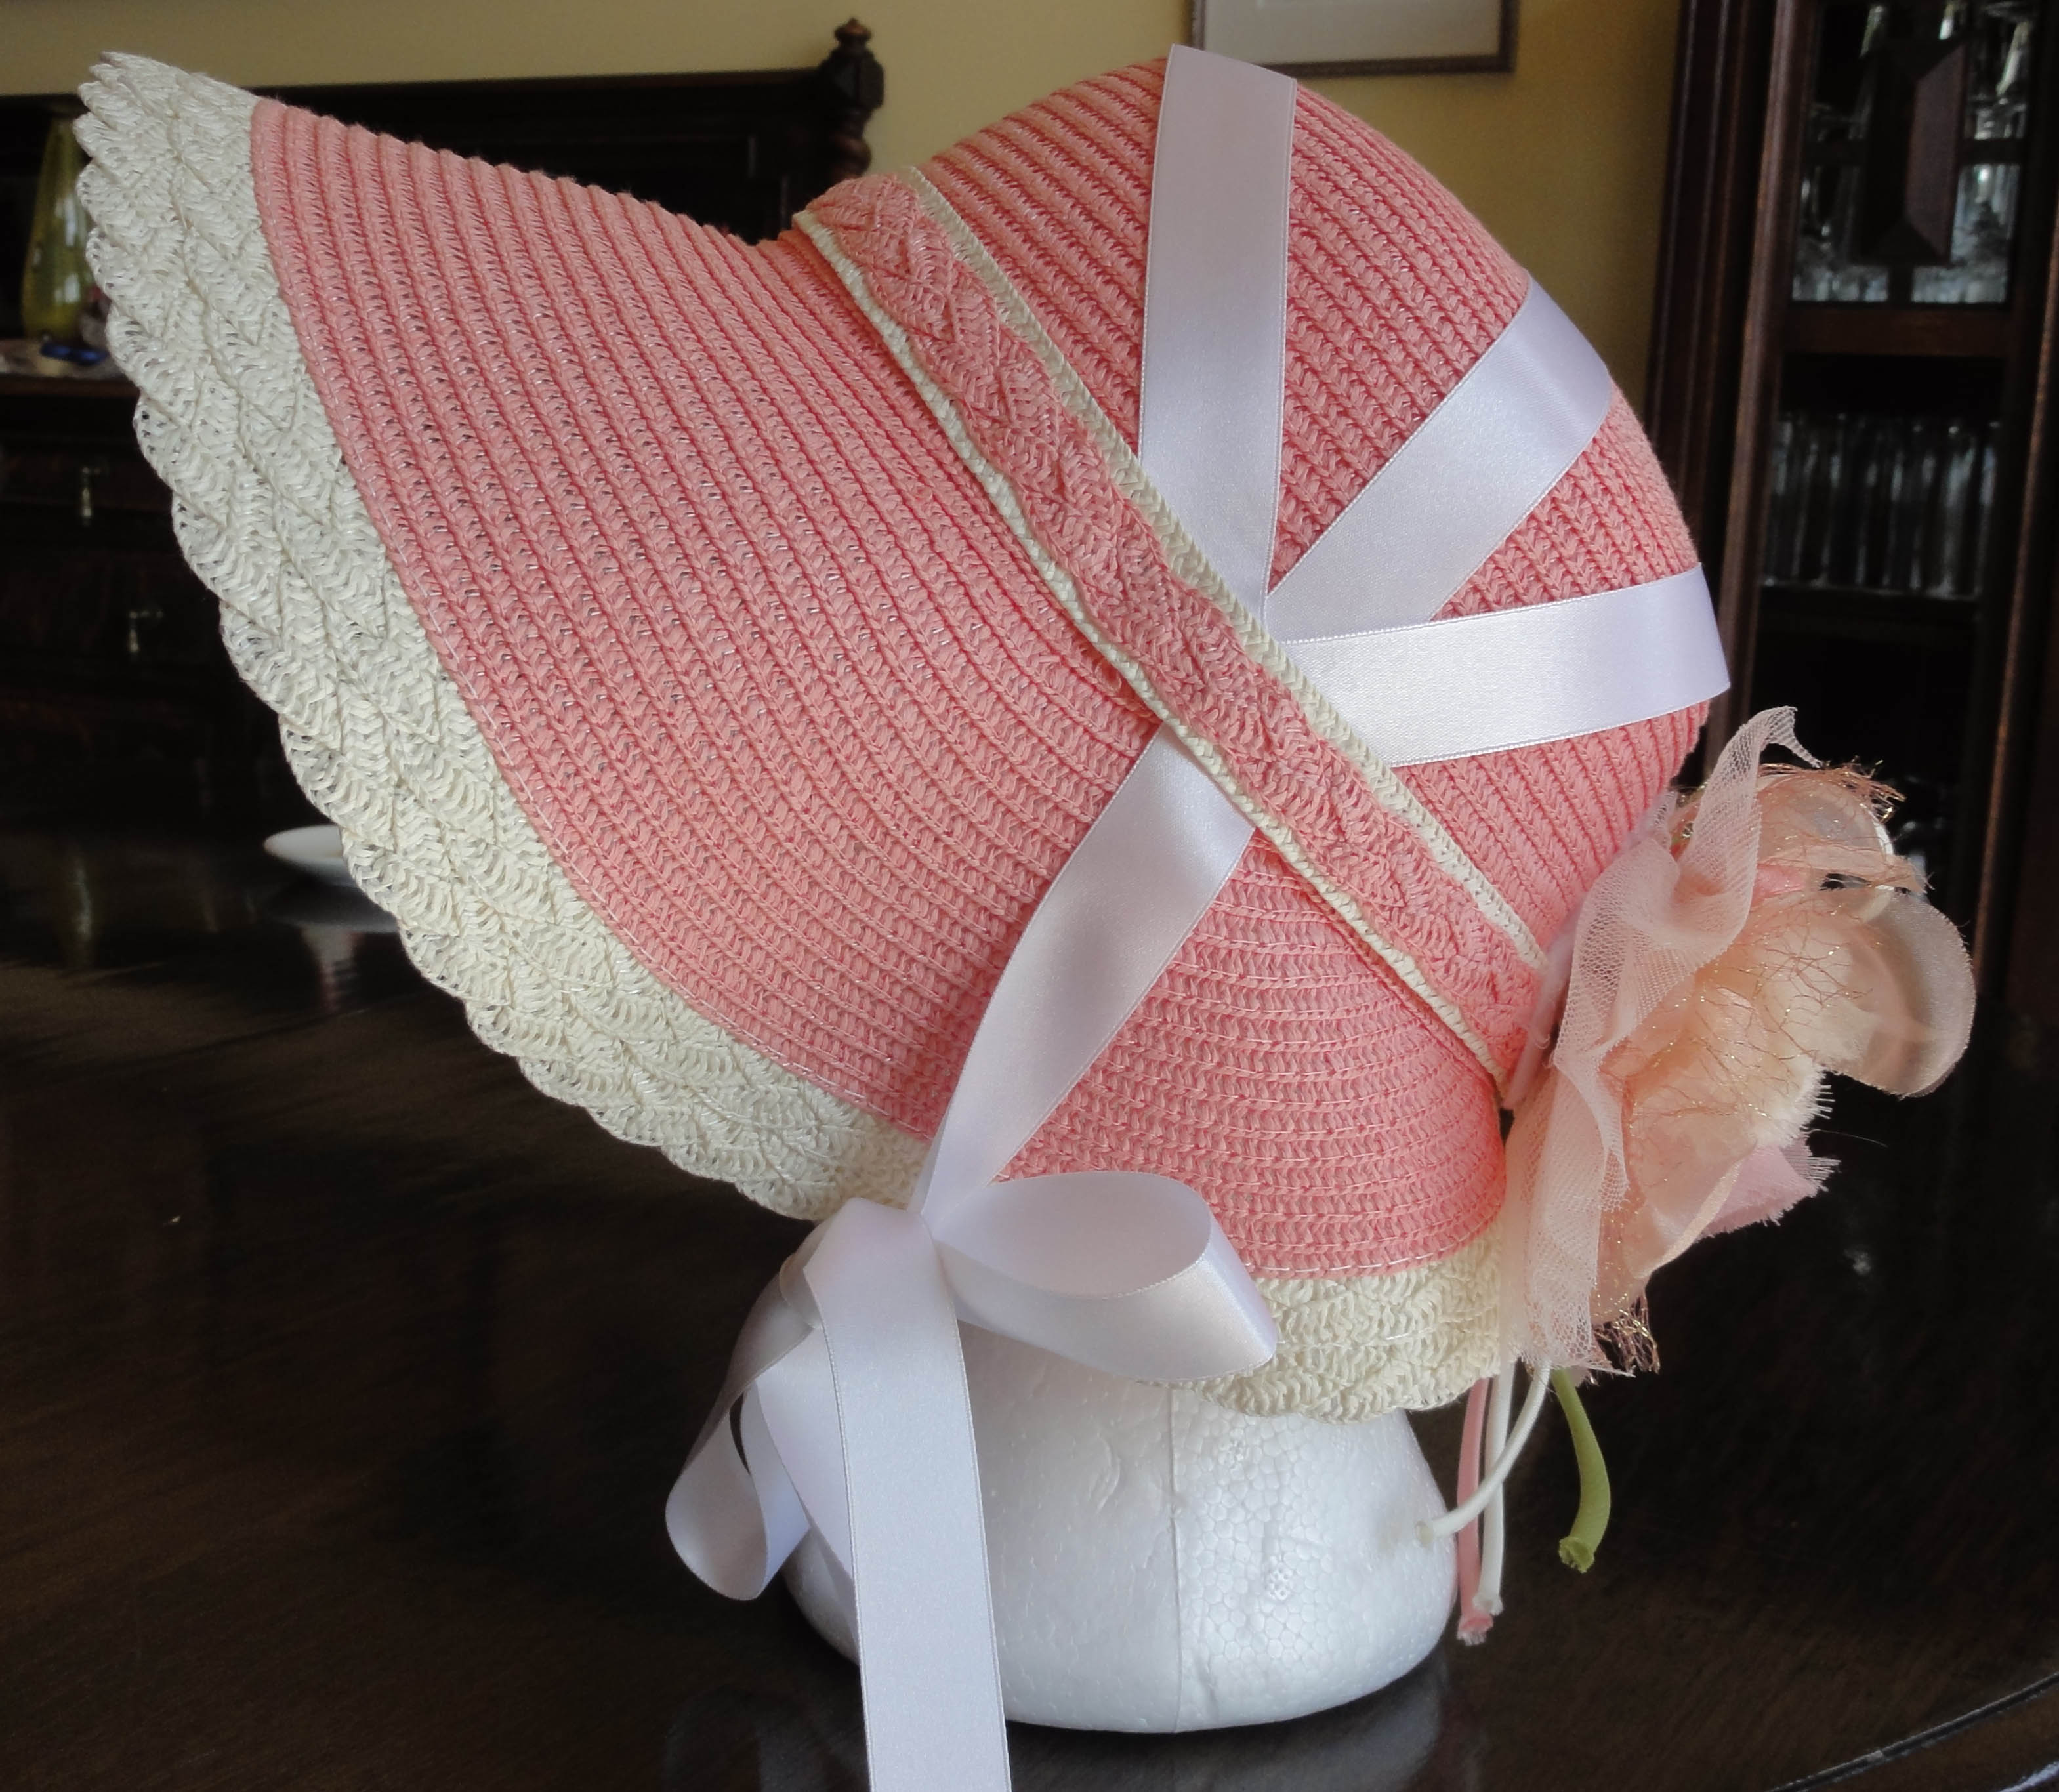
- The ties will come down the middle of the side of the hat to tie under your chin, and the bonnet will sit back of your ringlets.
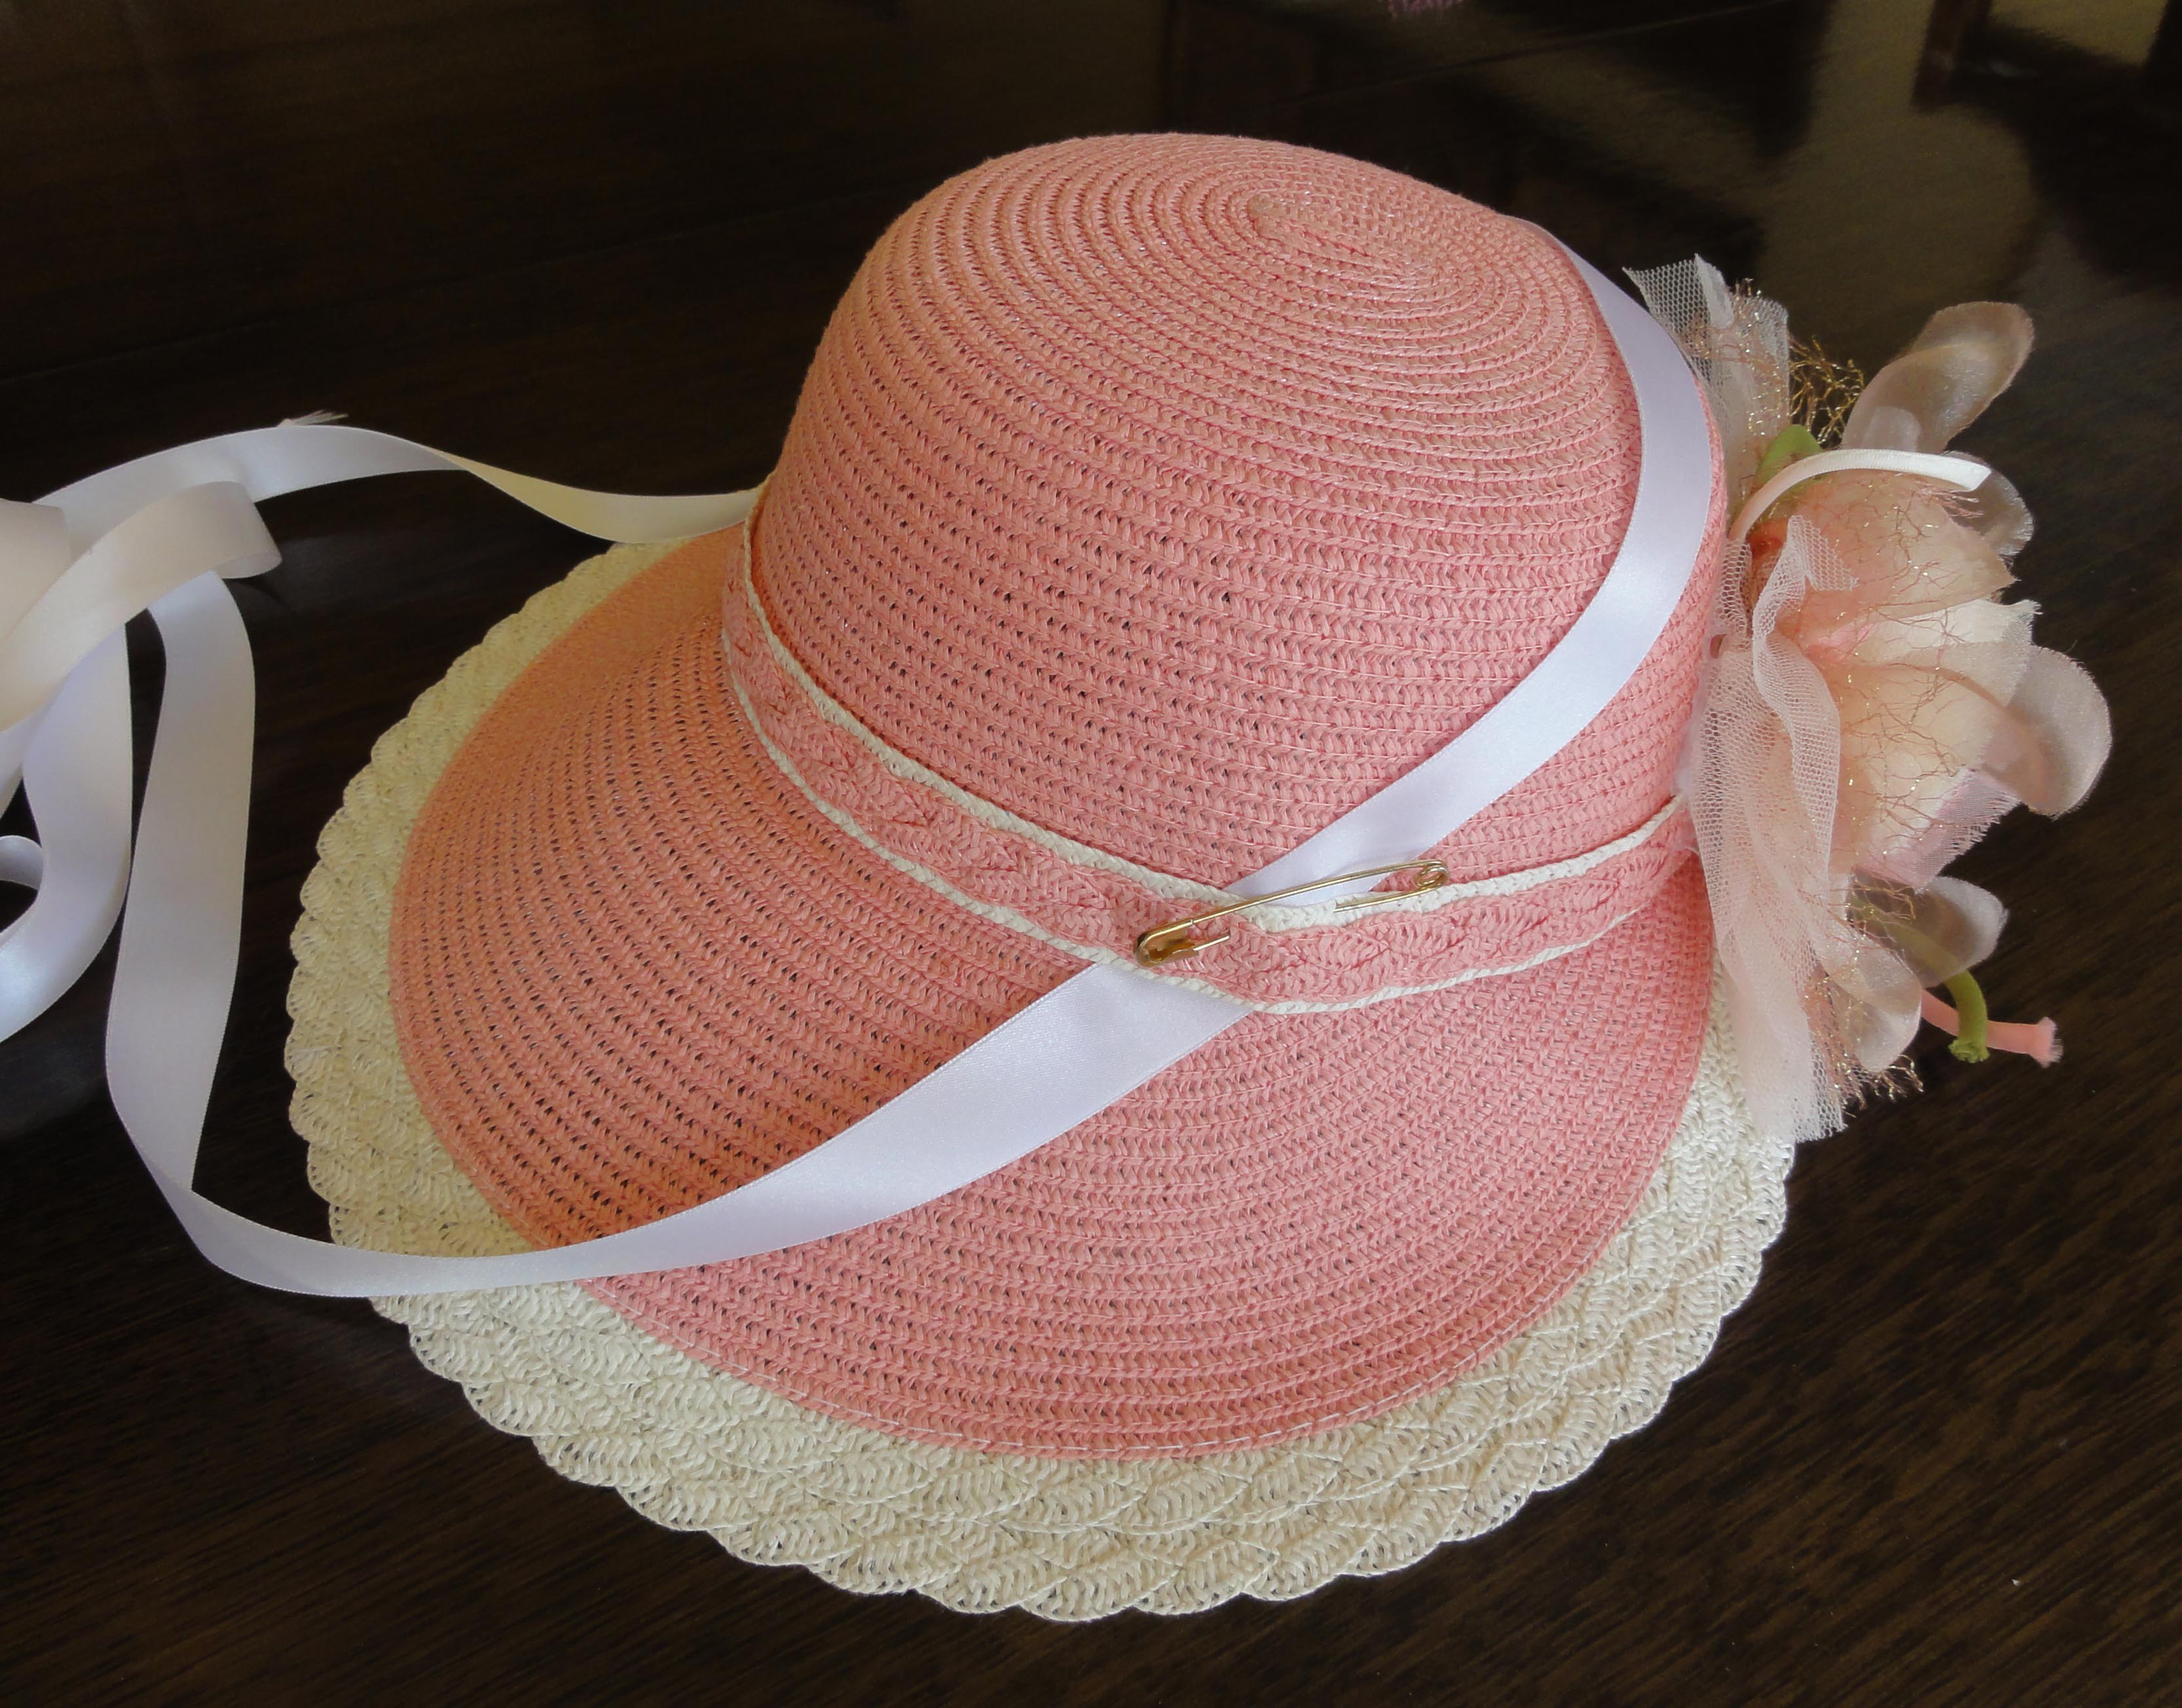


Additional ideas:
- If desired, you can flip the front of the bonnet up, using steam to shape it, but be careful of burns.

July 1812
- I’ve left the existing fabric flowers in back because I like them, and they hide a gap in the brim trim.
- A strategically placed ostrich feather, curved forward, with some smaller items at its base, would work instead of the fabric flowers.
- Additional trim is optional, but a ribbon flower, a few clusters of flowers, a medallion, or whatever pleases you can be placed on the joint of the three ribbons. Remember, simple trim means early Regency, and embellishments became more elaborate, especially in the teens. Match to your outfit’s time period.
This bonnet cost about $28, plus any additional trim.
Note that a similar hat, in natural straw, without the hatband or trim, is $5 at major craft stores. I’d recommend going that way. A ½” to 1½” wide hatband should be attached at the centre back to facilitate the instructions in this post. Ribbon, braid, beaded band, or similar material can be used.
~~~
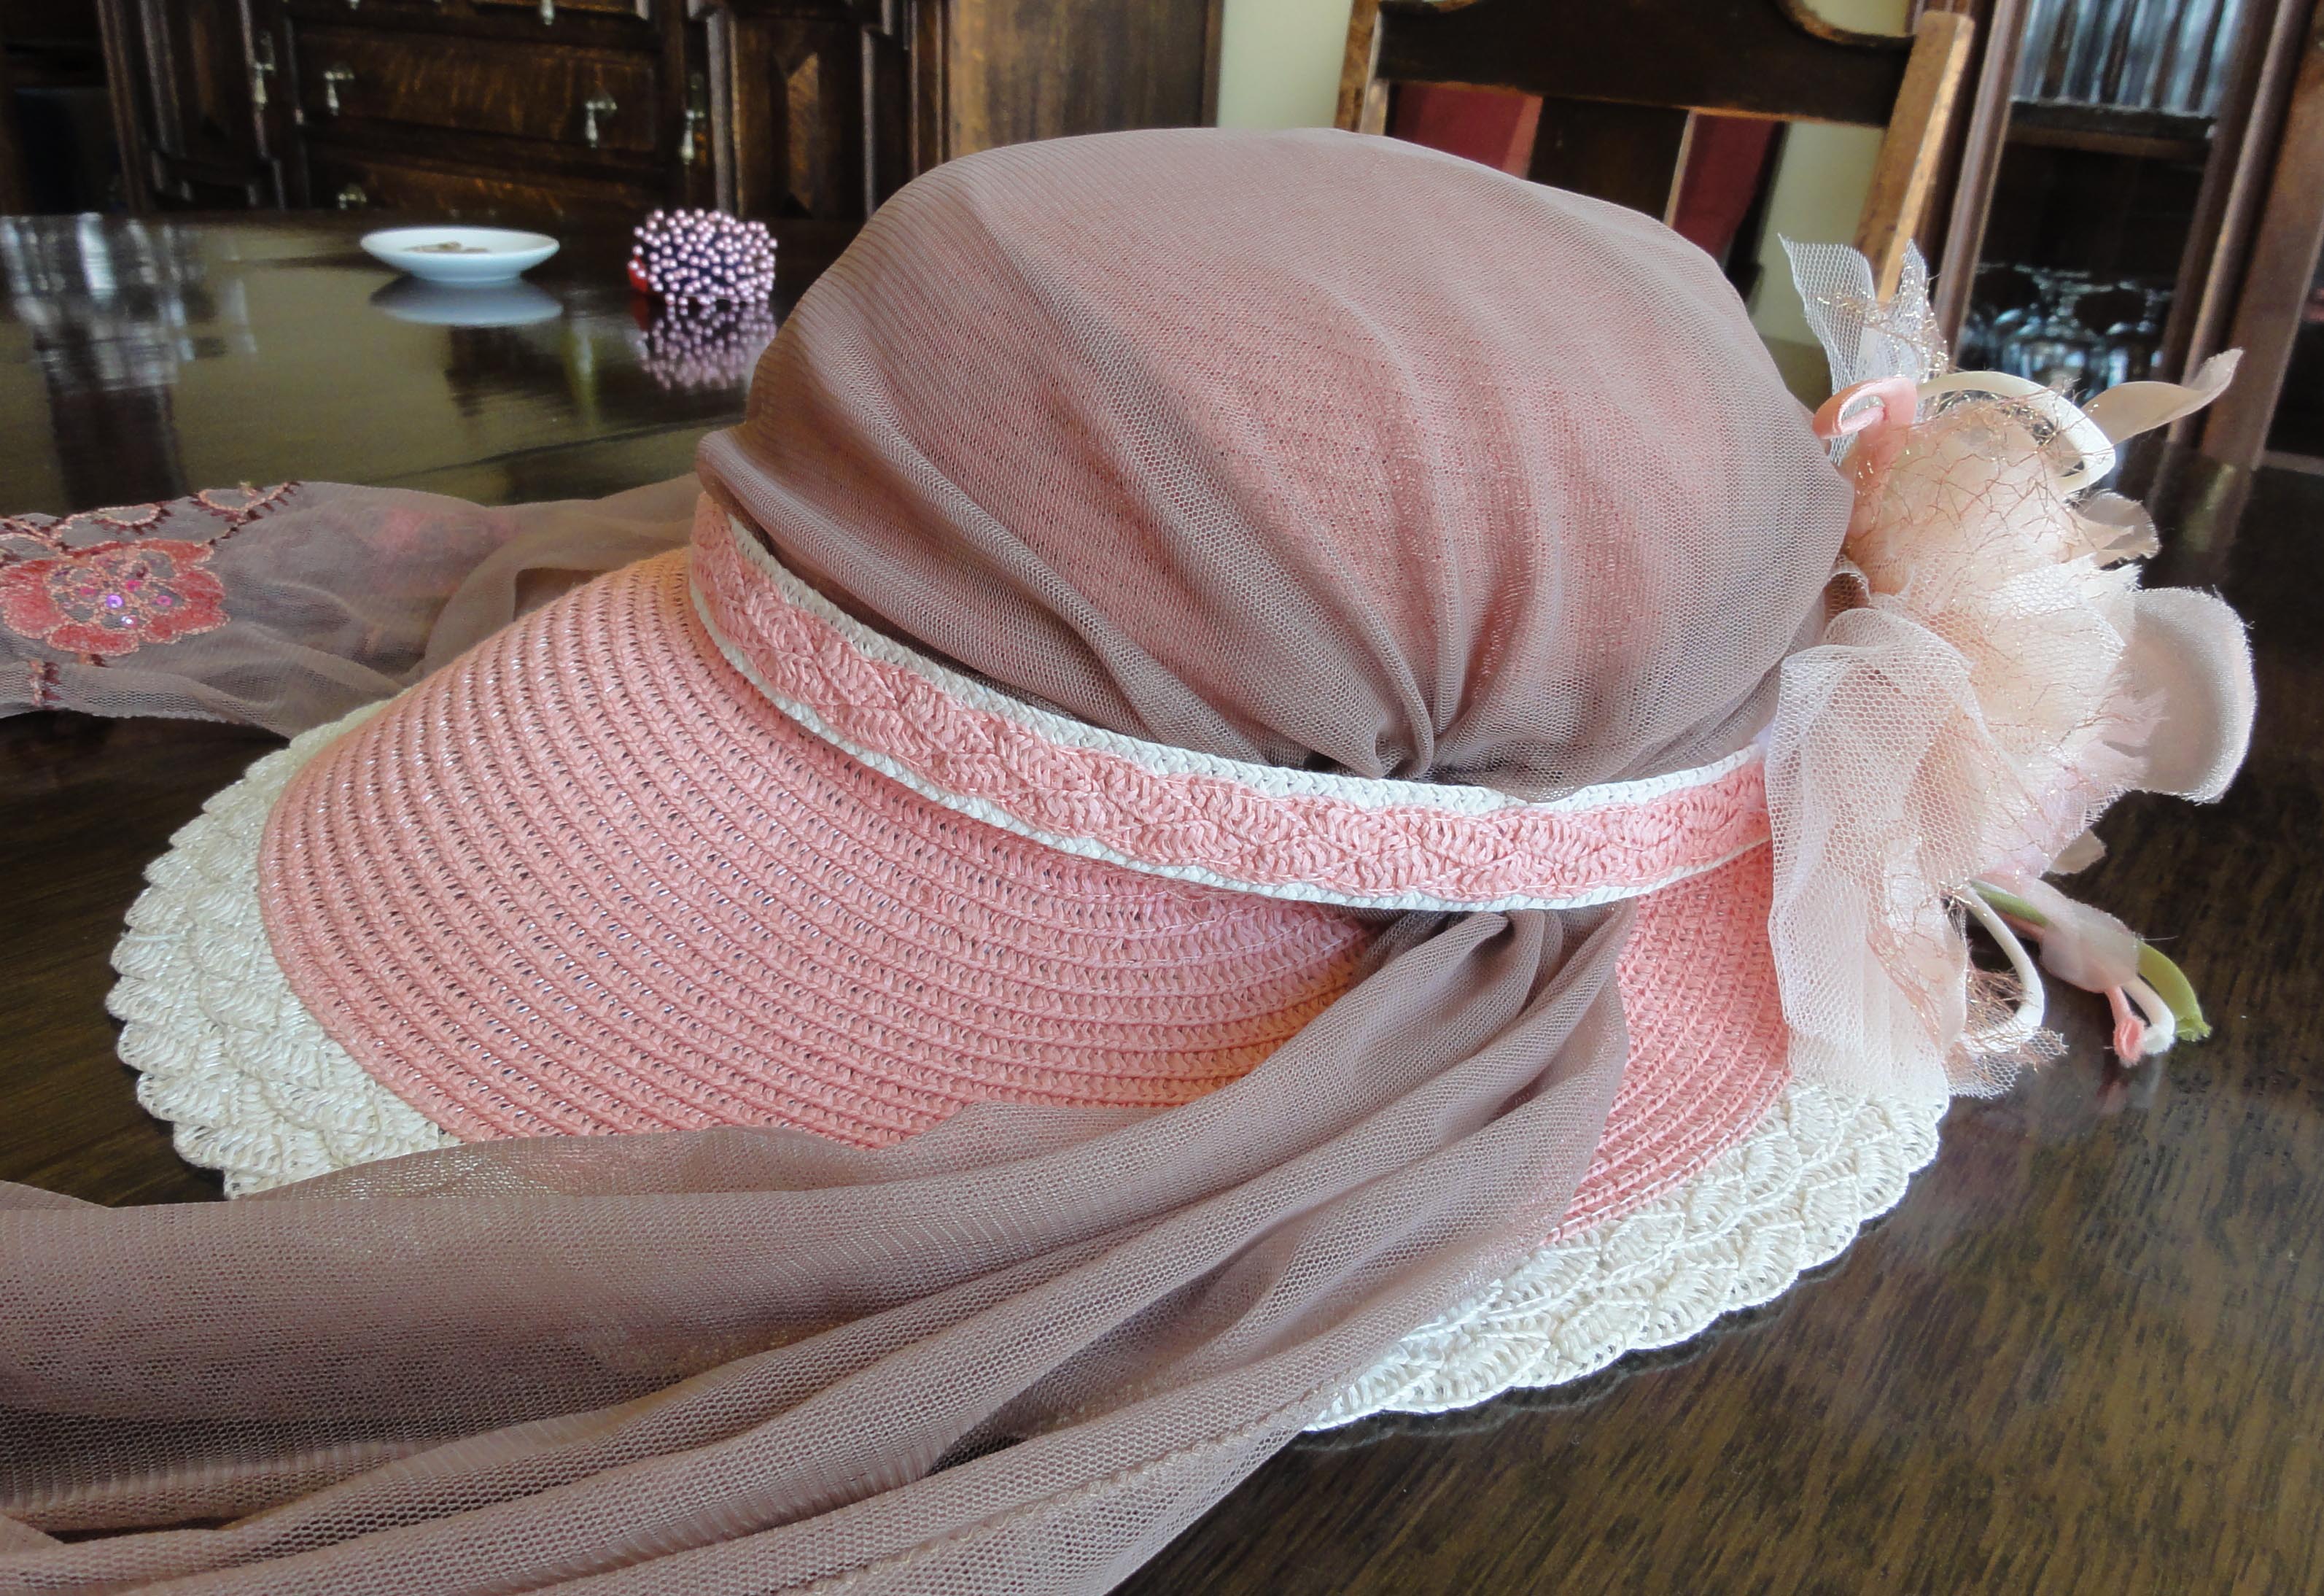
The Pink Hat Design #2: Inspired by hats in the Napoleonic Collection, with a sheer panel of fabric stretched over the hat and tied under the chin.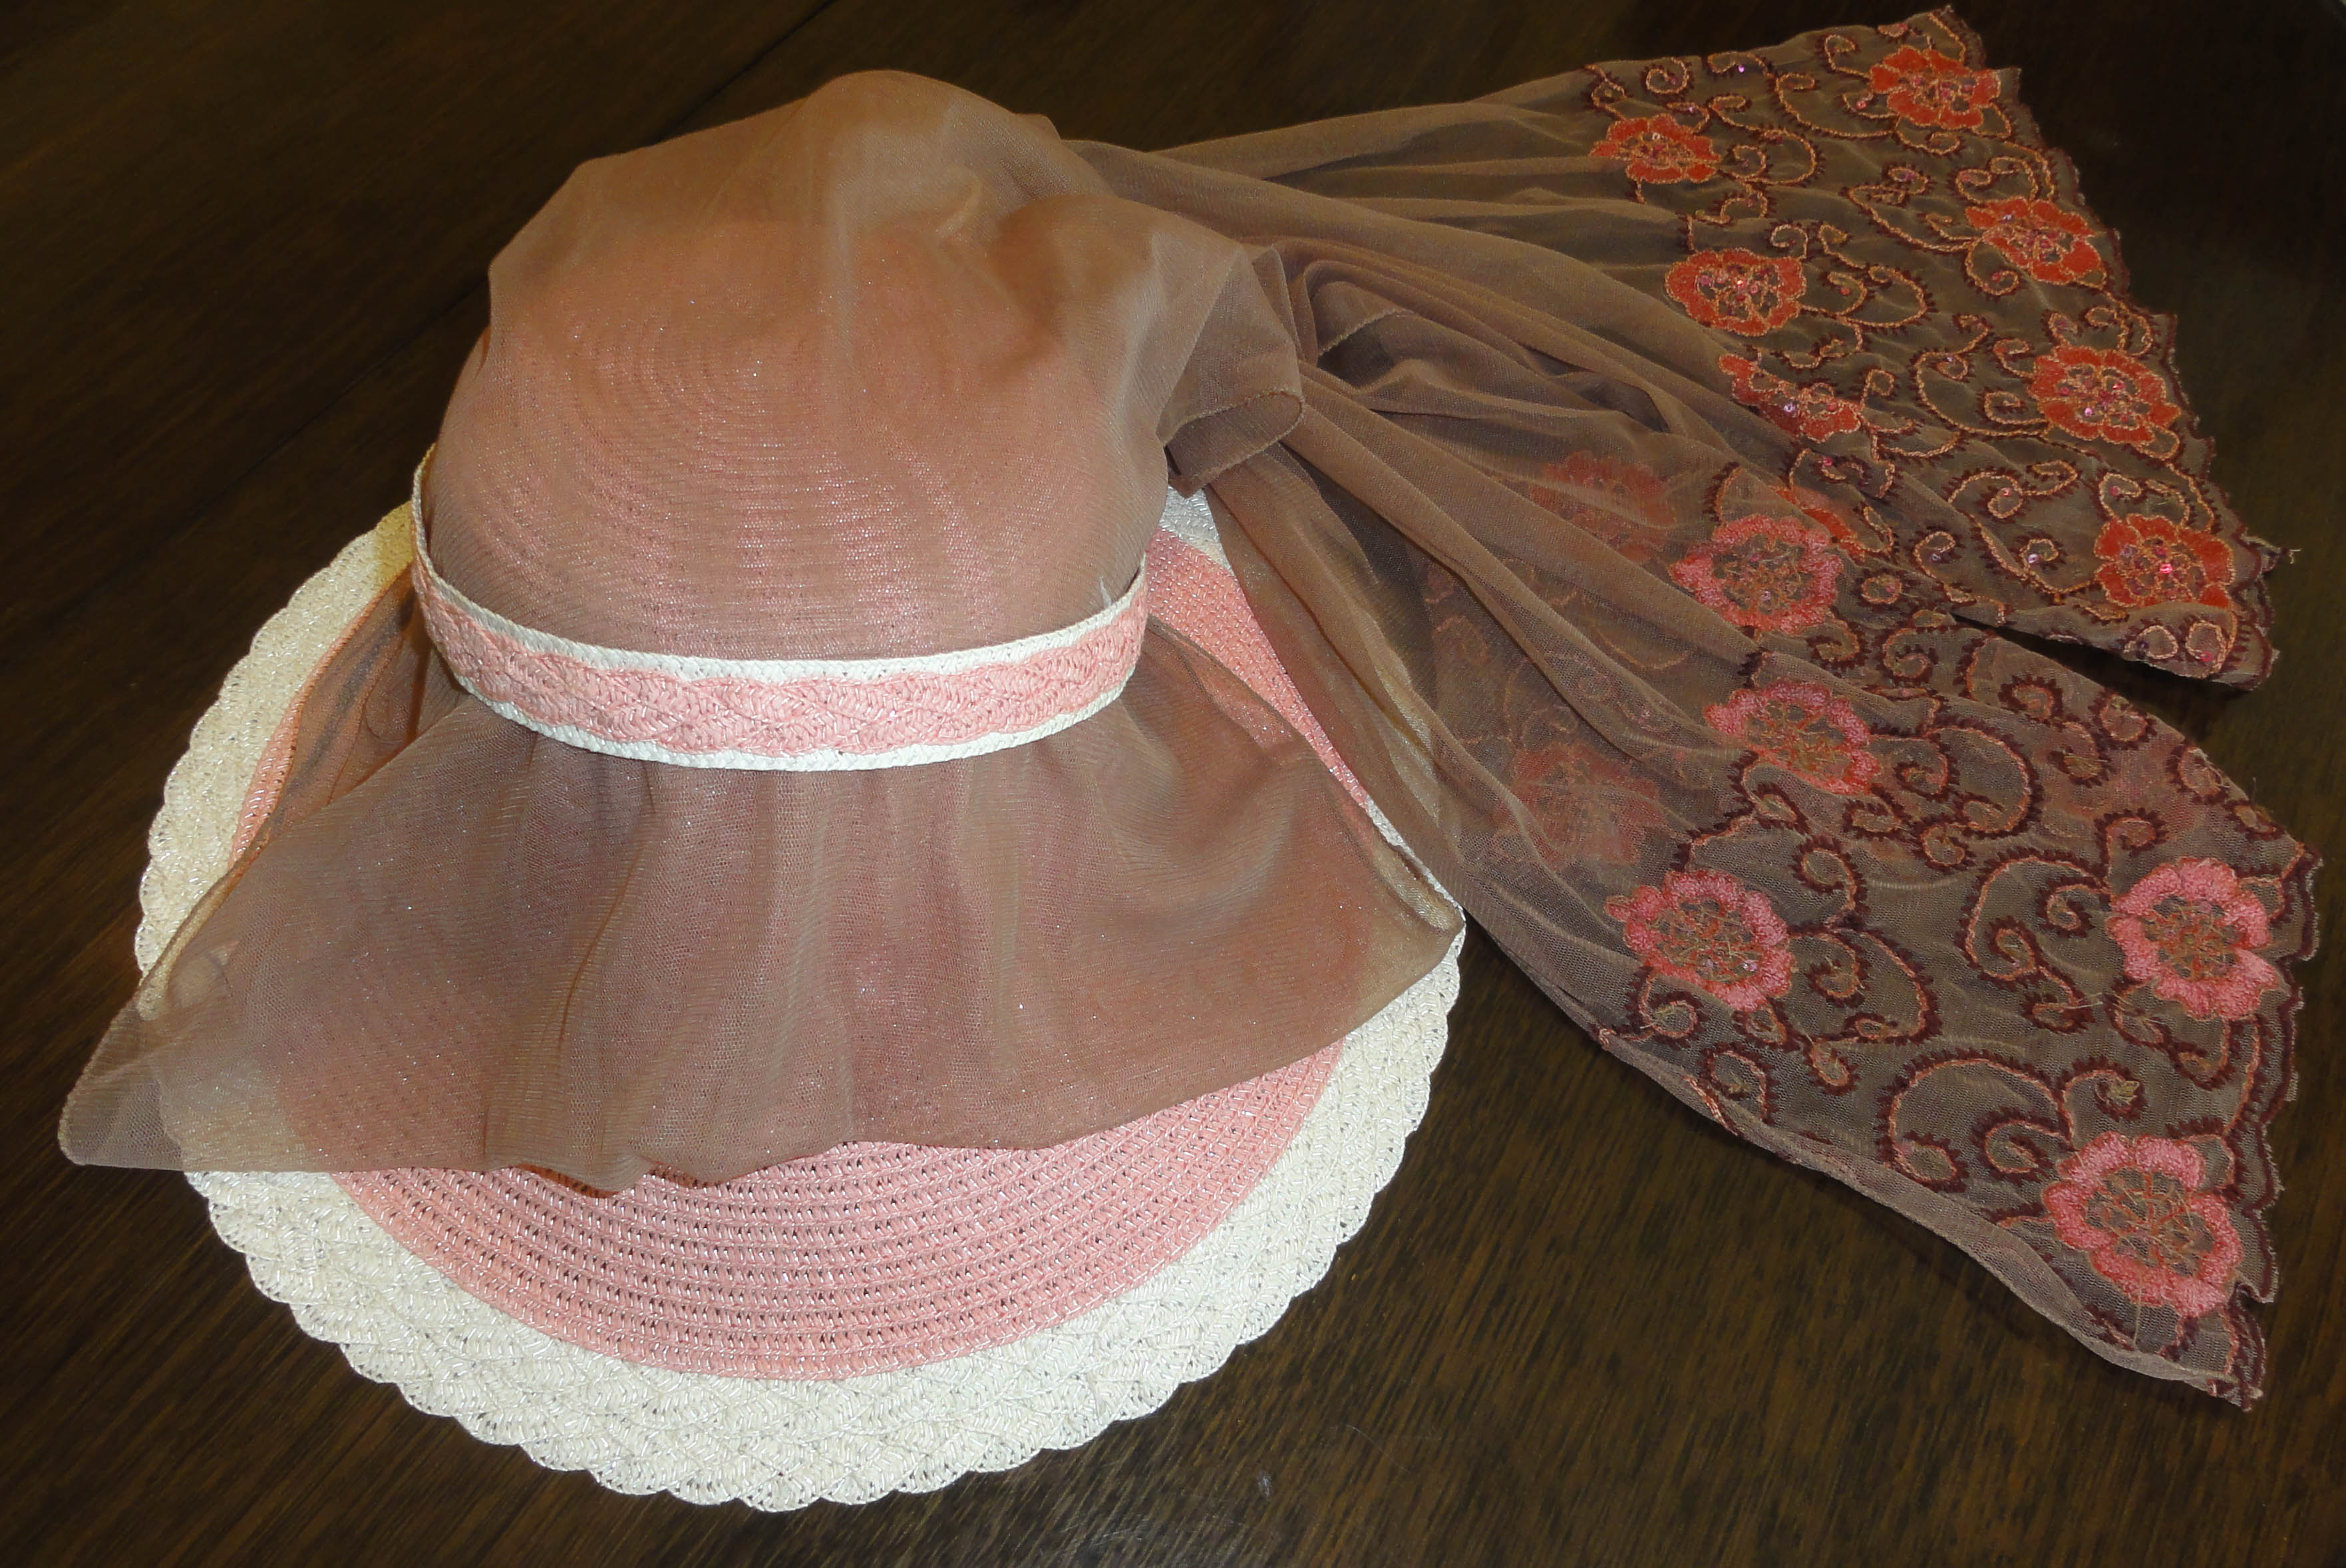
- Fold an oblong scarf (about 5 feet long) in a co-ordinating colour in half. A sheer or solid scarf can be used.
- Slide down the front of the crown of the hat, under hatband, in a flat position.
- Adjust so front (folded) edge of scarf is under hatband.
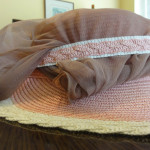
- Roll up corners and tuck along sides under hatband. Adjust to your choice of fit: tight over crown of hat; with soft, regular folds; or puffed like a Capote hat.

- Pull tail ends of scarves so they cross to opposite sides and the back of the crown of the hat is covered.
- Tug tail ends of scarf forward under hat band until they are midway between the front and back of hat.
- Adjust folds and edges that are tucked under the band.
- If necessary, pin, double-sided tape, or glue sections of the scarf under the edge.
- The existing fabric flowers, with the frayed edges trimmed, are good embellishments for this hat. But each person has their own ideas, so add extra trim as suits your fancy!

 This bonnet cost about $32, plus any alternative or additional trim the owner selects.
~~~
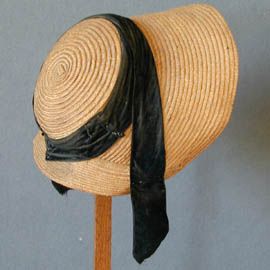
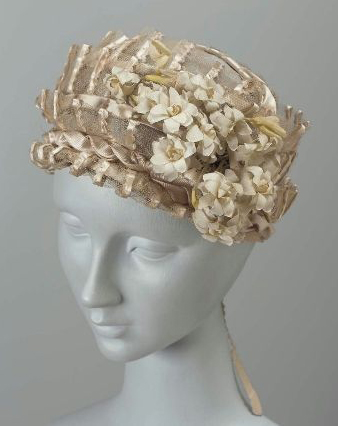
Why are these called bonnets and not hats? The only difference I could figure out between a bonnet and a hat was that a bonnet was tied on and a hat was not. These are called “cottage” bonnets.
1810
1810
~~~
I still have three—count ‘em—three more potential Regency hats/bonnets!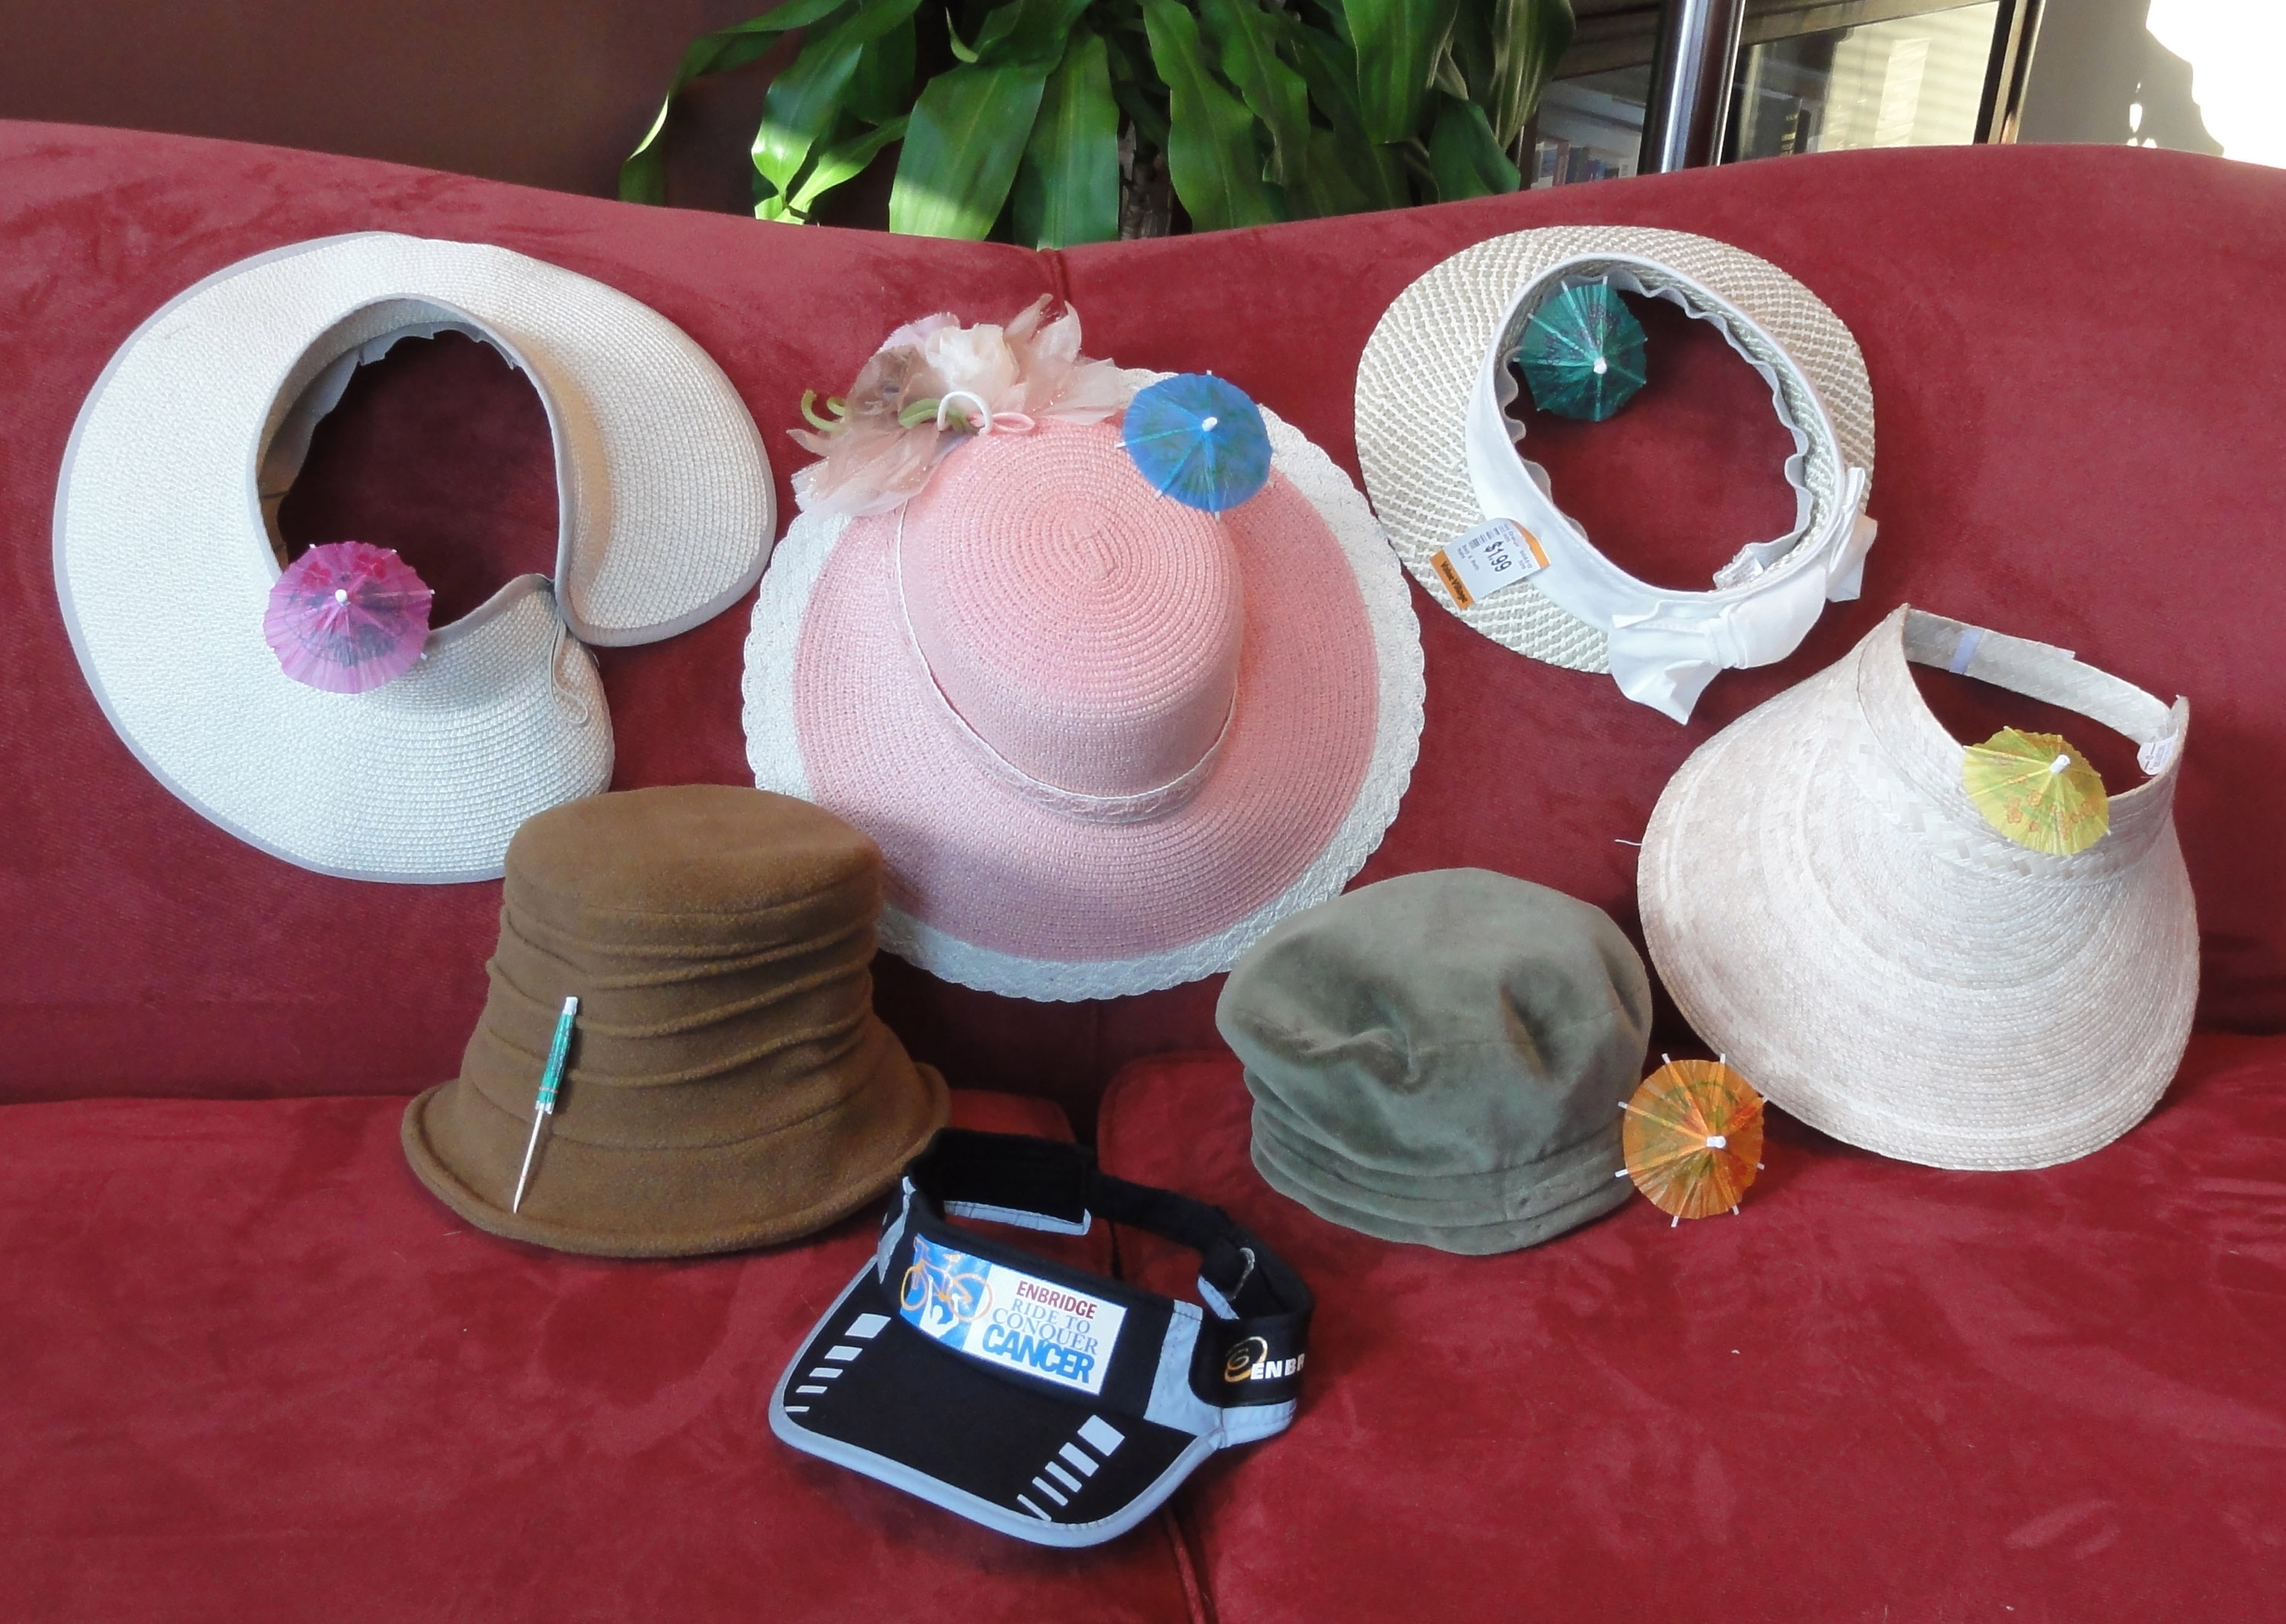 Two hats in the original “group of seven” didn’t make the “Okay for Regency” grade indicated by an open parasol: their shapes and fabrics are intended to show contrast.
The brown synthetic fleece hat might be okay as a base, if wrapped with fabric almost like a turban; tulle or net might work.
The sad little baseball cap visor has no parasol, as it’s not worth the effort. Not even a tea cosy will revive it.
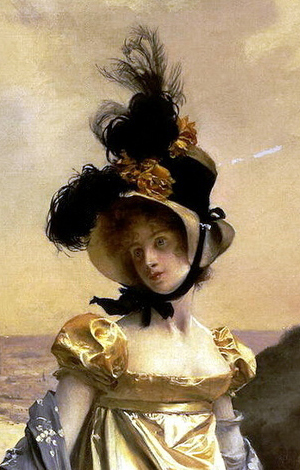
Close-up of painting, Portrait of a Woman–François Flameng
1814, Metropolitan Museum of Art
I want to make the larger-brimmed visor (far right, $4 from a Wal-Mart in Mazatlán, Mexico) into a Lady Catherine stove-pipe or leghorn bonnet, which involves a curved tube. After a lot of searches, I found a site that gave me an idea how to start it. There will still be lots of trial and error, so I’m leaving it to after the main blog series, in the “bonus” posts. (Click on the thumbnails to see larger images.)
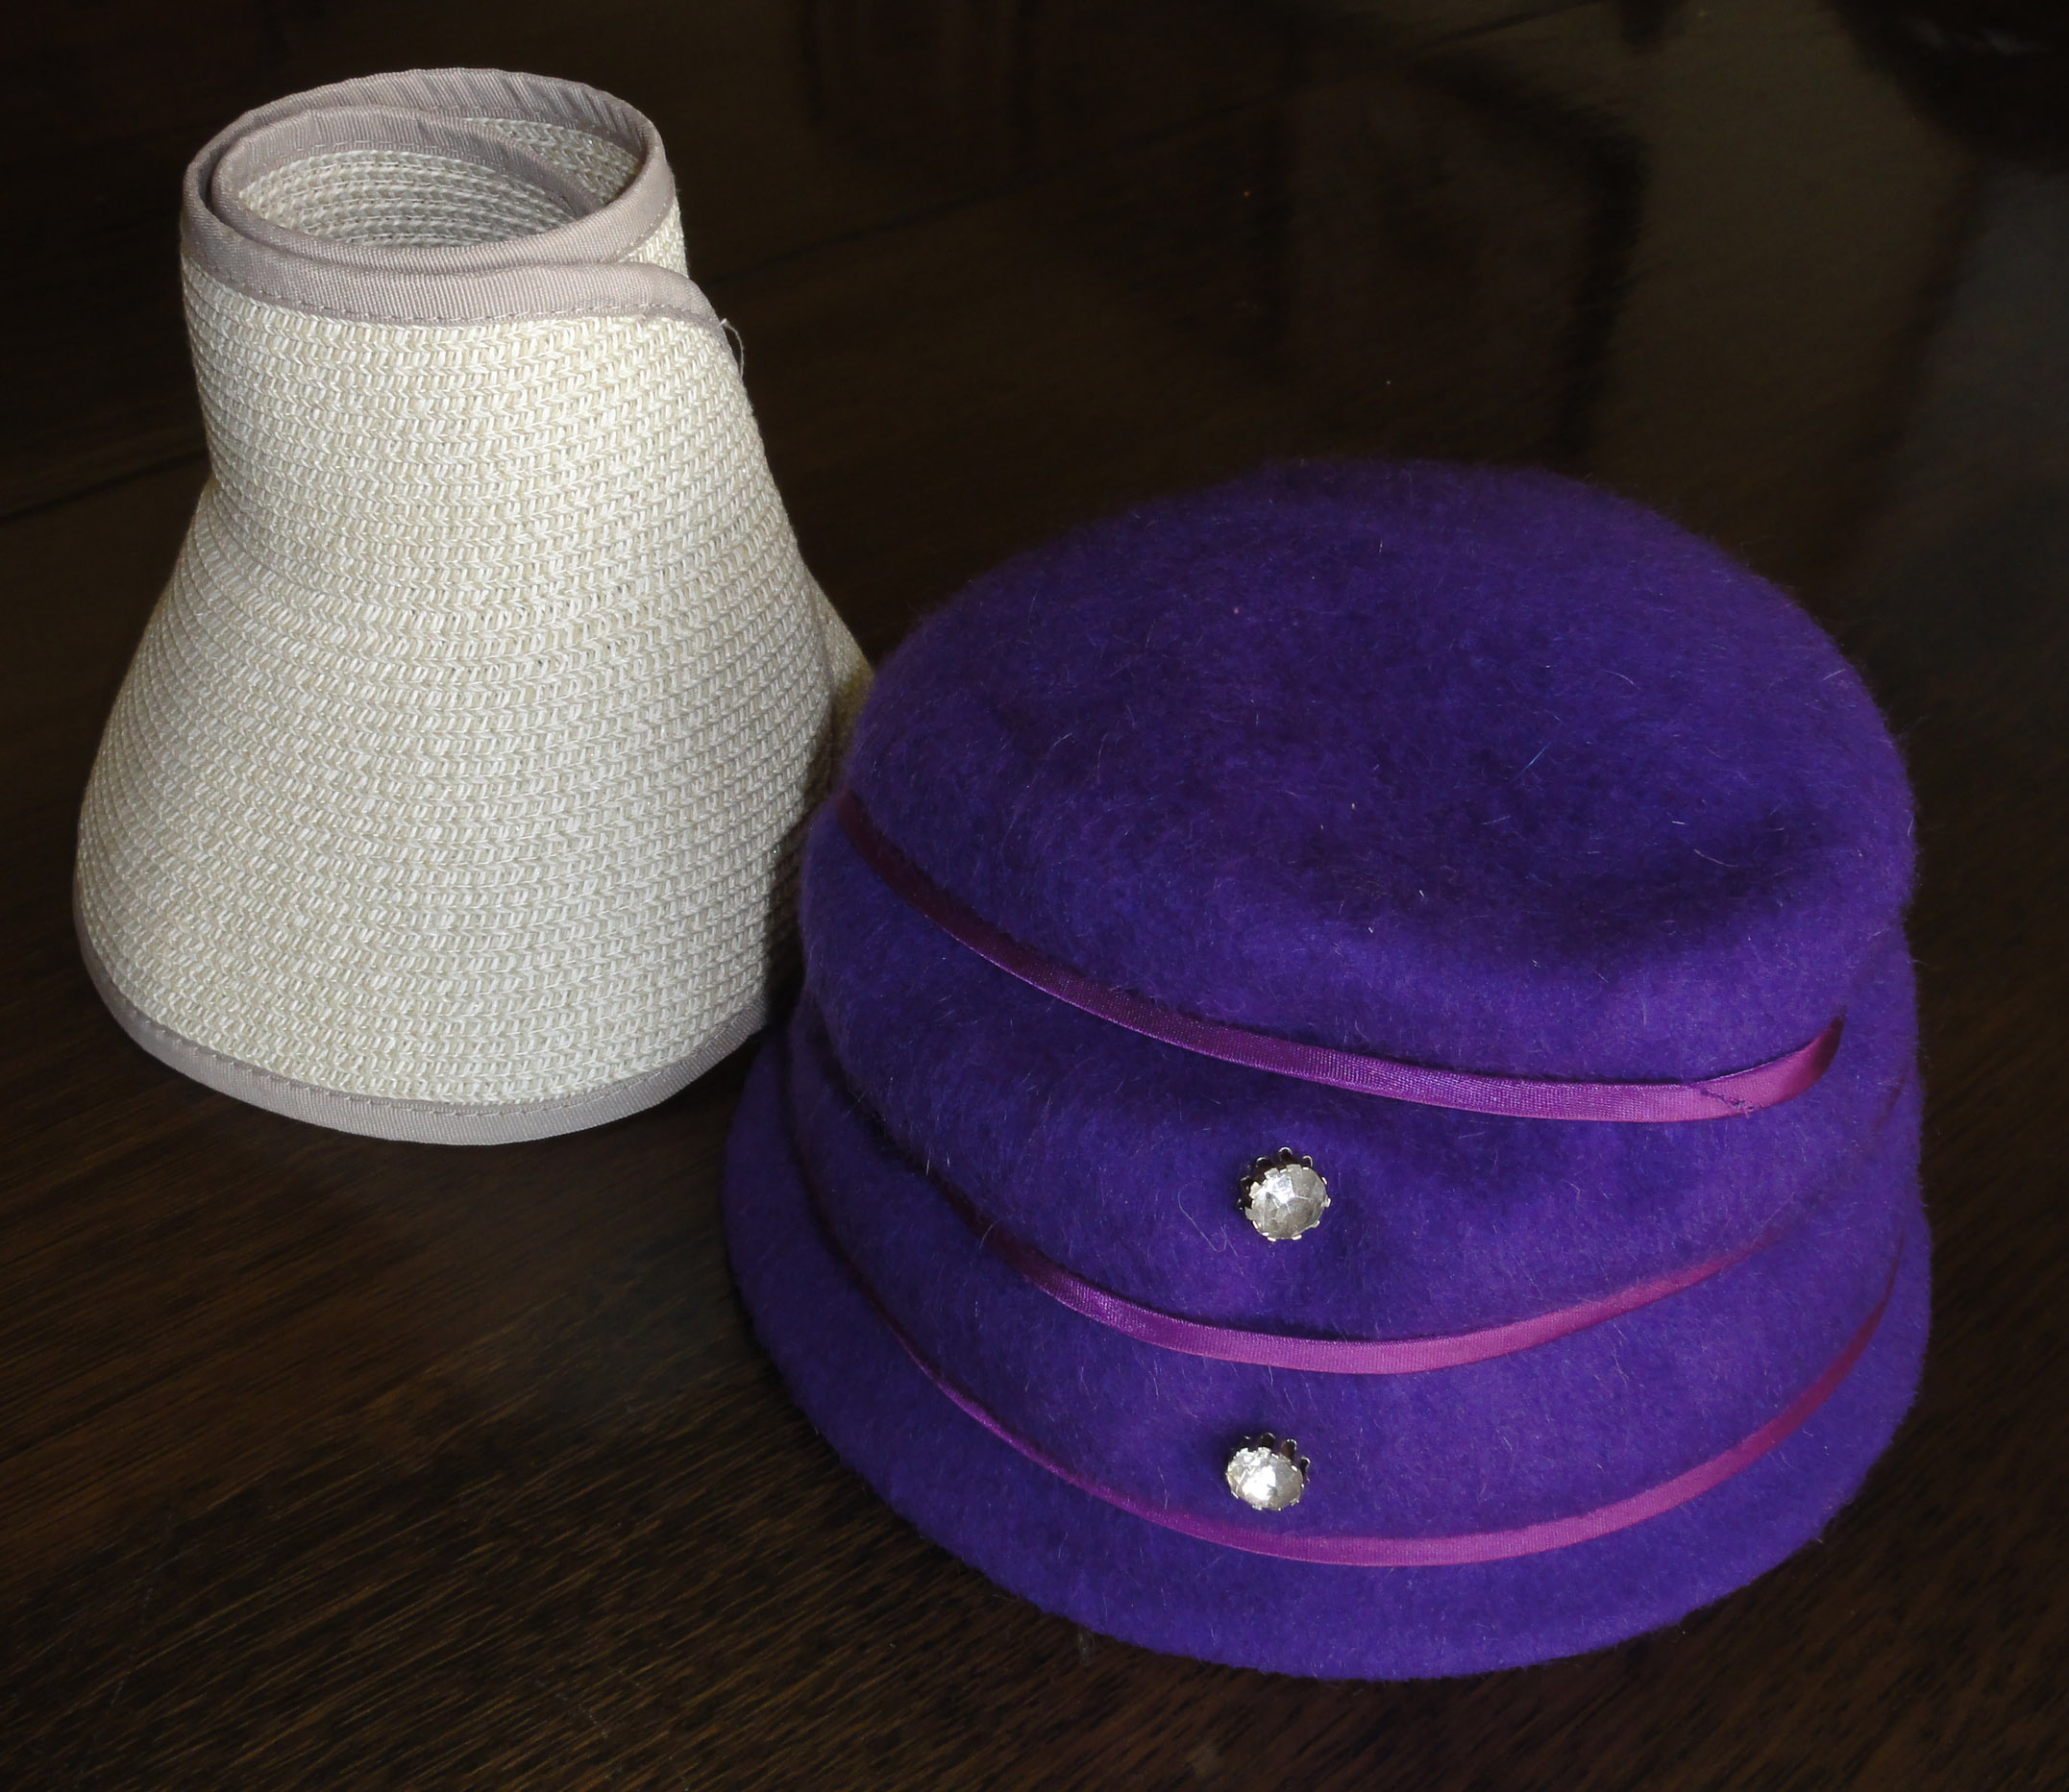 I’m not sure if I’ll create something with the roll-up hat from the San Diego zoo from 10 or more years ago (upper left), but I bought a little purple felt fez I could prop on top! It would assemble/disassemble well for travel! Hahaha! This hat is also suitable for a Capote-like covering or a tube, just like the other two topless hats. (Hmmm. That sounds nasty.)
The big reveal: the Lydia Bennet special! (Click on thumbnail for larger image.)

The “Lydia Bennet” hat, before.
“Look here, I have bought this bonnet. I do not think it is very pretty; but I thought I might as well buy it as not. I shall pull it to pieces as soon as I get home, and see if I can make it up any better.”
And when her sisters abused it as ugly, she added, with perfect unconcern, “Oh! but there were two or three much uglier in the shop; and when I have bought some prettier-coloured satin to trim it with fresh, I think it will be very tolerable.”
—Pride and Prejudice, Chapter 39
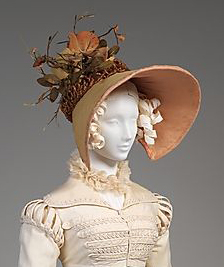
French, 1800-1805, Boston Museum of Fine Arts
At first glance, this hat is quite pretty. But looks deceive: it has good bones, but requires some serious deconstruction of braided plastic ribbons, then replacement with satin and sheer ribbon in a similar design. You can see the look in these museum hats; that’s why I was drawn to this one.
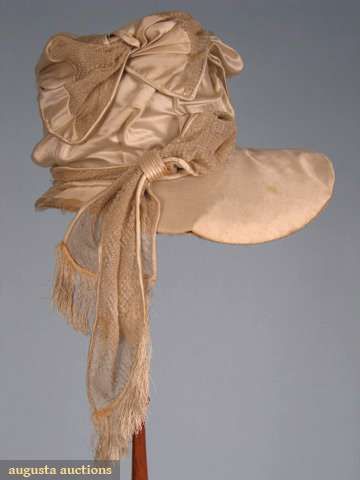
1820, Augusta Auctions

American, 1810, Metropolitan Museum of Art
~~~
There are more complicated hats and bonnets you can make, but sewing and more complex craft skills are required.
http://themerrydressmaker.blogspot.ca/2011/08/regency-bonnet-tutorial.html
https://teainateacup.wordpress.com/2011/08/01/how-to-make-a-regency-poke-bonnet-in-ten-steps/?blogsub=confirmed#blog_subscription-3
This video demonstrates the second of the more complicated sites above:
http://oregonregency.blogspot.ca/2008/04/how-to-make-regency-poke-bonnet.html
I can’t quite understand tearing apart a straw hat into its spirals, or cutting off the back half and having to cover it, when it’s more work than is necessary. Regency bonnets came in so many shapes; it’s odd to take a shape that would work, only to change it to another, rather than seek out the second shape in the first place. But these sites have other good ideas.

Modern reproduction Poke bonnet
Even more complicated is a stovepipe bonnet from the late Regency, made with a buckram frame: https://www.youtube.com/watch?v=98vKEHfjOAA
If I do a stovepipe bonnet, I’ll likely use more traditional techniques as in the Regency: cardboard and/or papier maché. It’s not so much that I’m afraid of buckram (maybe I am) or have no clue where to obtain it, but I know my skills with wire, and I’d wind up with a bumpy cam-shaped thing when I need an oval.
~~~
More on my pillowcase cap: A web site with a series of cap patterns for sale included a comment that the more uppercrust caps had more than one style of lace on them, as did the lovely examples in an earlier post. I’d like to find some finer pieces of whitework or lace to fill in some holes, rather than use the plain cotton of the pillow case. Shopping never seems to be done!
~~~
NEXT WEEK’S POST: There’s more to undies than corsets! **Cue tawdry bump-n-grind music!**
~~~