Clocked is a strange word. When I was young, when someone said “I clocked him,” I’m pretty sure it meant they hit him hard. I think it meant in the head, but I’m not sure. It’s not a word that I use in everyday conversation.
In Regency fashion, there are clocked stockings. This does not refer to anything resembling a clock as far as I can tell. It means stockings with a design on them.
Faking Regency Designs on Gloves and Stockings

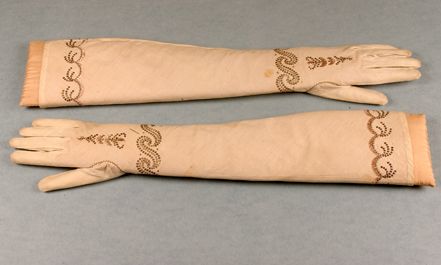
Embroidered kid gloves, 1800-1830, National Trust Collections.
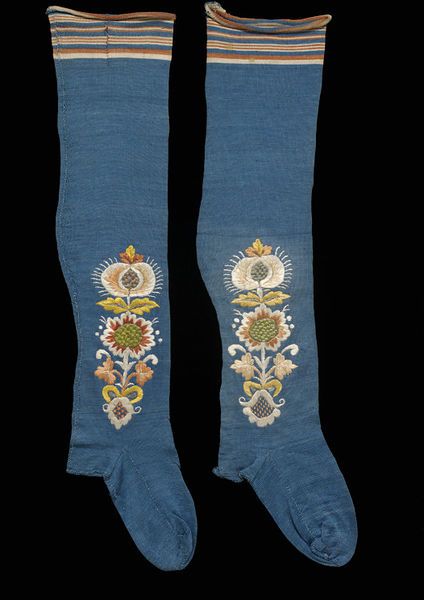
1775-1829 stockings, Victoria and Albert Museum
Embroidery or painting on stockings and gloves was an embellishment that was enjoyed by at least a few Regency ladies (and men), judging by the museum examples. Interestingly, an etiquette book of the time, Mirror of the Graces, frowns on clocked stockings. It looks like fashion won in consideration of a stuffy old guidebook!
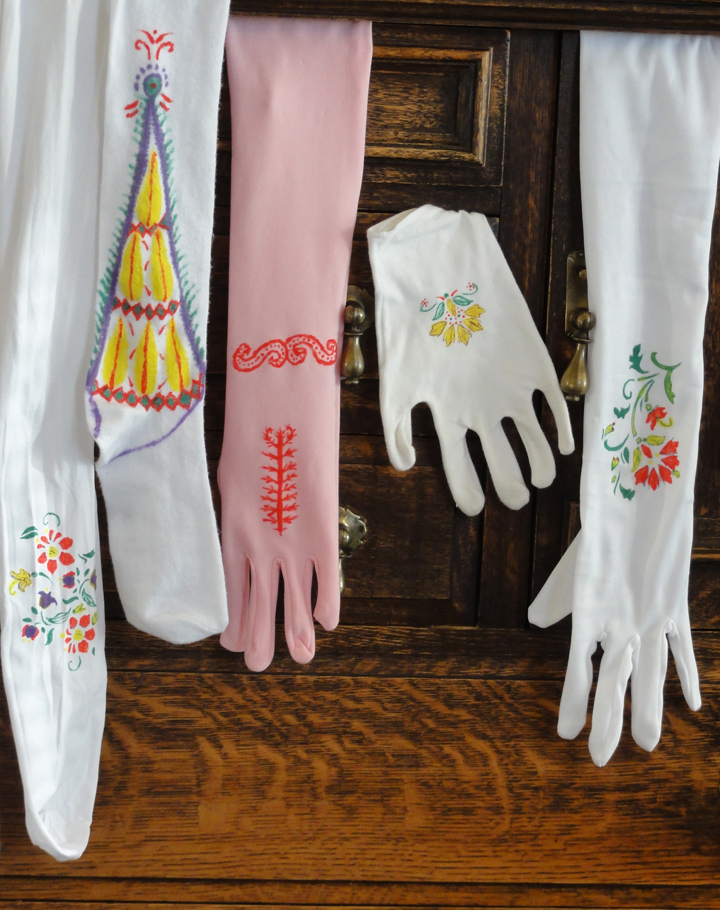
Some of my stockings and gloves got a fake Regency treatment this weekend: I used fabric paint to apply designs. A stencil purchased for half price at Michaels was used in three different ways, by masking some of the areas with packing tape each time. Once I’d done all I could with the stencil, I decided to try a bit of freehand with the four colours of paints I had.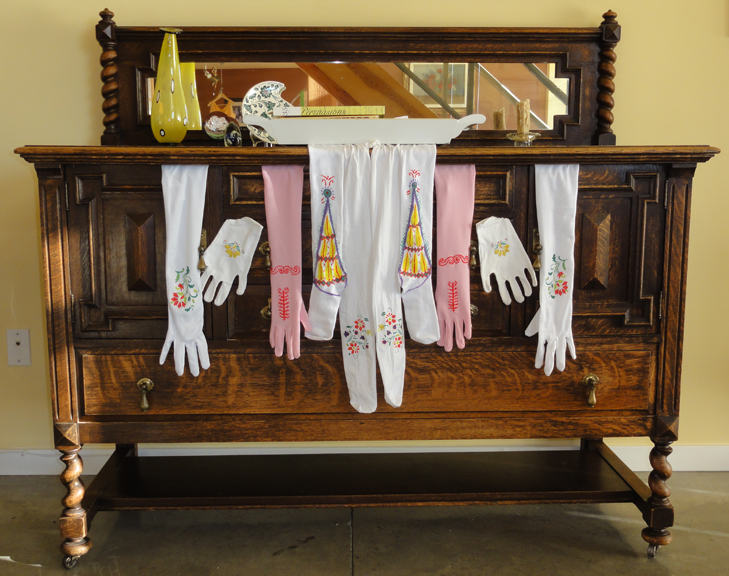
The floral designs on the white tights and the short and long white gloves were made with the stencil. The pink long gloves and the knee-high stockings are my attempt at freehand, loosely referring to photos of existing museum pieces (see below). Not bad for a non-crafty redheaded romance author!
Cotton fabric embroidered gloves, circa 1790-1810, bias cut for stretch, gold and sequinned scrollwork, pale pink, floss silk detailing.
Stockings, early 19th century, Cooper Hewitt collection.
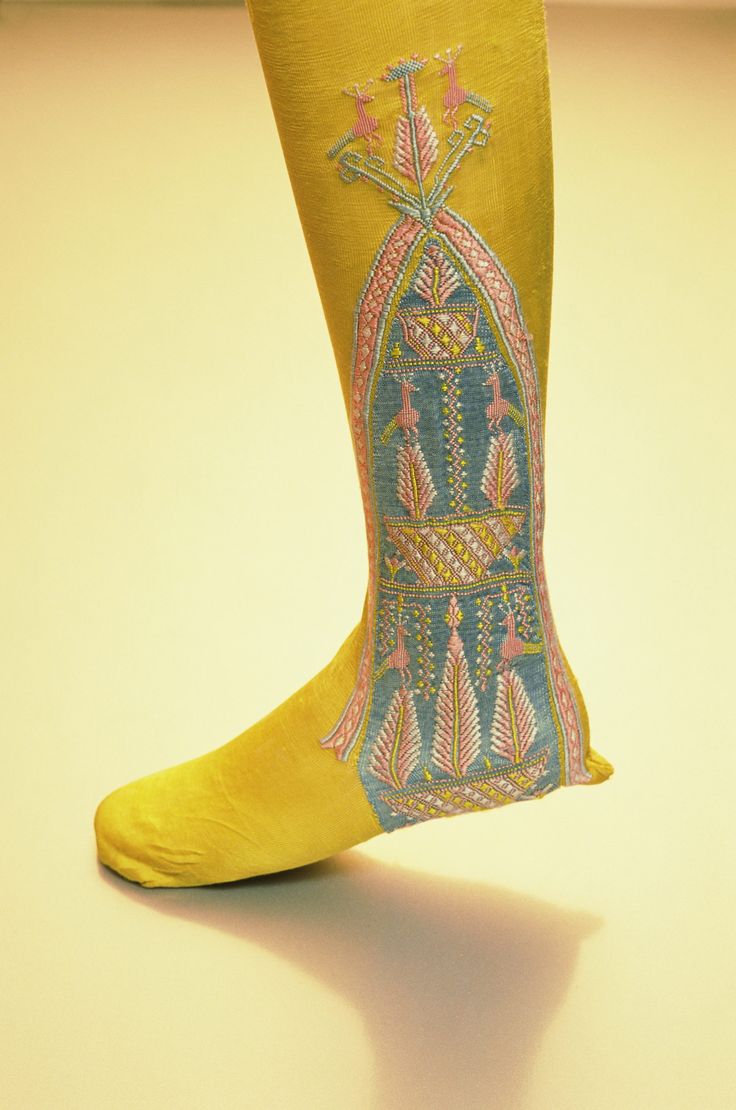
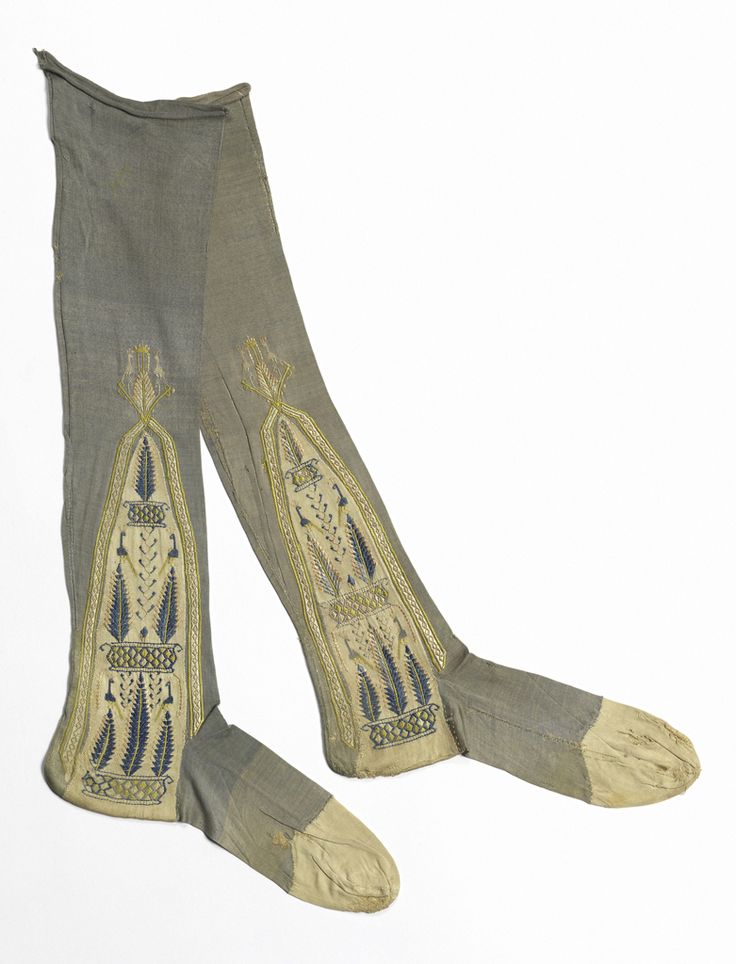
Stockings, 1810, English, Kyoto Museum
 I didn’t bother with the coloured tights as for now, the colours don’t suit my gowns.
The pens tended to bleed in the fabric, and the bottled paints were a bit puffy. After the first items, I used the pens for light lines and not fill, and used a Q-tip to apply the paint so it was smoother. If I was doing this again, I’d consider getting additional colours, but these were all I found on sale the day I bought them at Michaels.
~
How to Make Easy Back Gathers on Regency Gowns
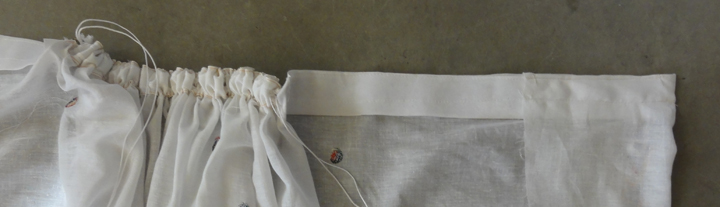
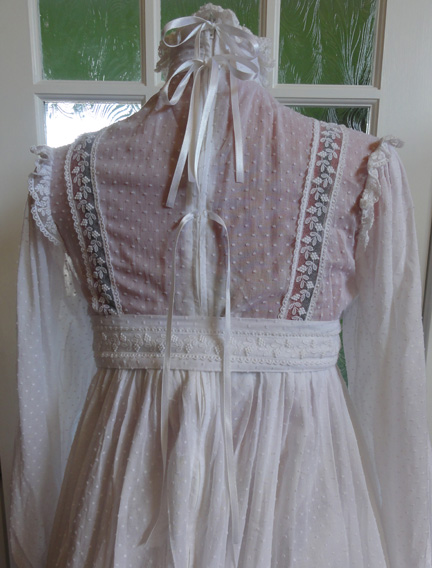
One of my favourite tricks for faking Regency is to use drapery tape to make the back gathers for a gown. The tape must be the kind that makes all uniform gathers, and not pinch pleats. I had some 1″ wide tape I got in two meter-long pieces at a thrift store for $1 a long time ago. I used it to make the last-minute “emergency” gown for the JASNA outing I had a few weeks ago. Belt backing tape can be seen for the non-gathered part.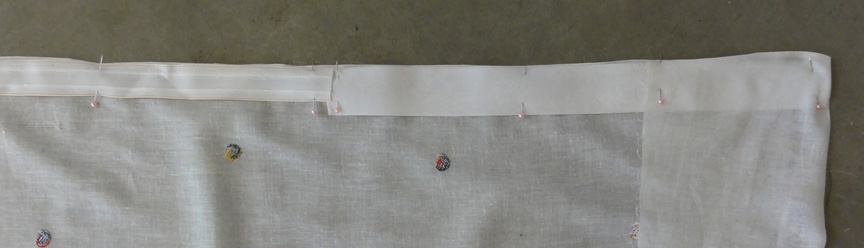
There are two ways to use the drapery tape to make your Regency gathers in the back of the gown.
- The simplest is to machine sew the tape onto the gown. Take care not to sew on the strings. Gather using the strings, tie the strings, cut shorter, and leave in place.
- The second method allows re-use of the drapery tape and less bulk in the back of the gown. Hand-baste the drapery tape on, but do not lock the end of your basting thread, rather, leave an inch or so free. Once you’ve sewn your skirt to the bodice, the gathers are fixed, and all you need do is tug on the knot on your basting threads to pull them free and remove the drapery tape to use on another skirt.
You want to have at least three times the width of fabric as your final gathered amount, and 4-5 times looks pretty.
Depending on your fabric, you may want to leave a seam allowance above the drapery tape. Because my fabric (above) had a border, I ran the tape at the top edge, then hand-stitched it to the bodice.
If you’re interested in standard methods for gathering fabric, this video from Teach Yourself to Sew shows three different methods.
~
To Zipper or not to Zipper–or To Fake!
When you get a vintage or other type of newer-than-Regency gown and wear it for a Regency gown, to be authentic, you should remove the zipper. Regency alternatives were ties, hooks and eyes, or buttons, or they were pinned closed by a lady’s maid.
In most cases, a replacement closure for the zipper is not necessary on the skirt, as the ribbon or belt holds the top edges together. The skirt is loose due to the gathers, and should overlap. The concern would be to ensure the bodice fit is snug.
There may be gaps between the replacement closures. In the Regency, so many undergarments were worn, the gap was of little consequence; however, some modern women balk at the idea.
 Most often, Regency gowns used ties to close at the back, and this is an easy-to-install and inexpensive closure. Discount and craft stores have narrow ribbons in limited colours for under $2 a roll, and attractive cords are under $1 a meter.
In the absence of a lady’s maid, to fake Regency with modern modesty, retain your zipper and add ribbon or light cording ties over it at a couple of locations. At right, two are tied and the lower one is not, so you can see where they’re attached. Care must be taken not to catch the ties when using the zipper.
At 12″, mine were too long; 6″-8″ would suffice.
~
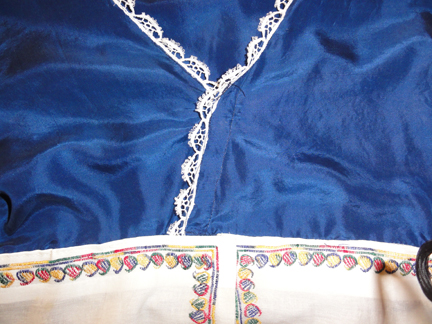
To close the front of the “emergency” gown, I used hooks and eyes. This is not truly faking as they were common on Regency gowns. When hooks and eyes were used, seamstresses weren’t stingy, and used a lot of them.
Packages of individual hooks and eyes are inexpensive, and come in black, white, or steel in most stores, and some stores offer additional colours at a premium. They are fussy to sew on individually but are excellent in some cases, such as holding a short width or edges together.
For ease of installation when multiple hooks and eyes are needed, cotton tape with hooks spaced about every inch, and matching tape with eyes, is sold by the meter. I was lucky to get the tape with hooks on sale, but the tape with eyes was regular price.
An alternative to the tape with eyes (at half the price per meter) is a product intended for long rows of buttons, which looks like woven cording with loops every half inch or so. The loops appeared to align with the hooks, and for short lengths, they’re okay, but they’re just enough out of sync that, for longer lengths, I need to skip an extra one every so often.
As you can see, I used both types: tape on the crossover v-neck and individual hooks on the belt edge of the skirt. The installation was fair to both right and left handed openings!

~
As much as we like buttons these days, they were less common on Regency women’s wear. Jane Austen remarked in a letter to her sister Cassandra that buttons were quite dear. Men’s clothing most often had self-covered buttons, but ladies’ used metal, shell, ivory, stones, gems, and similar materials.
Mother-of-pearl buttons are okay if you can find them, as are buttons made with fine cording such as Dorset buttons. Don’t use plastic buttons unless they are an excellent fake.

Pearl and metal buttons, 1780 to 1820, Luckcock Collection, Birmingham Museum of Art
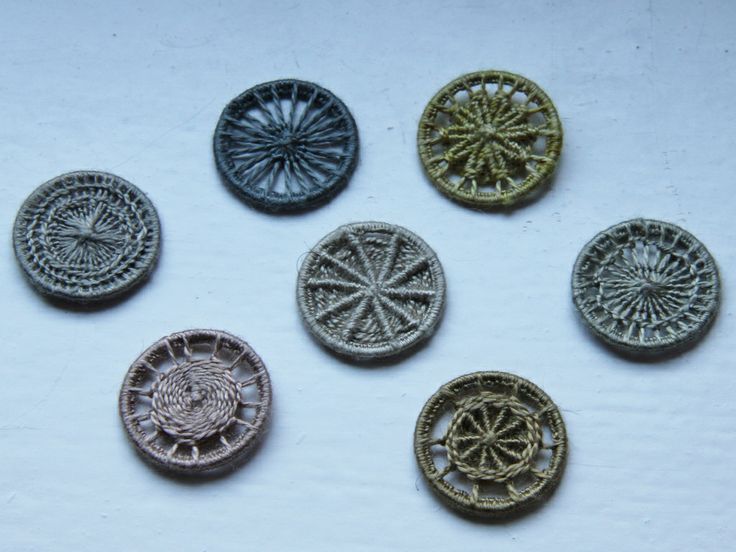
Dorset buttons
You could put fake buttons and loops on the gown just as you did for the ribbon ties, and keep your zipper.
~
Next post: I left all the hand-sewing for items like Mr. Suze’s coat to the last minute, and not much new is happening at the moment! I’ll try to take a photo or two of my ball gown as I complete it this week, but since I’ll be traveling prior to the JASNA AGM in Louisville, Kentucky on October 9-11, 2015, it will be a meager post!
~
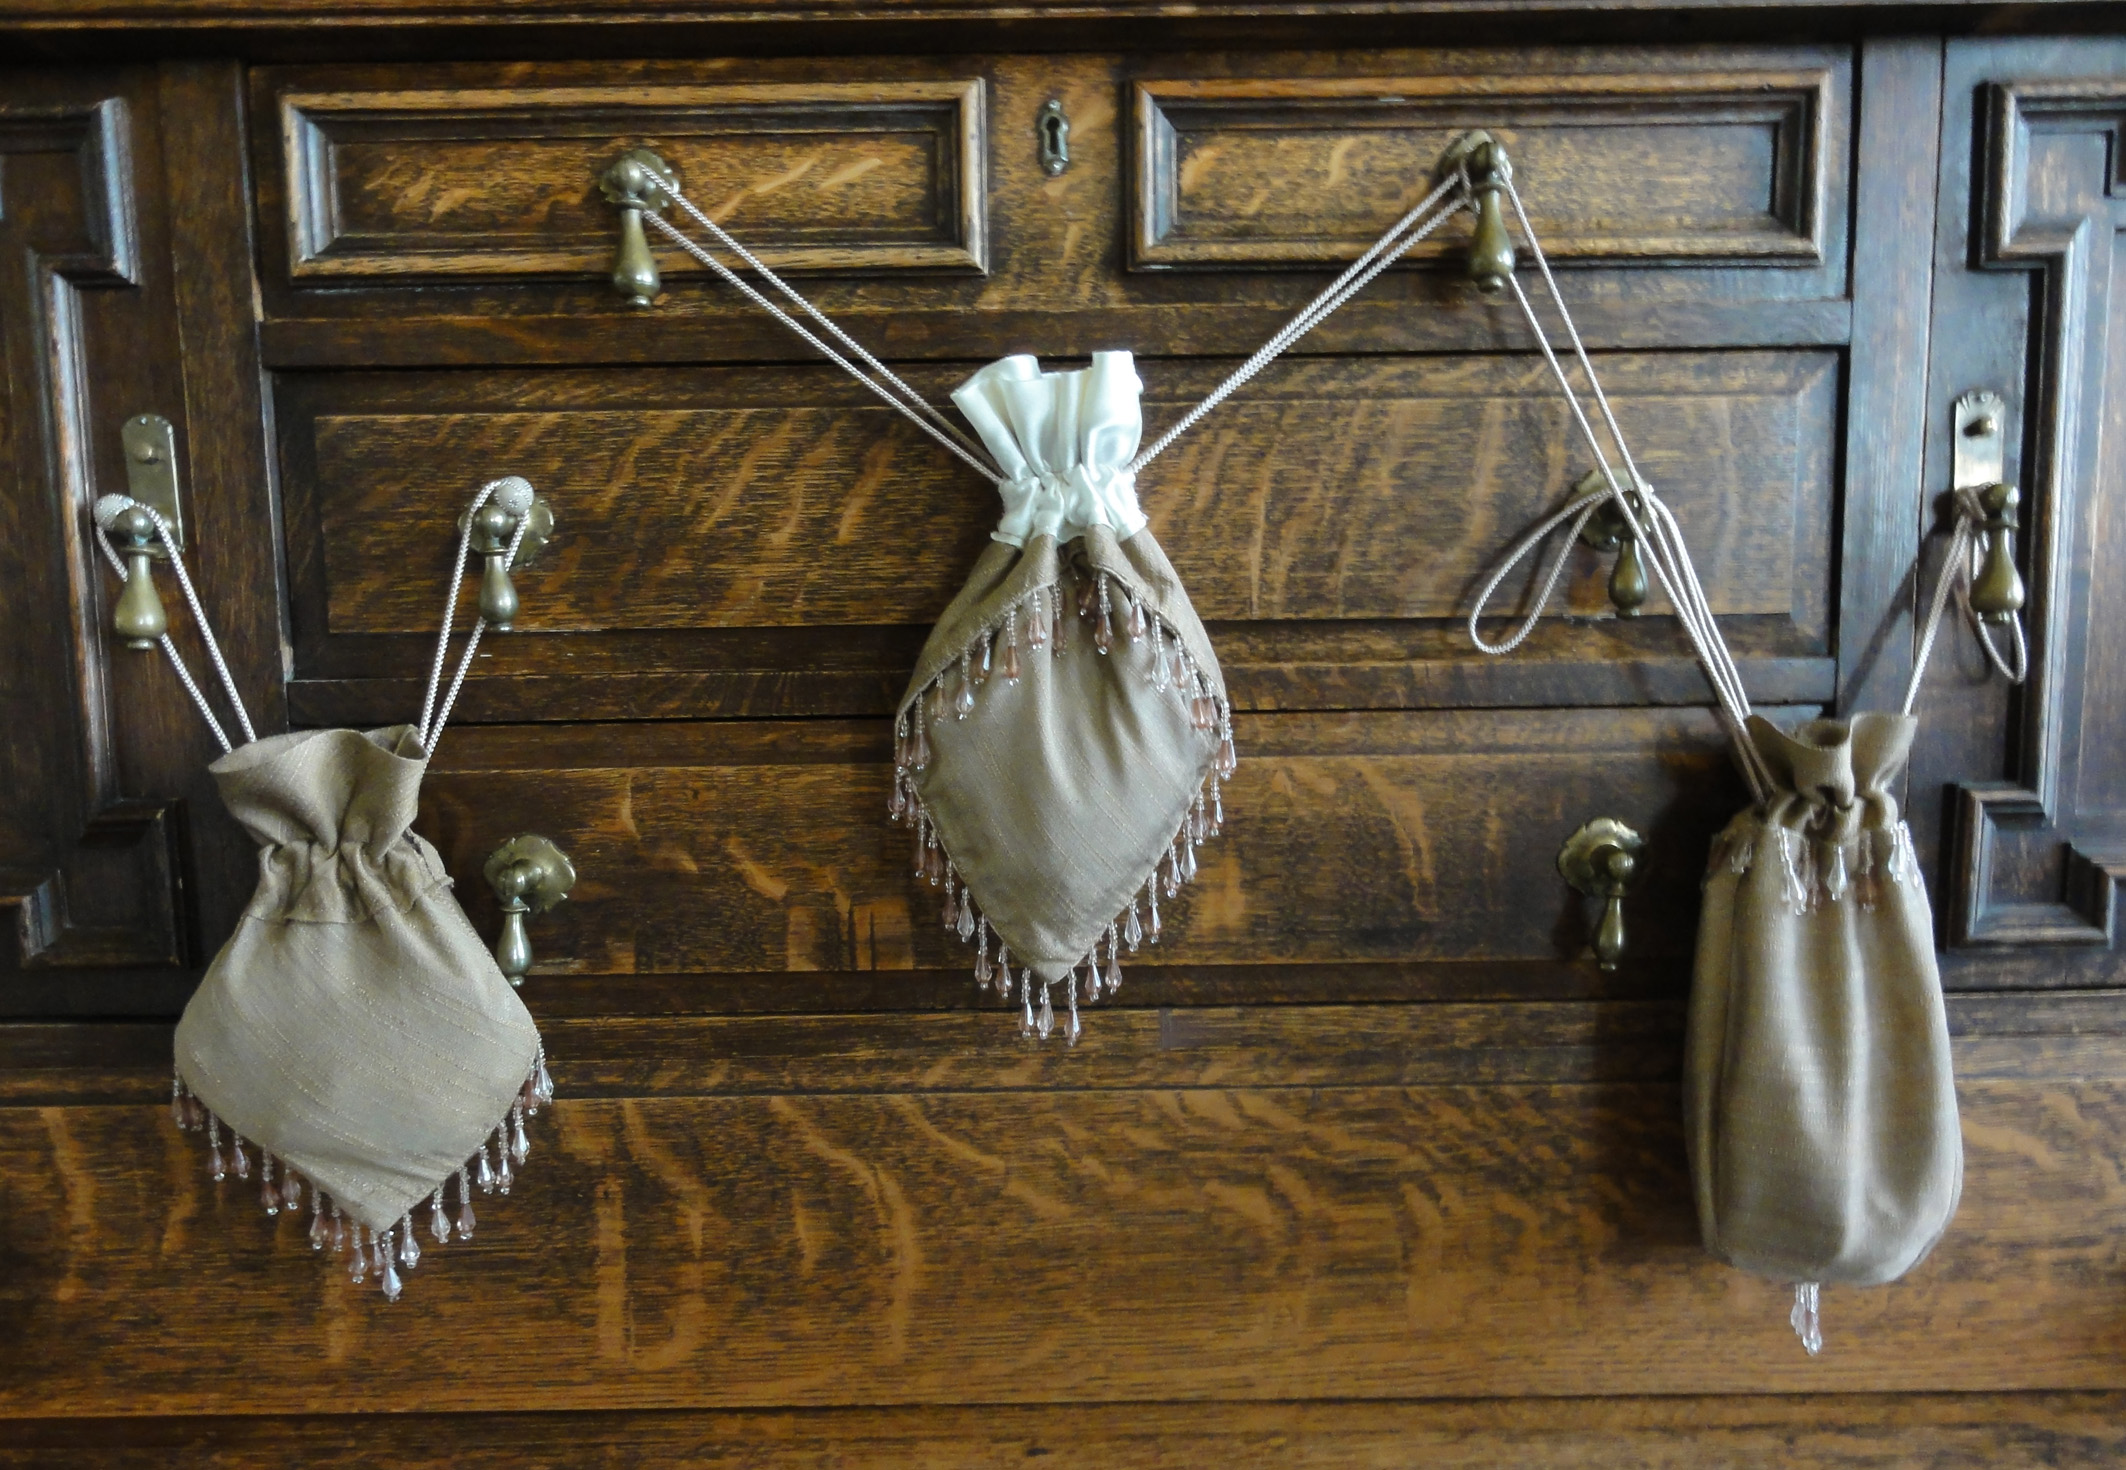
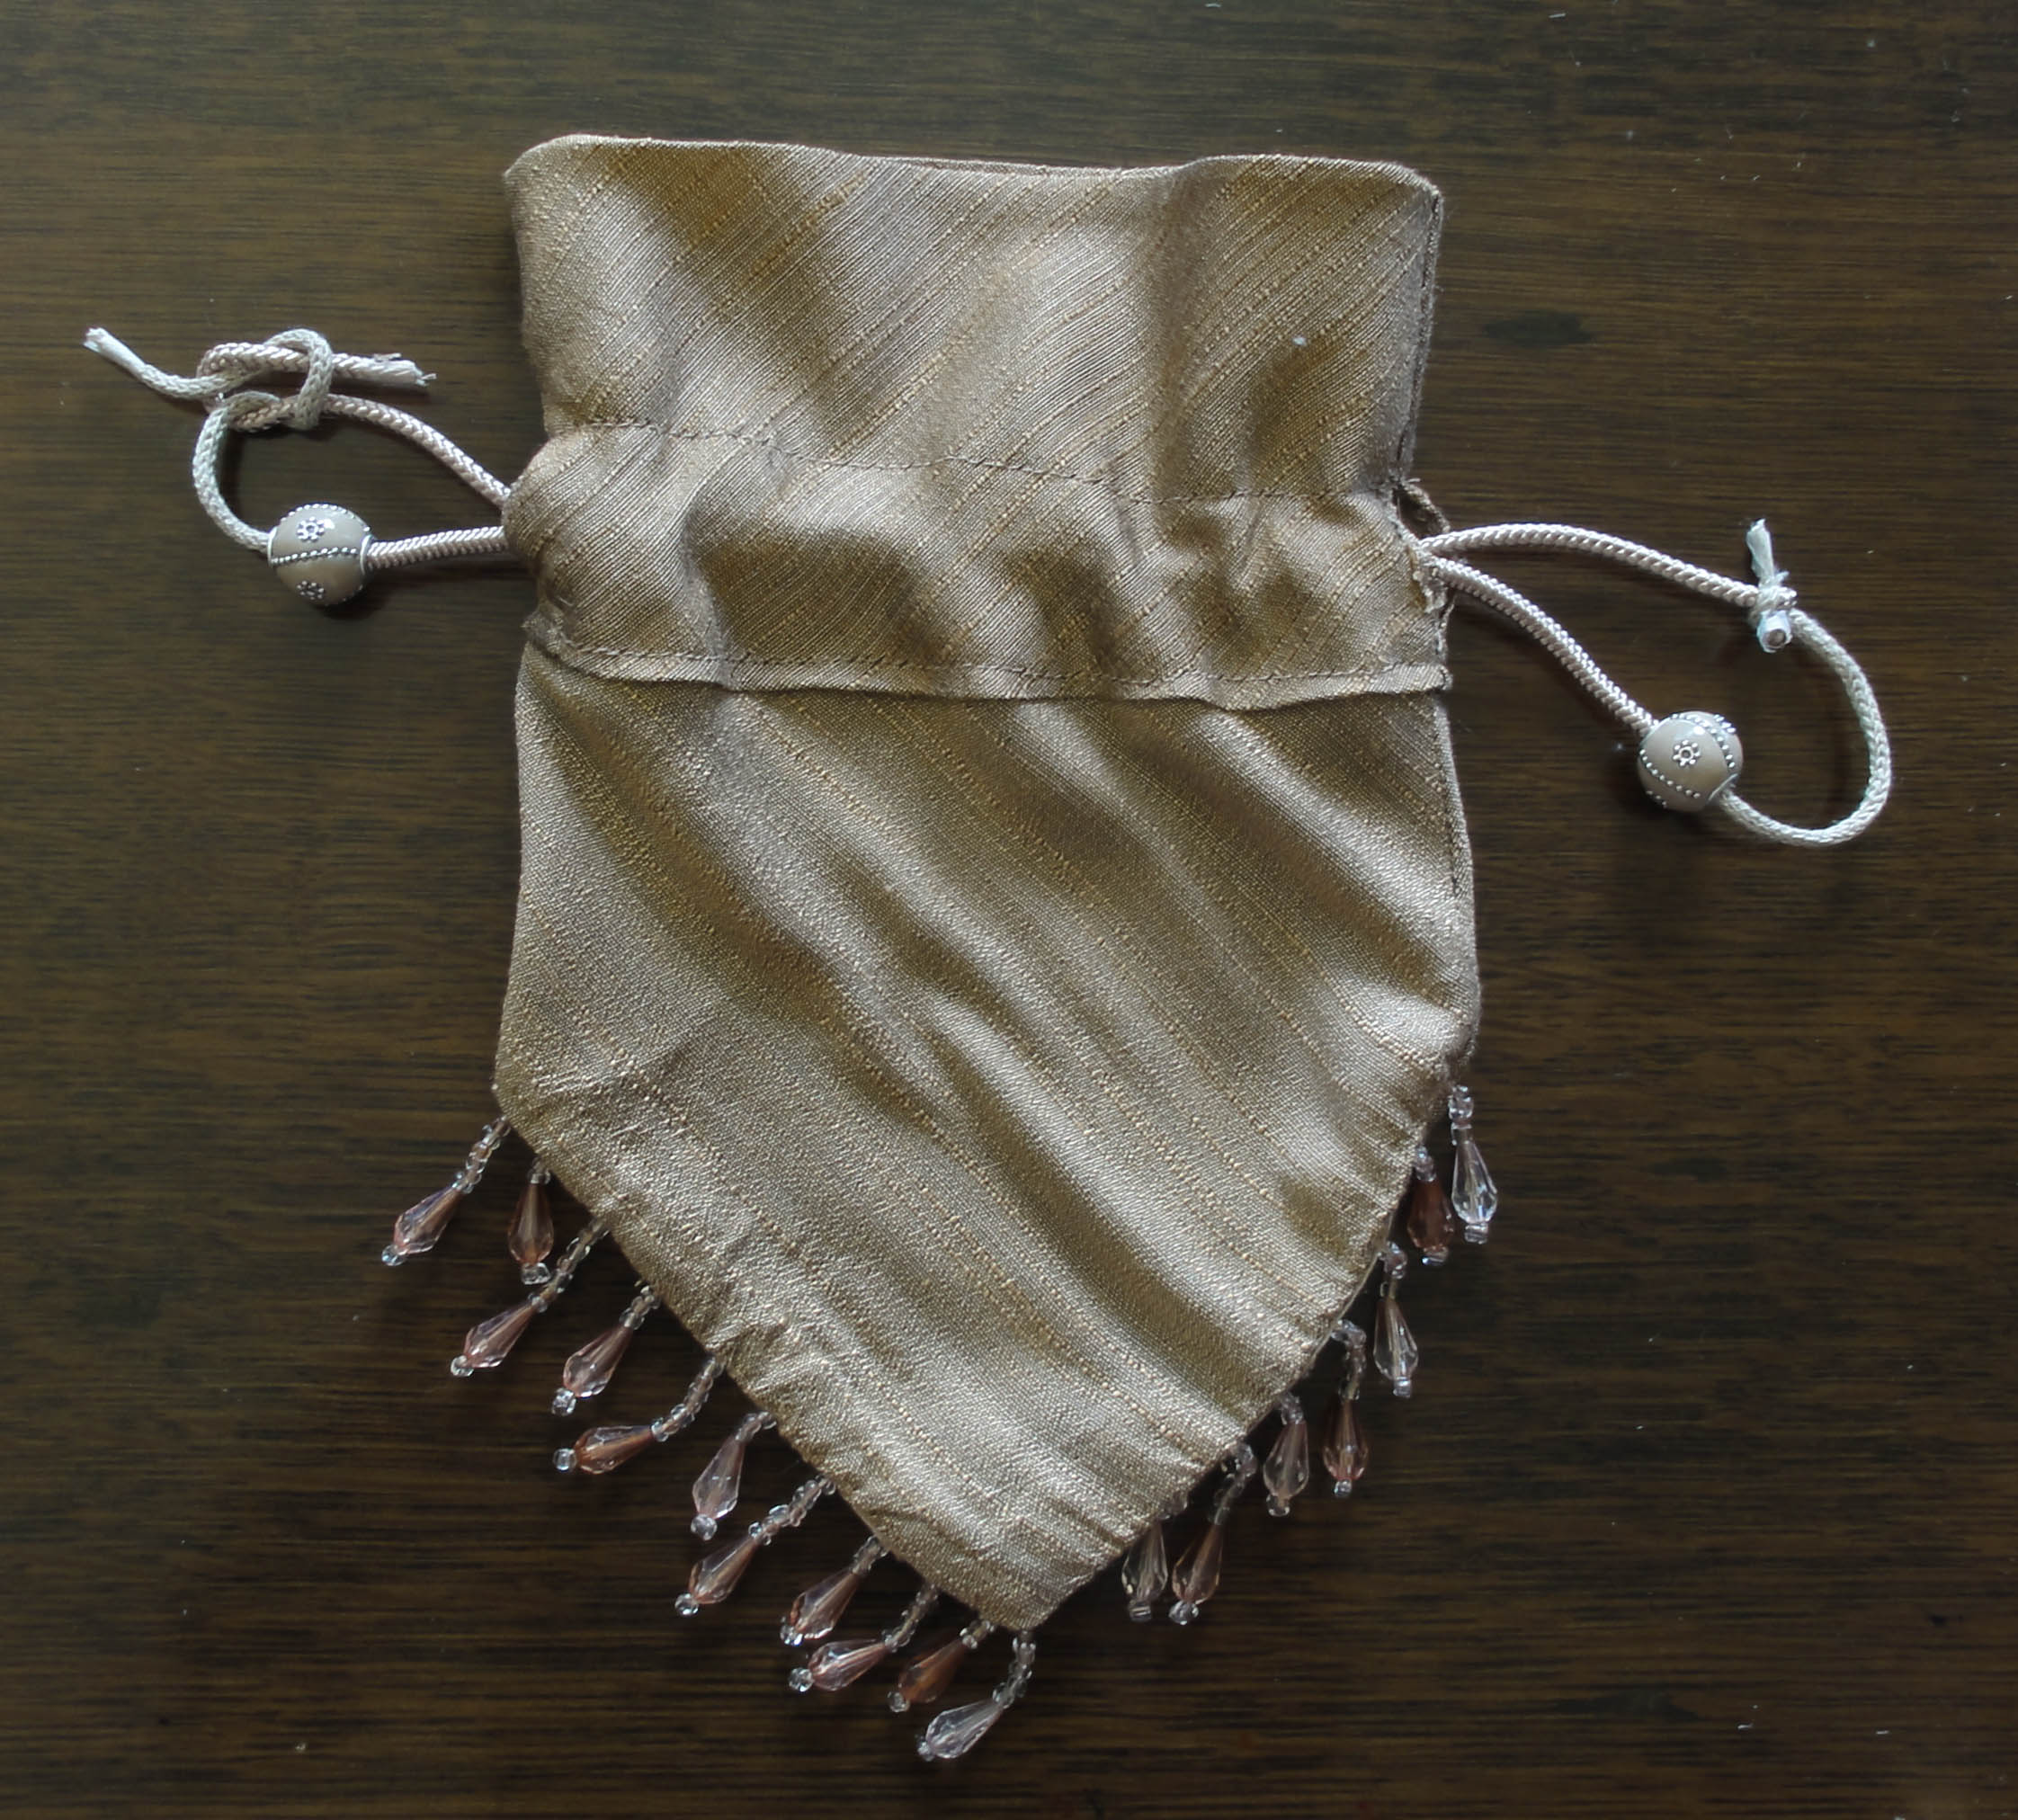
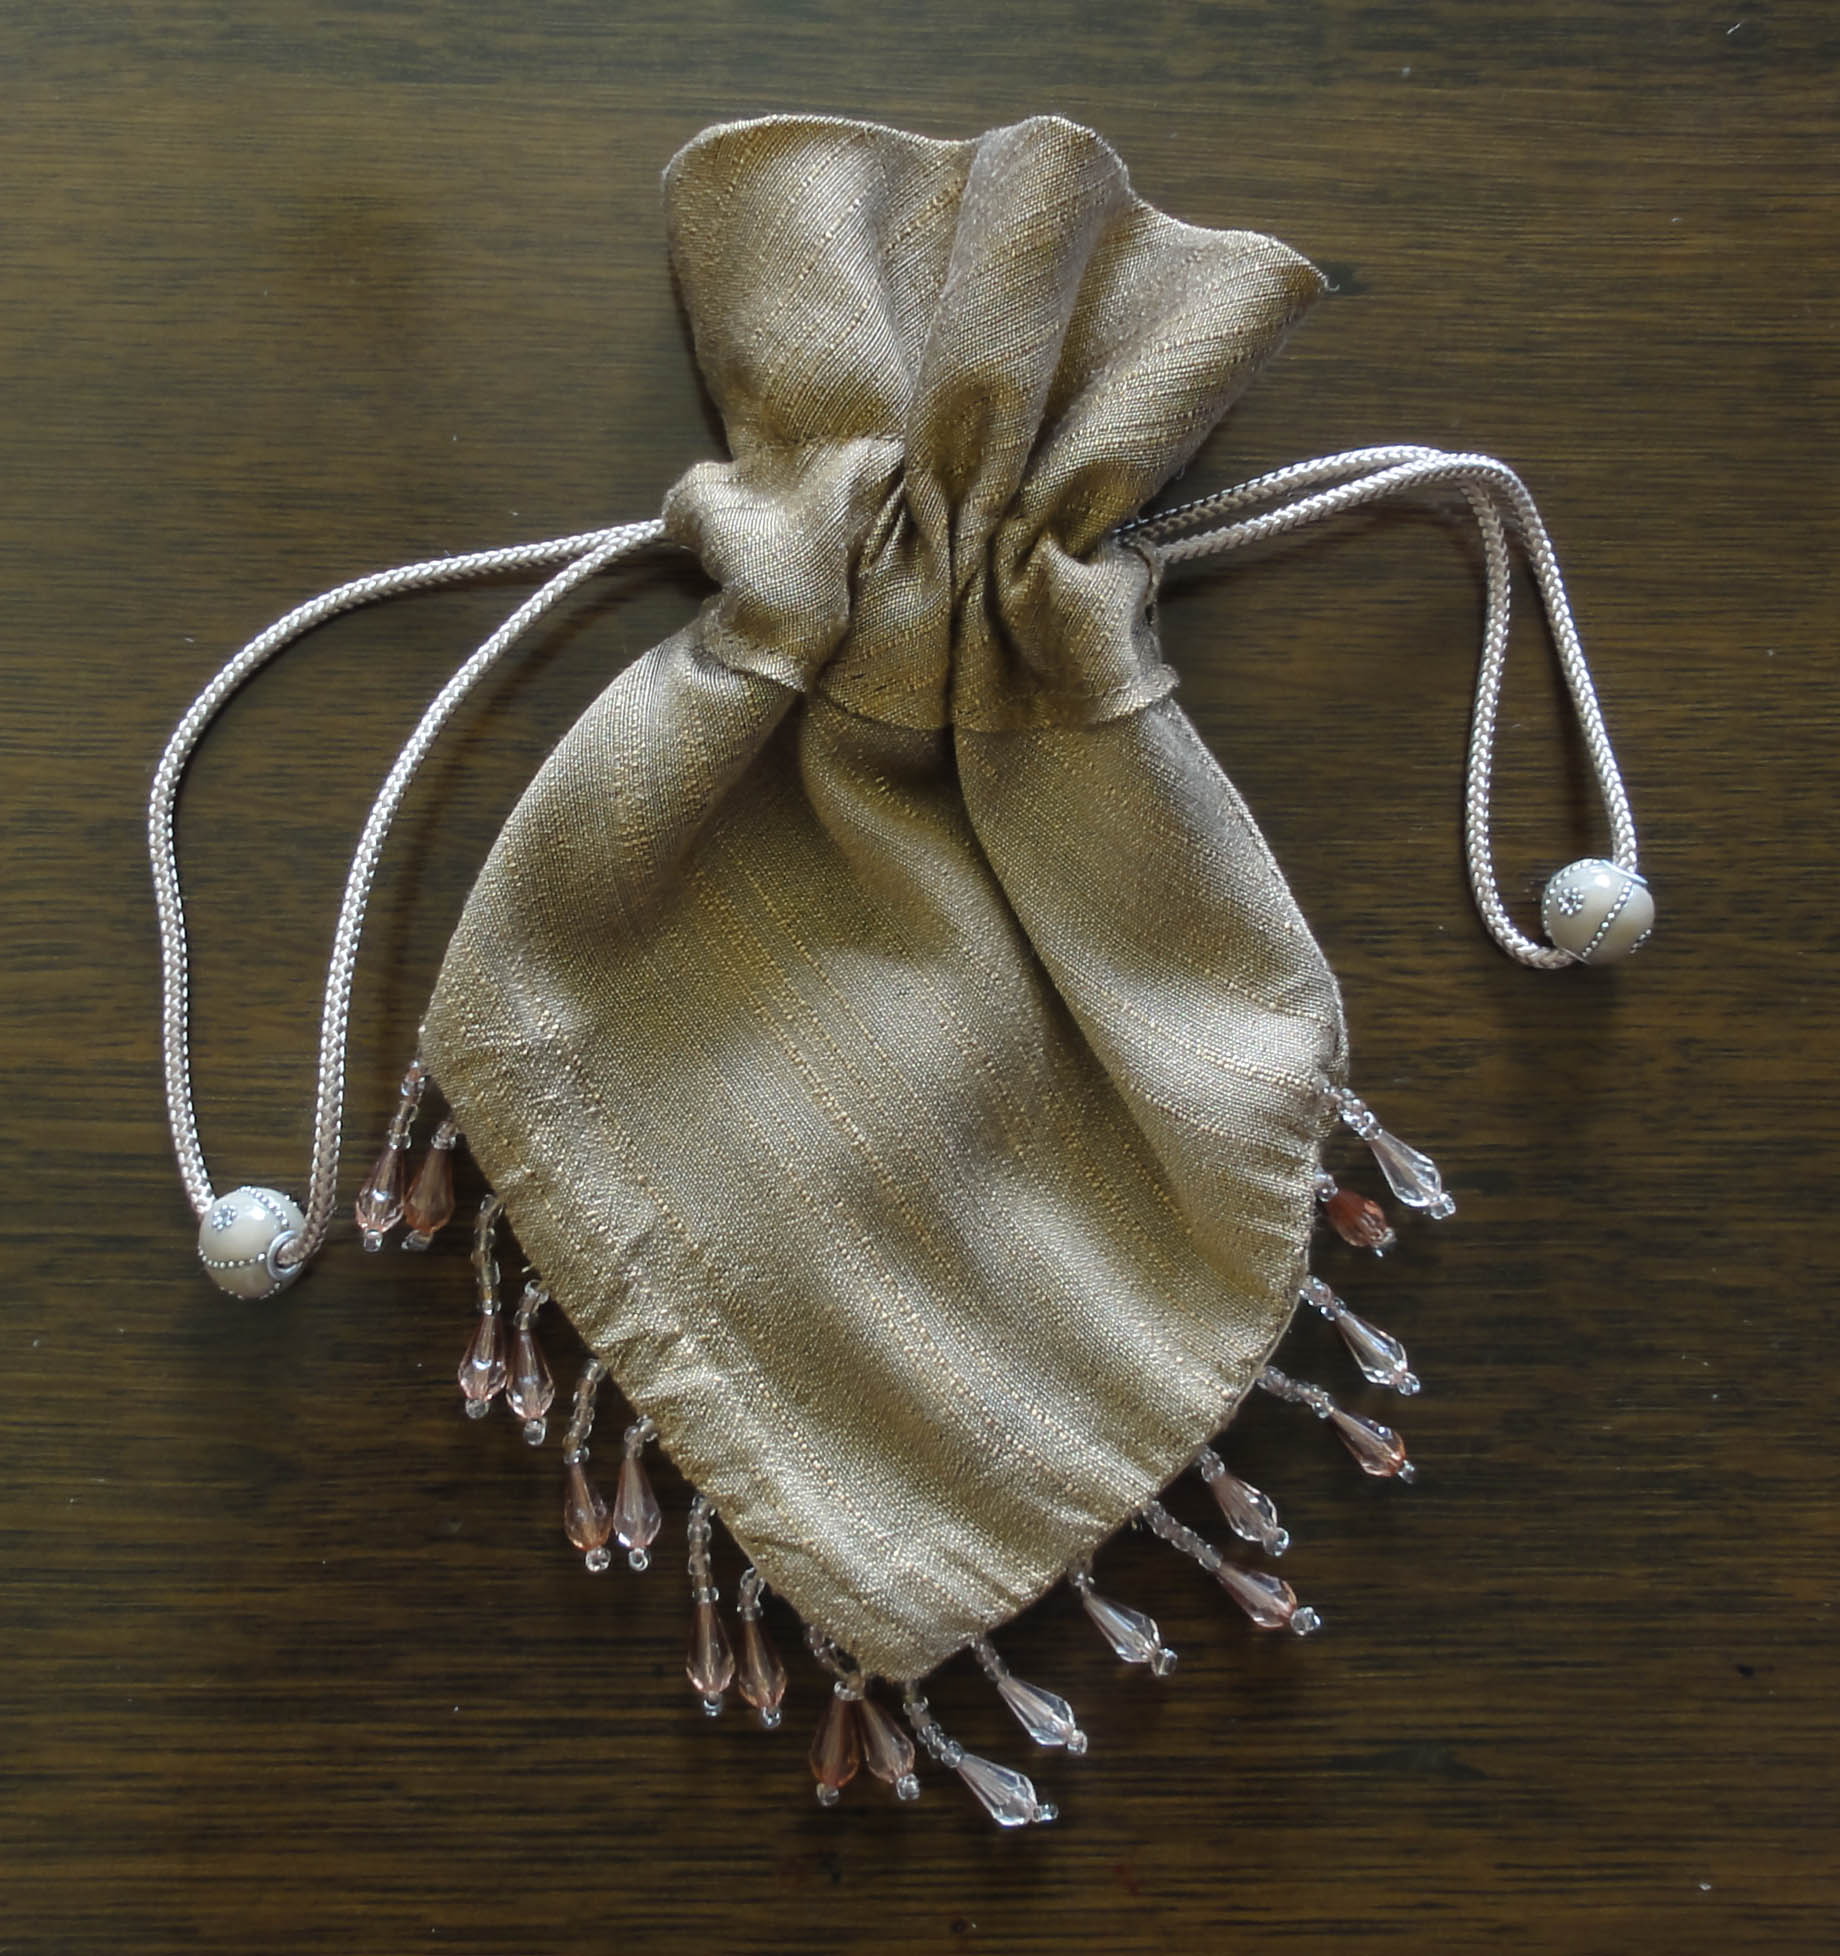
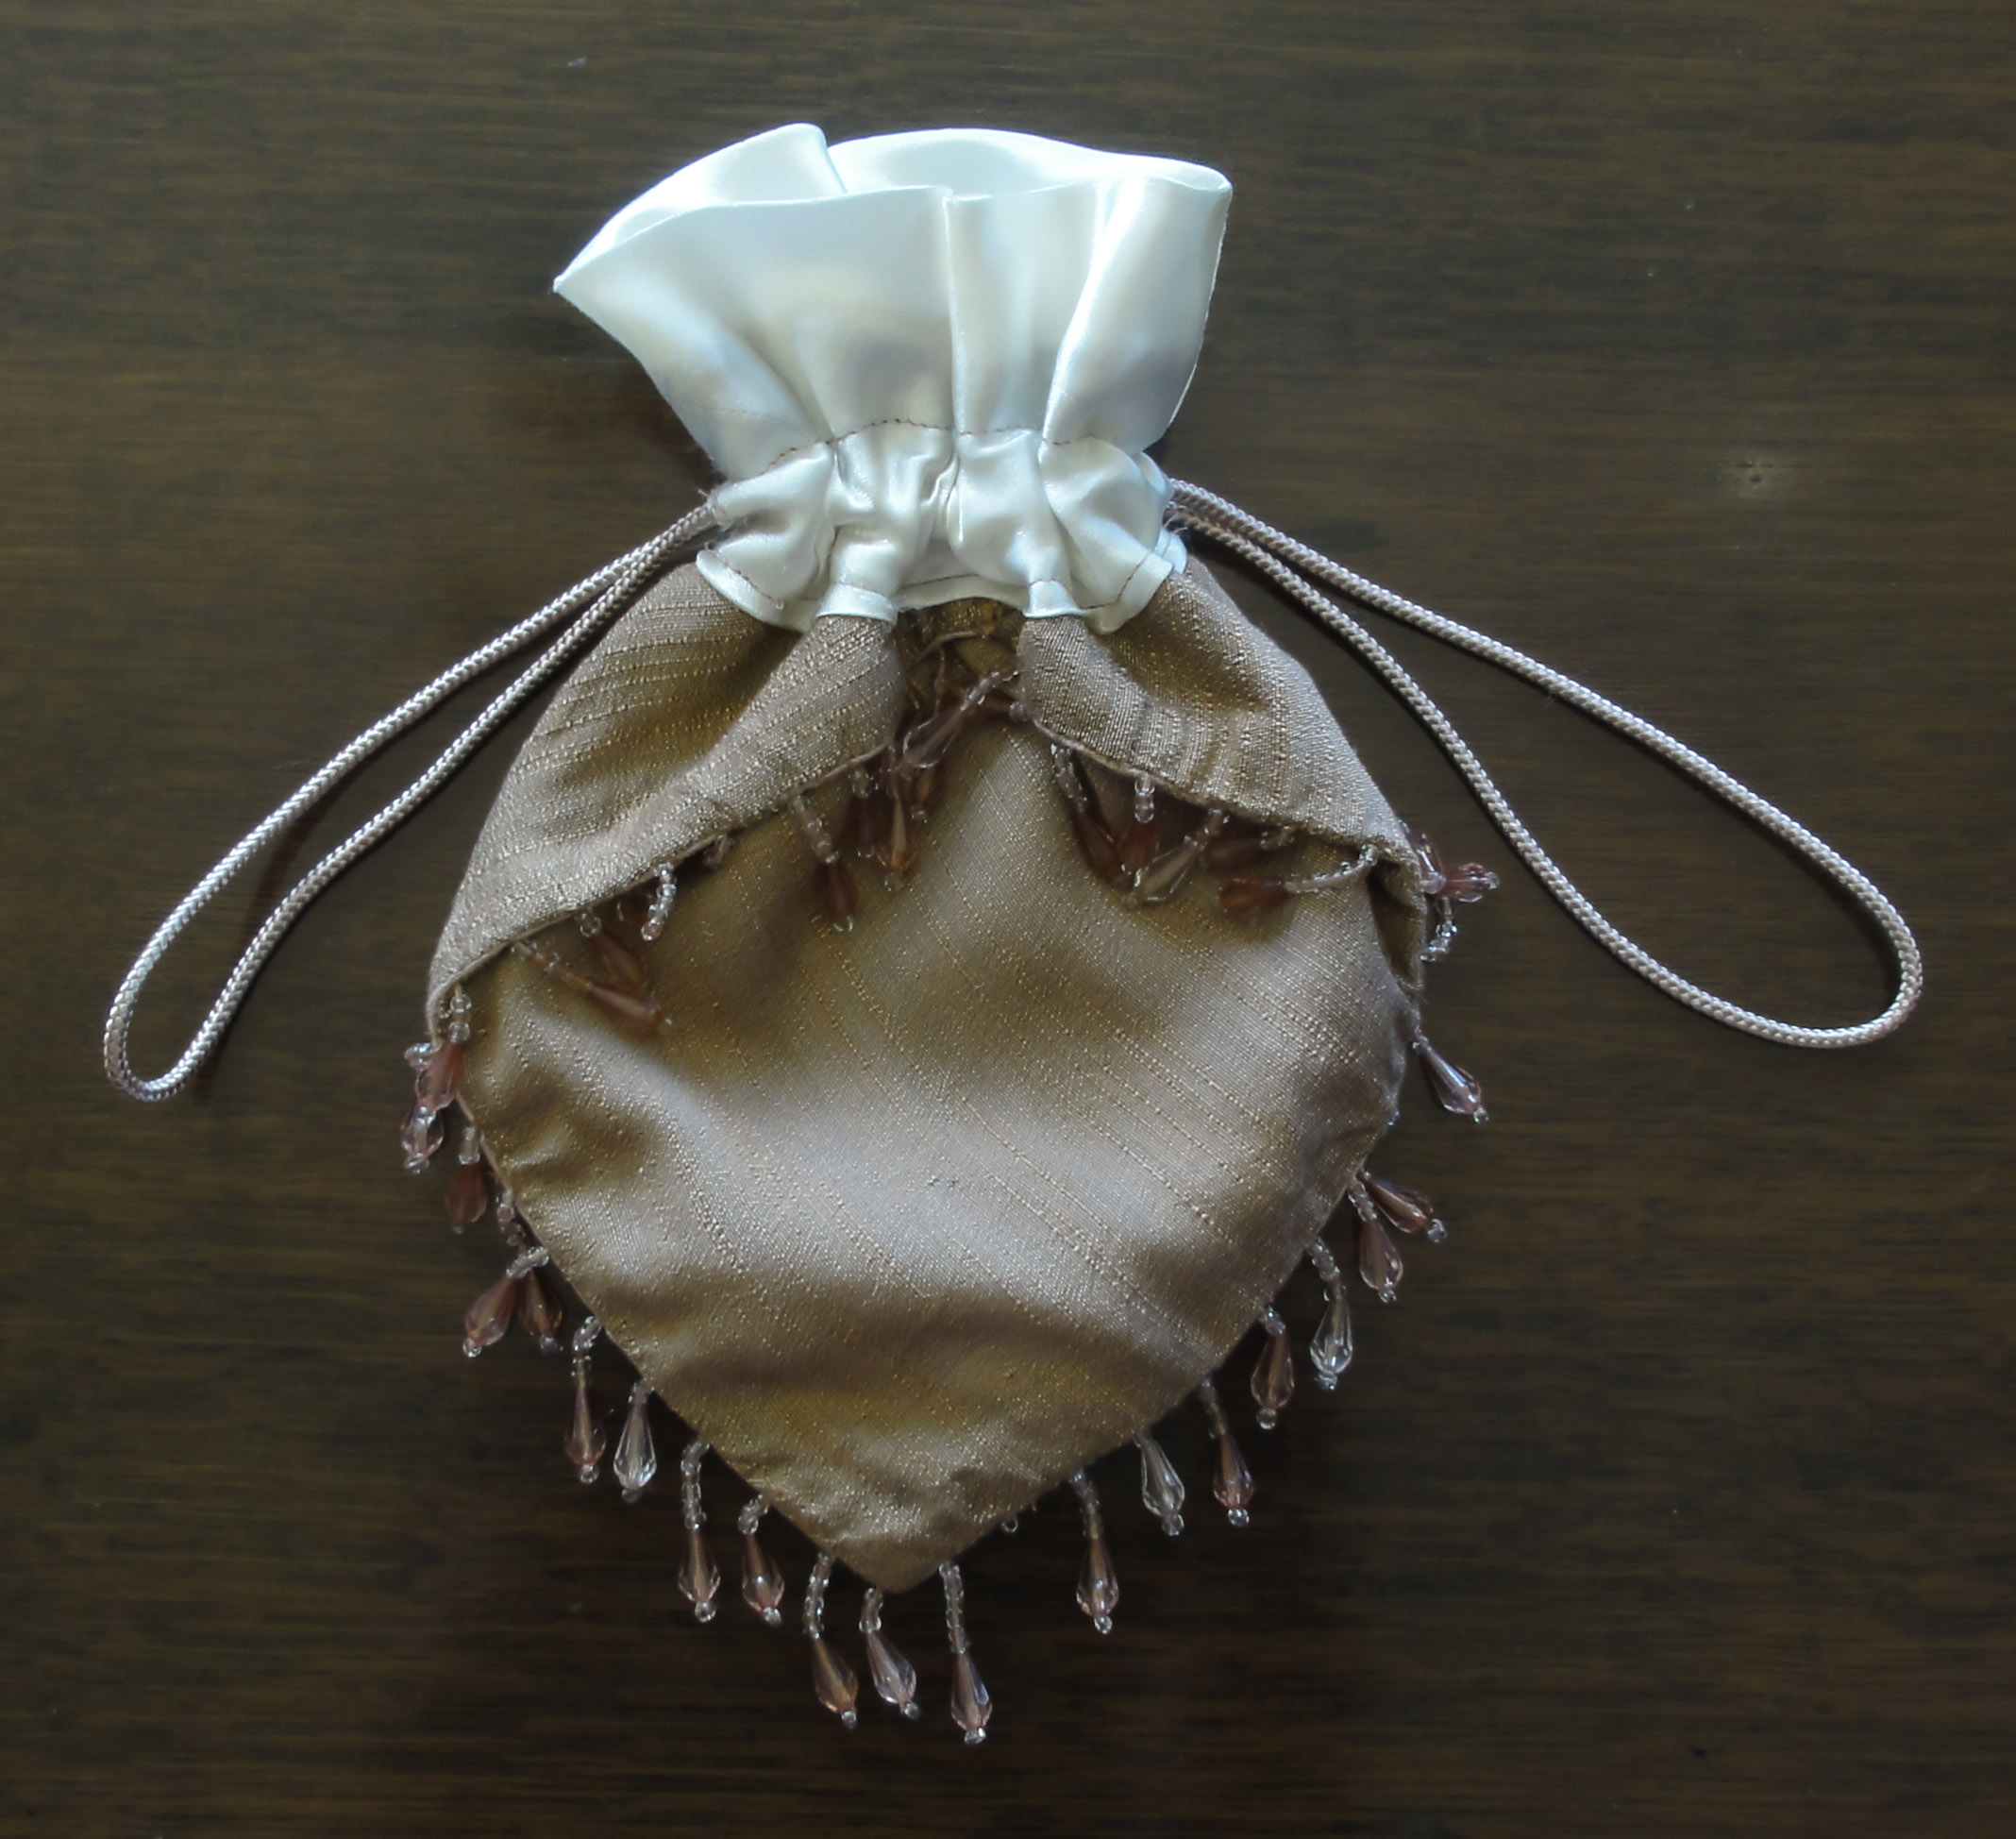
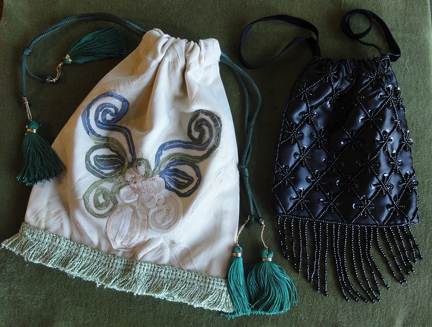
The best word EVER: GIVE-AWAYS!
On October 8-11, while I’m in Louisville, there will be a draw for daily prizes from my stash of reticules, Regency accessories, and other goodies. The Regency items are one-of-a-kind. Though they’re hand made by someone who’s not crafty (so less than perfect), I’ve signed each one and added my signature pagoda parasol.
There are two ways to enter:
1) Comment on any Thrift Shop Regency Costume Experiment post on road trips with the redhead, with your email address (username at host dot com), or
2) approach me at the JASNA AGM and ask for a Parasol in a Ballroom. I’ll collect your name and email address.
**The first person who enters either way whose initials are M.C. is an automatic winner of a velvet reticule with your initials embroidered on it!
I’ll attempt to deliver winning prizes from the AGM while I’m there, and blog comment prizes will be mailed. Good luck!