
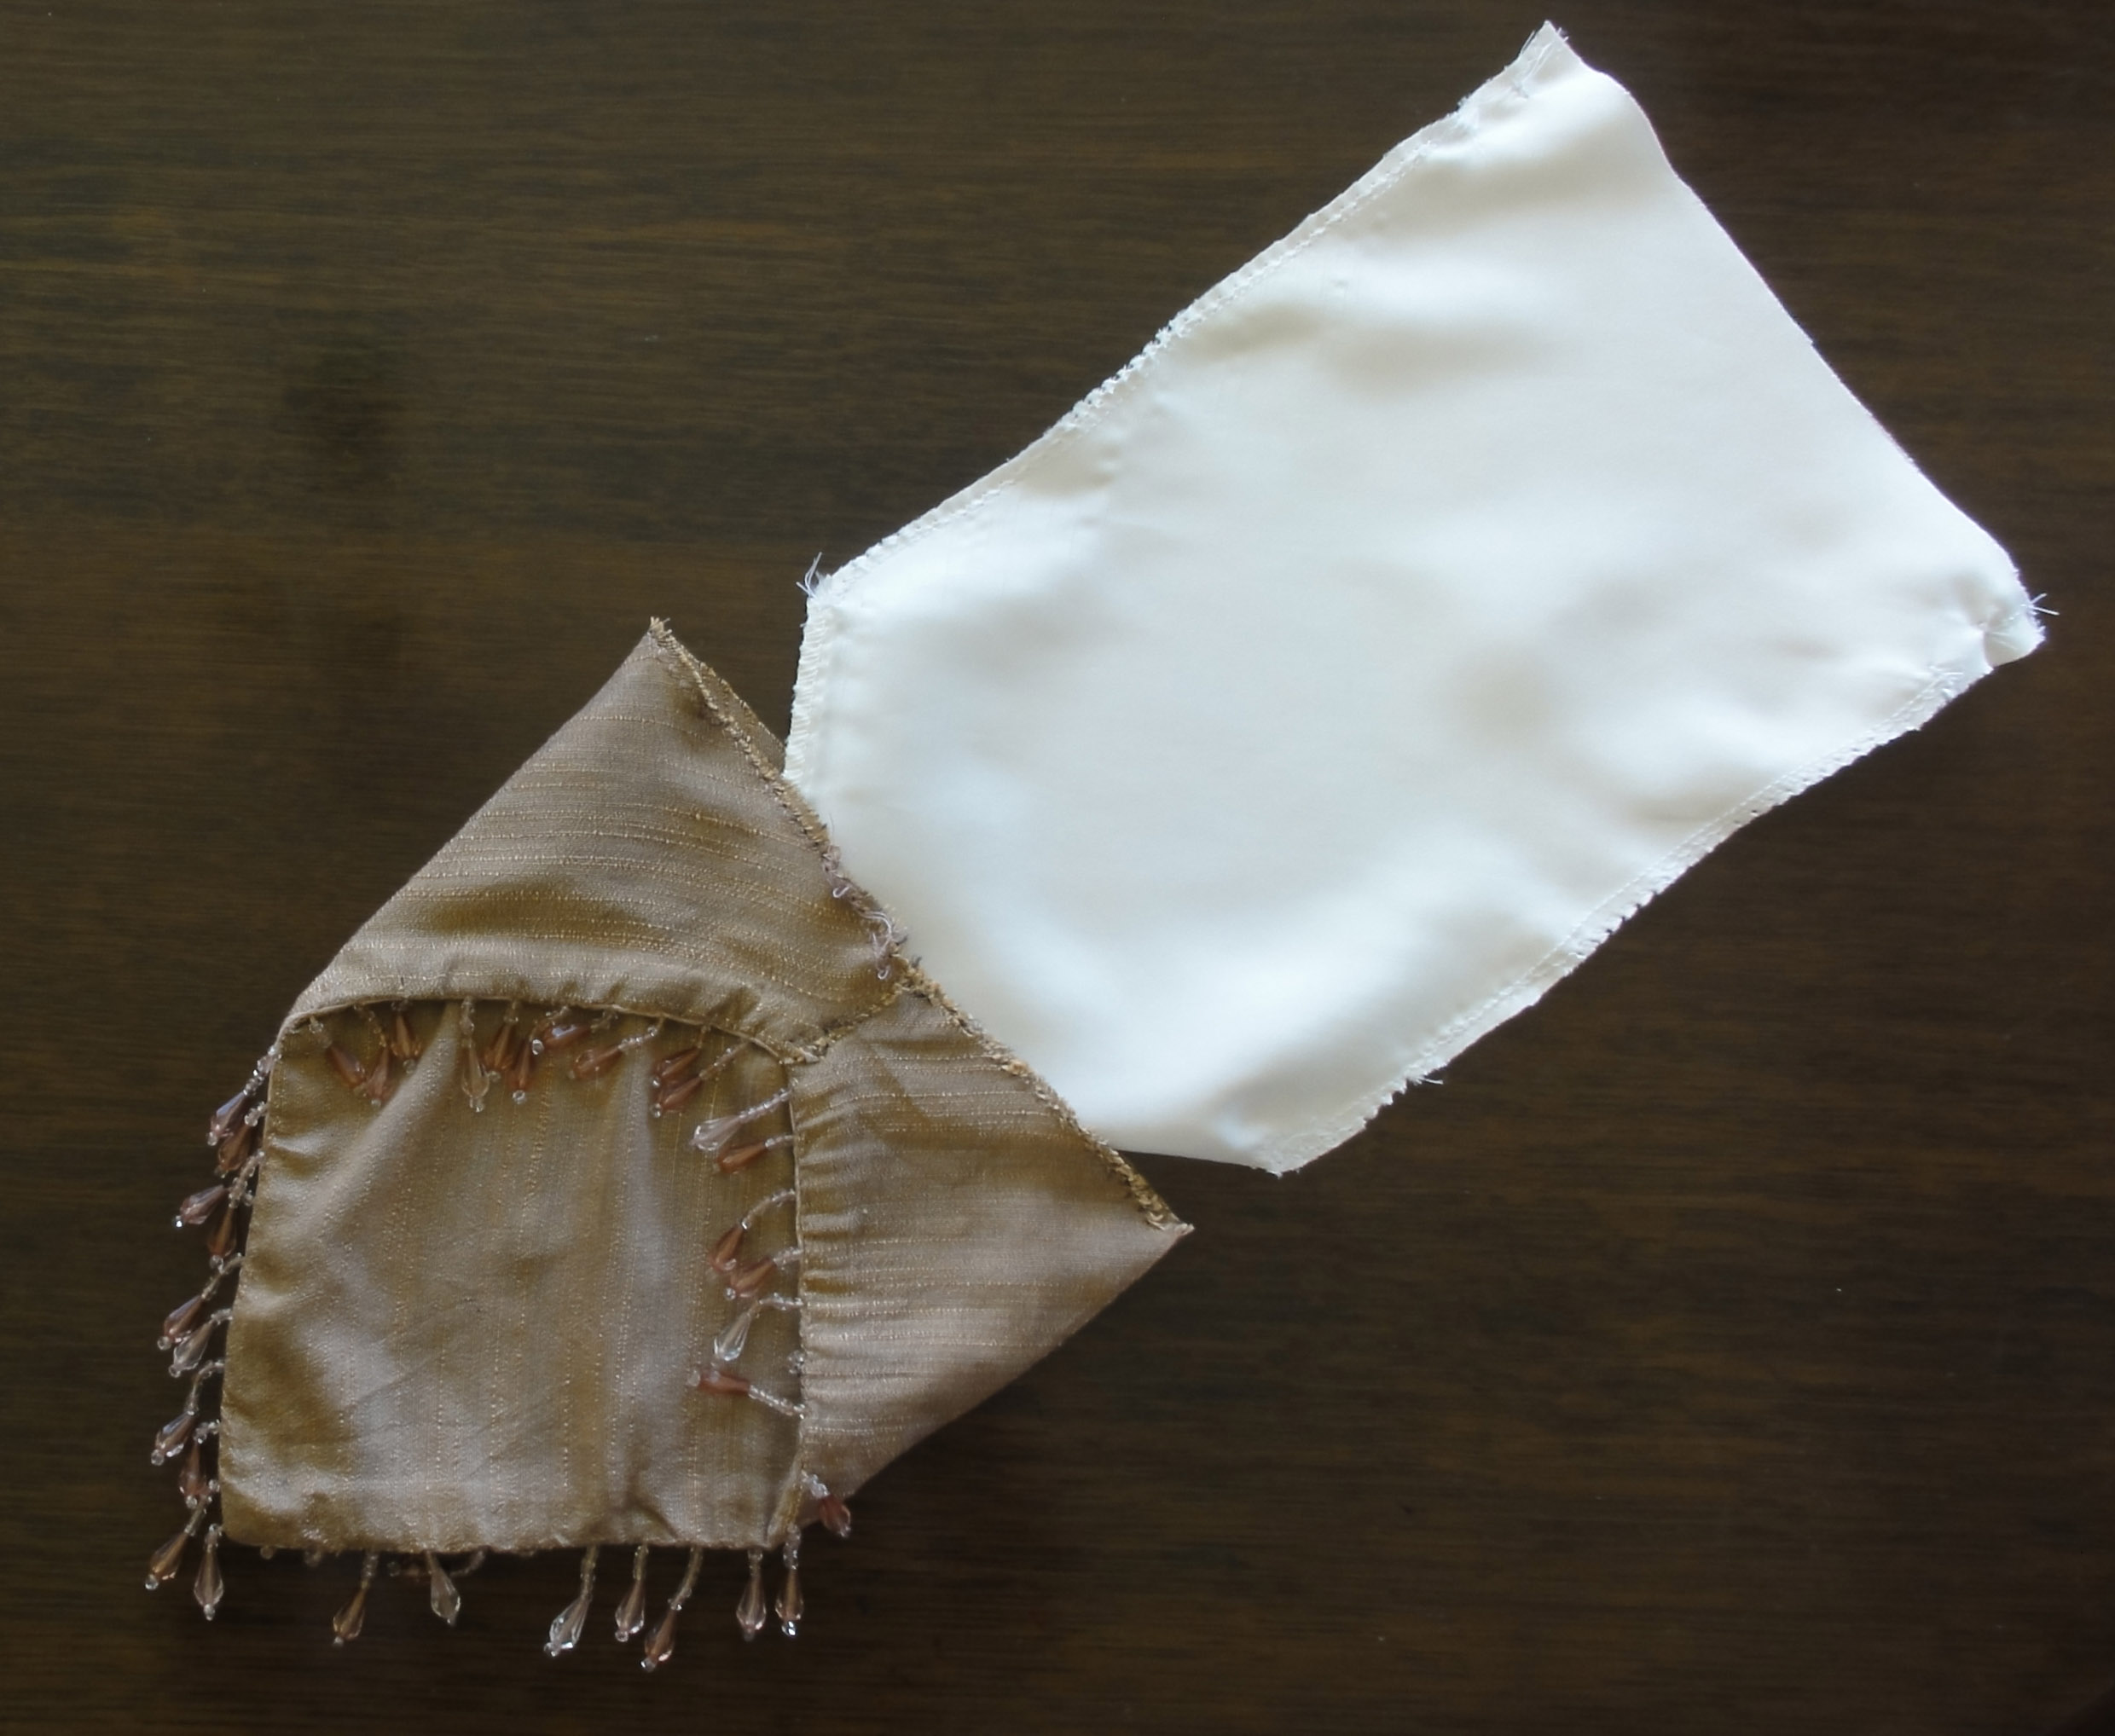
One cushion cover down, two to go! My favourite, the silk with strands of beads about every half inch along the edge, was the one to start with. Recall that it was $1.99 from Women in Need (WiN). A back zipper limited the use with my standard designs, which yield for four reticules from one cushion, two of each of two designs. Instead, I still used the first design, but made two from the wider section, after which I stared at the leftover panel for a while.
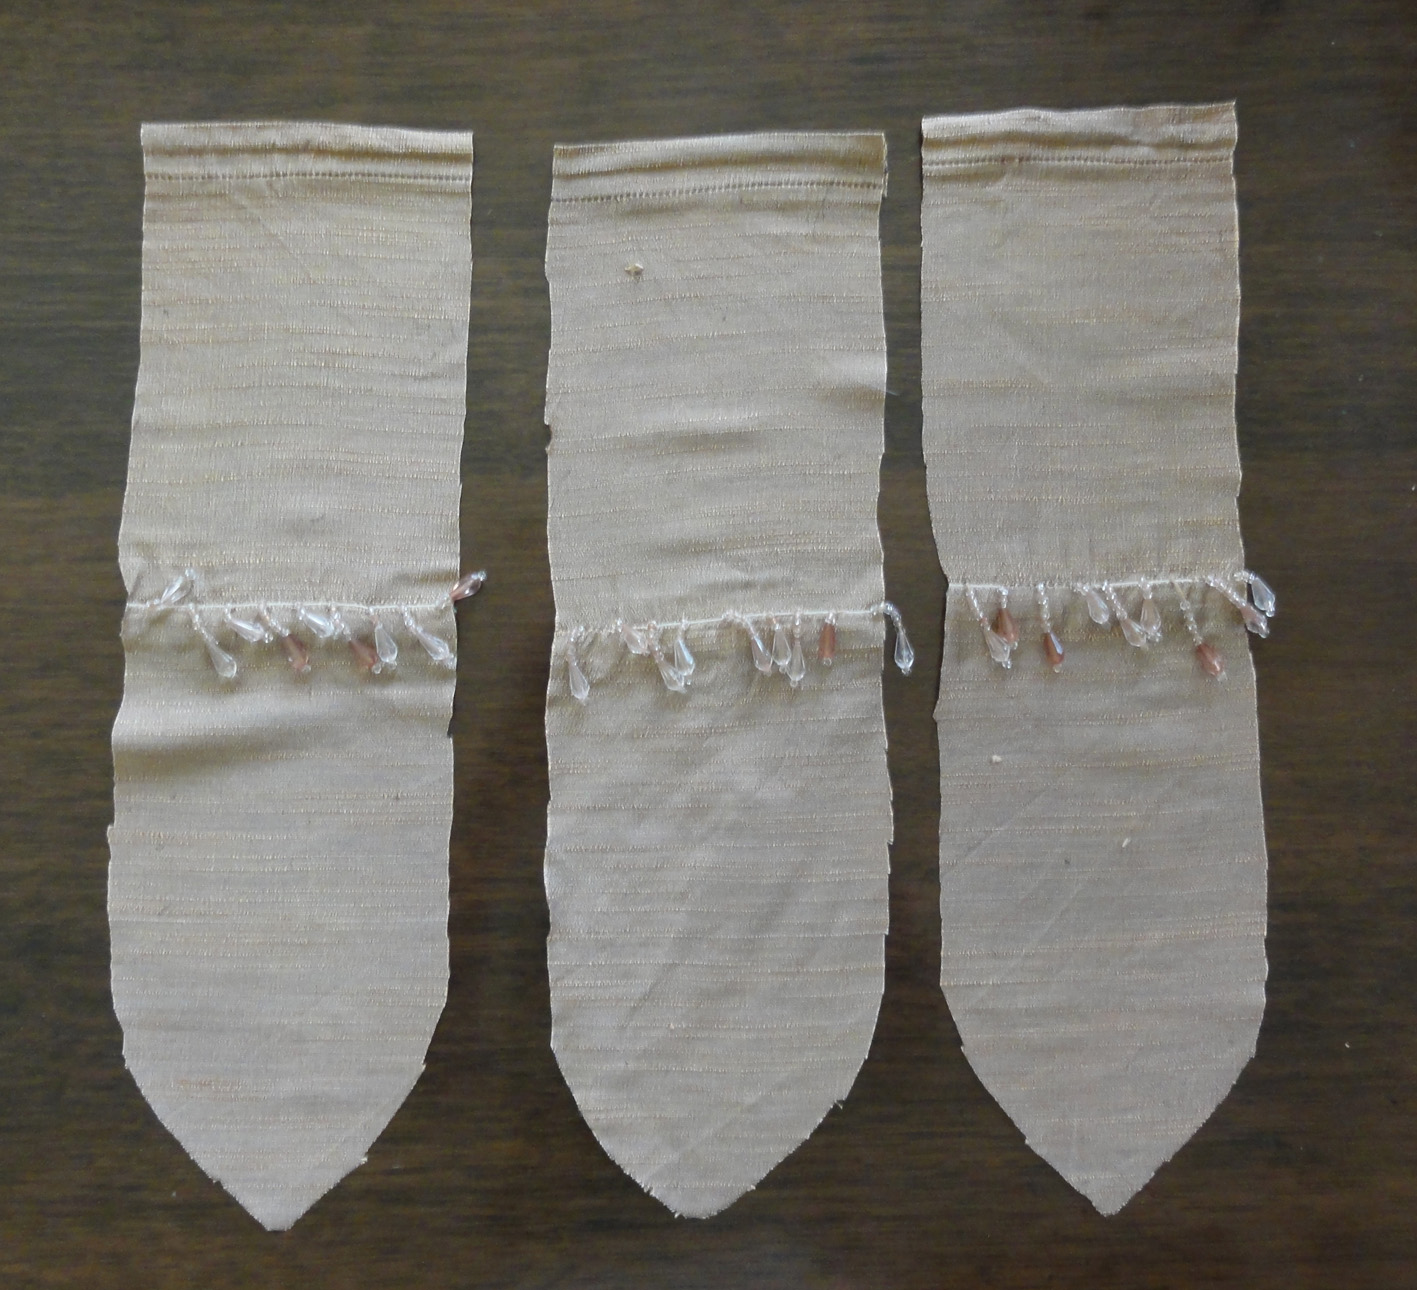
Two small square reticules could be made, but the beads were on two sides of each half. I decided on a three-sided reticule with the row of beads at the top, below a ruffle.
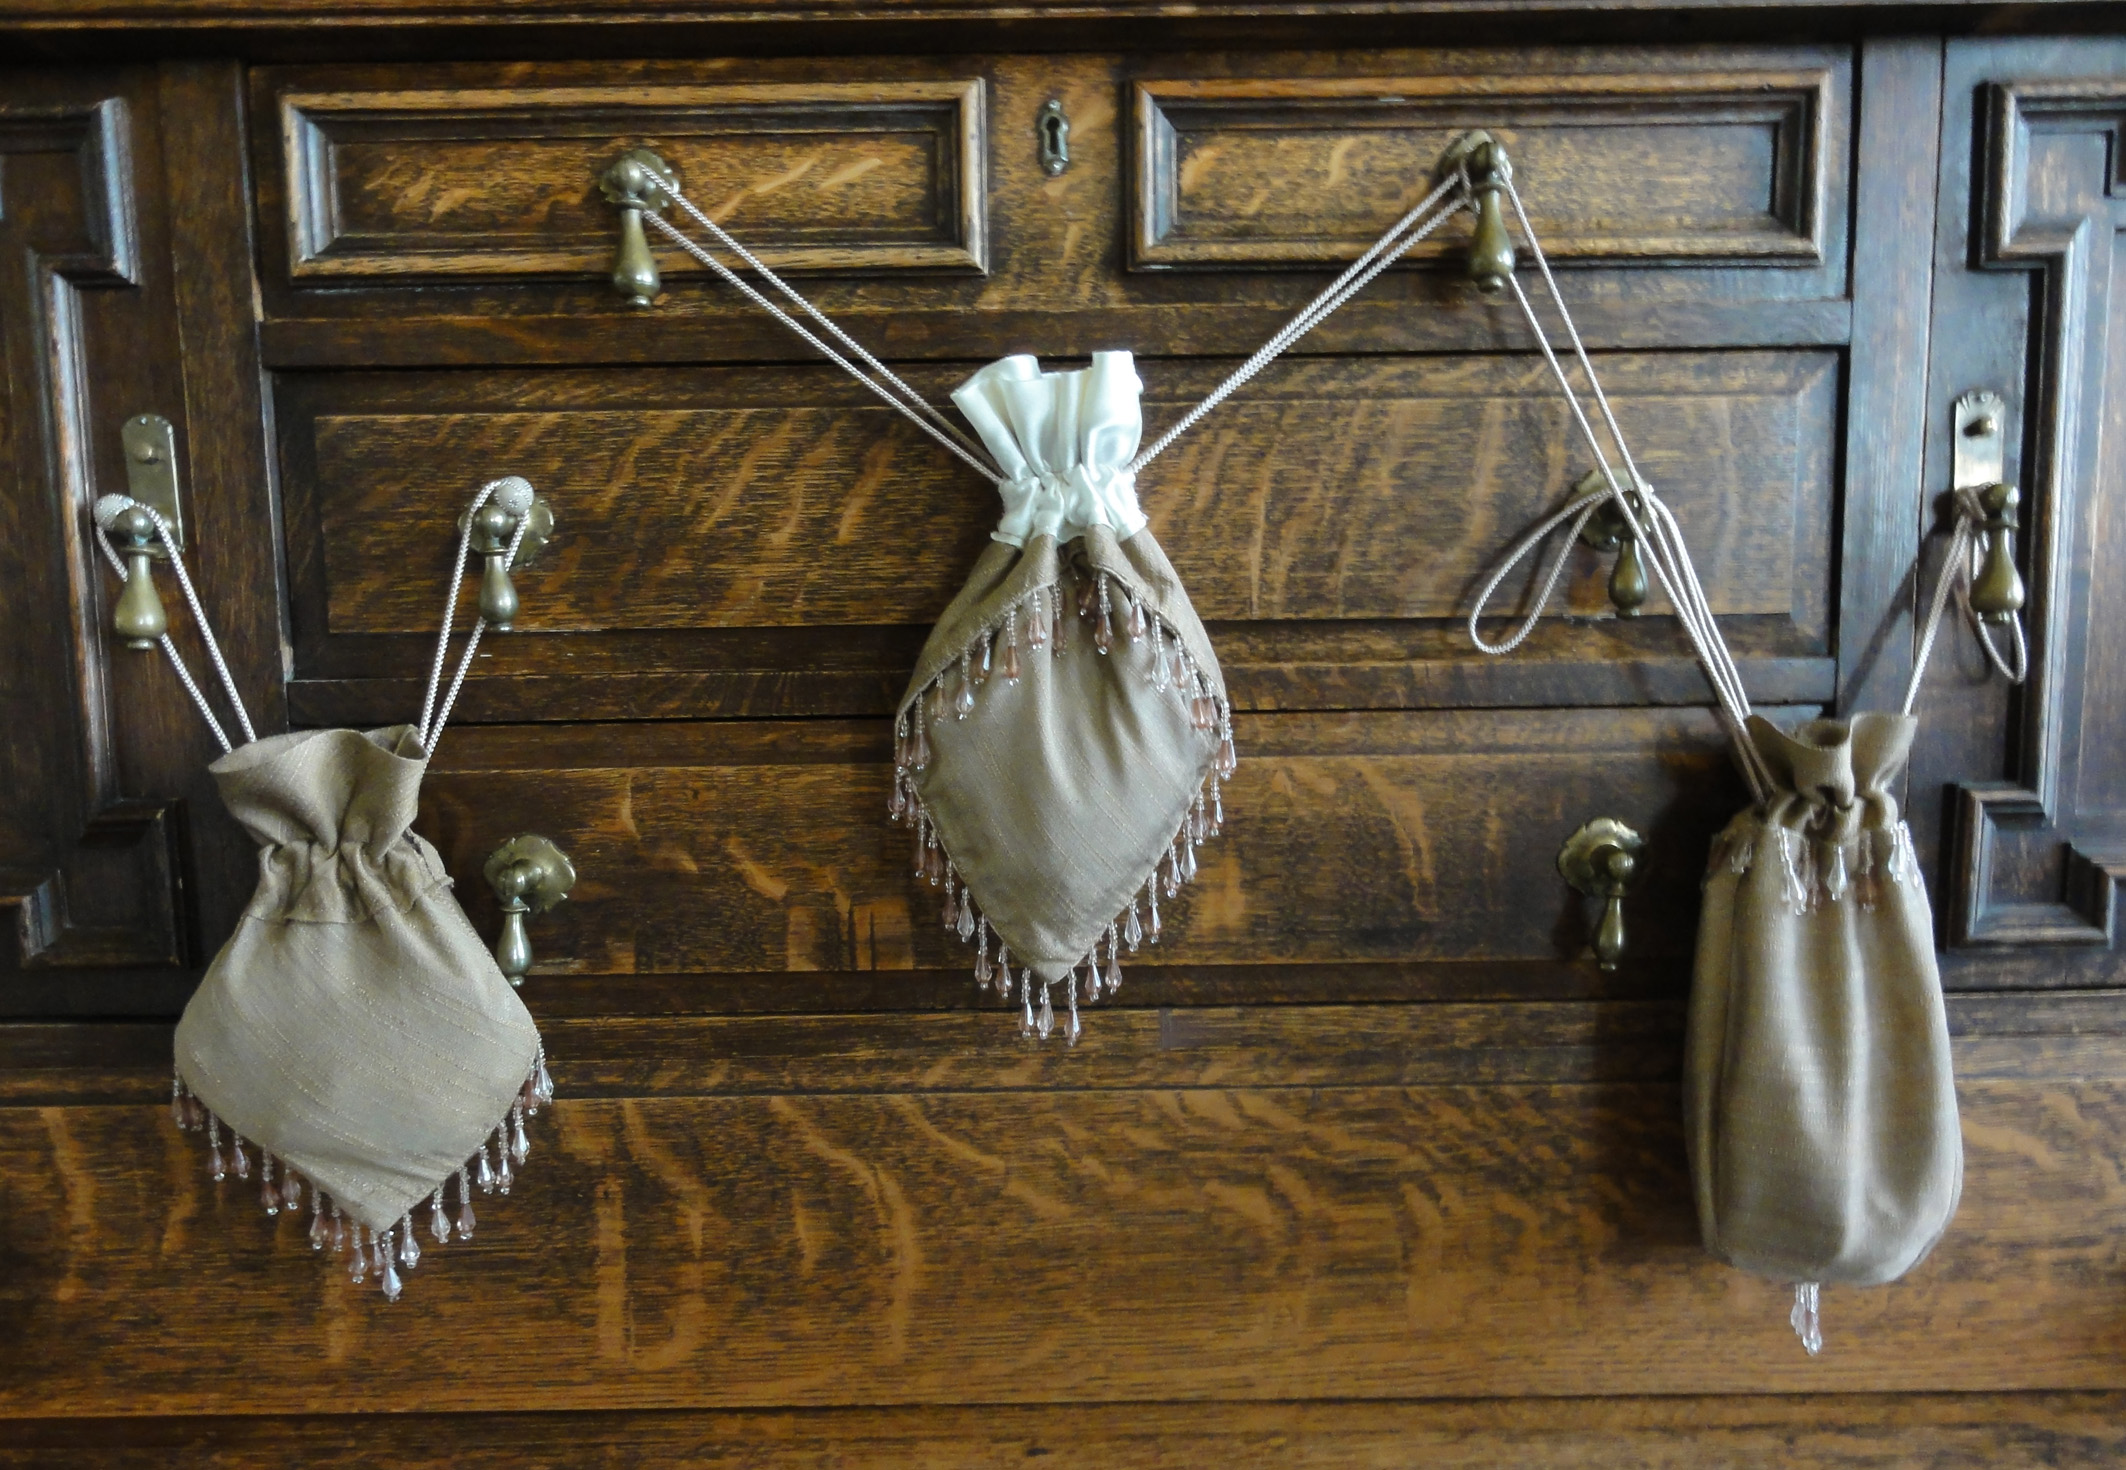
Beaded cushion cover reticules: Design #1, Design #2, and “Bonus Reticule,” similar to Design #5 (“The American Girl’s Book” Three-Sided Reticule).
I started by cutting a square piece of newspaper the size of my cushion cover, then folding it on the diagonal and marking the centre. The cushion cover had a zipper about 2/3 of the way across the back, so I cut the pattern to the size of the largest back panel. I realized I’d only get two reticules made from this piece.
Appended to this post are two pdfs: one for the reticules and one for trim. The first has the main patterns for 6 different reticules, the instructions on how to sew the reticules, including special no-sew iron-on tape instructions, and a bonus design for leftover panels. A second pdf describes how to run and trim drawstrings, decorating the reticule body, several ways to line a reticule, and the installation of tassels and other hanging baubles.
 This cushion cover made Reticule #1 and Reticule #2 (with exposed lining). I marked the design on my newspaper, cut each pattern out, pinned it on the fabric, cut the fabric, and assembled each according to the instructions.
I added beads to the loops of the drawstrings of Reticule #1 because it was simpler in appearance than the other. You could add a lot more decoration to either if desired.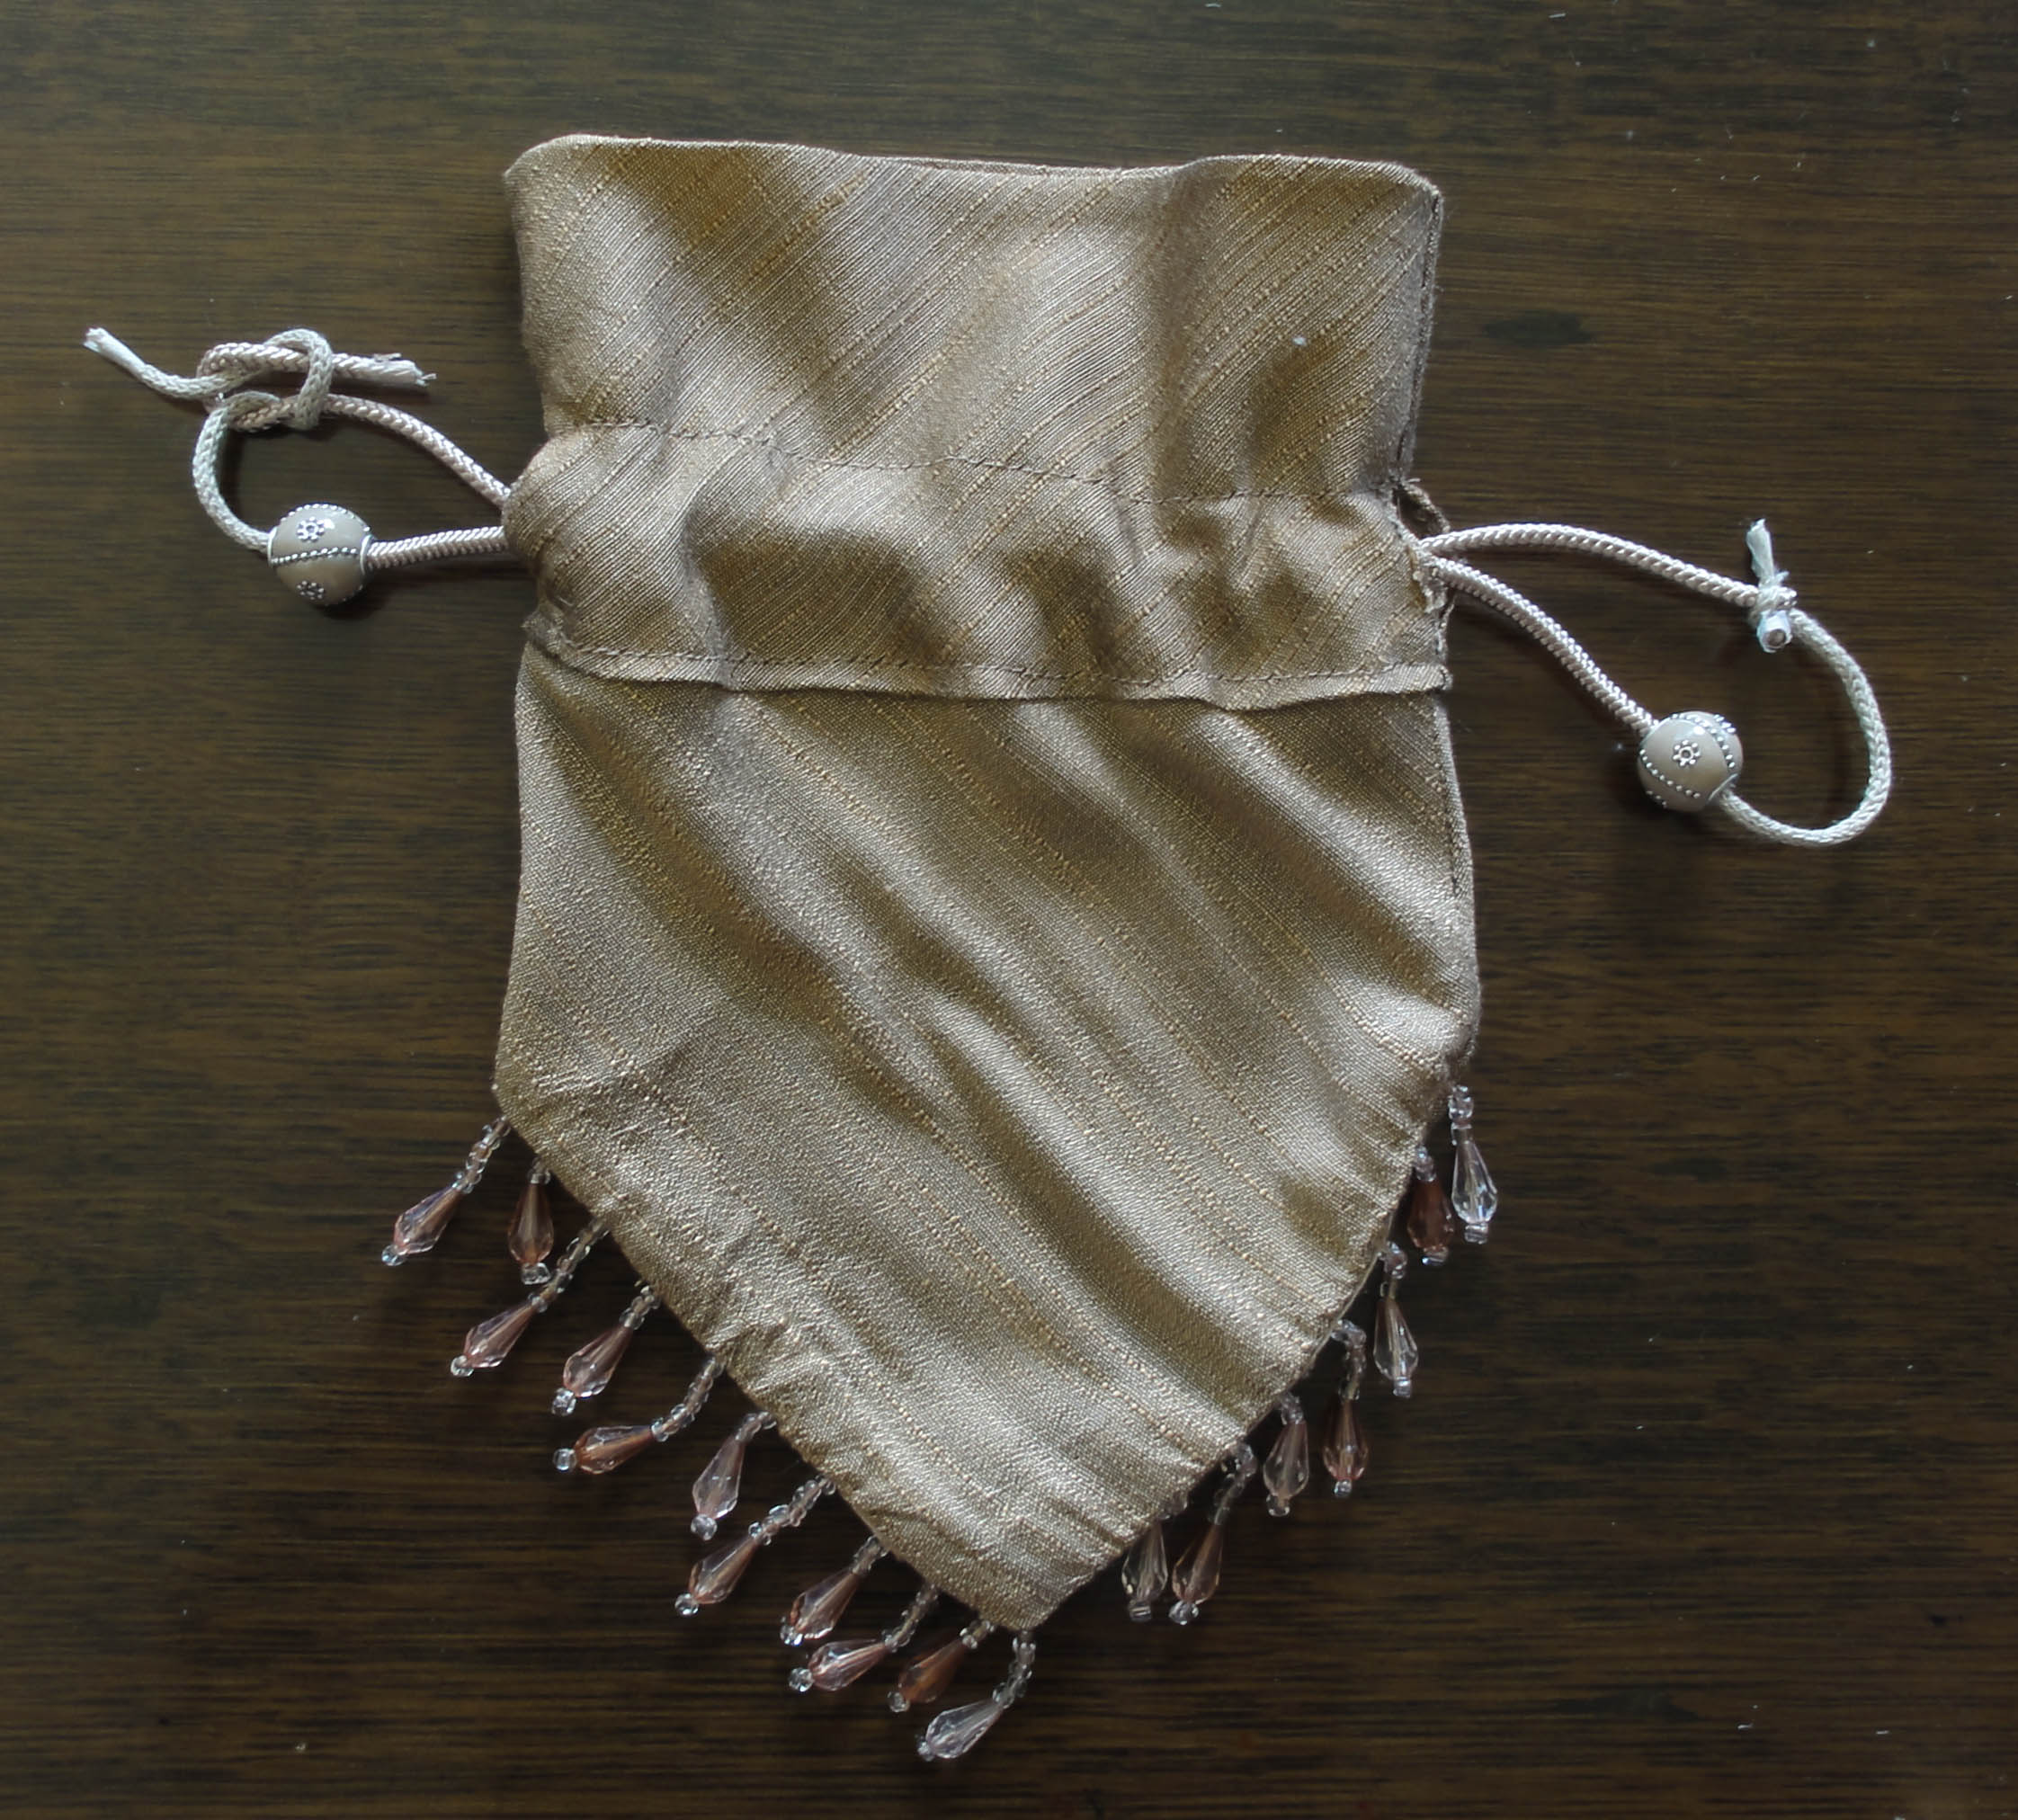
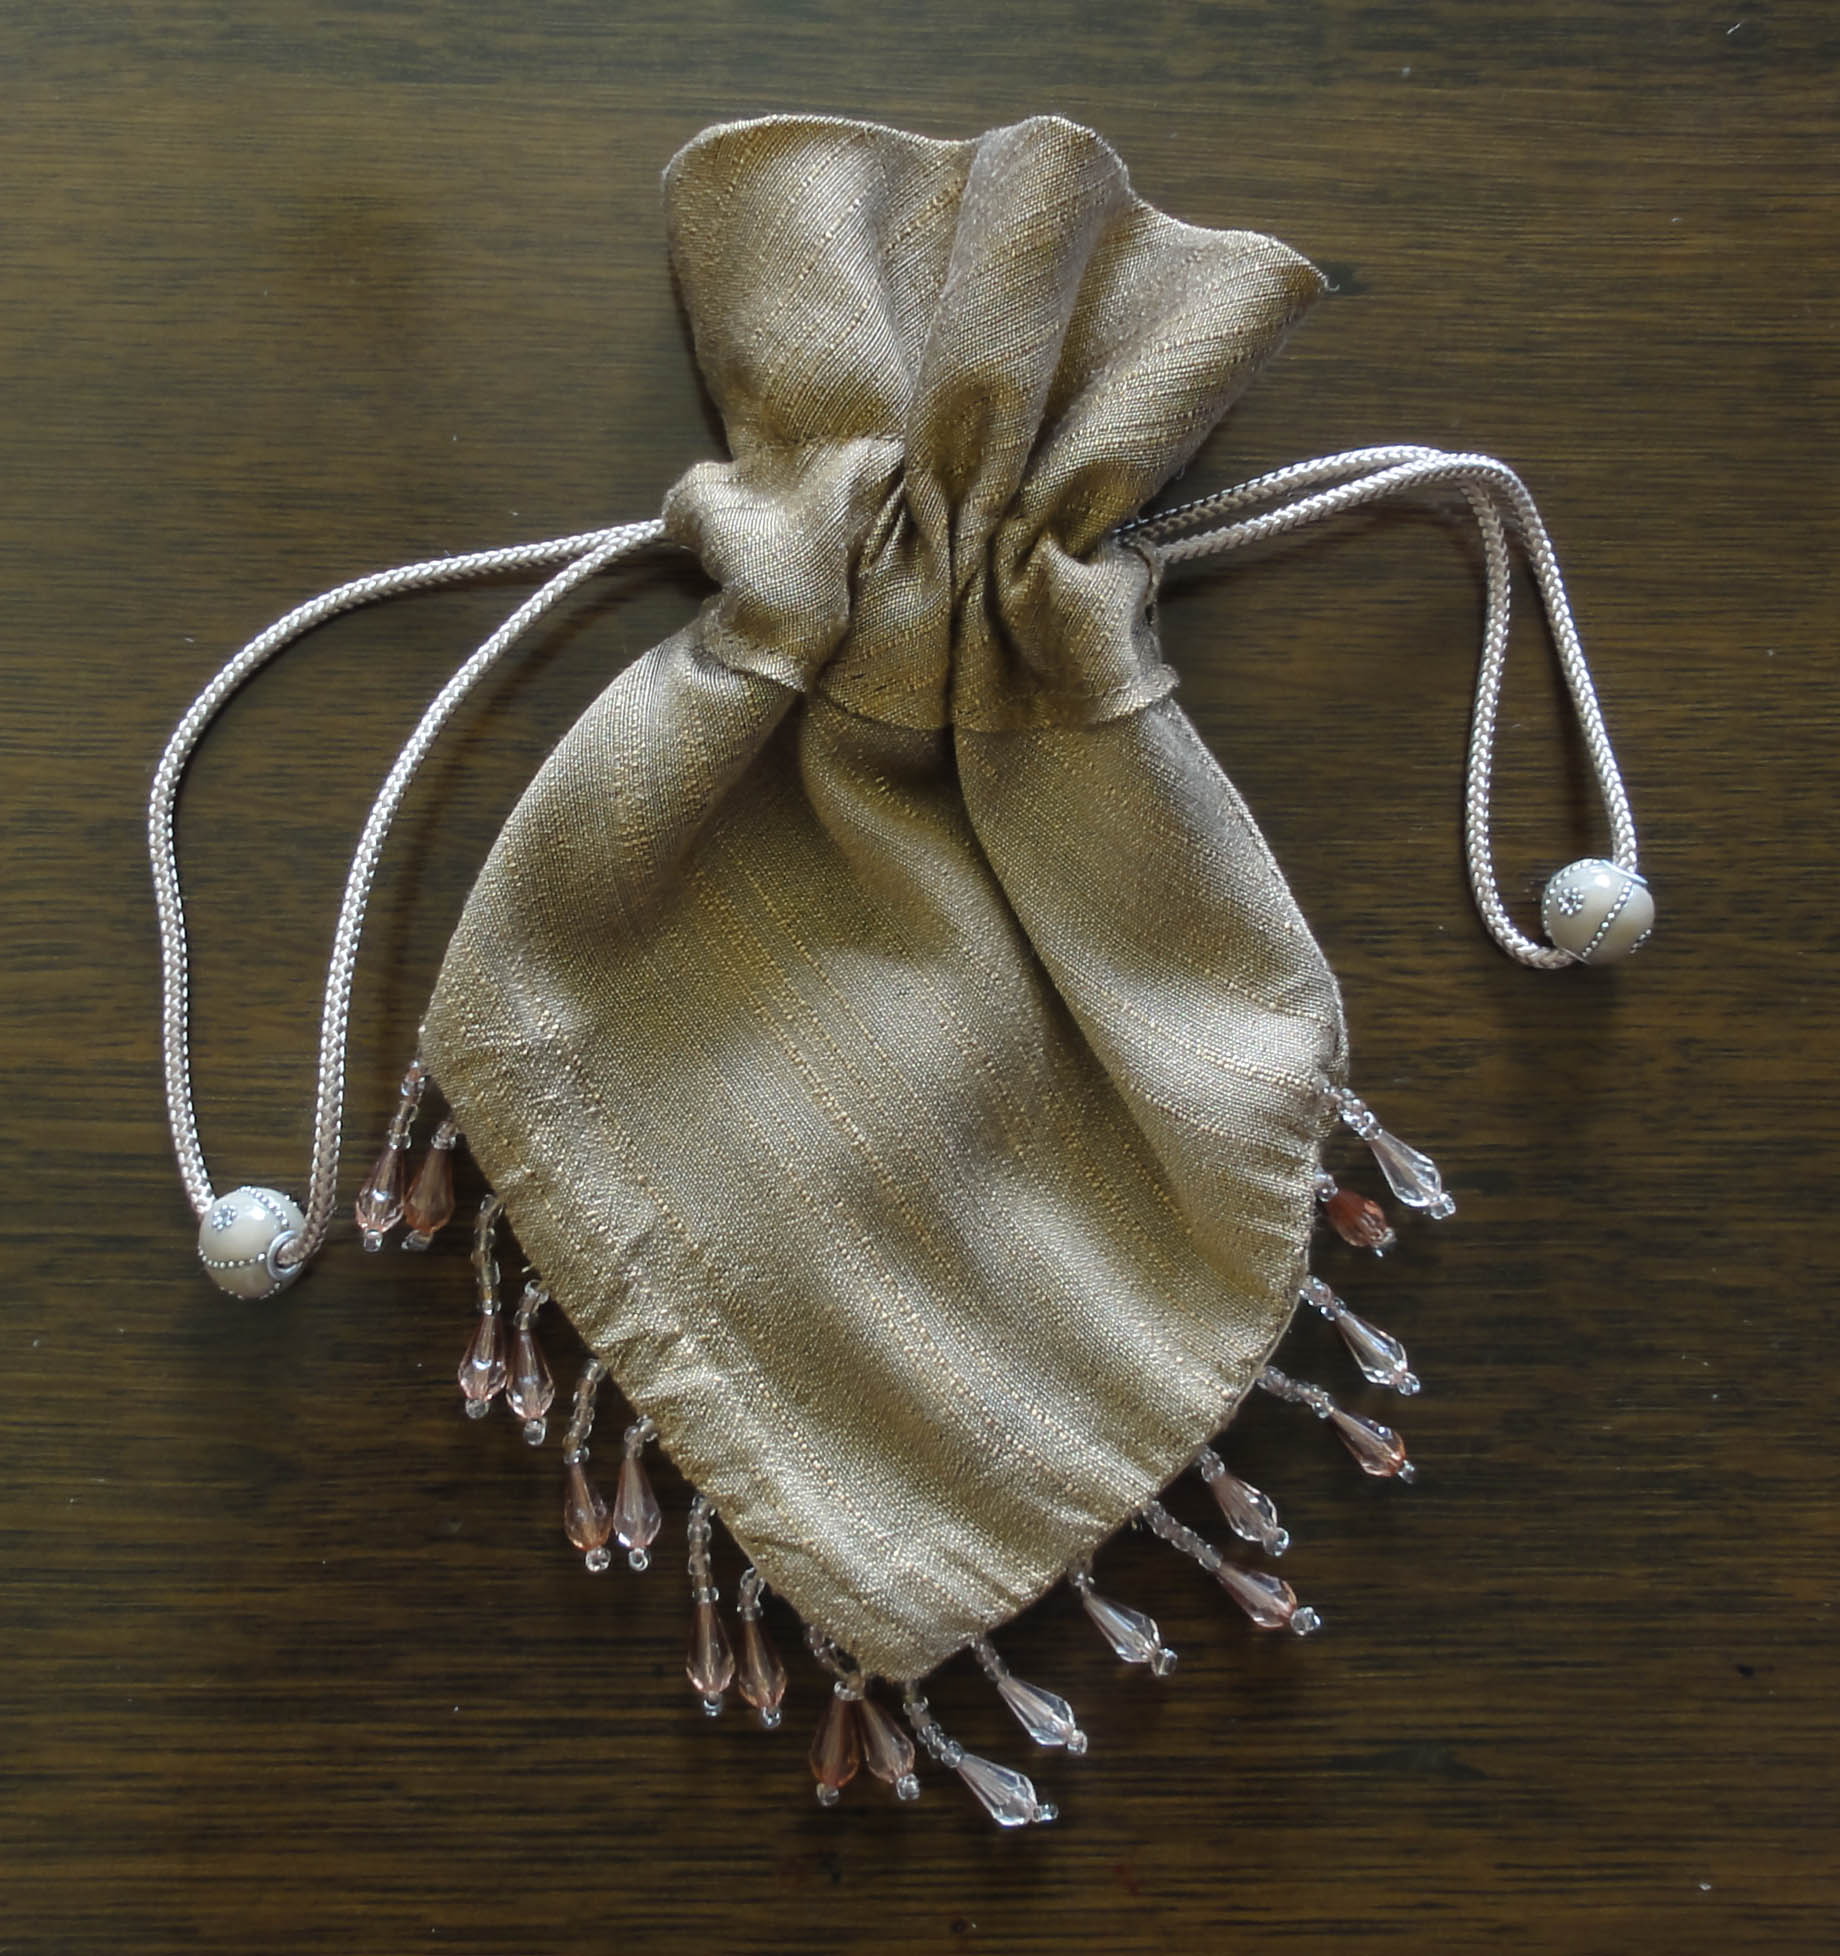
Suzan Lauder’s Cushion Cover Reticules, Design #1
Suzan Lauder’s Cushion Cover Reticules, Design #2, “The Envelope Reticule.”
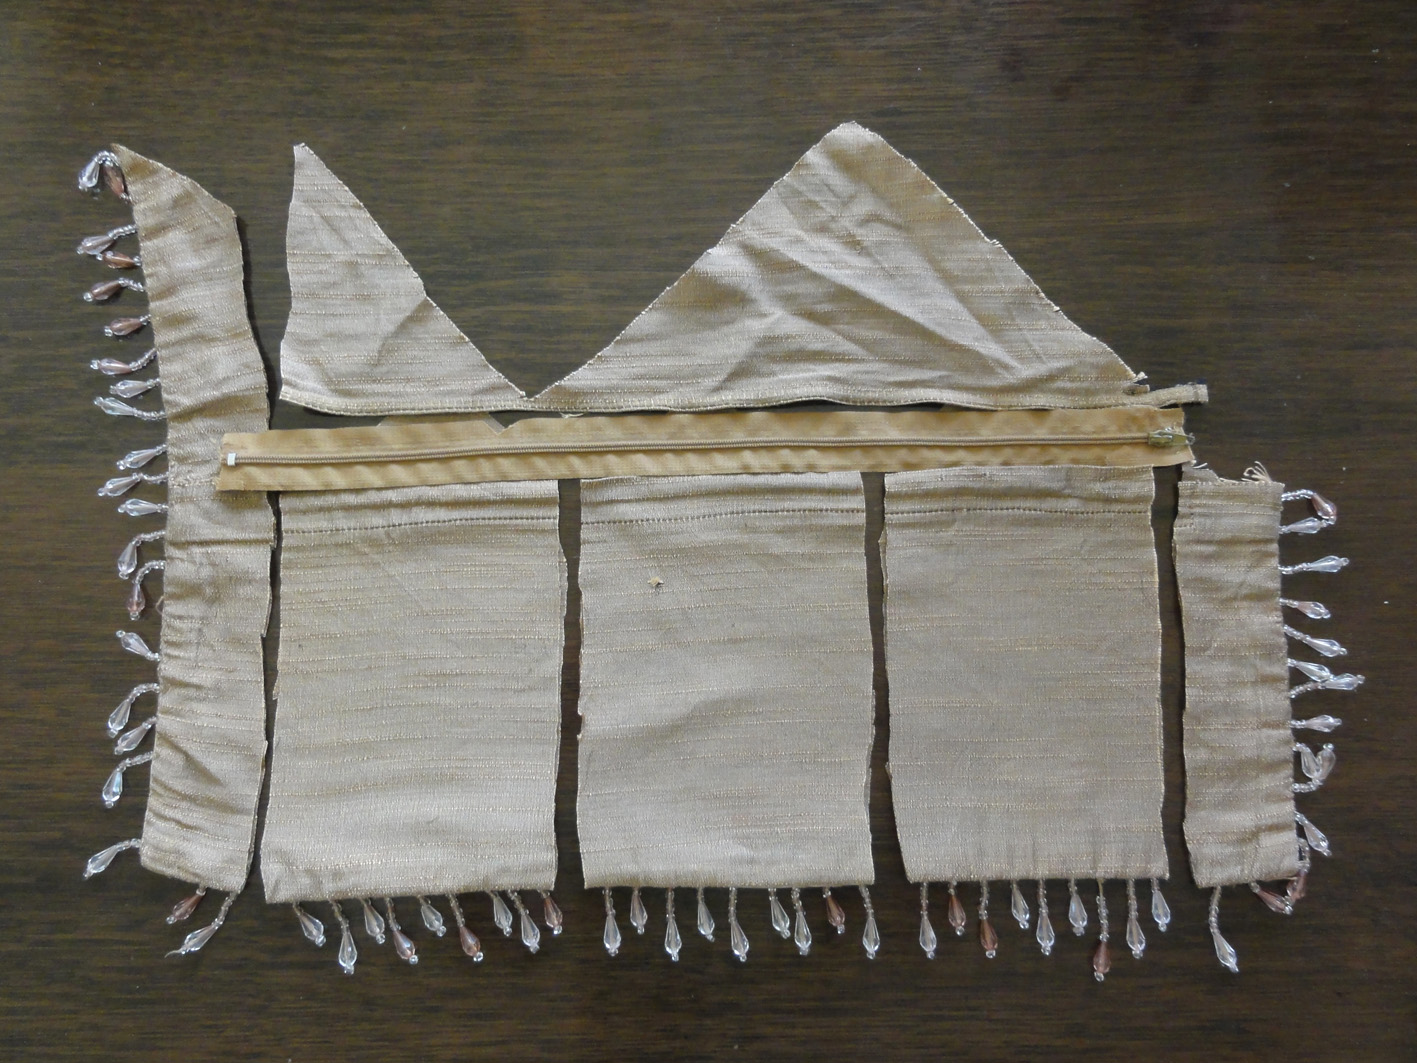
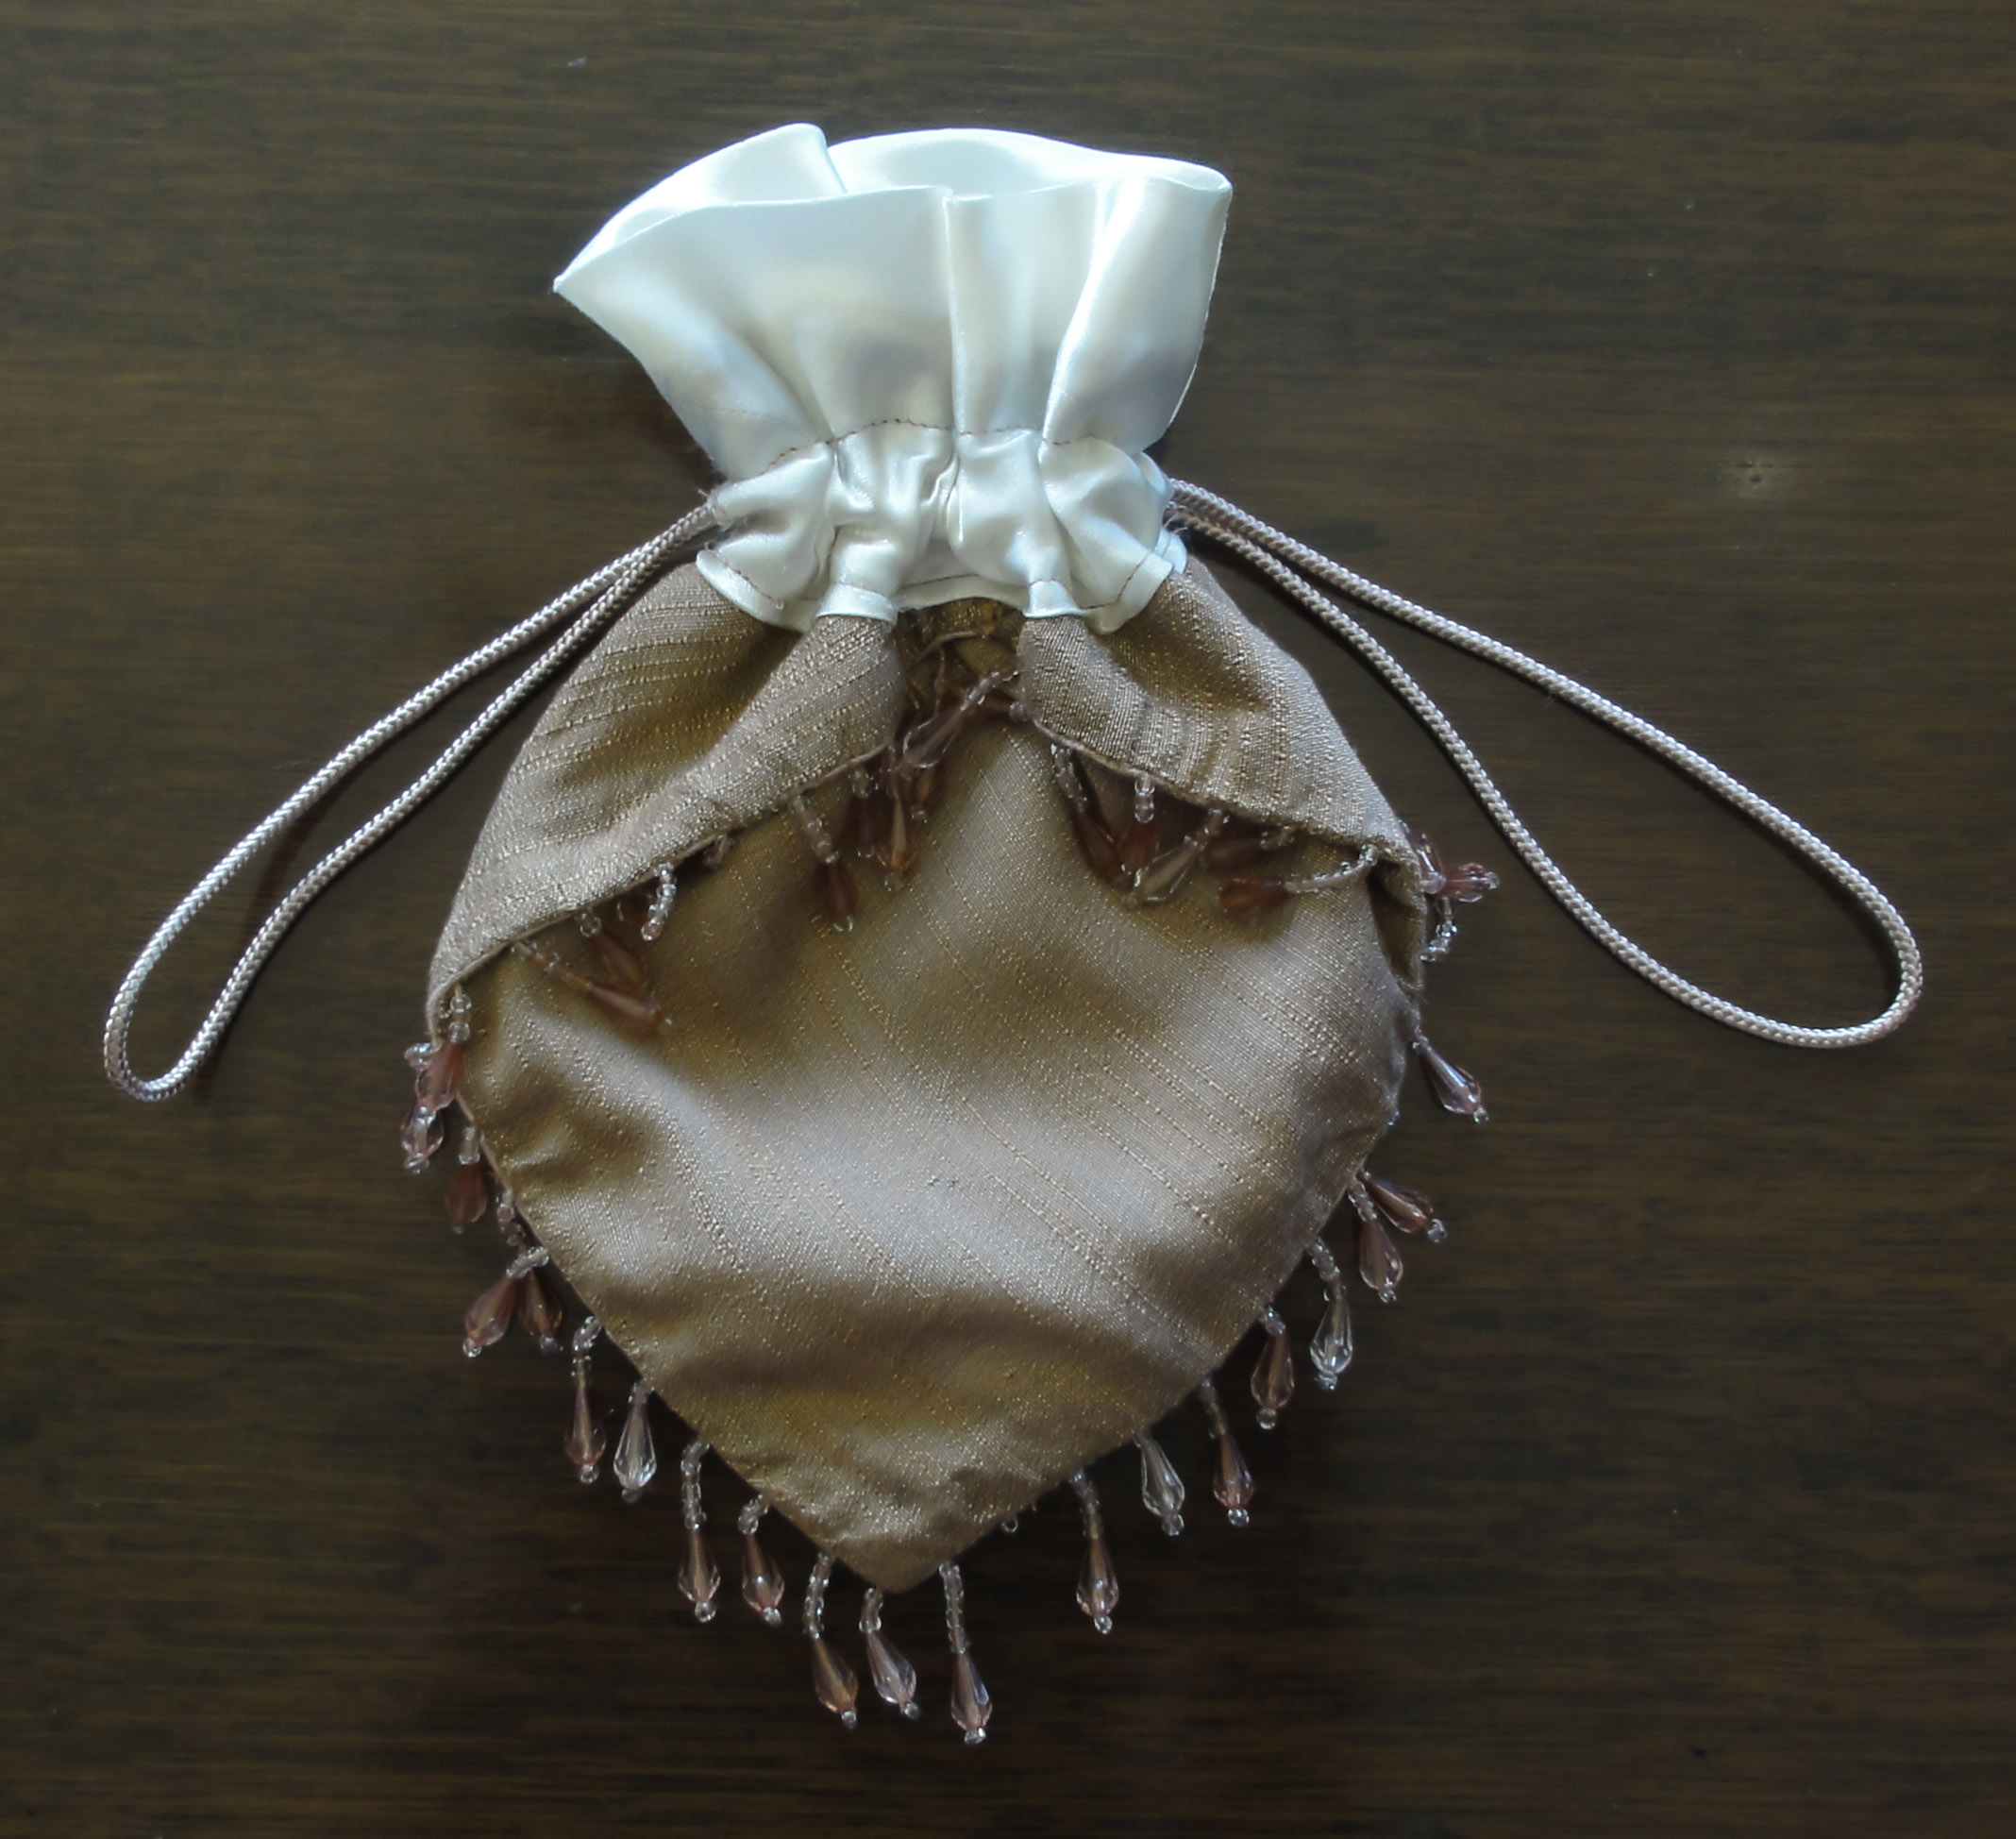
I removed the zipper from the leftover panel and cut the fabric into three strips, then opened them up to make panels for the final reticule. The beads that were on the end wound up at the top of the reticule, since the section below them became the body and the section above, the drawstring casing and a ruffle. This is shown as a “Bonus Reticule on the pdf, which has patterns and instructions for Reticules #1 through #6.
In retrospect, I wish I’d left the row of beads halfway down instead of at the top–in other words, shortened the lower portion rather than trimming the upper portion prior to sewing. I could have used the beads cut off from the sides and tucked them under the edge of the drawstring casing for double the beads.
I also had some difficulty with this one since I made it on the fly, where I’d carefully written the instructions for the others first, made them, then updated the instructions for the learning experience. I found it awkward to sew the beads at the base, and next time, I’ll just re-thread them and hand-sew them on at the end.
Note that similar reticules on Etsy start at $15, and cheap-looking bat-wing ones sell in the $25 range!

Bonus Reticule, similar to Reticule #5.
PDFs for this post:
Cushion Cover Reticule Patterns 1 to 6 by Suzan Lauder
Drawstrings, Trim, Linings, and Tassels for Reticules by Suzan Lauder
~~~
Additional reticule designs for the other two cushions will be shown in a few weeks, and two more pdf’s will be added with that post. The main hangup is I don’t like the designs I have for the next two cushions. A paper fill inside the cording of one swelled when I washed it, so the look of the threads has deteriorated where the brown shows through. I can’t use it where I’d planned: Reticule #6. In addition, the woven pattern on its fabric wouldn’t be shown off to its best in a petal reticule. The other has no trim and is a bit bland, but may turn into a pineapple yet! It would be great if I could find one more.
But do I need to make more reticules to test my patterns and show off my designs? I’m running out of time before the Louisville JASNA AGM. Instead of shopping for more for myself, as I need to sew my last items, and Mr. Suze needs a costume! I’ll post about the Gentleman’s Thrift Shop Regency Costume as I progress.
I’ll divulge that I’m happy with four purchases for my husband’s costume so far:
- New black leather dressage riding boots for $65 via a local “used items for sale by owner” web site. The fellow bought them for over $200 for a very tall daughter, who didn’t like them. DH will spend $40 to have them cut down 2″, rather than risk blisters behind his knees. From what I can see on the Internet, that’s a huge bargain! DH has hard-to-fit feet, and boots will be easier to fit than dance slippers.
- Buff-coloured, slim-fitting, fine, faux-suede trousers for $6.99 from The Salvation Army will be made into breeches, with part of a leg used to make the front flap. I already have some nice knee buckles from an old visit to Dressew. They were $1 each.
- A dark green, wool, cutaway morning coat for $65 (including shipping) from an online seller of former rental tuxedos on eBay. The front bottom edge will be cut to a Regency line, and the lapels tacked a bit higher if possible.
- An ivory, paisley, satin waistcoat from a different online seller of used tuxedos, for $25 (including shipping), which comes with a matching bow tie! All the men’s vests I saw at local thrift stores were wool, and I was even looking at ladies’, just in case. I’ll cut the modern bottom edge straight across and use the extra pieces to make a collar. The buttons will be replaced with self-covered ones, perhaps using that bow tie. I already have two packs of four self-covered button kits, plus brass trim rings, from Dressew for $0.25 a package!
~~~
Next Post: Faking Regency #1, using my spencer and some artwork and museum pieces for ideas.
~~~
RETICULE GIVE-AWAYS! I’ll be giving away one reticule as part of my upcoming guest post on Austen in August, on August 24, 2015. It will be chosen from the two I improved for the “All the Pretty Little Purses” post (below), and perhaps one or more of the cushion cover reticules from today, or any I make before then! Of course, they’re handmade by a non-crafty person, so there are flaws, but I’ve signed each one inside.
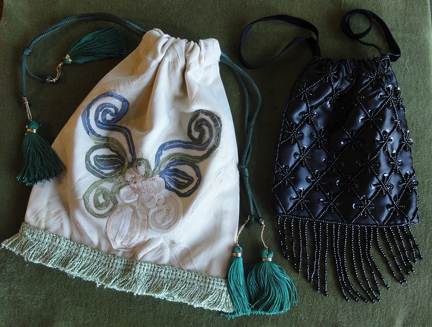
Suzan Lauder’s Thrift Shop Regency Costume Experiment: The completed green and black reticules.