 A sad event took place last Wednesday. I had to abandon efforts to complete my beautiful jonquil ball gown midway through the project.
My setback was part of a chain reaction from washing a panel of matching fabric to be used to line new gathers in back.
It’s best to wash new fabric in case it shrinks. The fabric came out fine.
The Original Plan
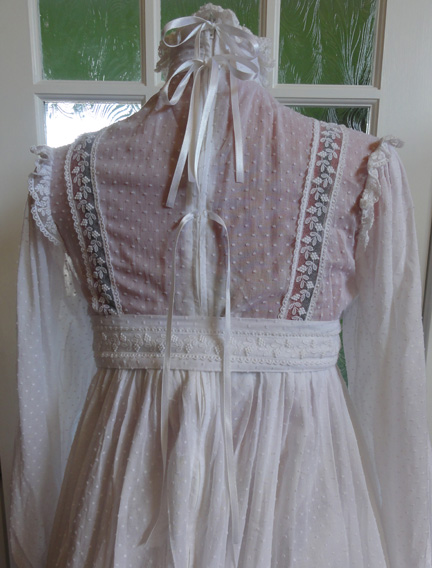
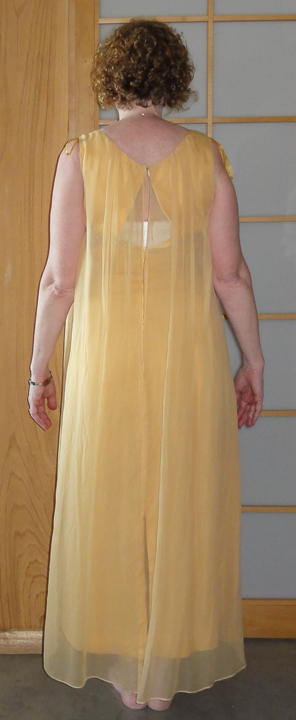
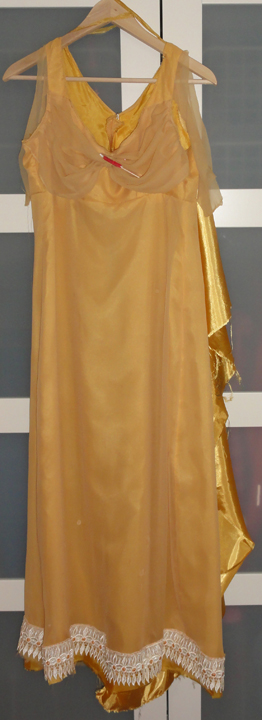
 The vintage 1960s gown from Women in Need (WiN) Thrift and Vintage Superstore (above and right, before any modifications) would have the following modifications:
- The back skirt detached from the bodice, the zipper removed, and the center back seam opened.
- A triangle cut from the former back panels to create Regency side panels 7″ wide at the top and 12″ wide at the bottom.
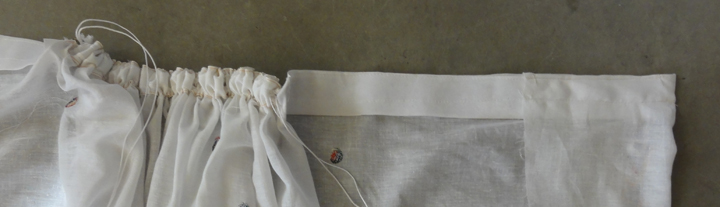
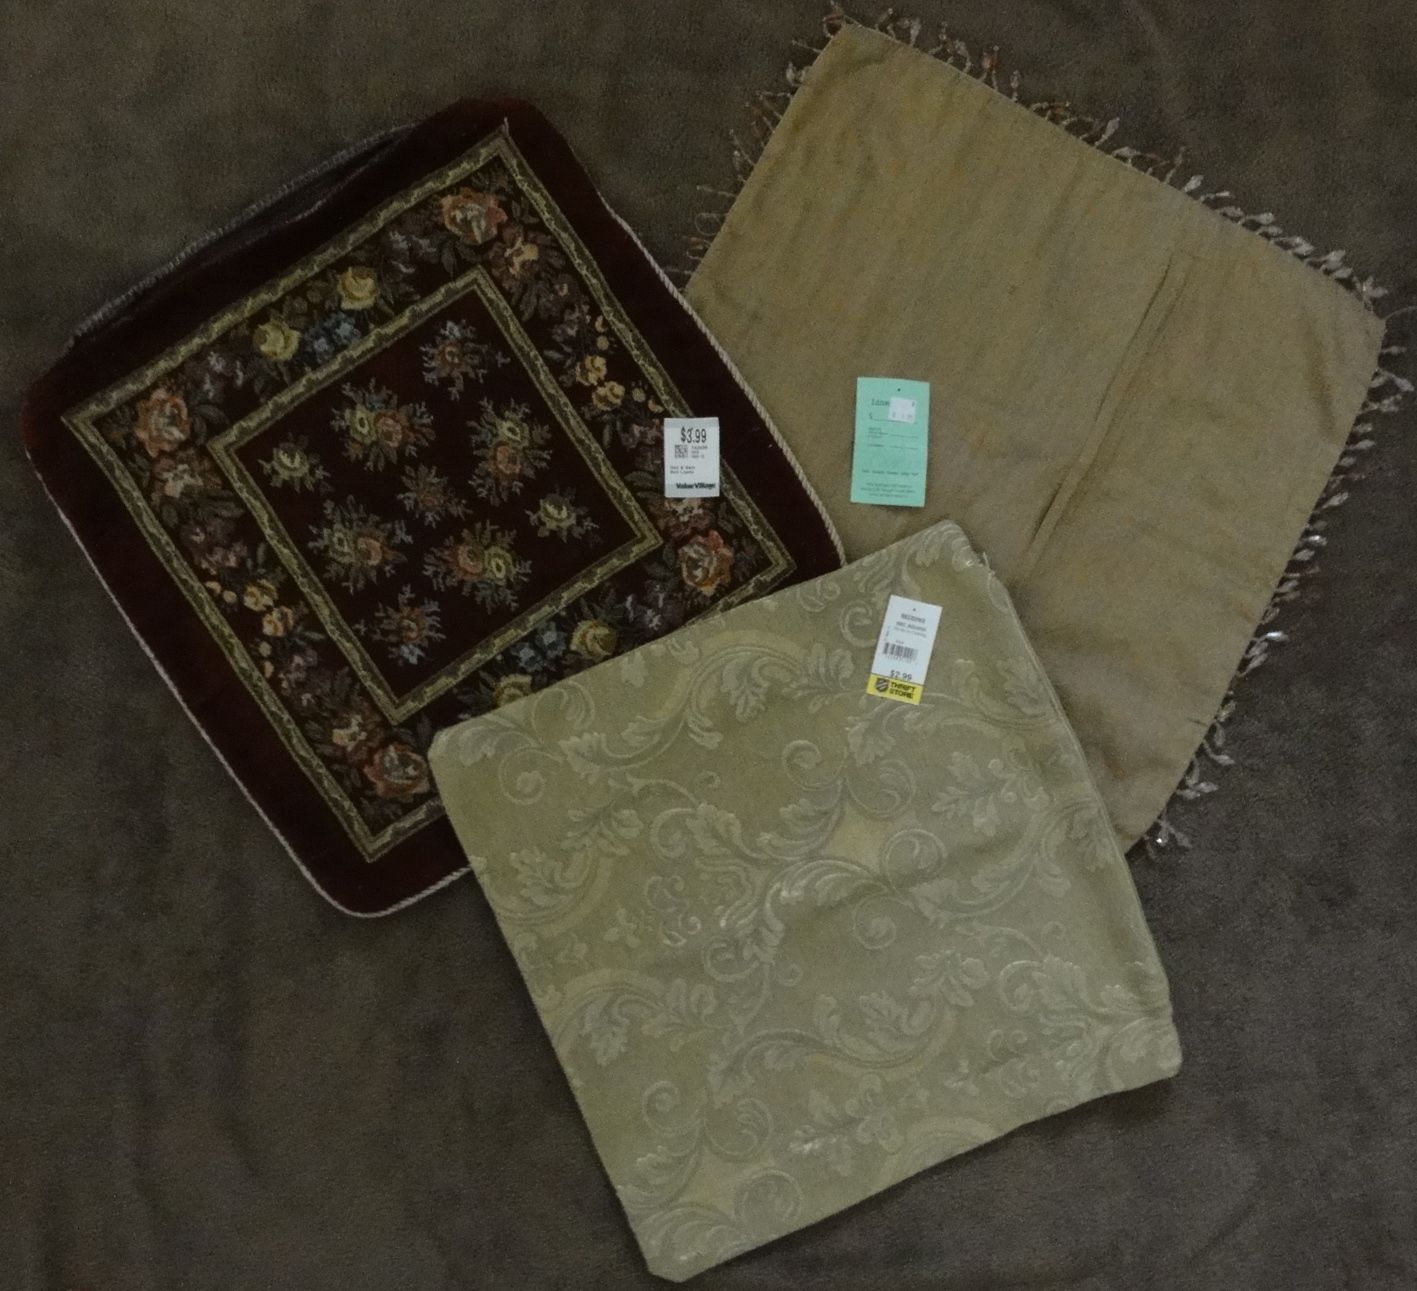
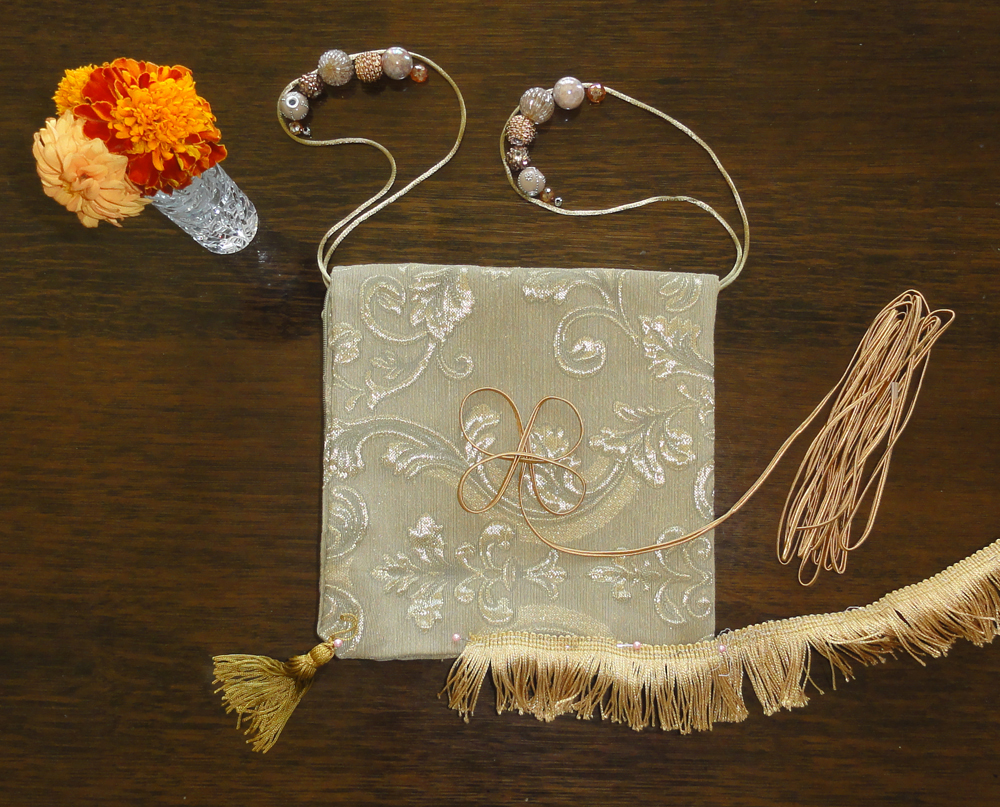
- Part of the sheer overdress draping from the original dress, plus matching lining (faux silk from Salvation Army at $2.99 for 2 meters) added as a 24-inch-wide back panel, gathered to six inches wide.
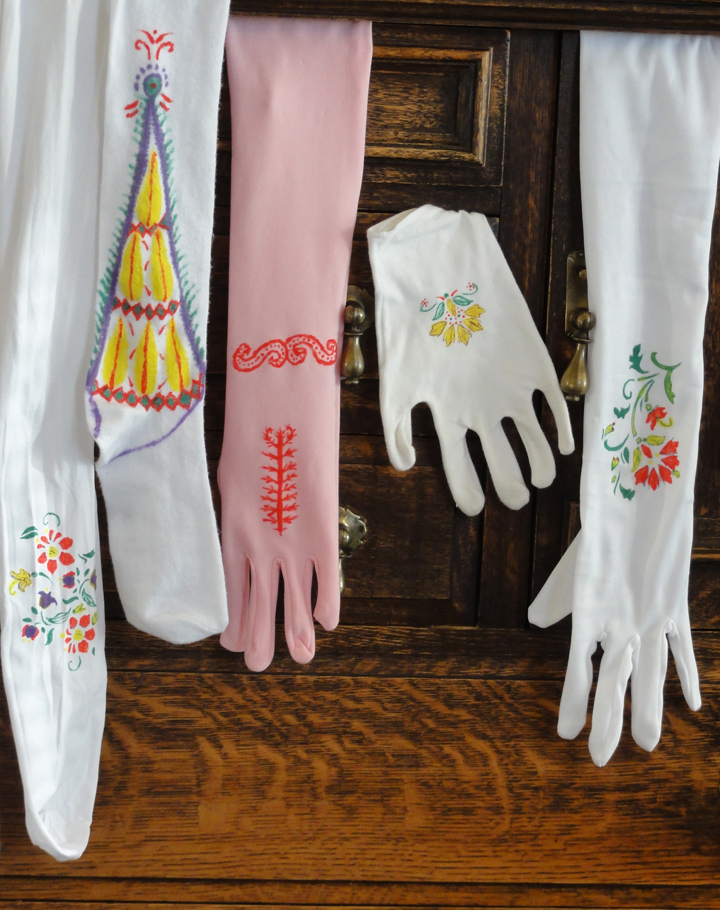
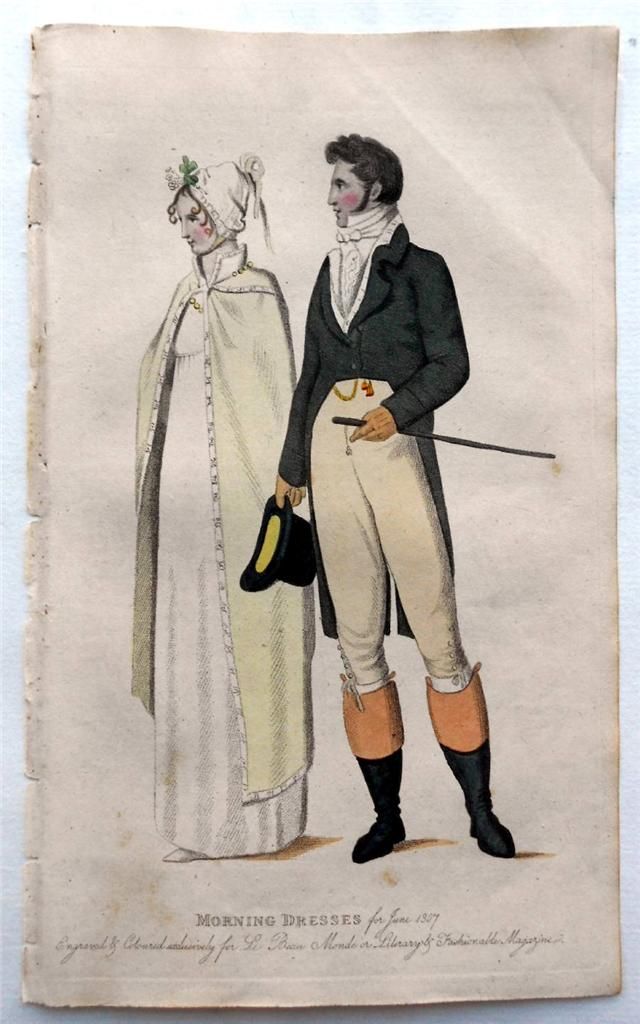
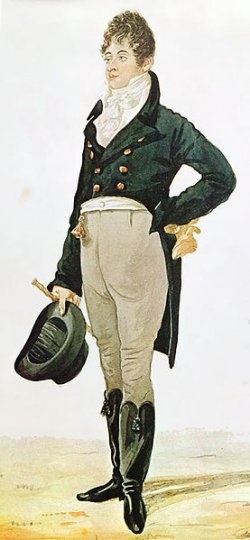
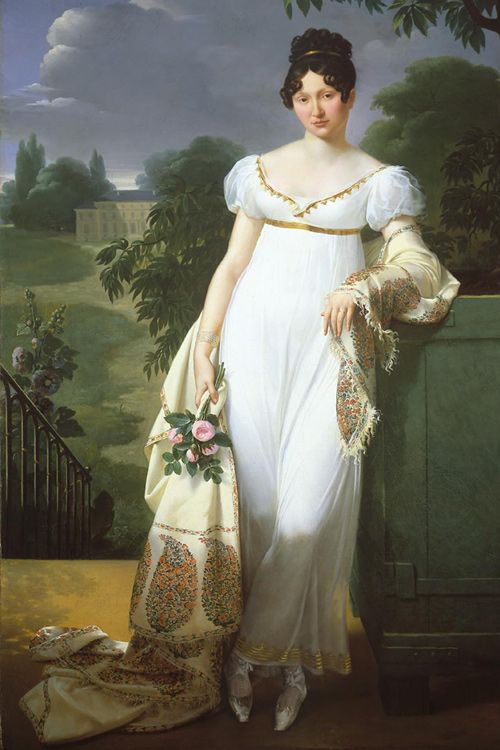
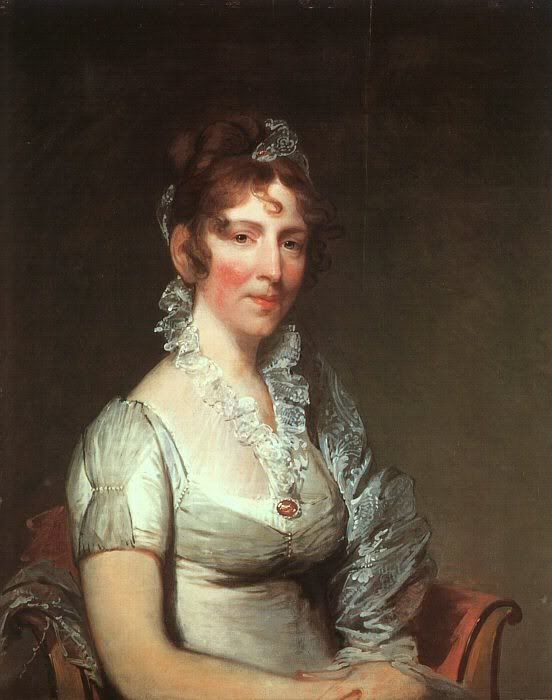
- The sleeves modified by cutting the overdress draping free at the neckline and reversing it to have a finished look like the artwork below left.
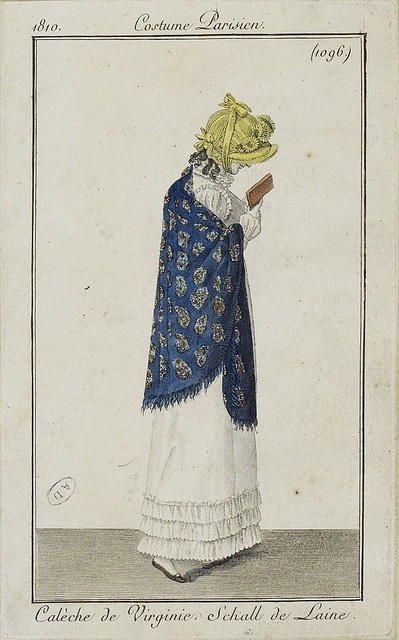
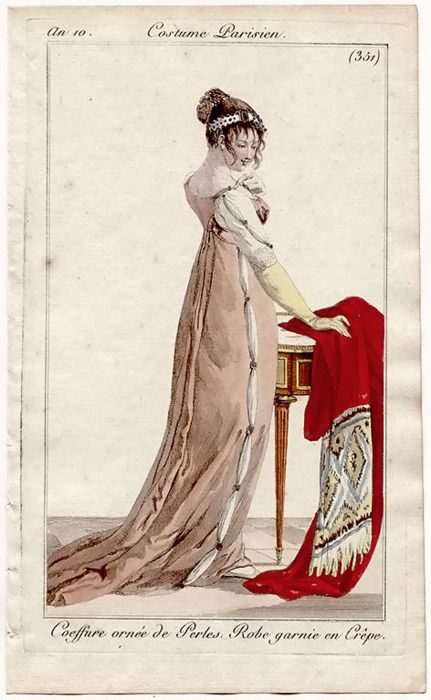
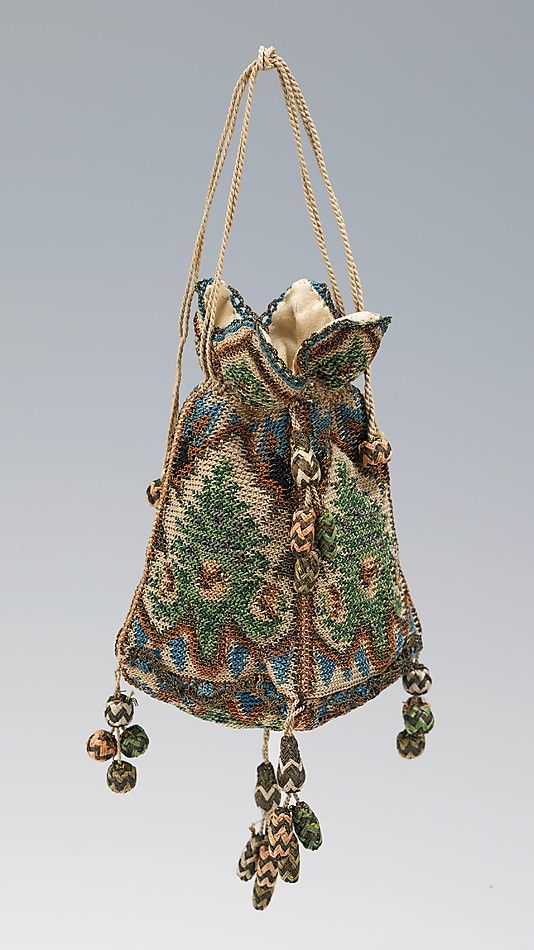
- Panels from this draping would be finished with beads on the ends like the Regency fashion plate below right.
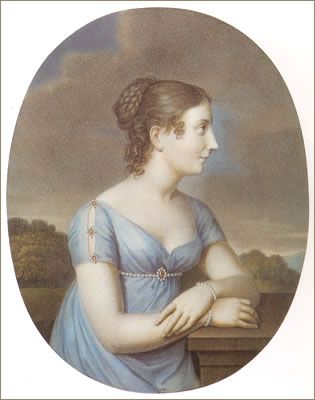
1815 Stephanie de Beauharnais-Baden wearing pale blue dress by Aloys Keßler after Johann Heinrich Schroeder
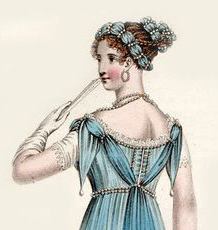
Evening Dress October 1811
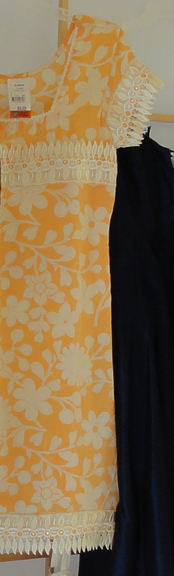
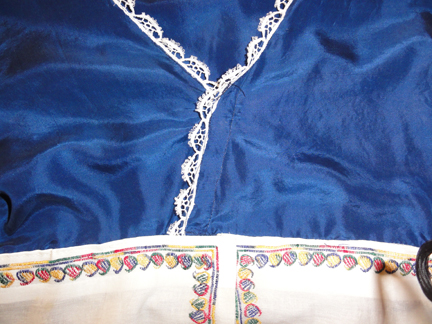
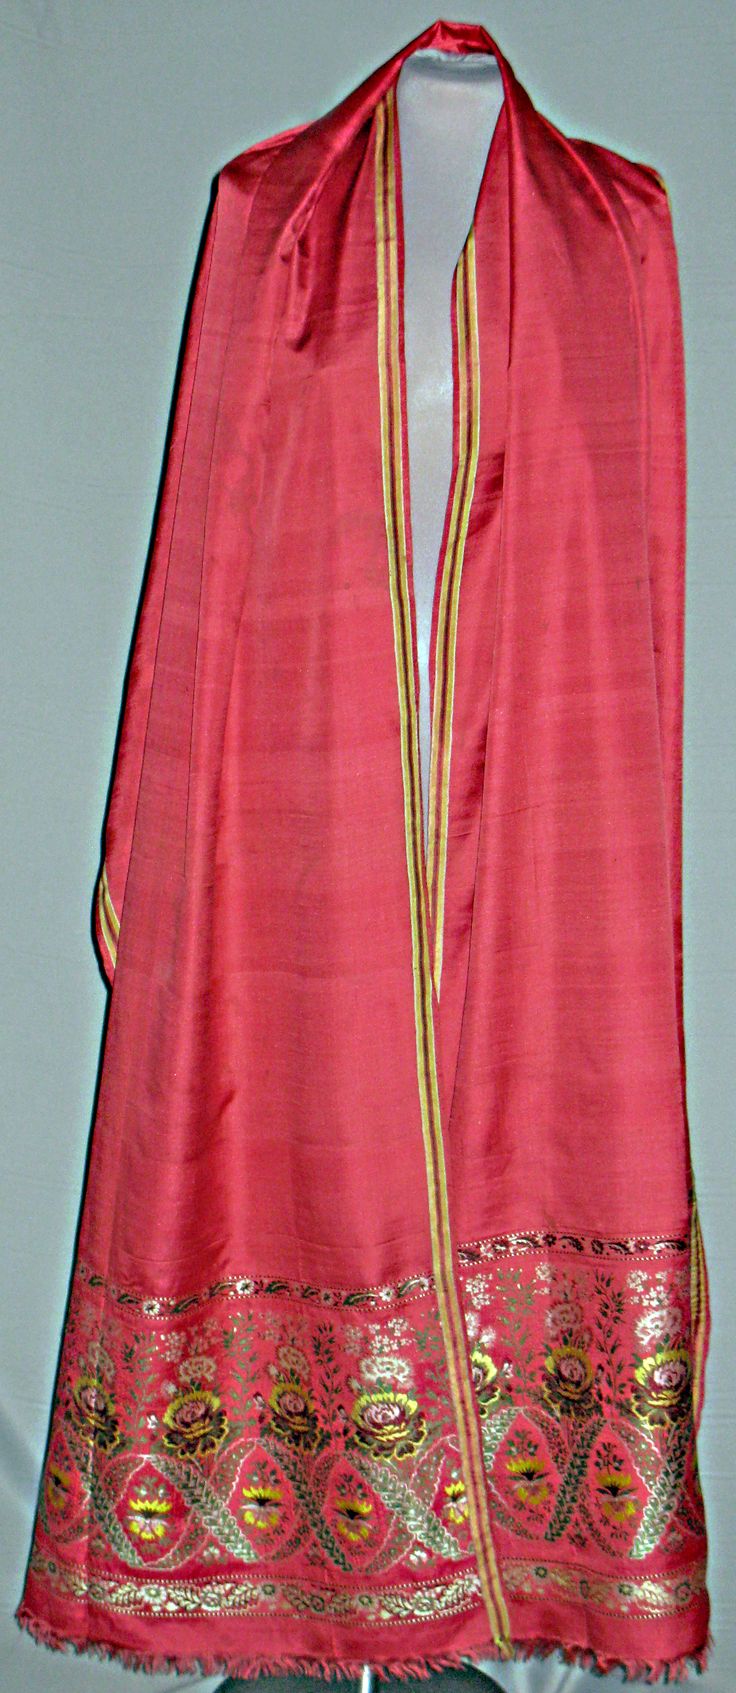
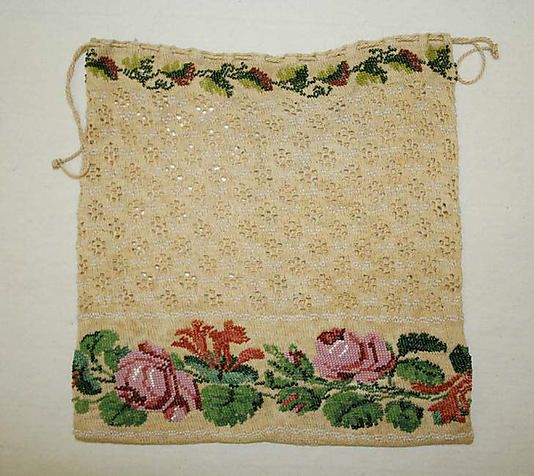
Indian blouse.
- Lace from the Indian blouse was to run along the skirt bottom to lengthen the gown about 1.5 inches. Removal of this lace took quite a while since it was sewn on with silver thread, which I wanted to retain to match the 1960s gown’s original waist trim.
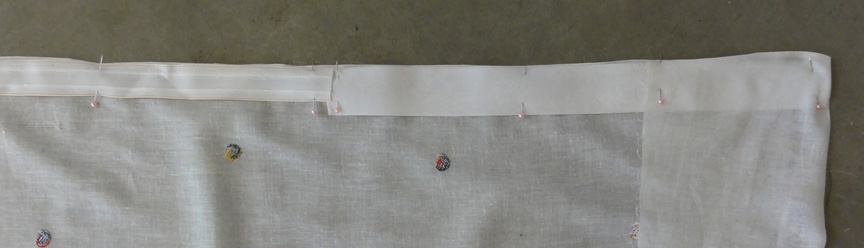
- A shirred panel from the ends of the draping would cover two holes in the bodice.
Disaster hits!
But when I decided to wash the gown along with the new fabric, on a super-delicate cycle, a horrid change took place: pin holes in the sheer fabric enlarged, and the overlay and draping, both from the same sheer material, shrank.
New projects emerged from the fiasco:
- open the hemline where the overlay was attached to the lining so the fabric would relax before the lace was attached to the bottom of the sheer overlay,
- cut a new piece from the sheer overdress draping for the back panel as the one previously cut was now too short,
- re-think the sleeves since I stole the attached fabric for them and the dangly bits to create the second back panel,
- figure out if I needed to add a panel at the hem for length (Maybe a rouleaux? I know, I keep adding beautiful design details!) now the bottom lace was a little higher,
- find a way to camouflage the holes on the skirt.
I soldier on!
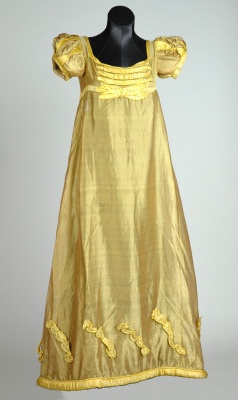
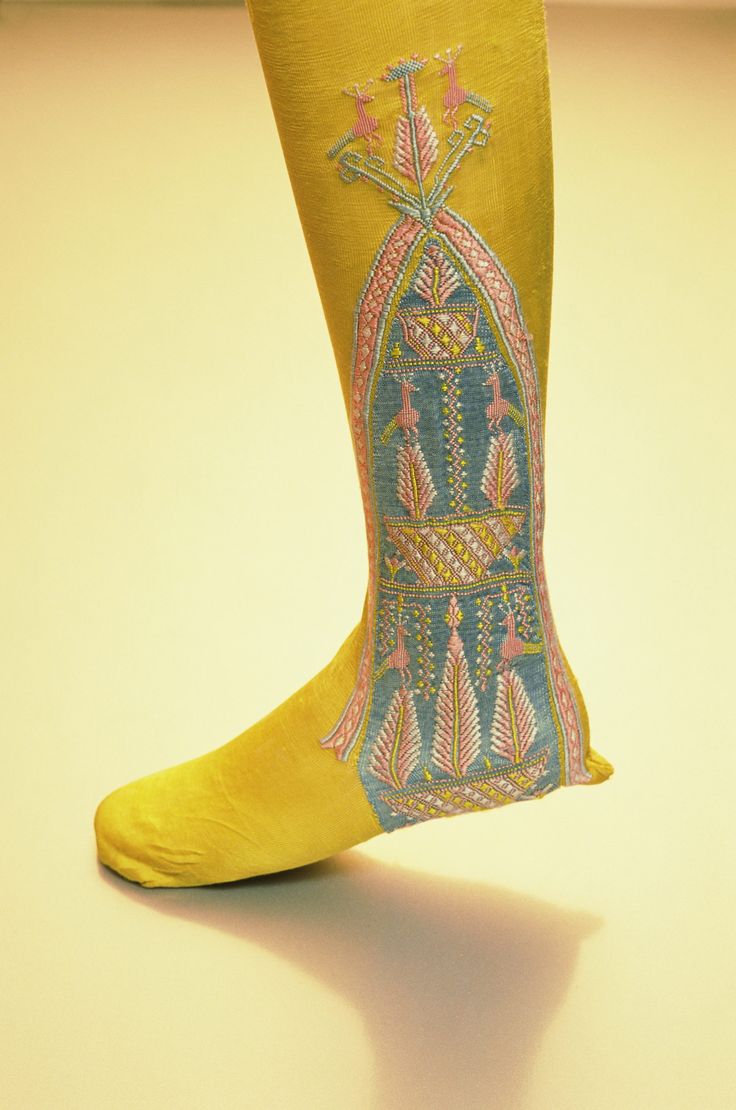
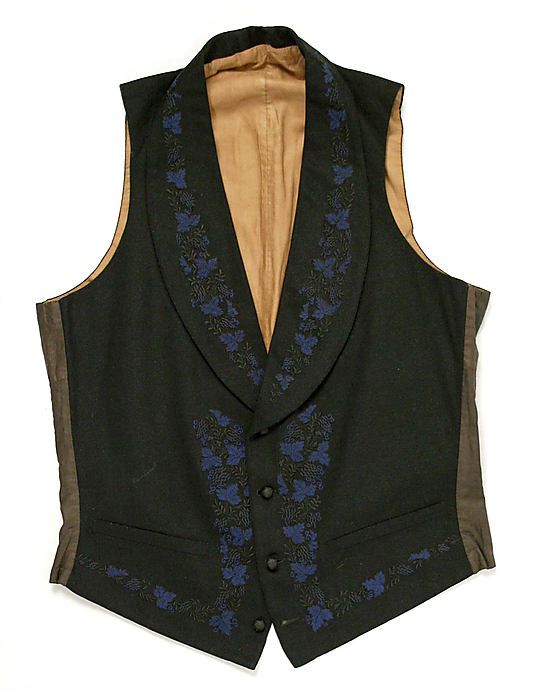
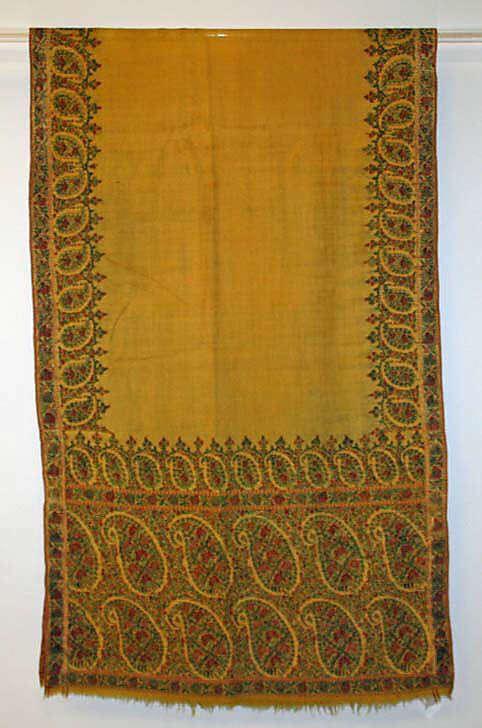
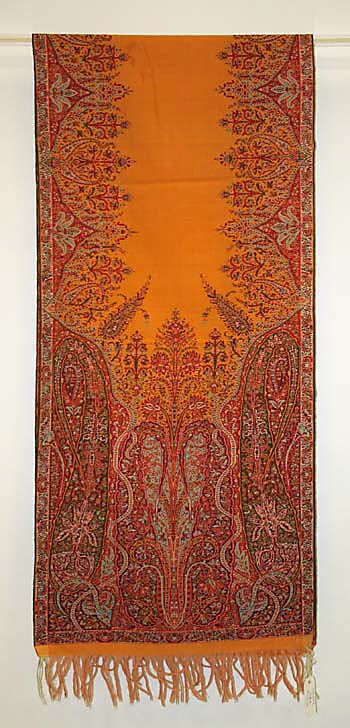
Yellow silk evening dress, 1817, Leeds Costume Collection.
The Thrift Shop Regency Costume Experiment has always been about learning and adapting, and I wasn’t about to abandon this project yet. The back gathered panel, a simple project, turned out well. The gathered bodice overlay was a bit more complicated, but looks pretty.
I patched the holes on the front of the skirt using no-sew tape and tiny pieces of fabric from the overlay, and though they look better, it appears as if I spilled small drops of yogurt on my front!
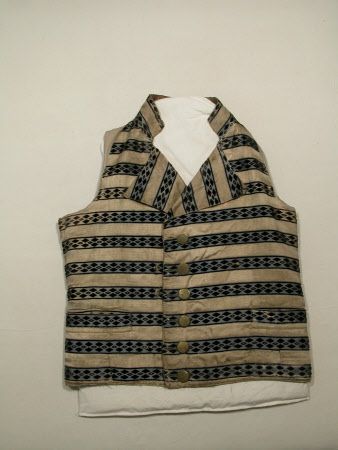
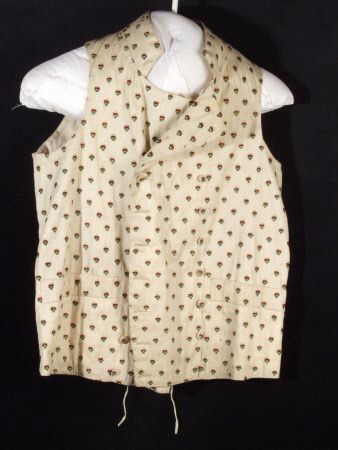
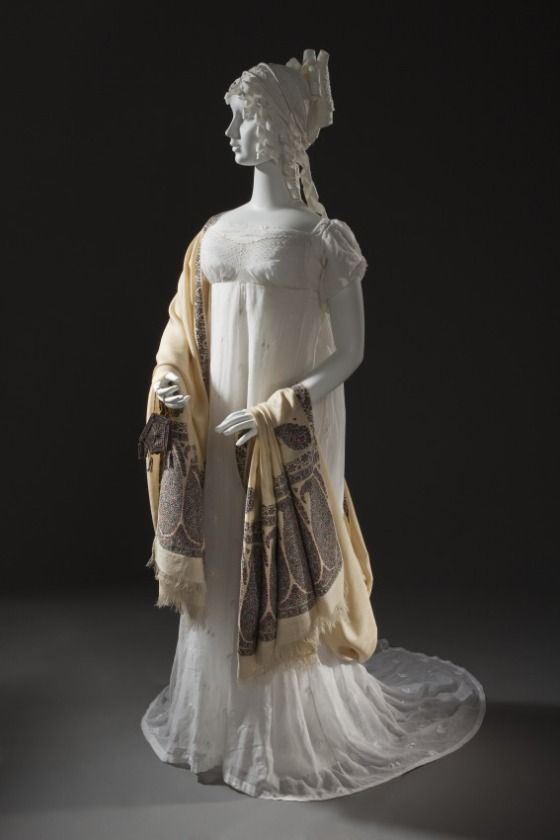
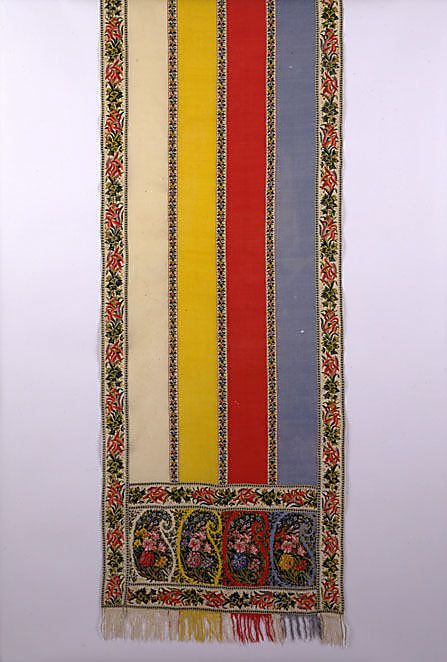
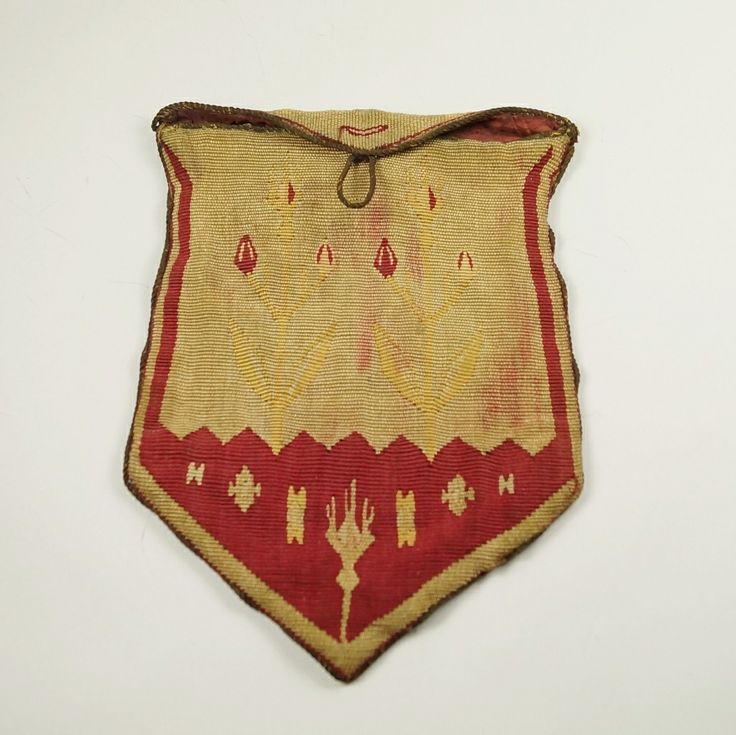
Museum gowns, period fashion plates and Regency artwork were perused for additional hole camouflage ideas. Due to the location of the holes, I settled on diagonals of shirred fabric to mimic the museum piece on the right. I had plenty left from the Salvation Army piece.
Time is my enemy
It was Wednesday, and I would leave Friday morning for a short trip to celebrate my mother-in-law’s 86th birthday and an early Canadian Thanksgiving, before flying on to Louisville for the 2015 JASNA AGM.

Mother-in-law’s 86th birthday in Winnipeg, MB, Canada.
In addition to the sleeves and skirt detail to hide the holes, the ball gown needed other work:
- install the tapes with hooks and eyes on the back bodice to replace the zipper,
- re-attach the waistline trim,
- trim the neckline and sleeves with narrow silver braid to coordinate with the other trim,
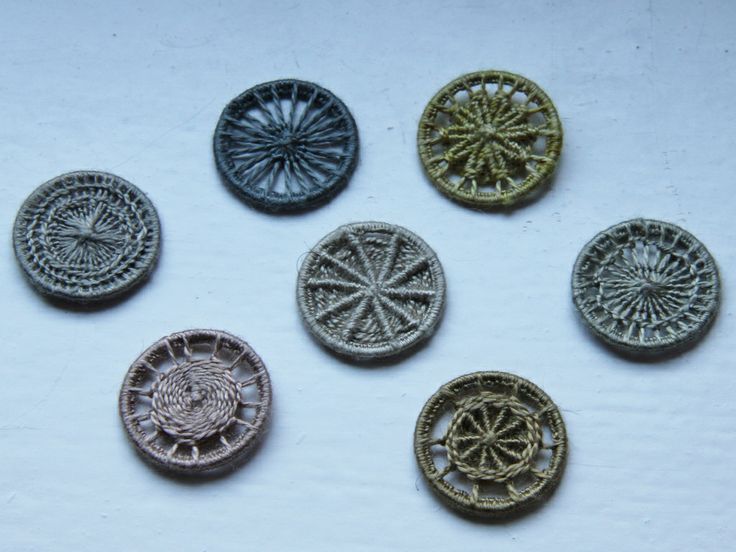
- use the same narrow silver trim to make the faux diamond back.
I was still thinking through the process and finish for the diagonal pieces on the skirt. I estimated this part of the project would take a full day.
The jonquil gown’s sleeves would take yet another day to design, make a pattern and at least one mock-up, and attach. Either of the two ideas that follow would be created with scraps of sheer draping and some of the faux silk.
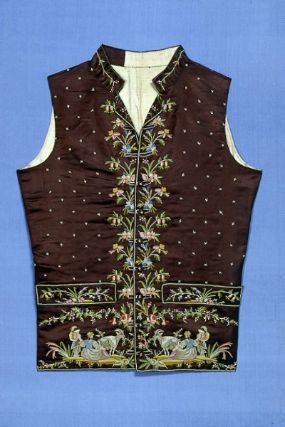
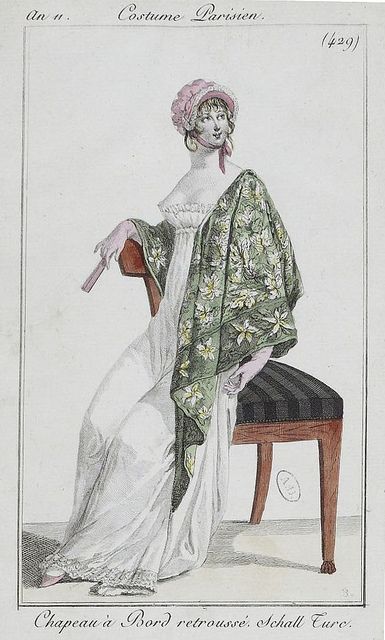
1810 Ball Gown with pearls.

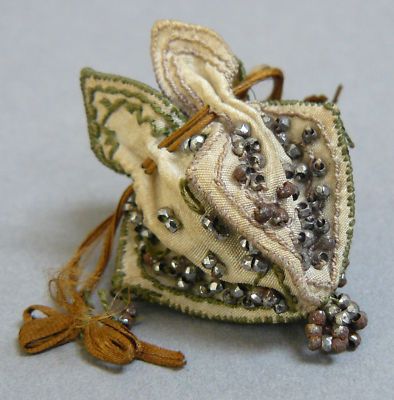
Sleeve detail for 1811 gown, Metropolitan Museum of Art.
No way could I finish this gown on time.
On top of those issues, several other machine-sewn projects were required for to the conference:
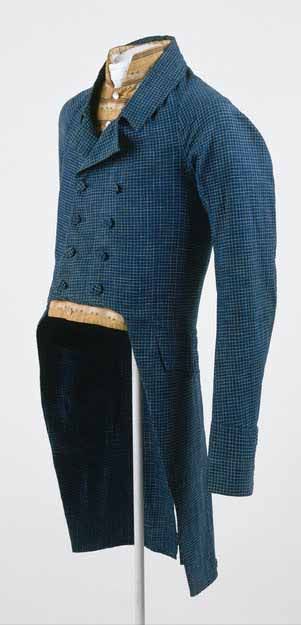
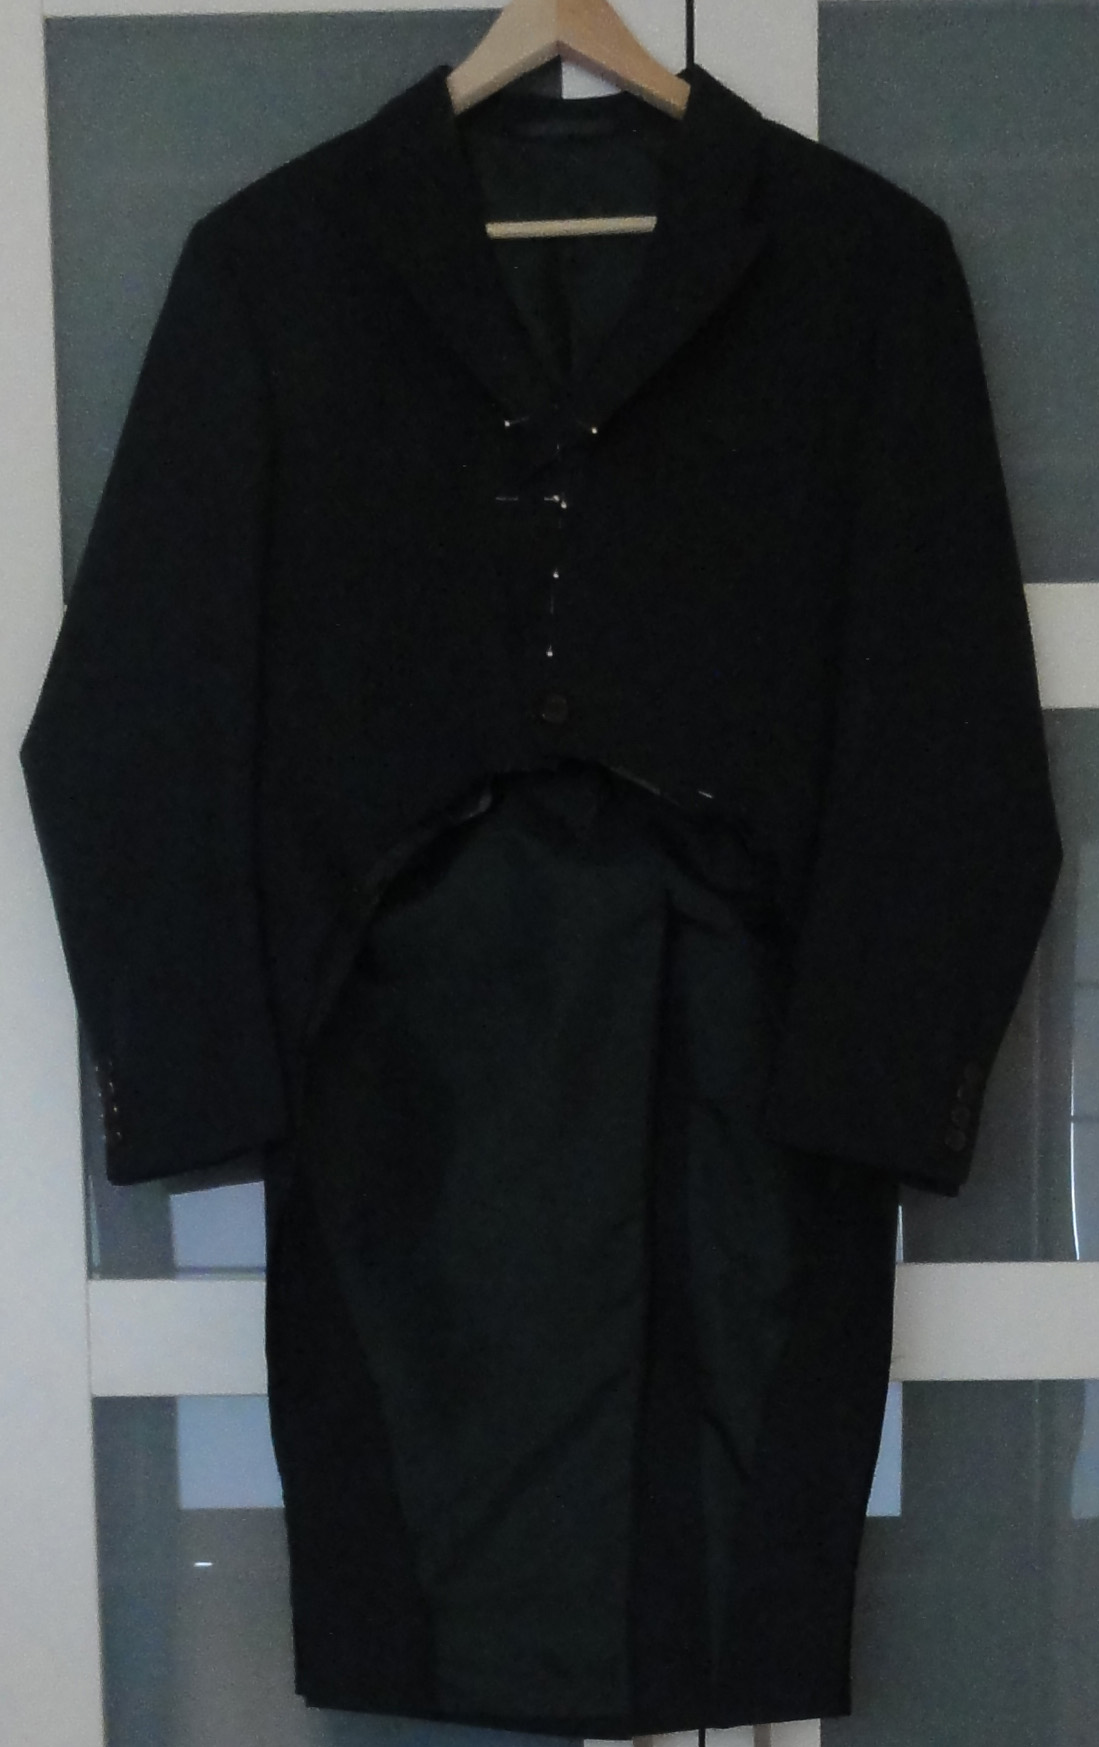
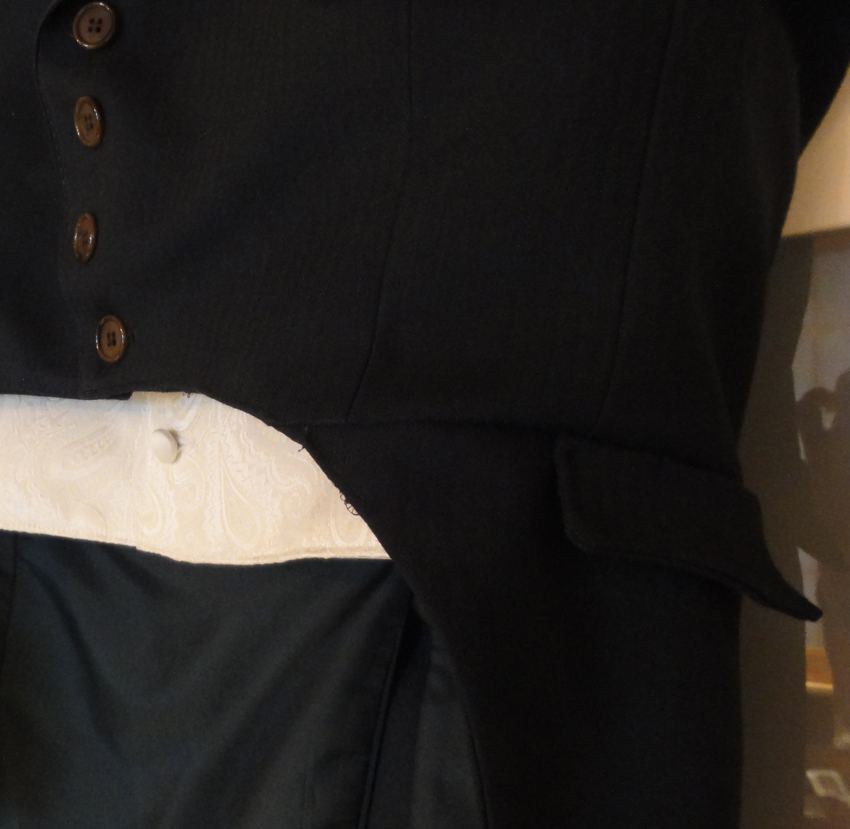
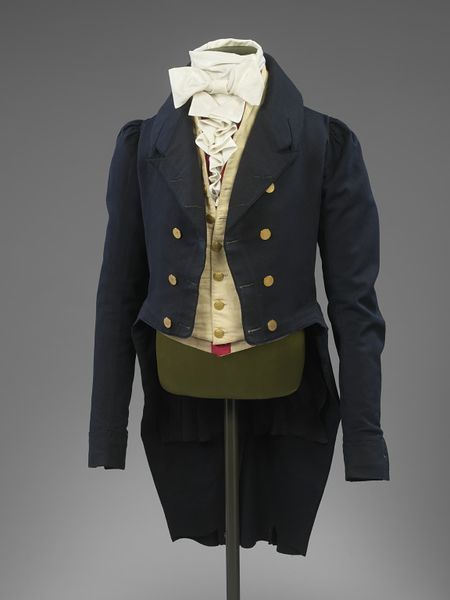
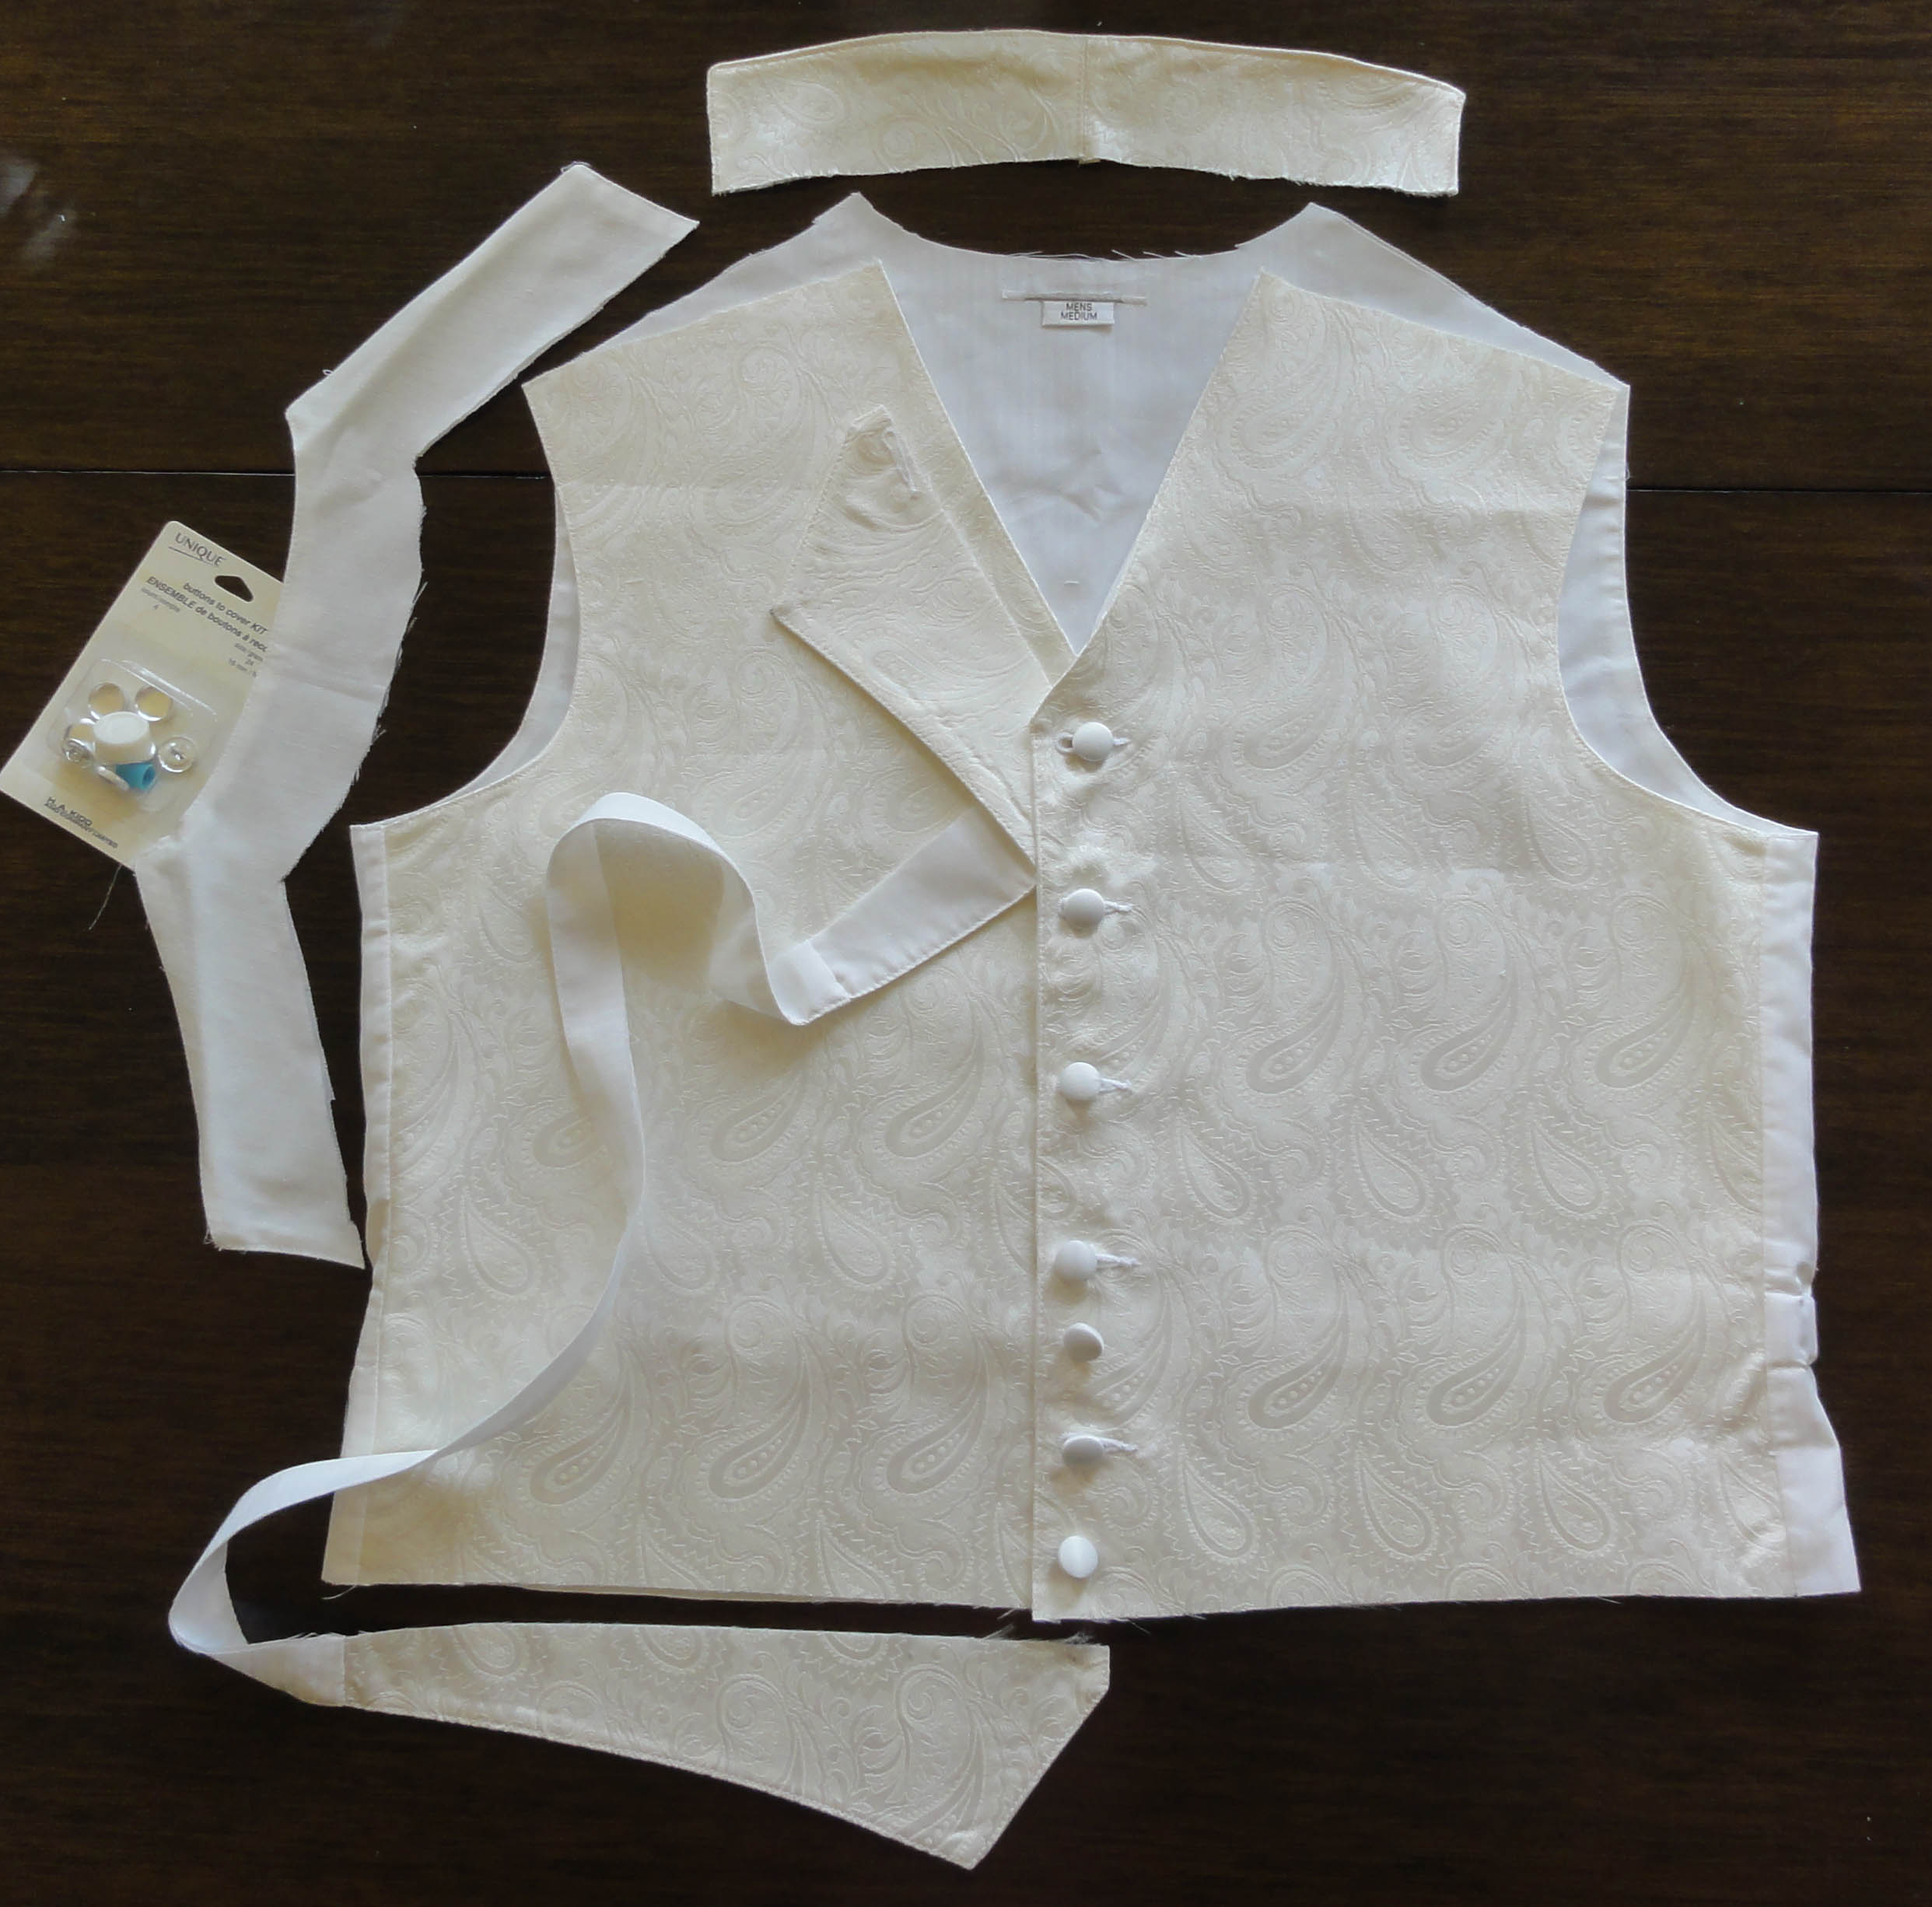
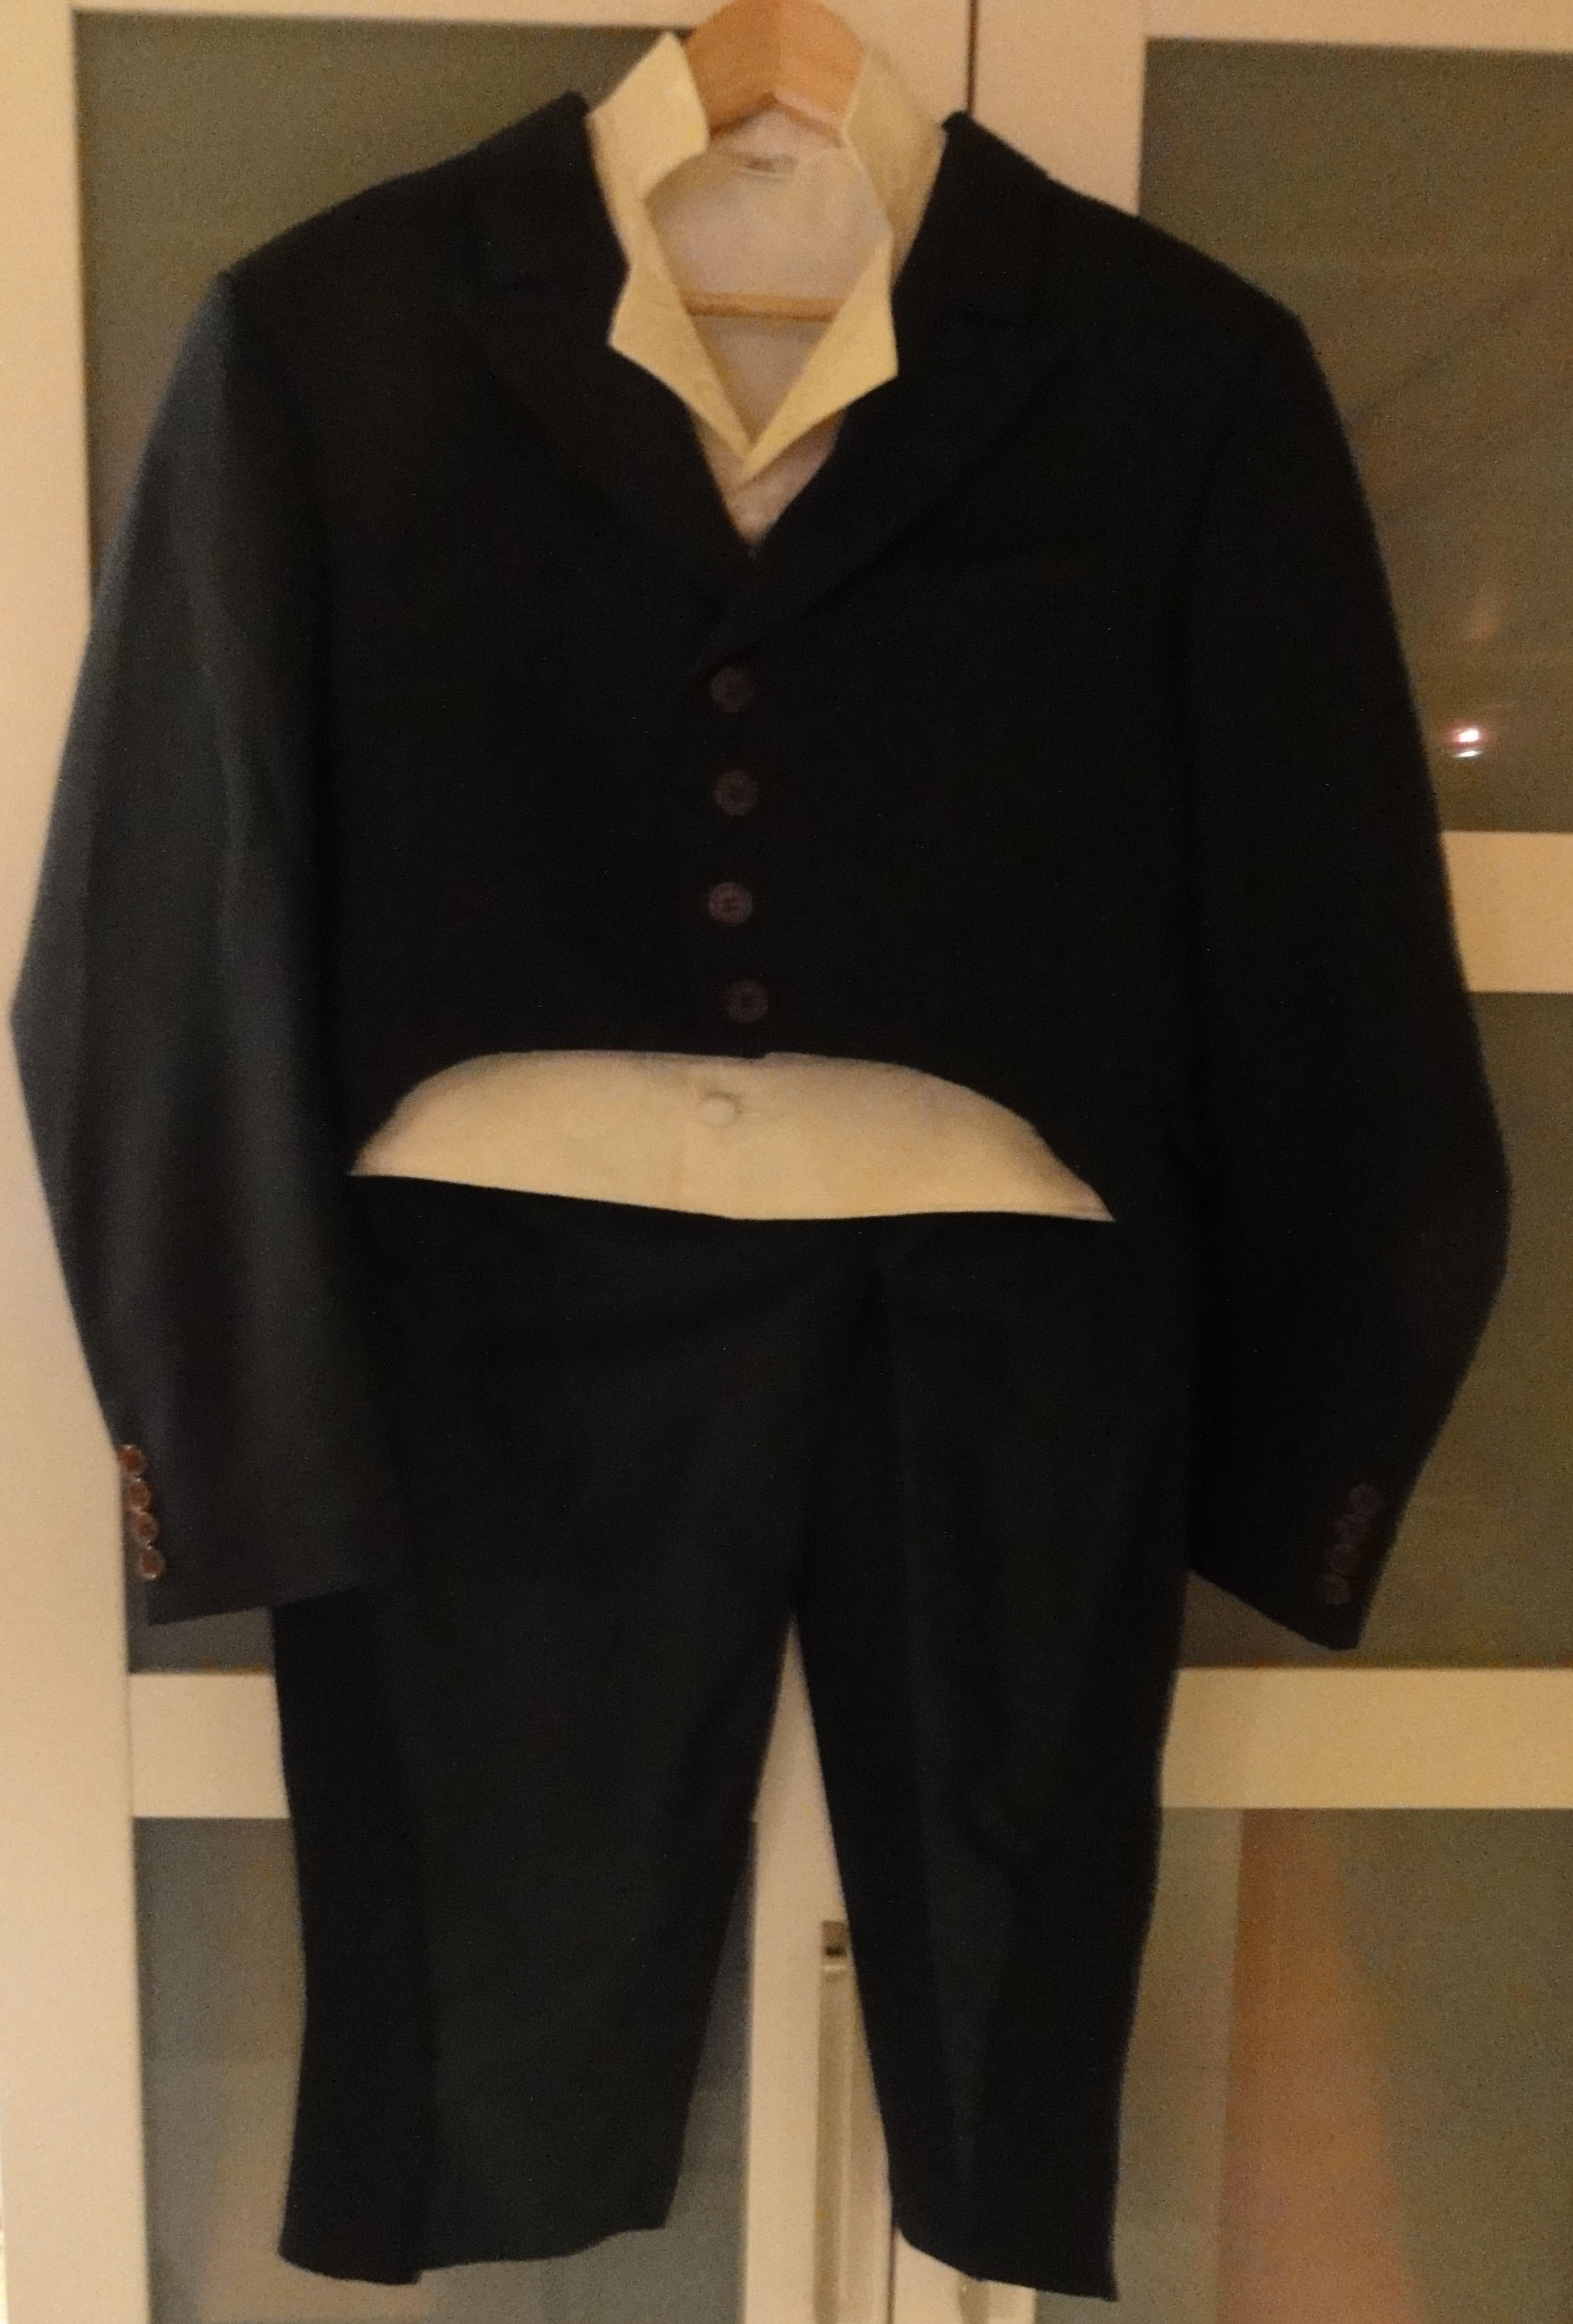
- my spencer and the gentleman’s tail coat needed buttonholes–buttons had been temporarily attached to make deadlines for the blog posts!;
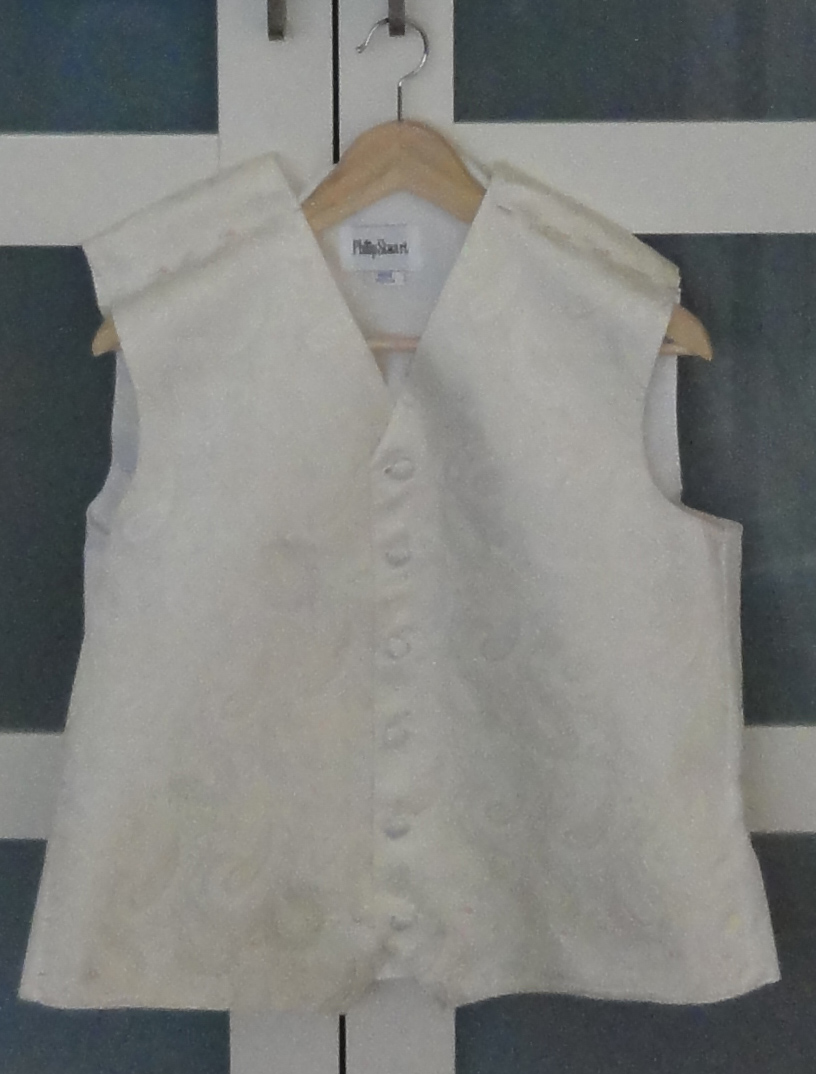
- the white Swiss dot gown needed fake long sleeves, as the originals had been removed and short sleeves added, intended to make the dress flexible for morning or afternoon wear;
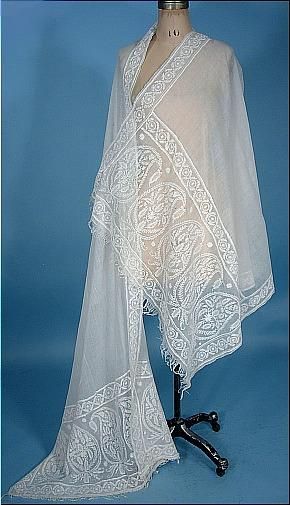
- some pretty sheer fabric with white embroidery would be made into a fichu and, with the addition of some organza lace, a second cap.
- Mr. Suze broke the cheap plastic belt lining product I’d used for his suspenders, and we had to purchase new banding and attach.
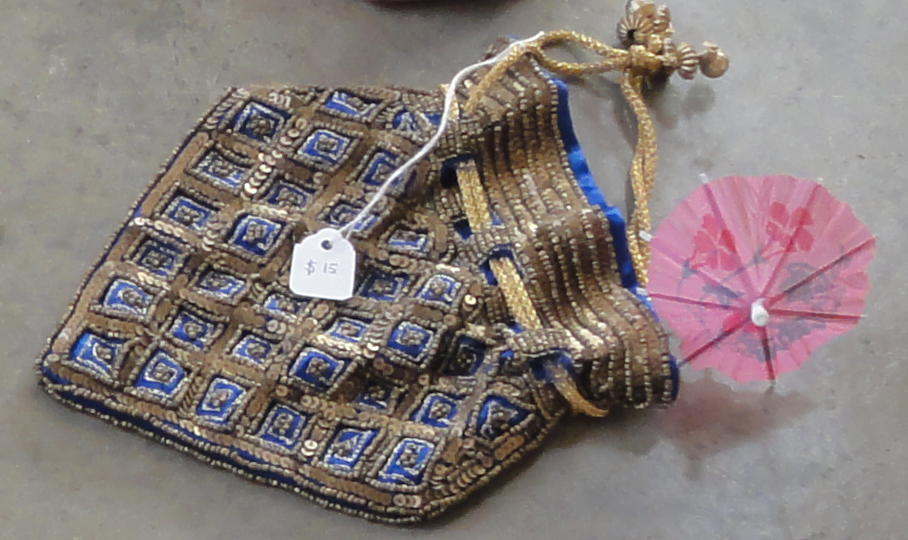
The jonquil ball gown needed too much additional work to earn its full parasol, and time ran out!
I also had numerous hand-sewn projects that would be tackled on the trip, such as 14 buttons on Mr. Suze’s tail coat and re-attaching the lining to my hat, which was not staying put with the double-sided tape.
Dozens of bags and containers of project items had to be packed up and stored after all this sewing, and I had to pack for a trip to two climates.
Something had to give, and the jonquil gown was sacrificed. I stopped all work on in mid-day Wednesday.
On to packing– but what to wear for the ball?
I had to quickly re-think possibilities for a ball gown. In a panic, I packed potential items that could be modified by hand, but were the dreaded polyester, and not my colour.
The alternative is the Swiss dotted gown (my original morning gown), but its fabric and style is less formal, better suited to an afternoon or dinner gown in its short-sleeved version.
I was in a terrible rush by the end, and didn’t stop moving from 7am Thursday to 1am Friday. I didn’t have time to make the new cap for day-wear, and have to wear my small-fitting first effort, made from cheap polyester lace at the last minute for my local JASNA’s Jane Austen Tea (an earlier blog post).
After the fact, I thought of a half dozen items that I should also have packed, e.g., my turban was to match the jonquil, and now I have to re-think headwear for the ball. I forgot my Alias Thomas Bennet book bead bracelet, which matches my editor and artists’ versions and would have been perfect for the book signing on Saturday prior to the promenade and ball.
I haven’t decided which way to go for the gown, and the only way to know is to watch my blog!
Next post: Louisville!
***UPDATE! Don’t forget to comment on The Thrift Shop Regency Costume blog posts, or find Author Suzan Lauder at the Louisville KY JASNA AGM for a chance to win items from the Experiment! Daily prizes October 8-12!