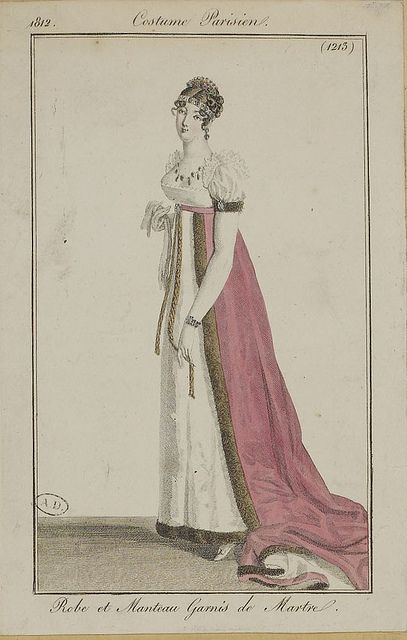
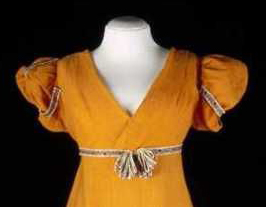
If it weren’t for that elusive short-puffed-sleeve dress that was only a ribbon from Regency, I could have stopped shopping for a gown in February when I found my wonderful white dress for use as a morning gown.
Why did I continue for four more months? What made me keep seeking out a long gown in a pretty print, or similar in a smooth silk for a ball gown, that needed nothing more than to gather its extra fabric at the back and tie a ribbon about its empire waist? I believed in its existence, that’s why.
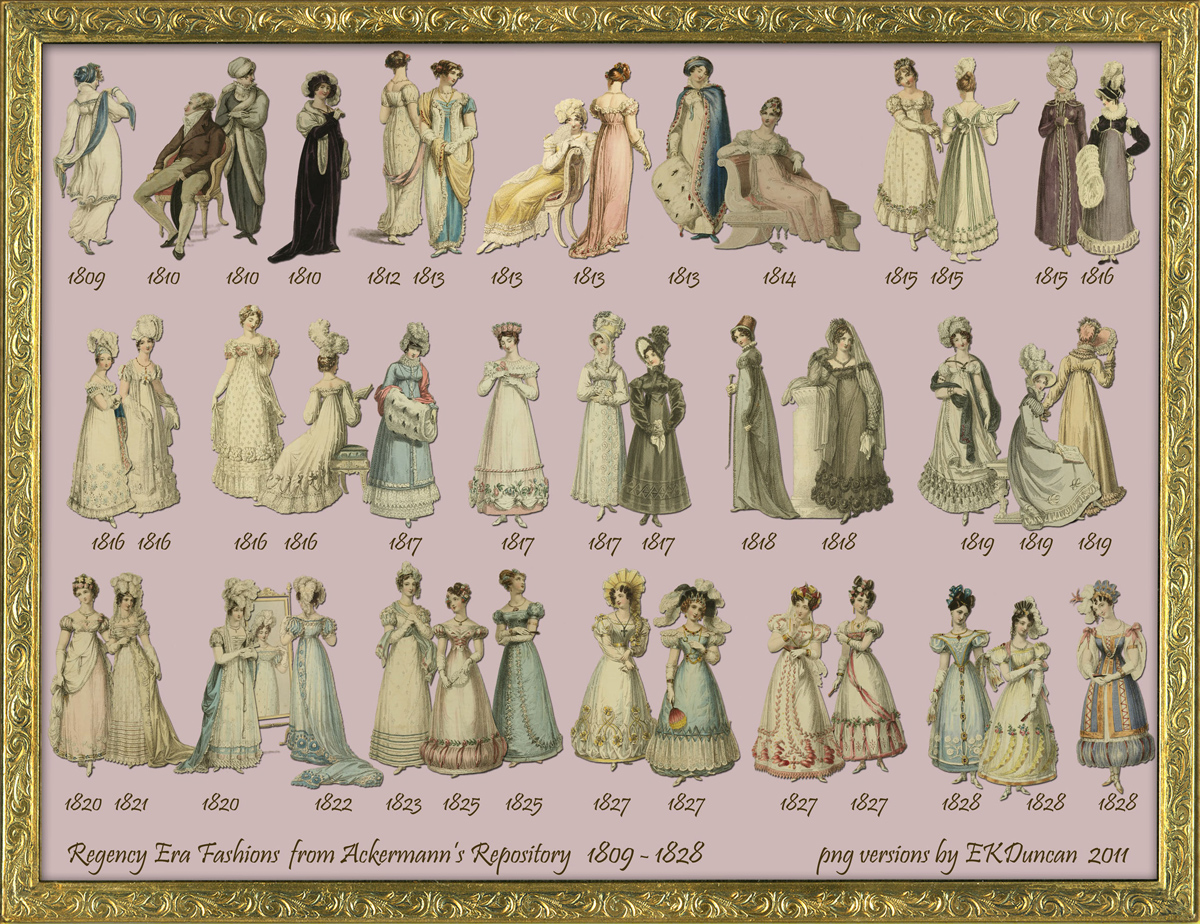
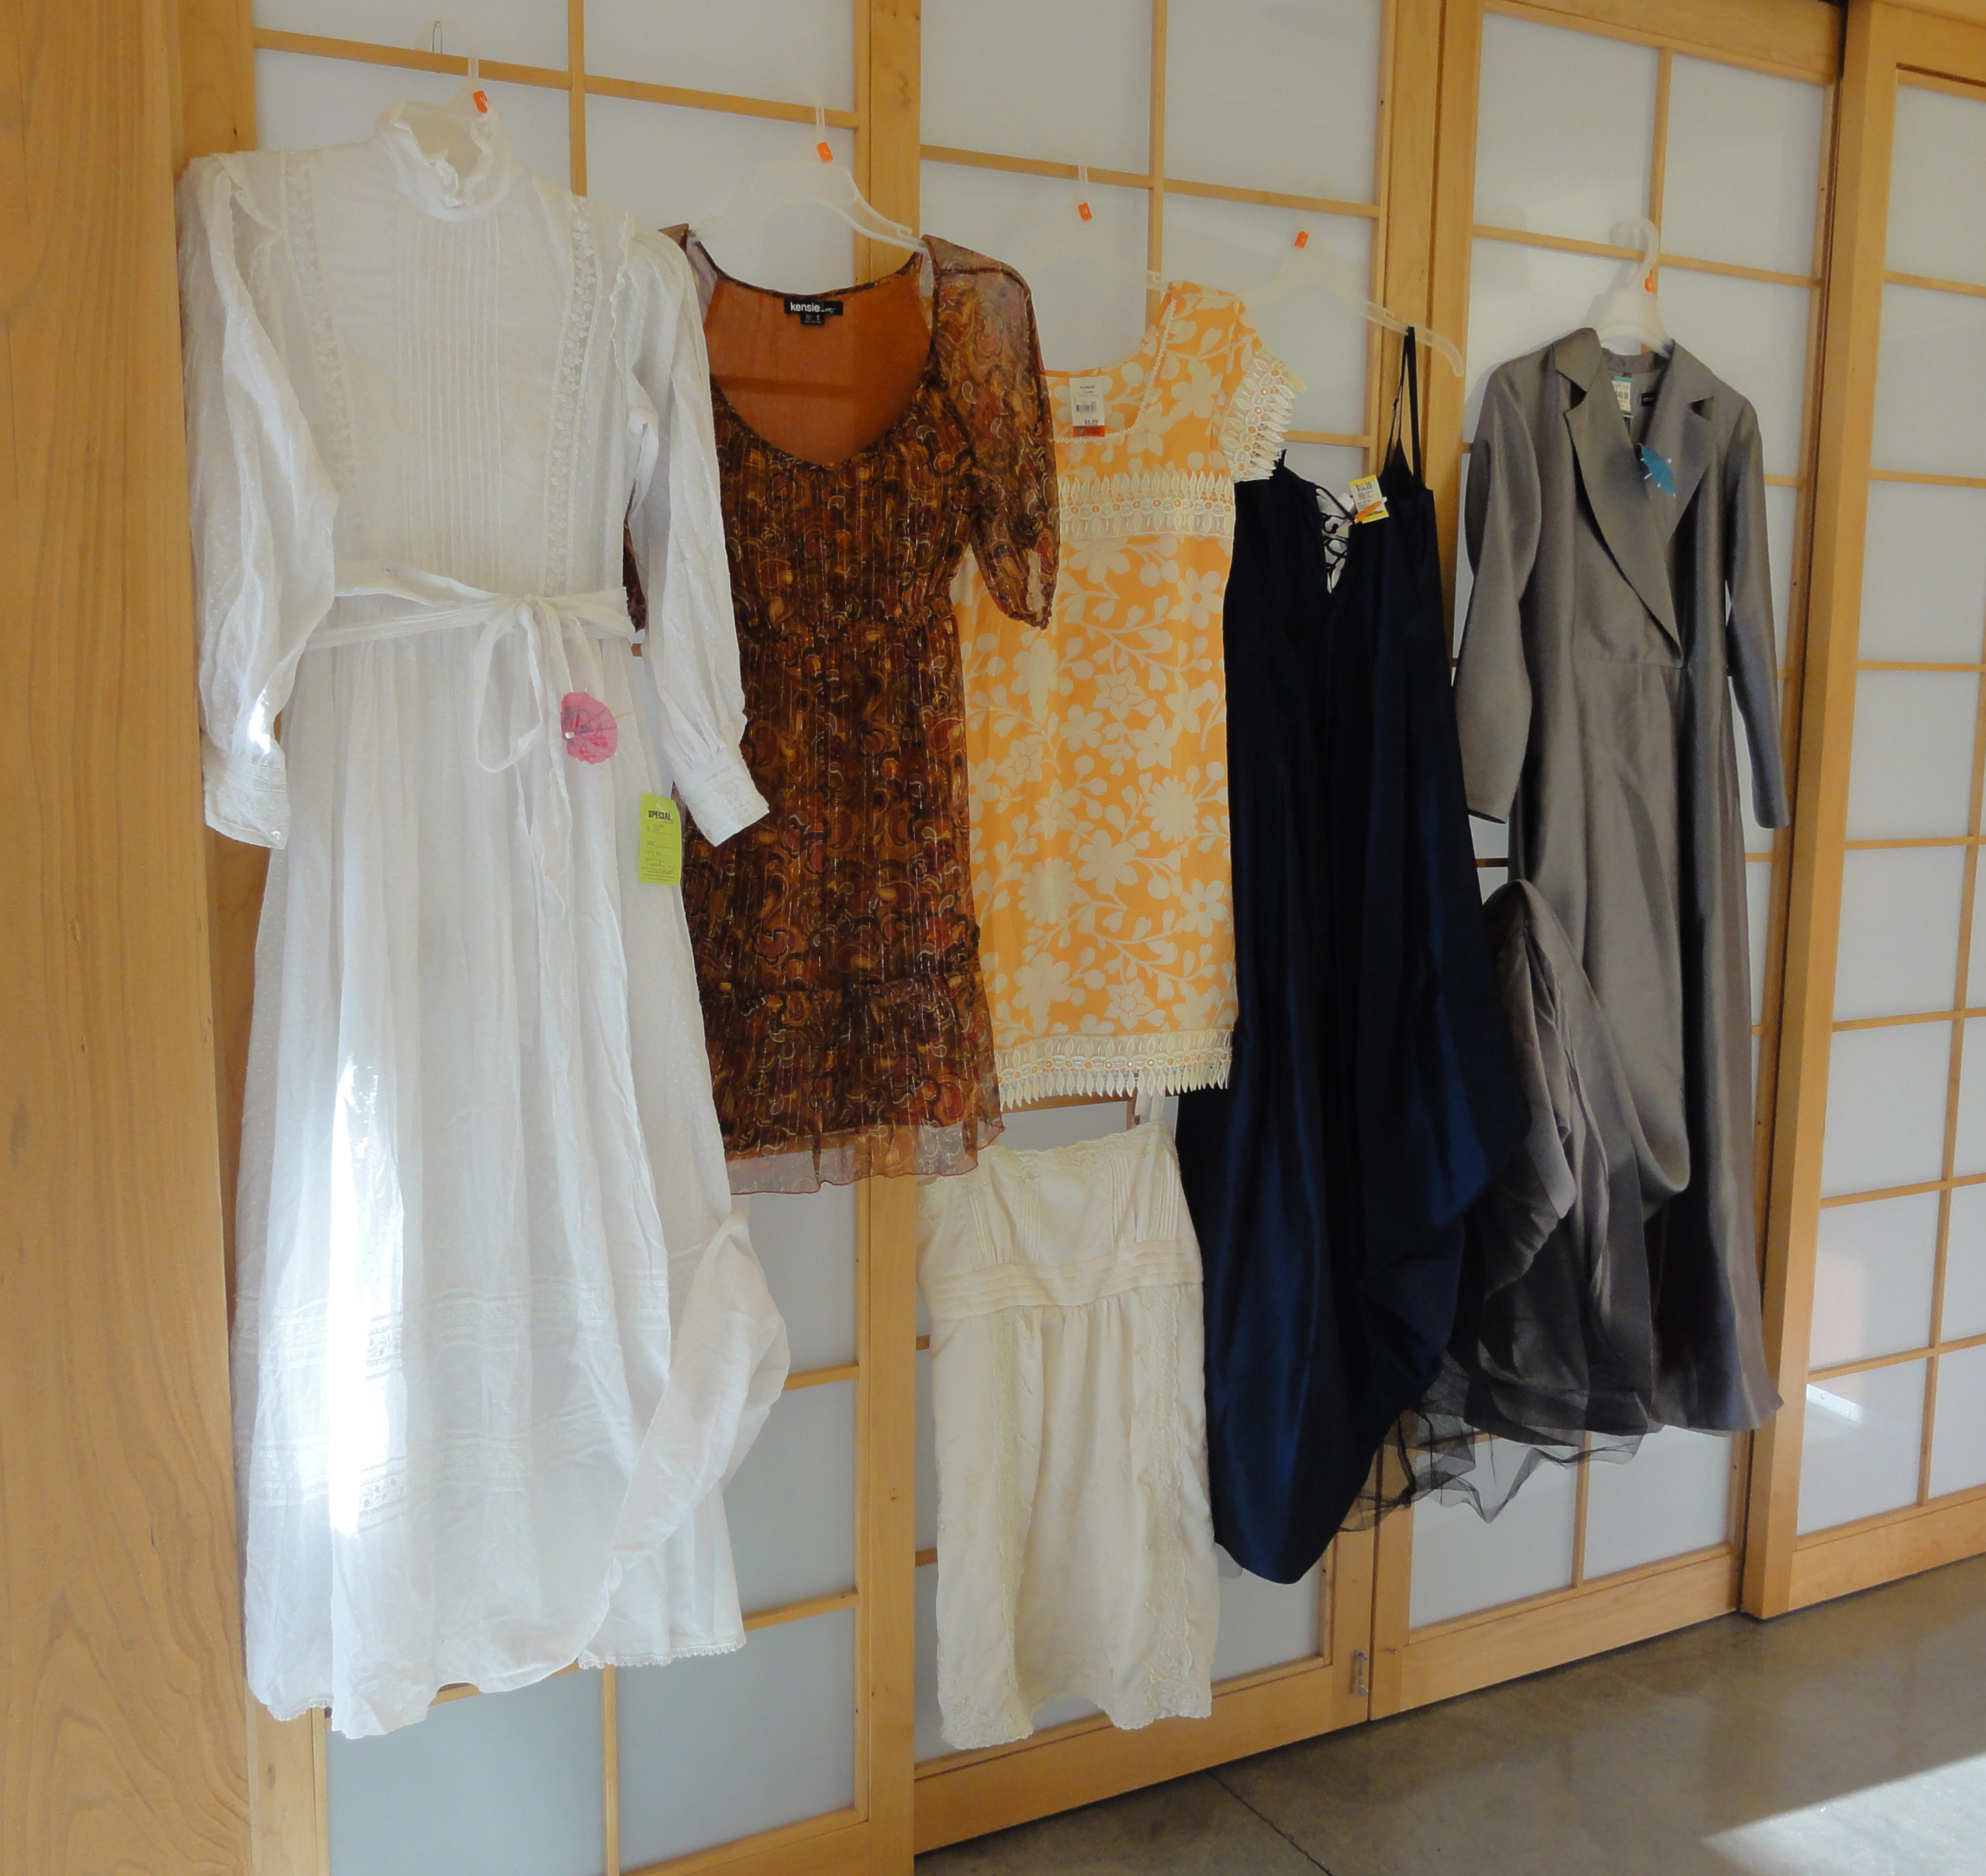
Several of the overview web sites listed in the “Cheat Sheet” post implied I’d find it with ease, and I was determined to! I saw many dresses that were close. Too short, too small, too much trouble removing panels of non-Regency trim, and mostly, polyester knit. Drat. Double drat.
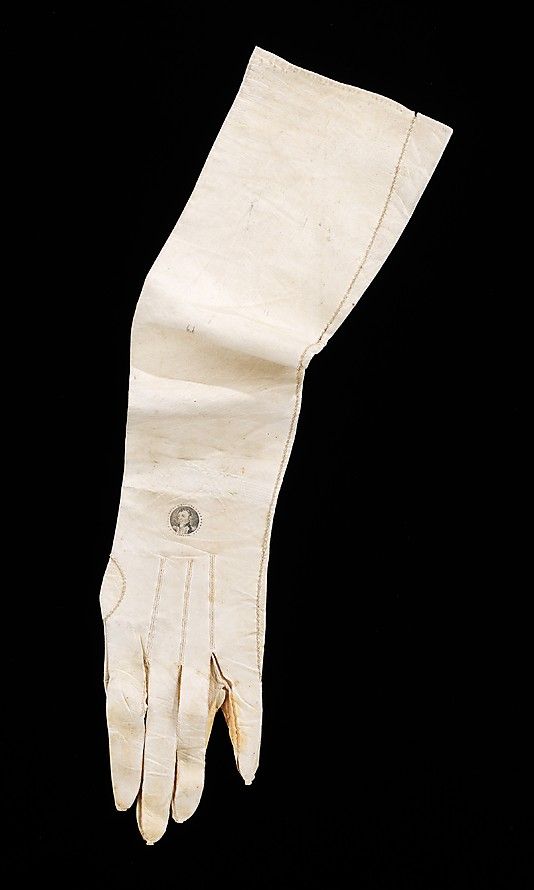
In addition, some key accessories were found later on: my shawl was found in May, and the fan, half boots, and better ball slippers in June. I was still trying to find a better fan, a real pagoda parasol, and some better gloves to the last minute of the planned deadline of the end of June!
The quest for Mr. Suze’s outfit started in March as well, so I was searching for tailcoats, poet’s shirts, riding boots, and collared vests beginning in March. (I found three tailcoats that were perfect, except two were too large and one was too small. $35-$65.)
Some have suggested I spent far too much time shopping when I could have sewn a gown for the same cost.
My reply? Not the same gown, nor anything near as nice for $33.95, and my morning gown would take a substantial amount of time and skill to sew.
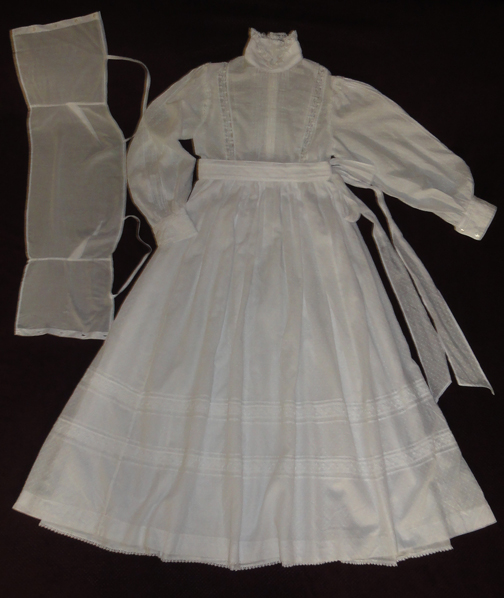
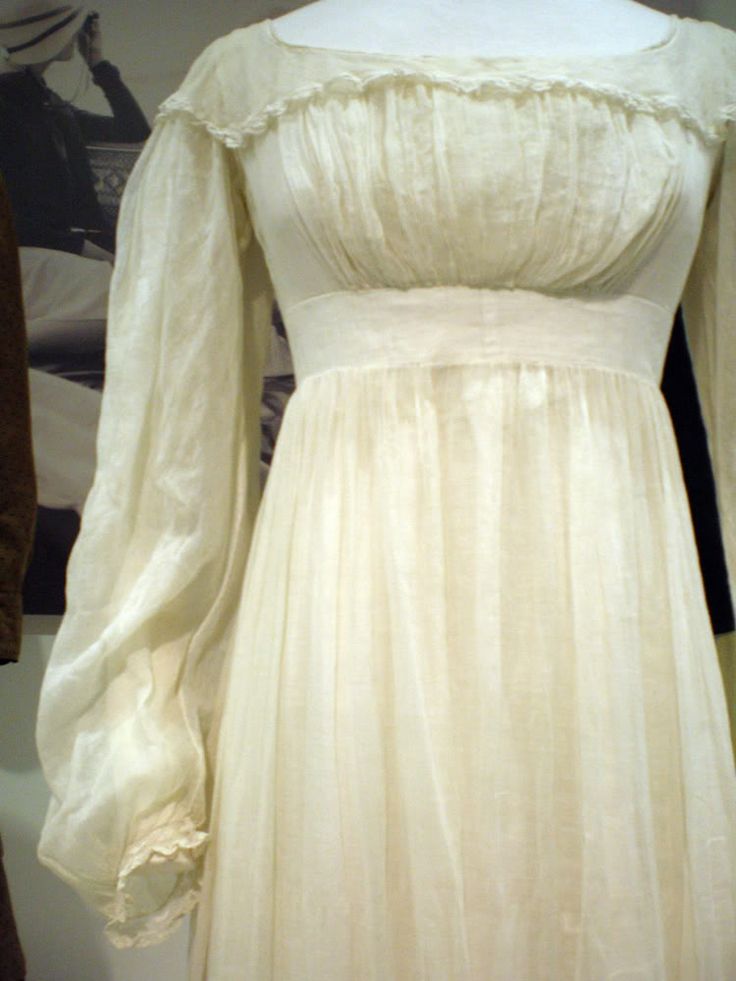
Morning dress with matching belt; camisole.
The amount of time spent shopping was not that much by the time I found the white Prairie wedding dress from the ’80’s in late February. Though I started in summer 2014, I only went every three weeks or so for a couple of hours at first, and December, January, and half of February may have been three visits total, due to other commitments and vacation.
It took a while to acclimatize myself, but my early purchases were far more than a gown: the accessories alone made the time spent worthwhile, never mind ribbon, lace, no-sew tape, and items for future gowns. The the final months were not as productive, but by then, few items were remaining.
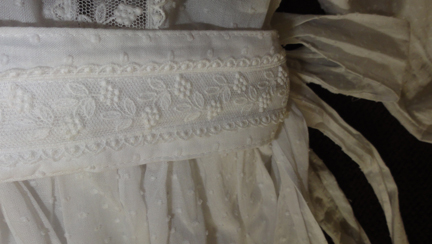
Matching waistband with Guipure lace.
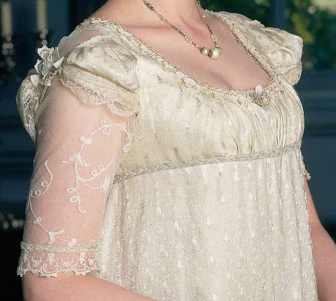
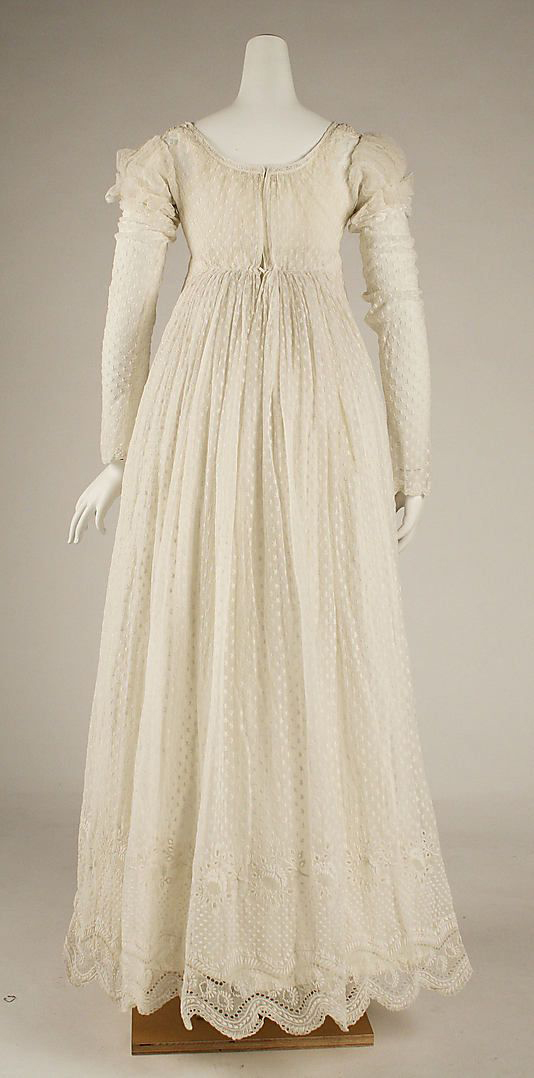
There is no way anyone could make a gown anywhere close to this quality for less than triple the cost. The photo above shows the generous amount of fabric in the skirt, sleeves, and integral petticoats. There’s the delicate camisole that came with the dress, and the matching belt.
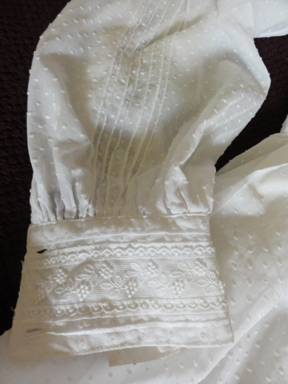
Sleeve detail with lace on cuff and pin-tucks the length of arm.
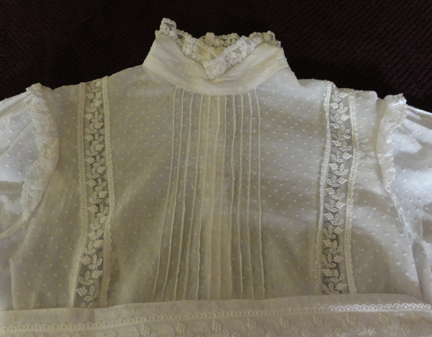
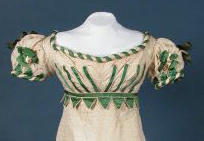
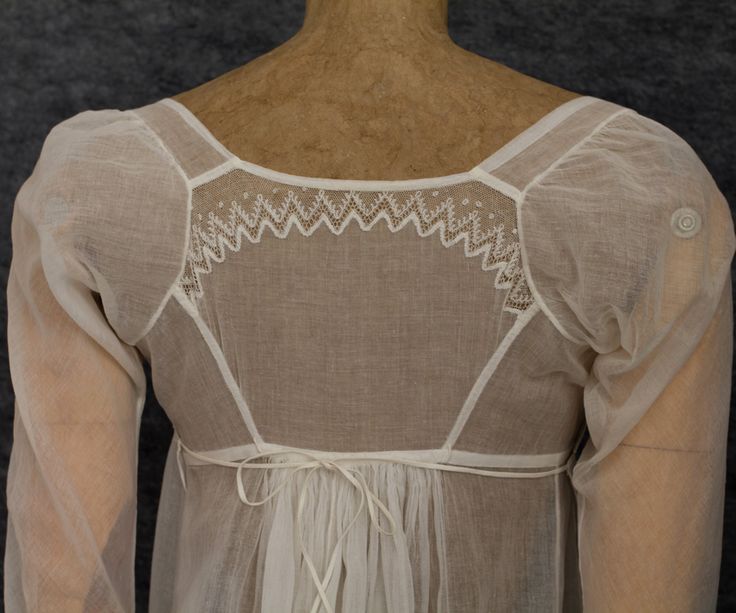
Bodice with pin-tucking, lace panels, and high collar trimmed with lace.
A great deal of work went into pin-tucking on the bodice and sleeves, and pleats on the cuffs and lace panels on the skirt.
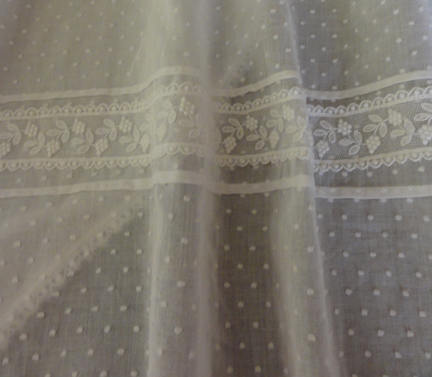
The sheer Swiss dot fabric is so fine, you can see the petticoat lace detail through it.
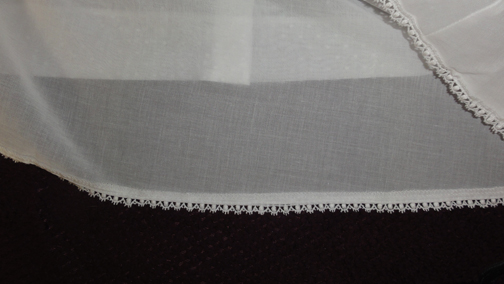
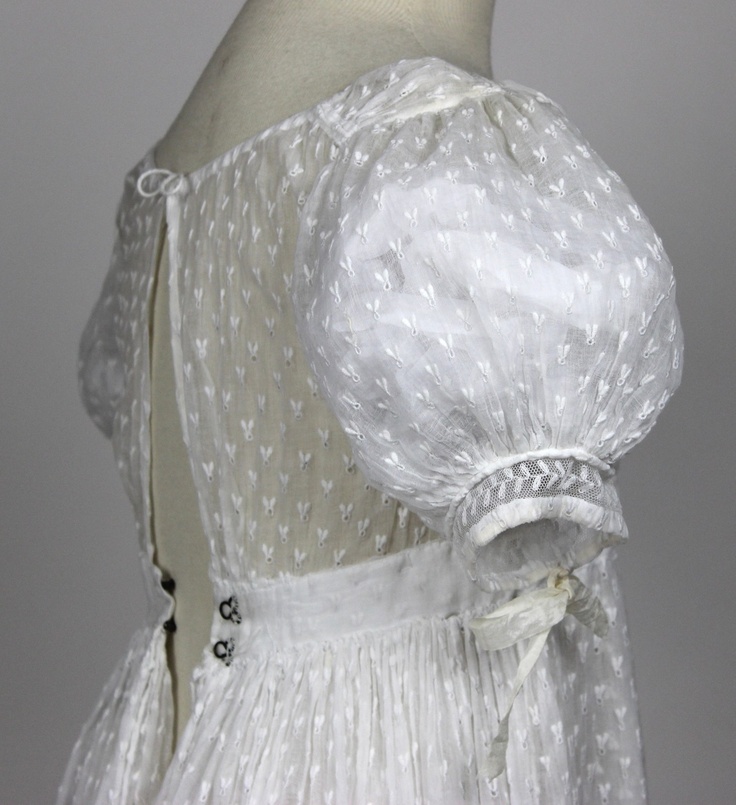
Petticoats of fine fabric with high-quality Guipure lace edging.
The fabric in this gown would cost $80-$120. The Swiss dot fabric is super-fine, as is the batiste petticoat: like Regency muslin. As mentioned in the previous post, the gown is cool to wear on a hot summer day with a light breeze because of the breath-ability of the delicate fabric.

Two rows of Guipure lace and fine pleats on the skirt.
The lace alone is worth at more than I paid for the dress: at least 8 metres of 1″ wide Guipure bridal lace on the gown and another 3m of ¼” wide scalloped Guipure lace on the bottom of the petticoats. The former would be around $8 a metre, and the latter would be $1 a meter at a discount place like Dressew.

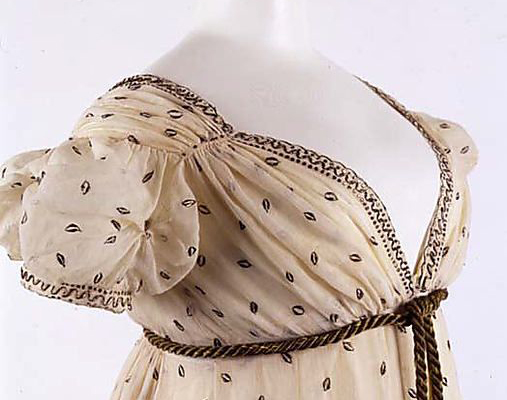
Lace goes over bodice from front waistband to back, and forms a gathered ruffle at top of sleeve.
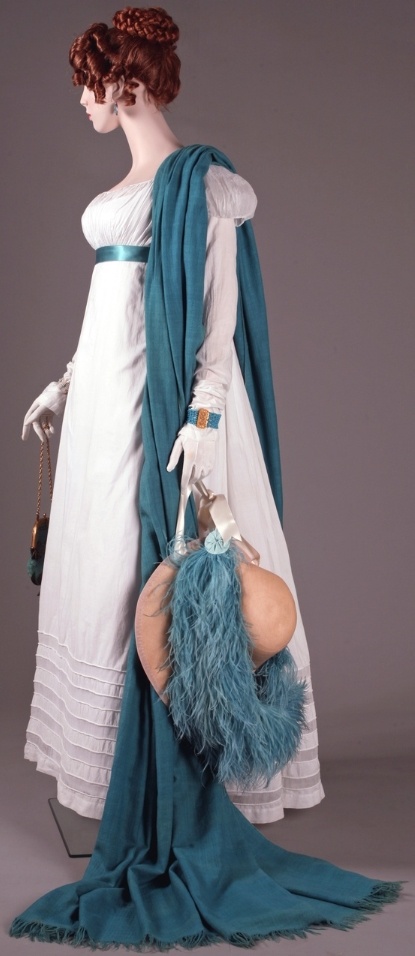
The rest of the costume is shown below, since you couldn’t see a few of them in the previous post.
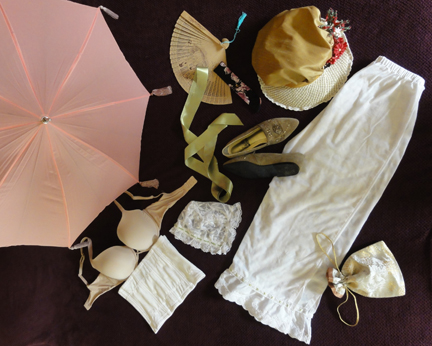
Everything else worn at the Jane Austen tea, except knee high stockings. Photographer forgot them!
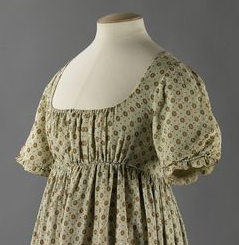
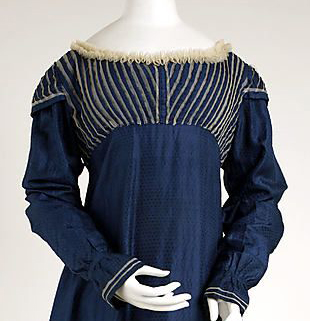
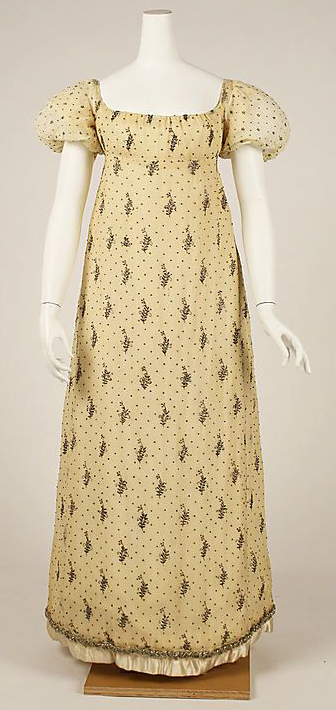
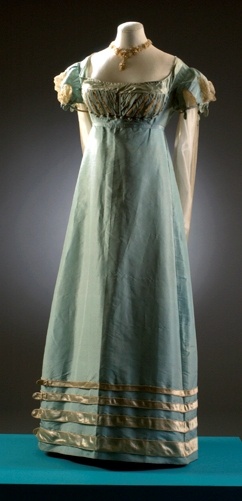
Because the dress had a gathered front, it would be pre- or early Regency. I thought about modifying it, but it would require sewing.
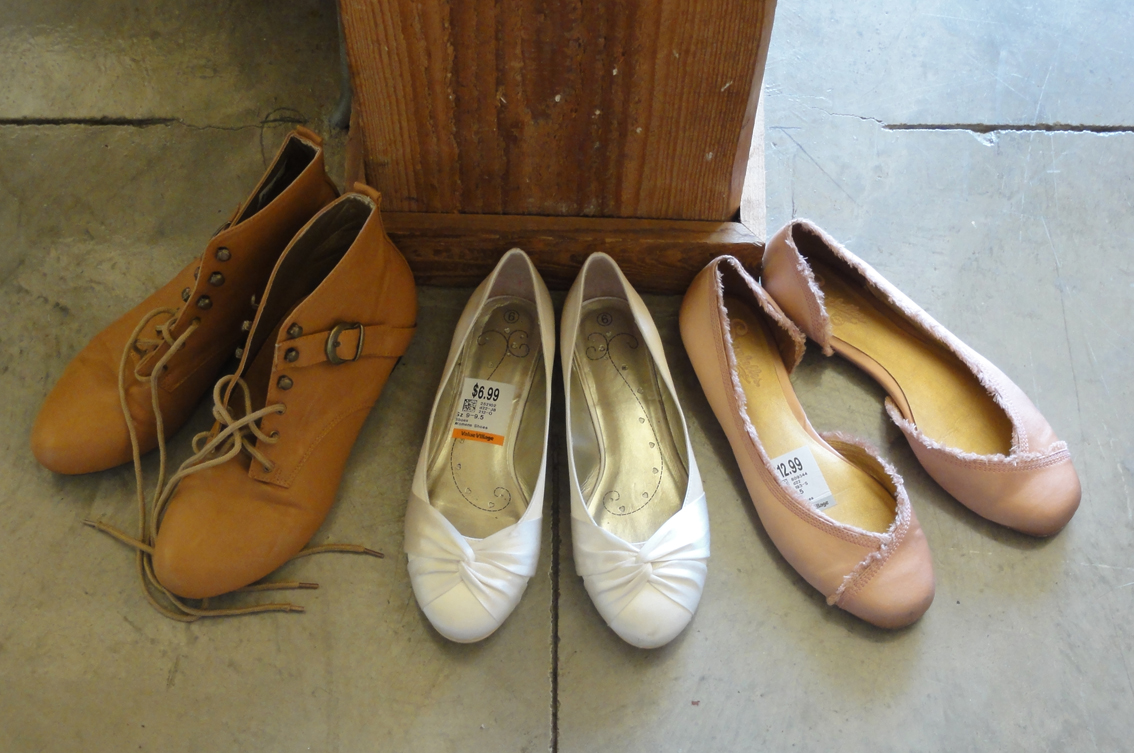
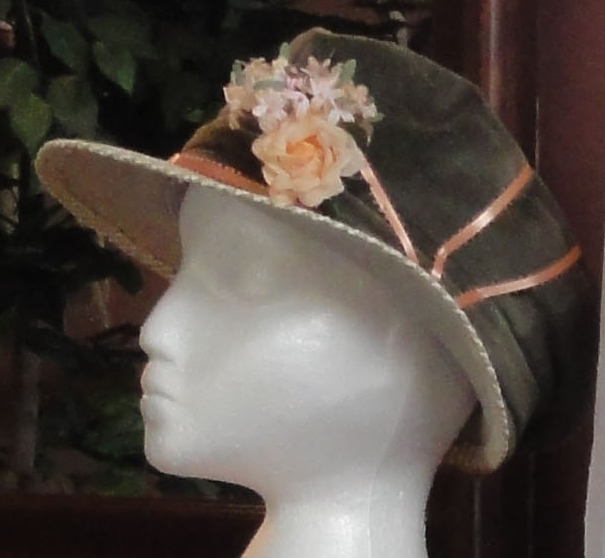
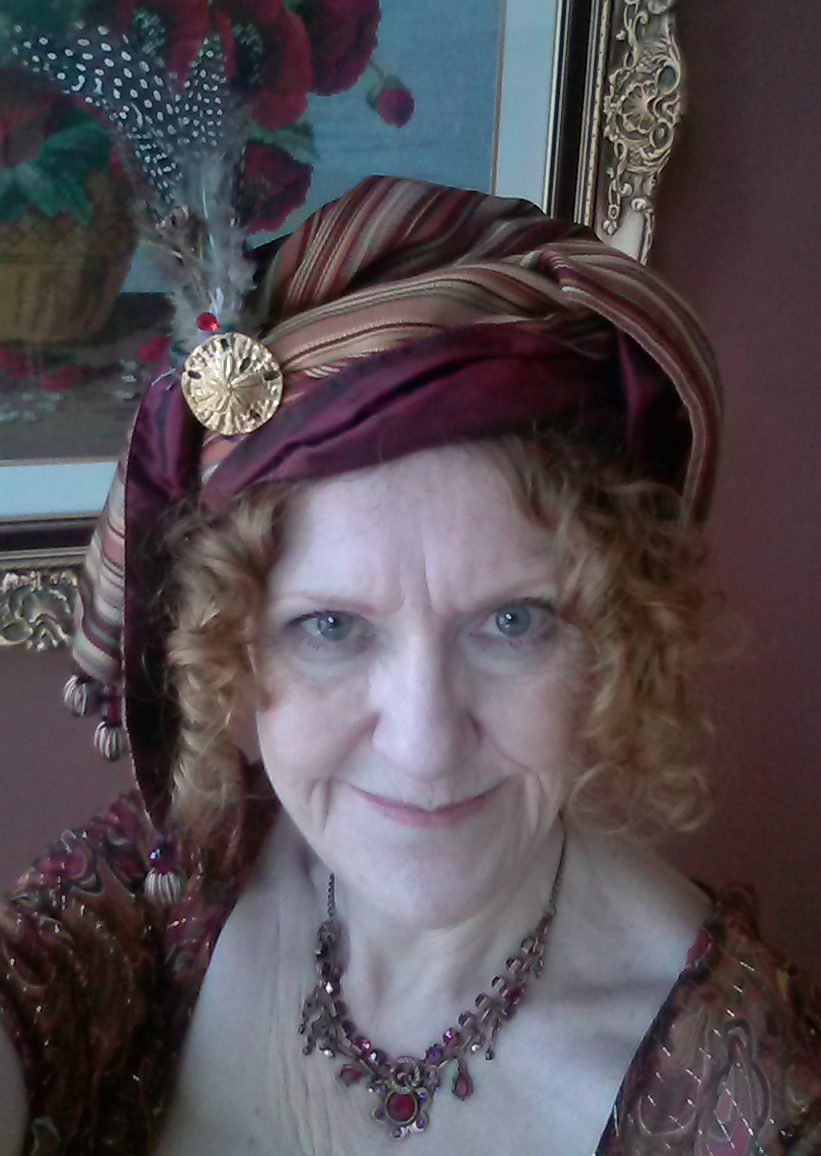
Instead, I chose the sage shoes since they have a slightly pointy toe from the same period. To coordinate with the shoes, green ribbon was used in the trim for the pantalets and lace cap (hastily machine-sewn the morning of the event, but more on that in a later post!) and for the waist ribbon on the gown.
In conclusion, those who’ve suggested the dress was not worth it should consider that the entire costume was the cost of a simple dress with lesser-quality fabric and no lace, and petticoats would be extra. If my time prior to the purchase of this dress was split between all the items, the effort would be no more than the time to make a dress of the level of detail I purchased.
But that was not the point of the Experiment! What’s more, it would fly in the face of the guidelines I shared when we started.
My learning experience was crafted not to get the best deal on a gown, but to get the best gown I could for a good price, without making it.
The intention was to share this experience, warts and all, so others might feel empowered to wear that Regency costume they’ve dreamed about for the next Austen-related event, and to let them know they have options. We should all be able to feel pretty and pretend we’re in another time in history!
Isn’t my dress exquisite? I’m so proud to wear it!
I feel lucky to have found it, even if the ball gown proved to be difficult so far. But I’ll probably peek at the dresses every time I pop into a thrift store to see if they have a medium-sized tailcoat! You never know!