I was second last in the gift draw. I took the brown paper bag, reached my hand in, and felt around. Unable to discern by touch what the small items were, I grasped one at random. When I extracted my hand and opened it, I found BIG SPARKLE.
It turned out to be a key chain, roughly four inches long, and gaudy doesn’t begin to communicate its assault on my eyes. About 8 huge plastic gems hung in a cluster from large gold links, and below them dangled a tiny metal purse that would open were it not linked into the rest. When it moved even a tiny bit, it rattled. Yeah, I thought, it should have made the warning sound before I pulled it out of the bag.
I peered at the magnetic post-it grocery list note pad another participant won and felt the world was truly unfair. Yet when I examined the face of every other person, I realized it would not be in good form to say so. No one seemed to think my gift was the most awful, tasteless joke that was ever played upon someone. The sneer twitching at the corner of my lip was held in check, and instead, I said, “Oh, bling!” in an affected tone.
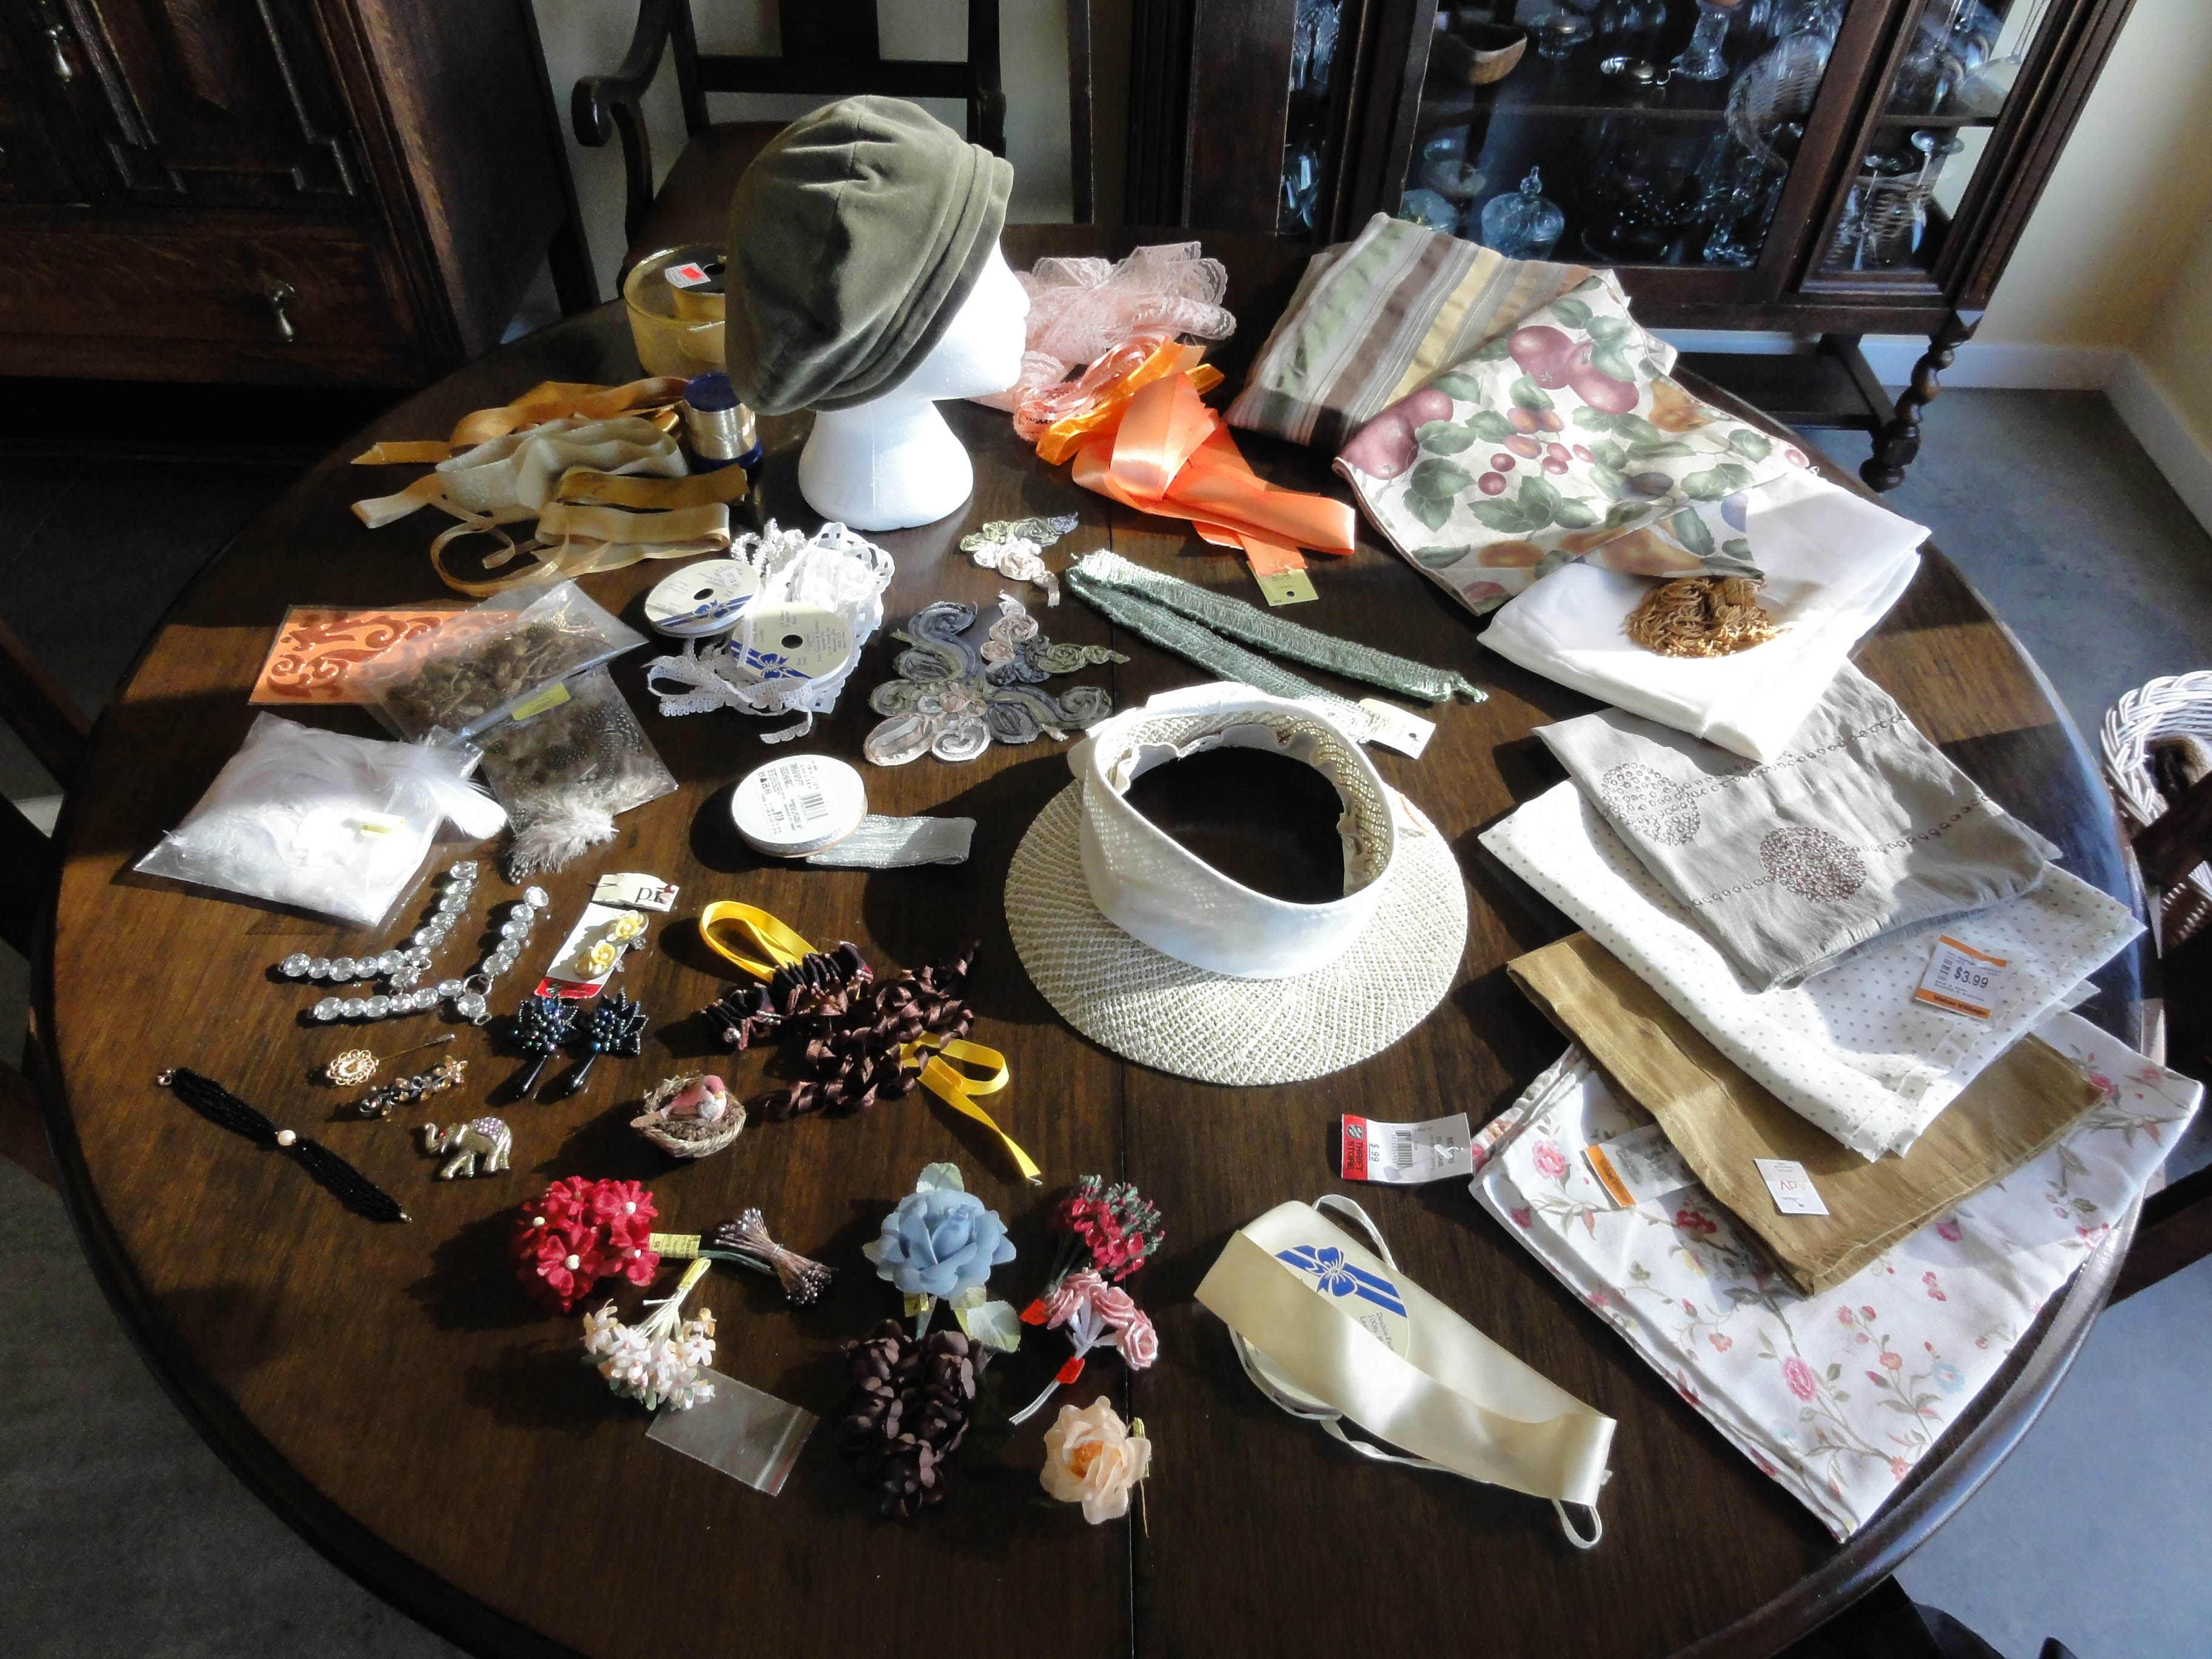
Thing is, I can’t bear to throw the thing away. I keep trying to think of someone to give it to who would appreciate it, or a way to give it some sort of useful employment. It moves from container to container as a “potential” and most recently, wound up in my kit of beads and baubles for my Regency costume. But once again, it’s proven to itself as a useless, gaudy thing. It has a few friends in that bag, but none as sparkly.
Like the crow, we’re all attracted to sparkly, otherwise there would never have been a gold rush or jewel thieves, and MJ’s glove would be boring. Many like to look at beautiful jewelry but don’t wear it. What I choose tends to be simple but unique. When I checked my own stash for potential items for my Regency costume, I found a few items that looked right to me. Then I did my research, and realized they were close, but some needed help. It was not impossible.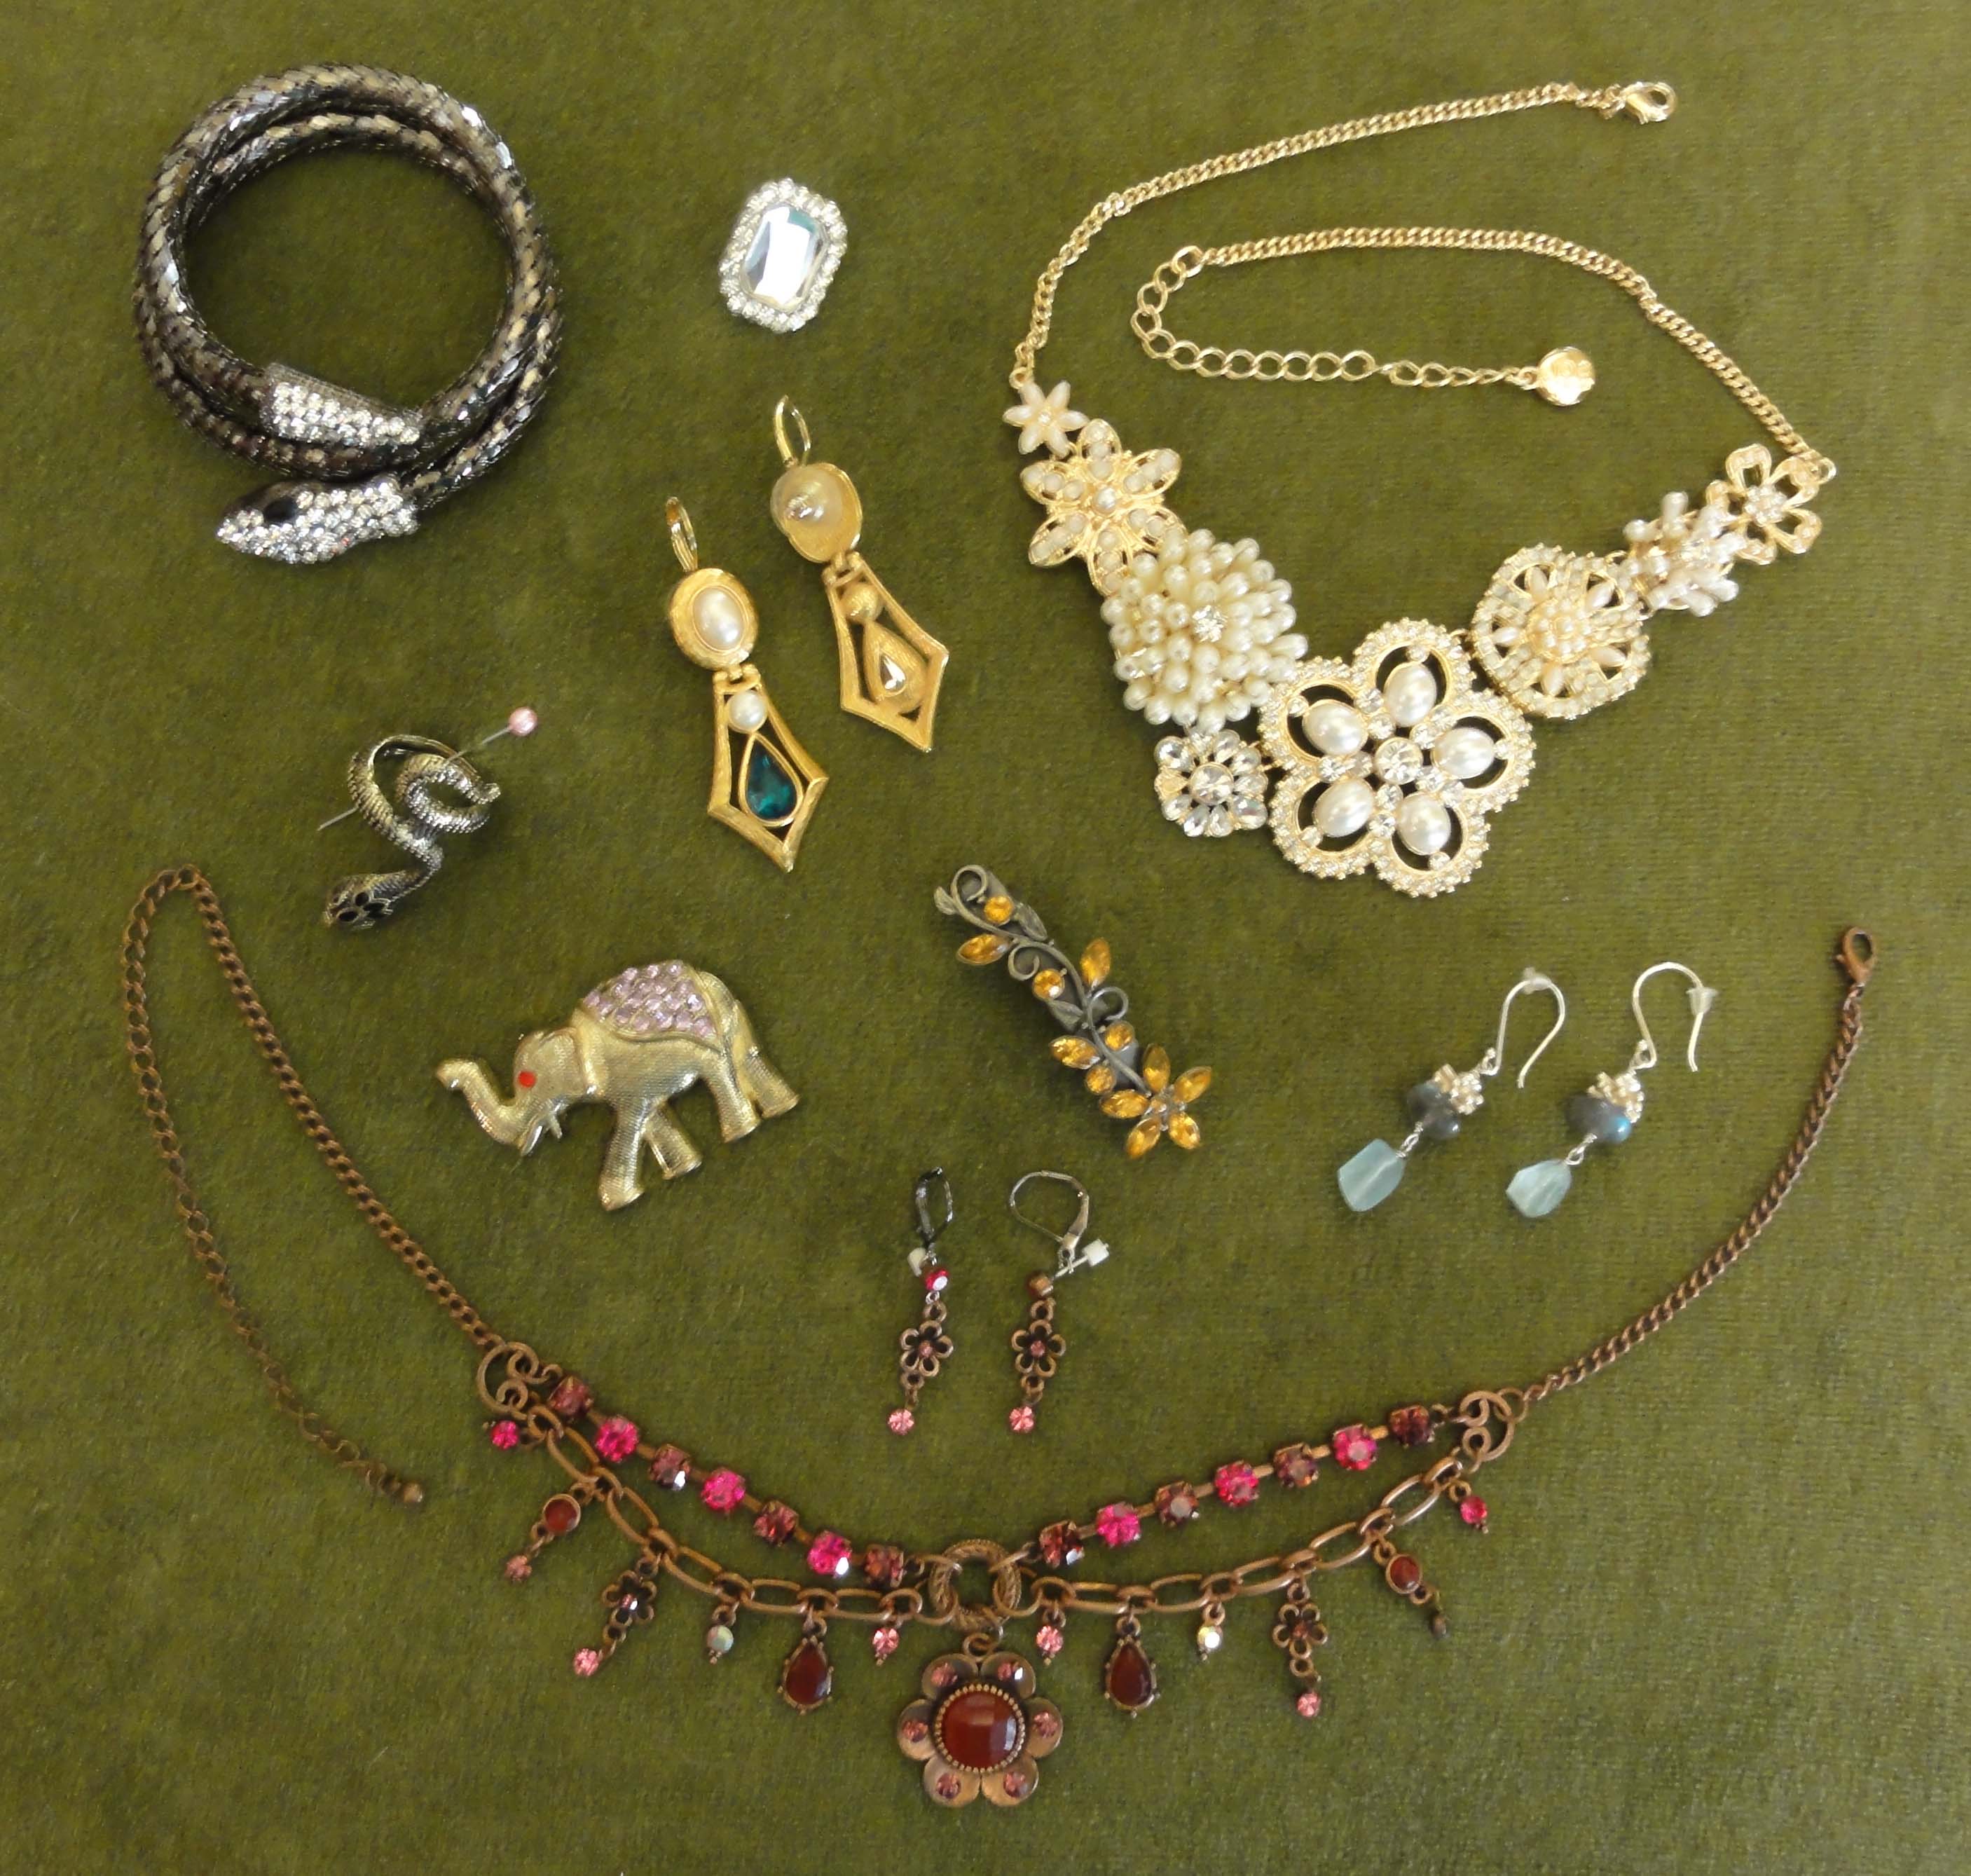
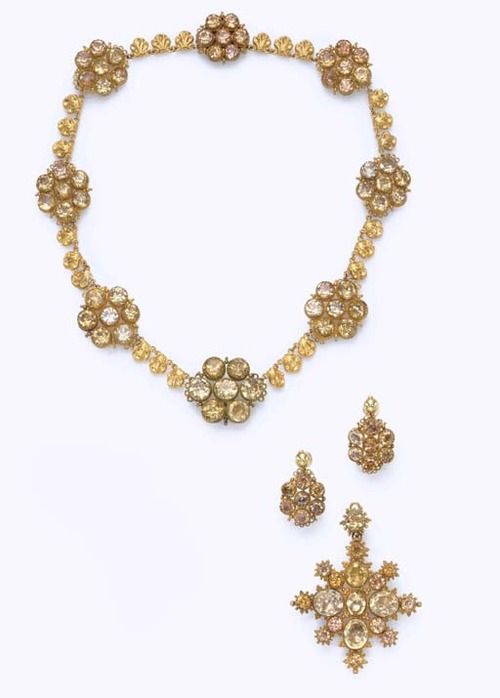
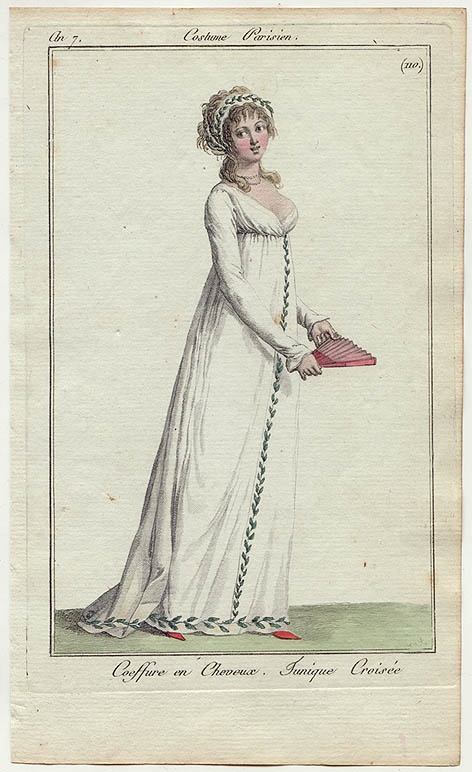
Citrine jewelry 1820

Necklace 41.9 cm long, circa 1810.
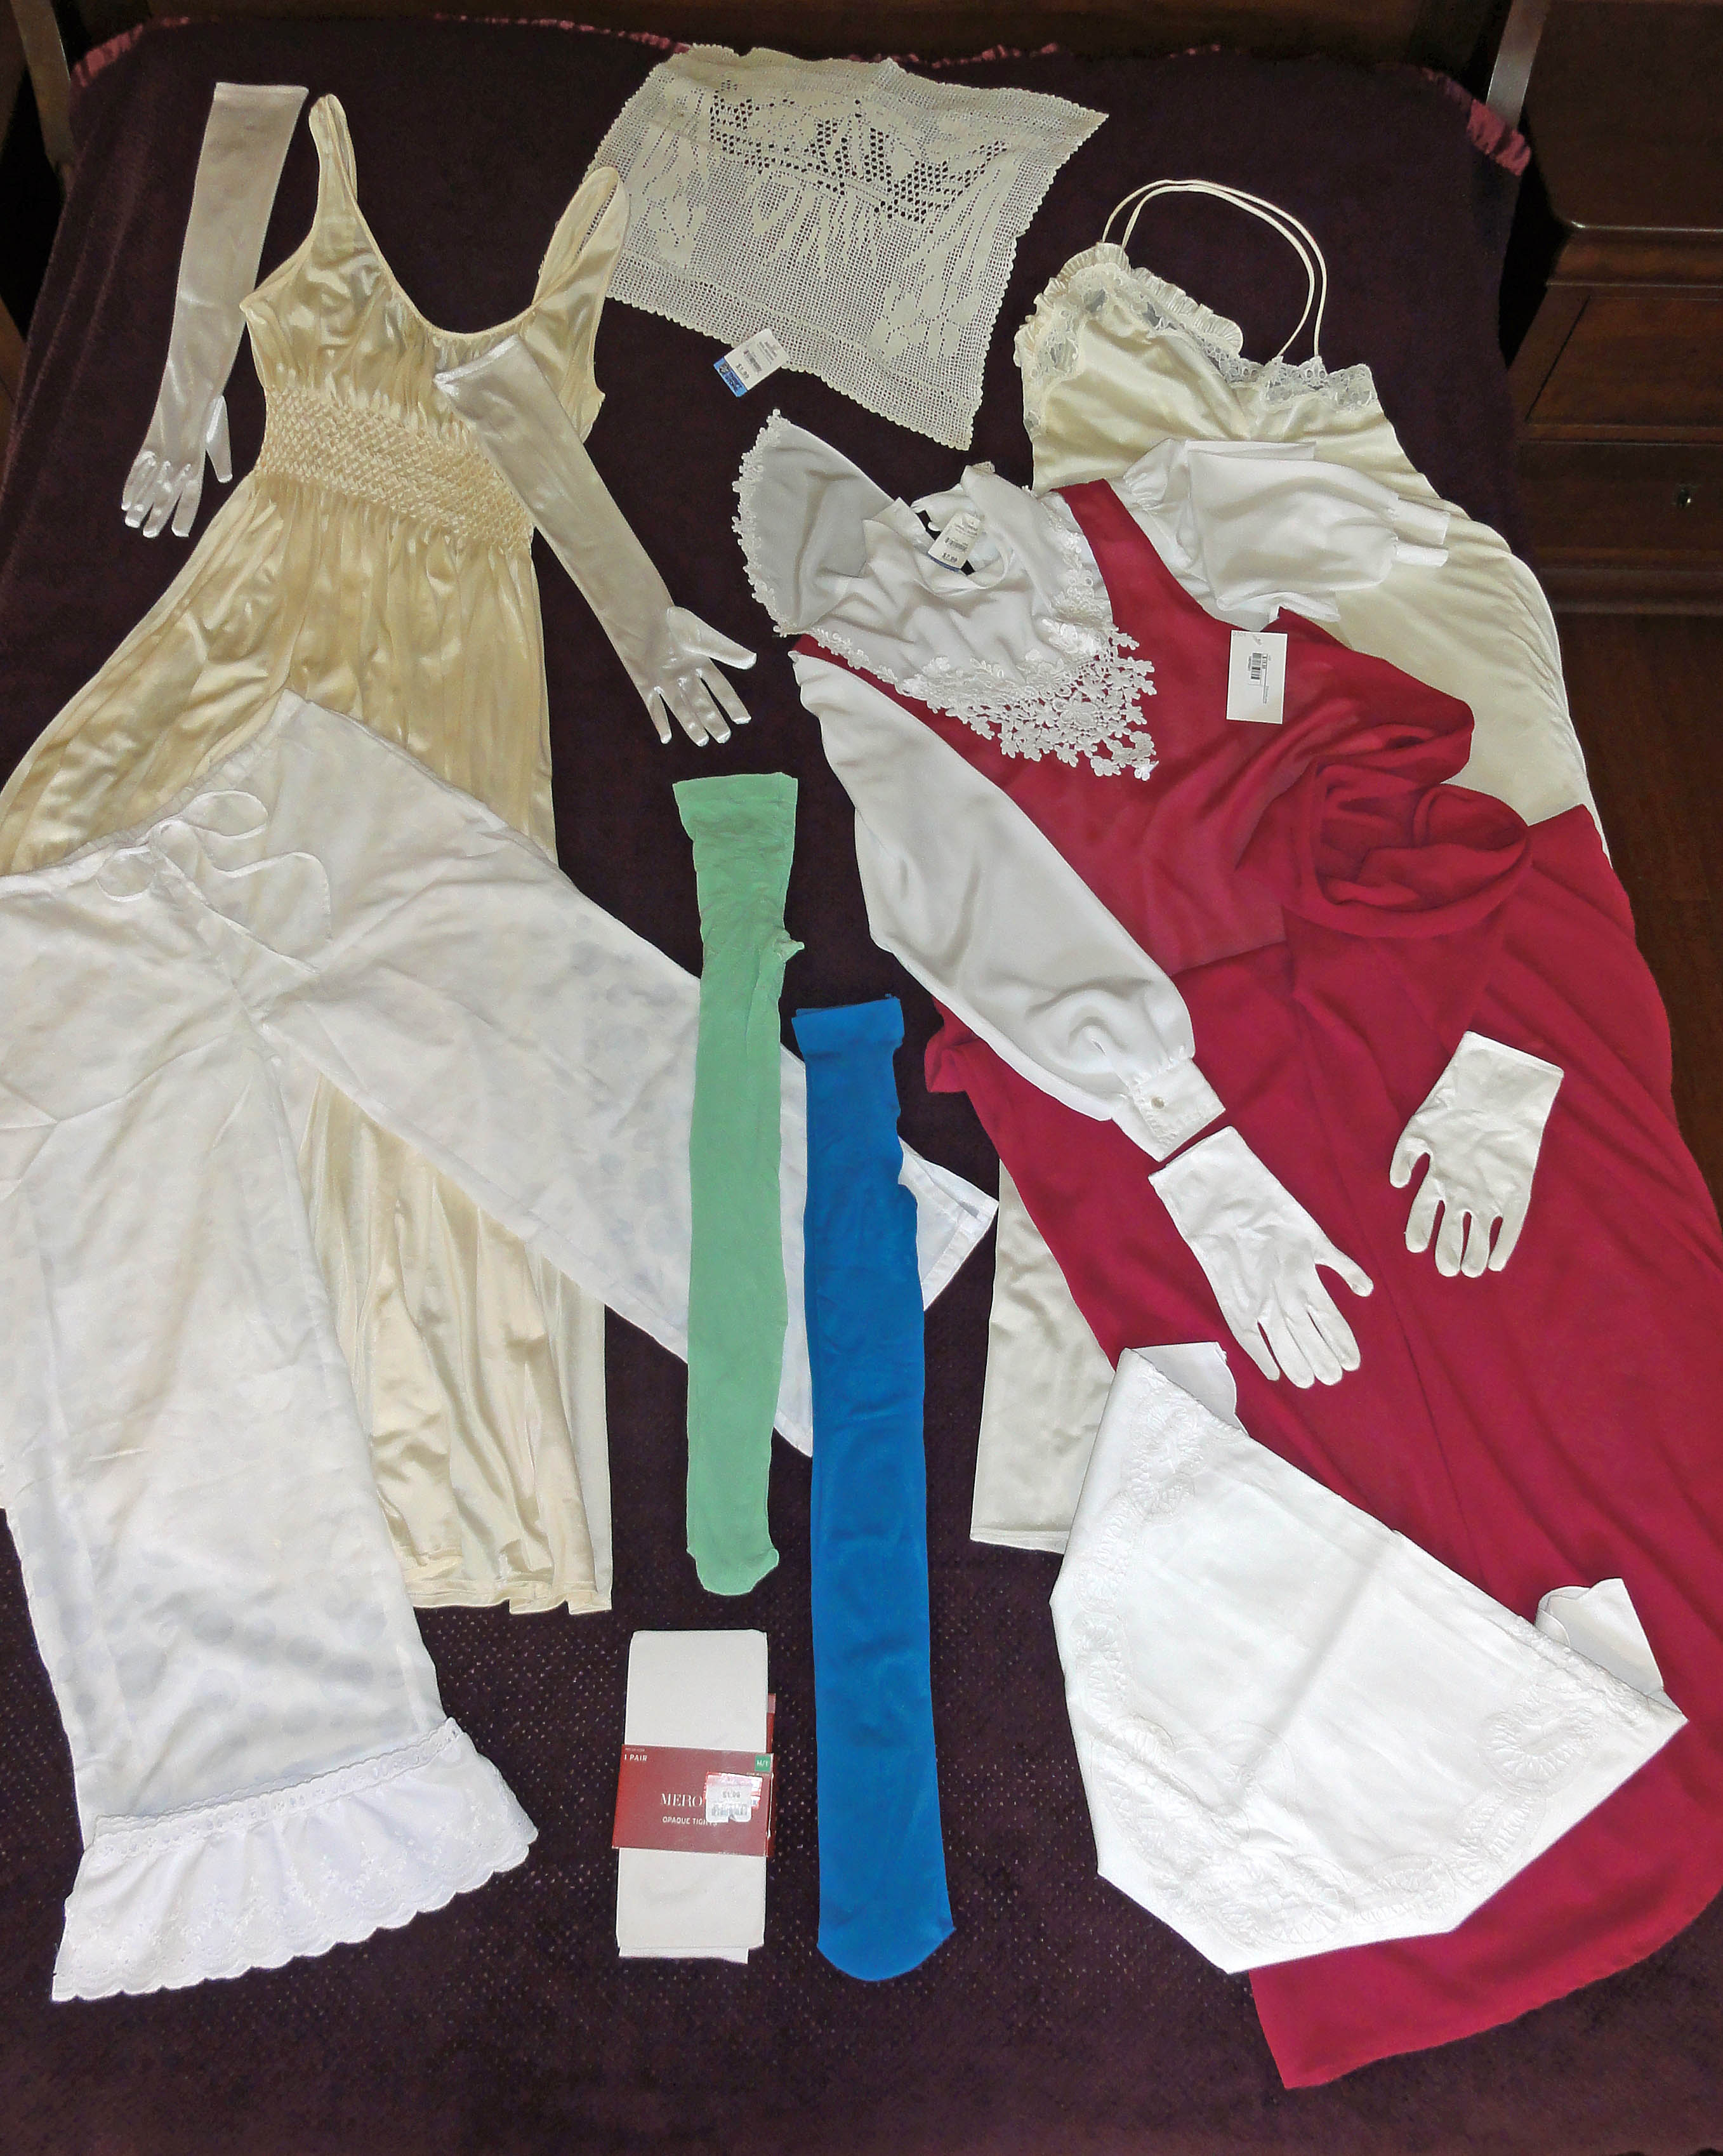
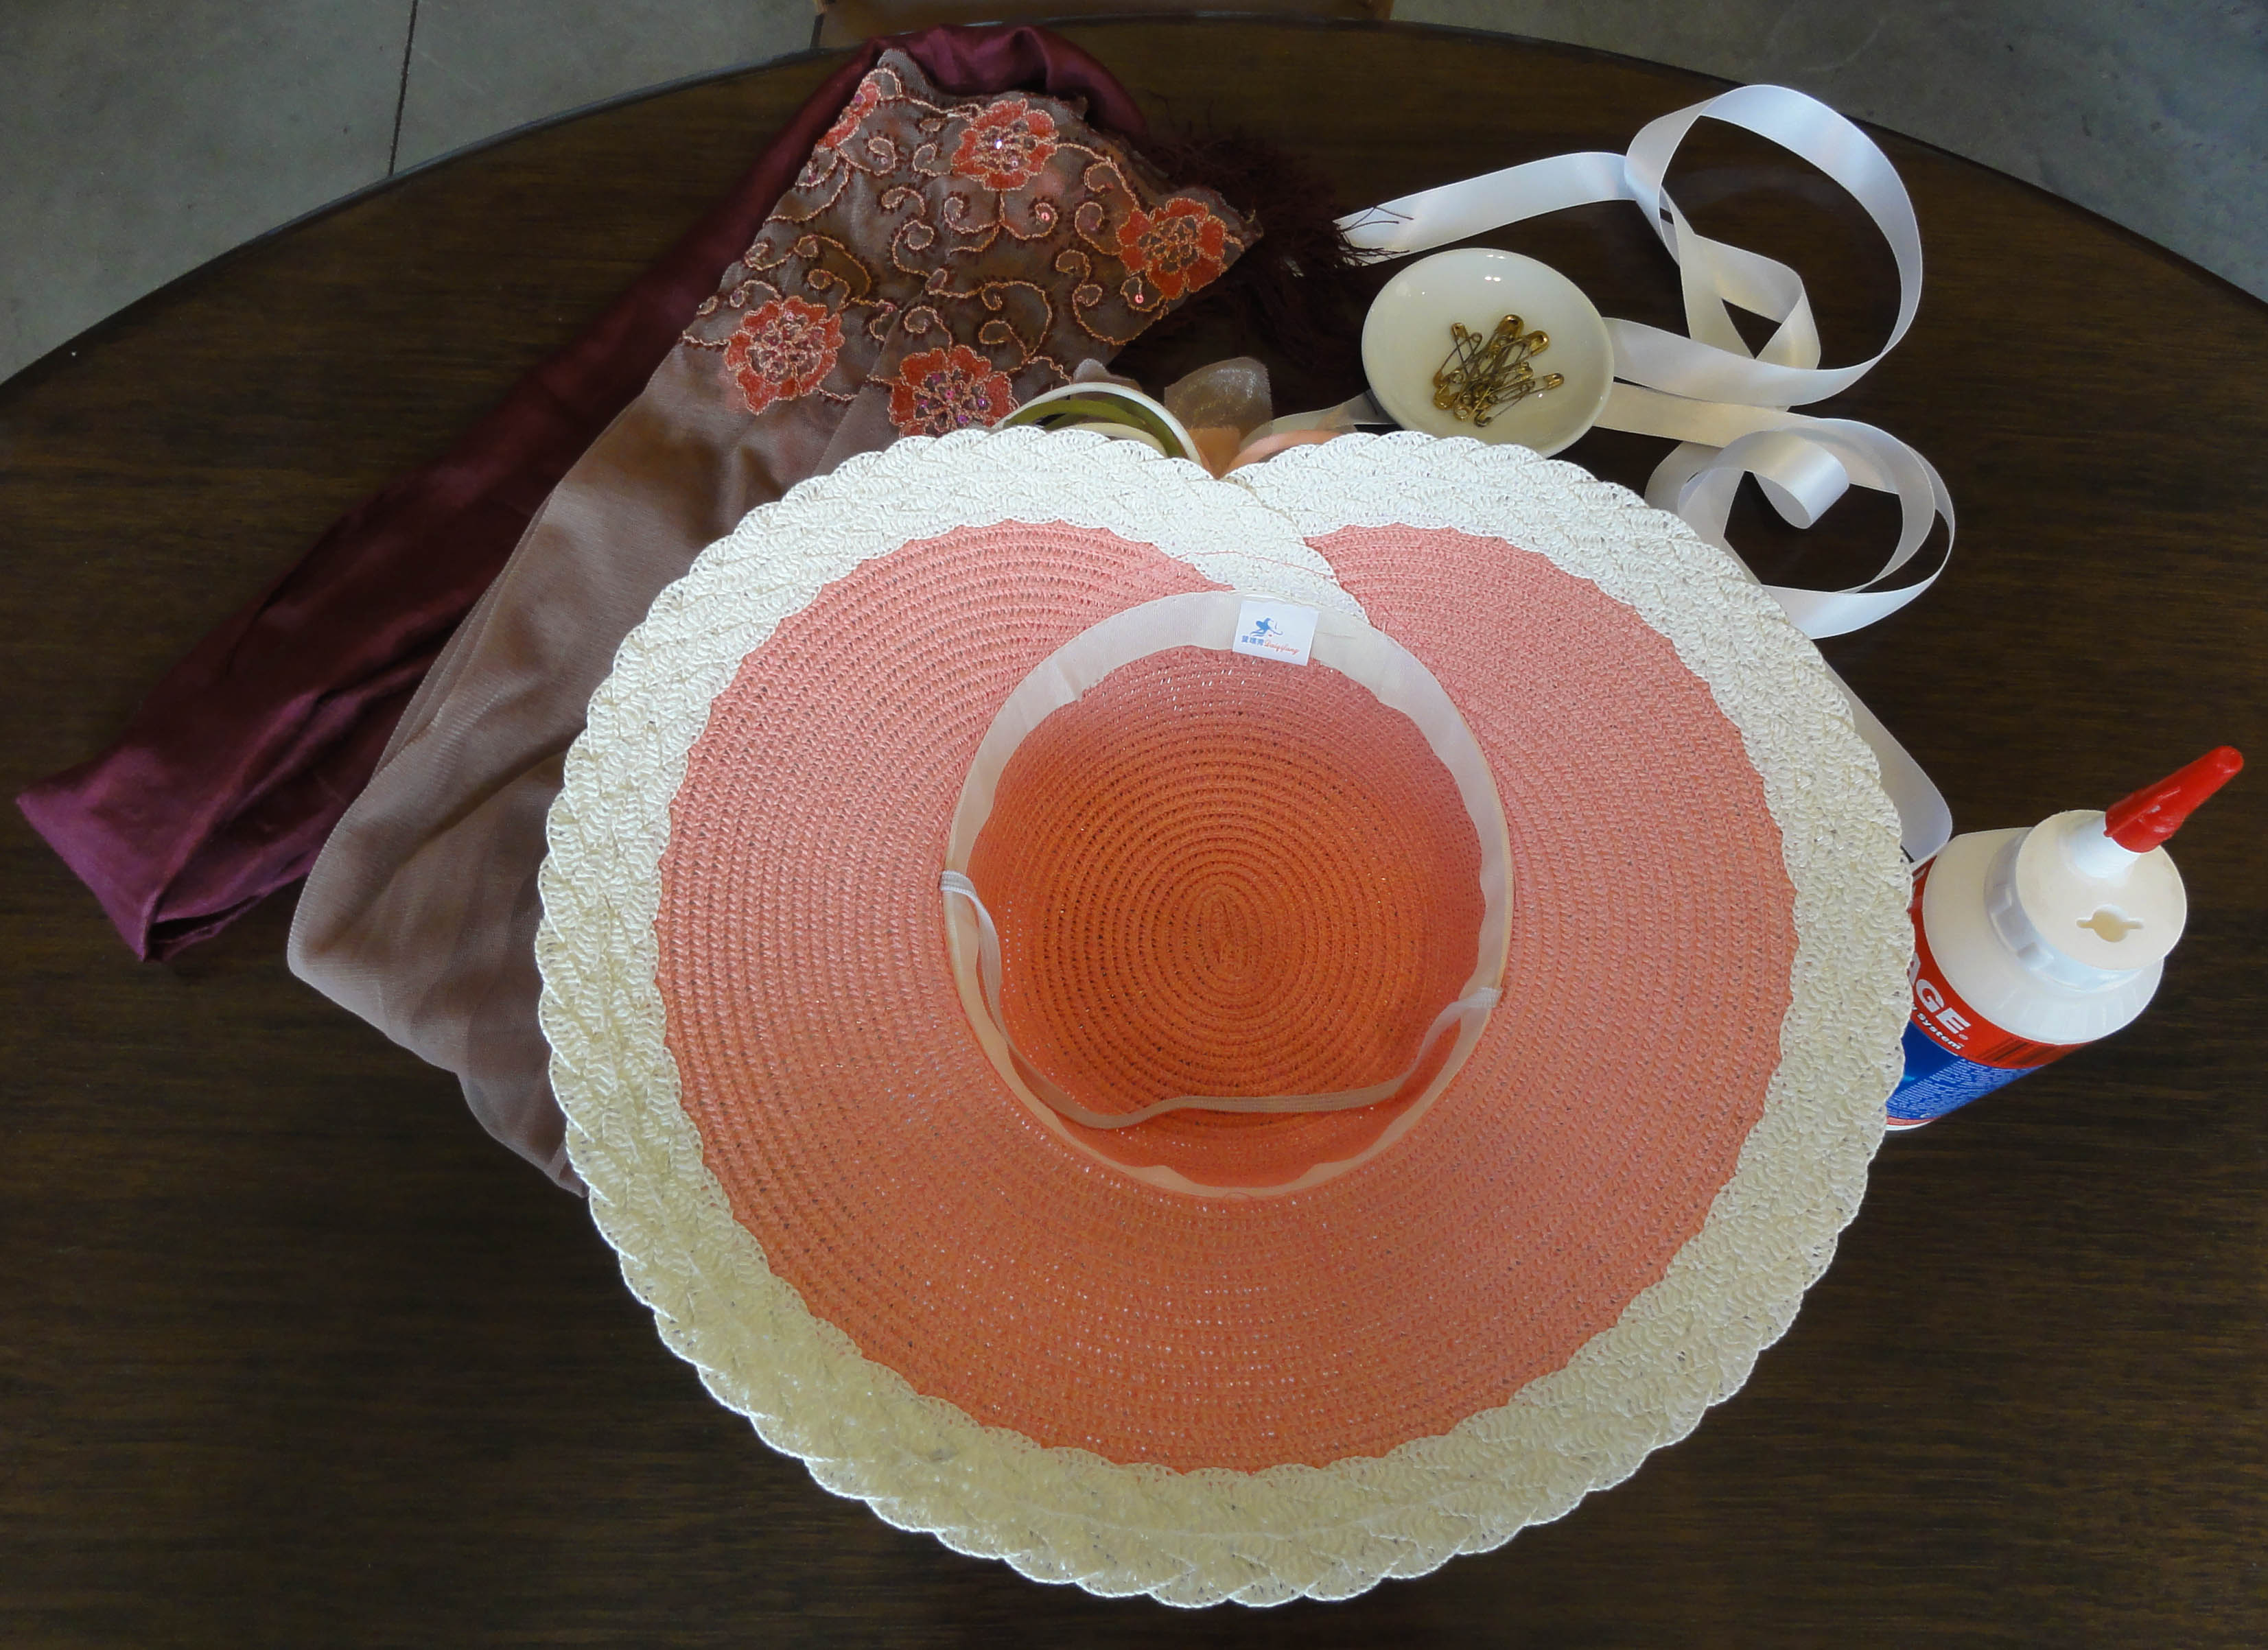
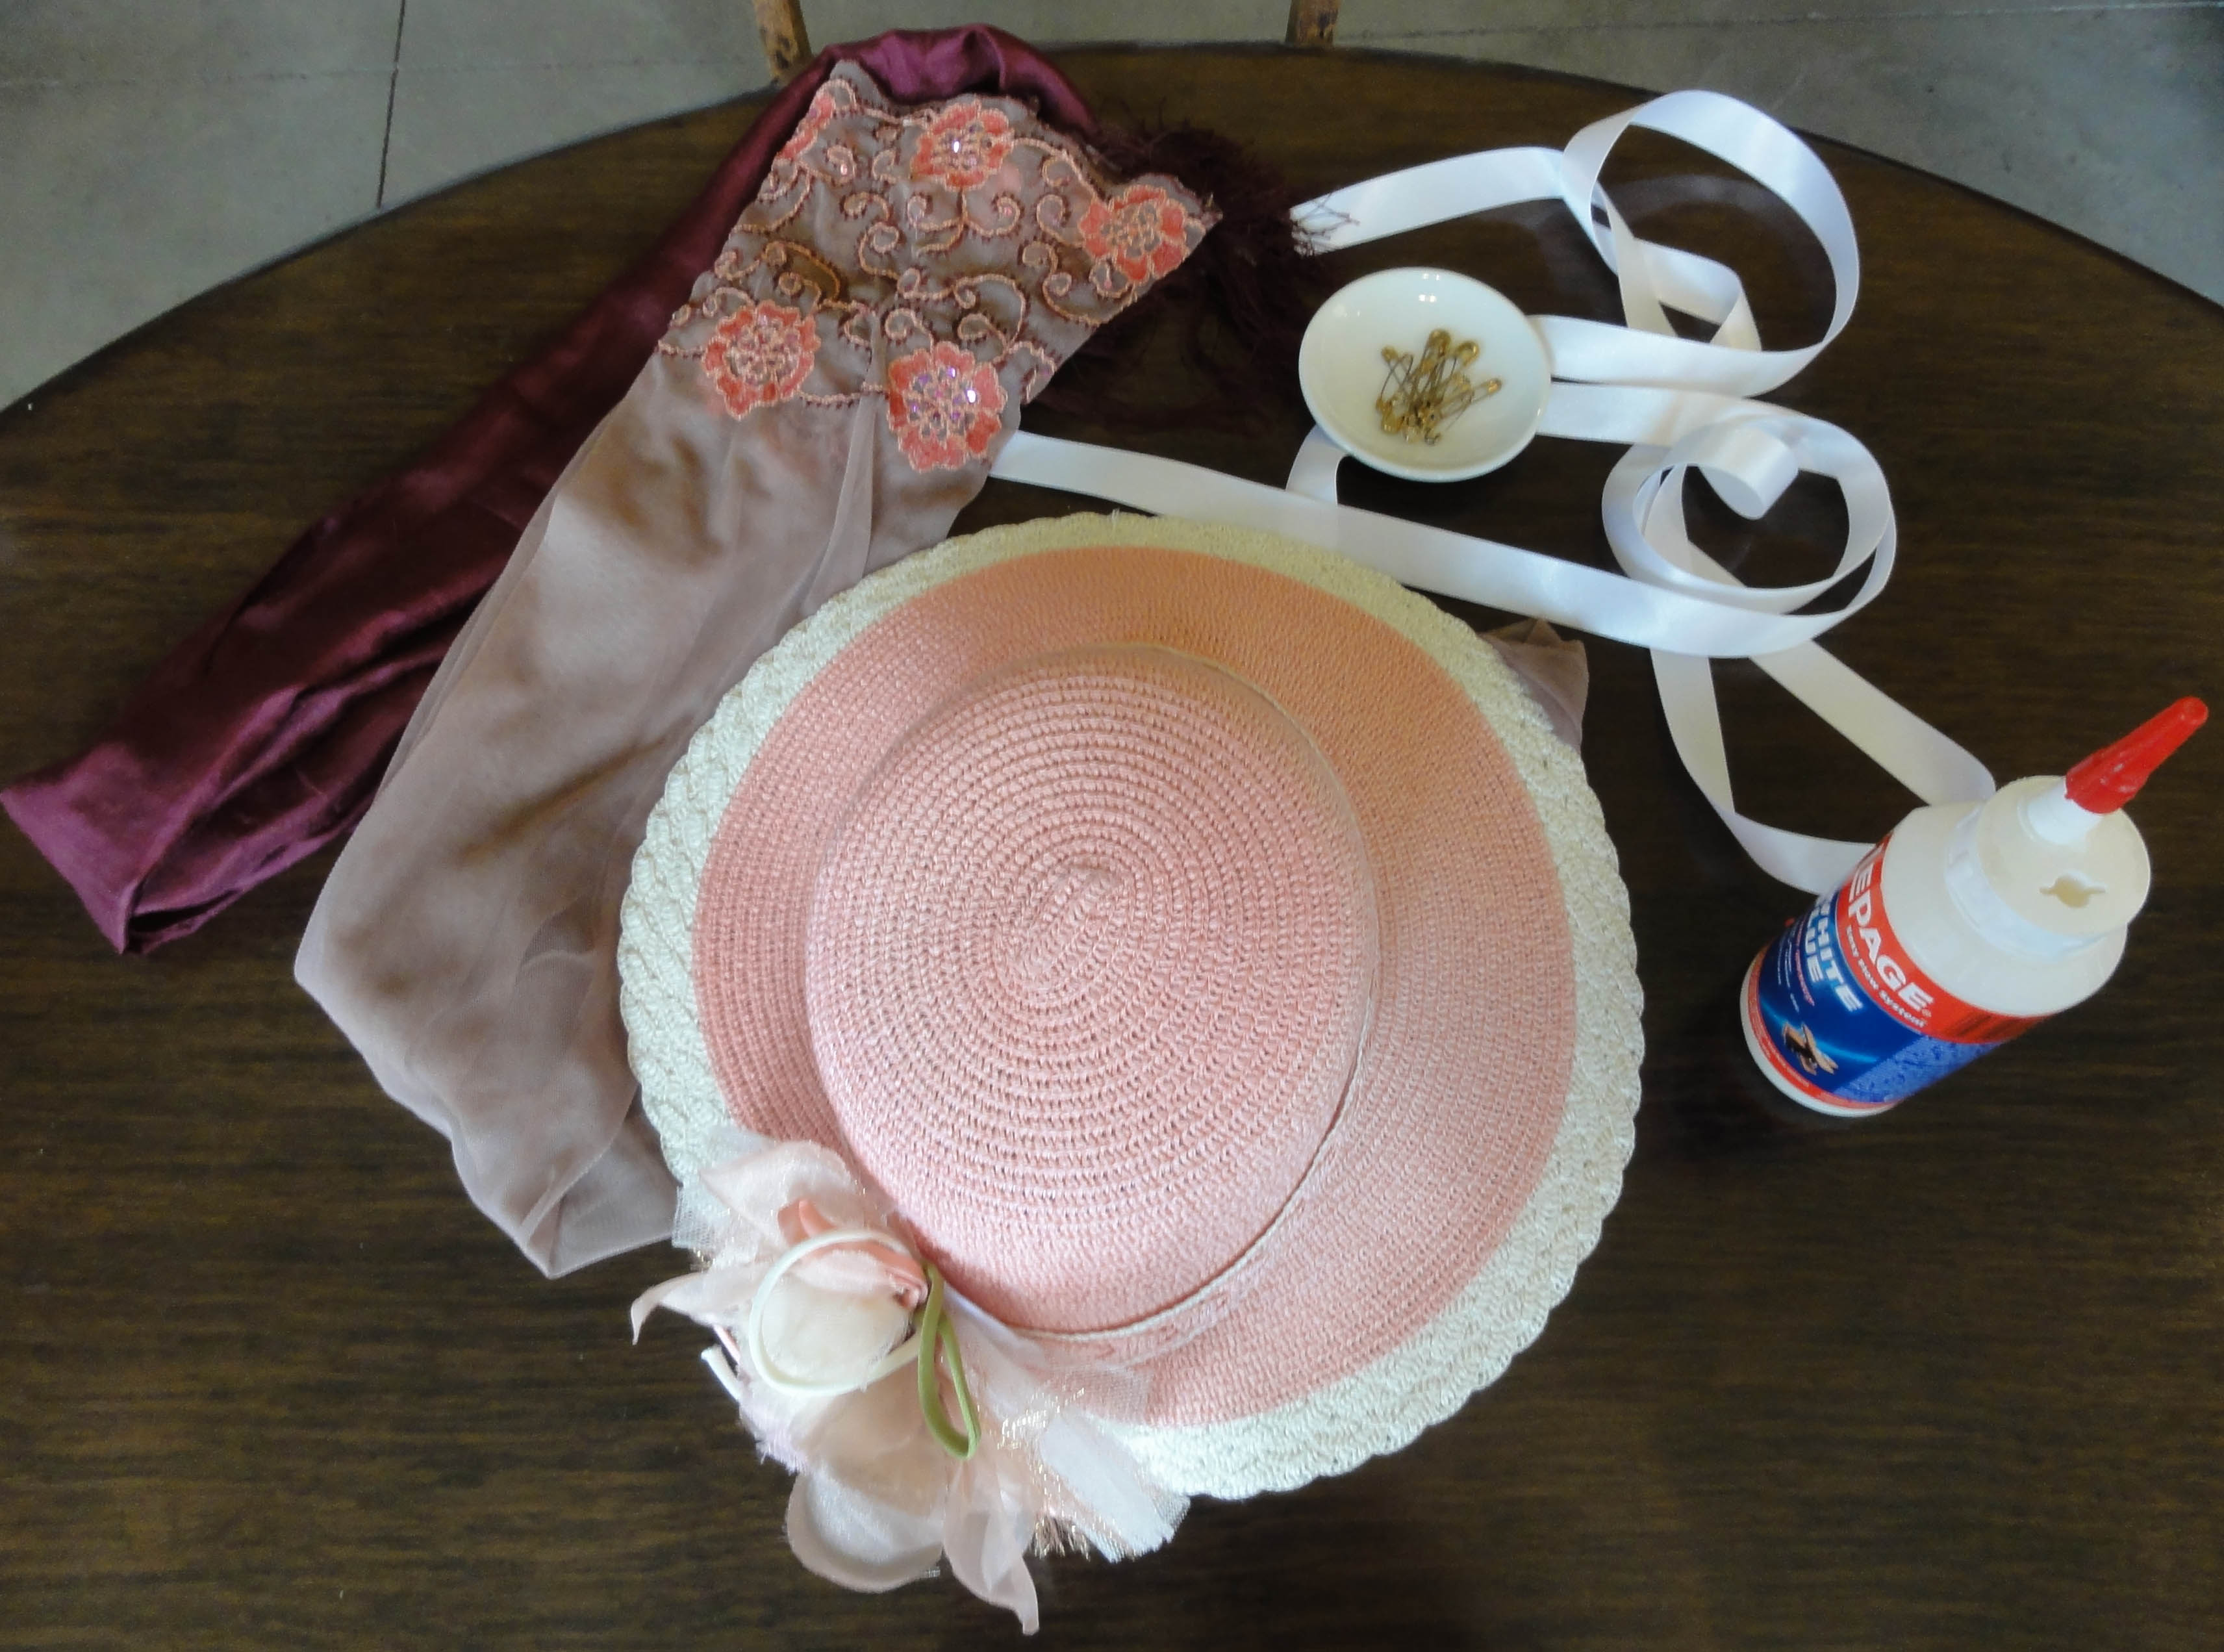
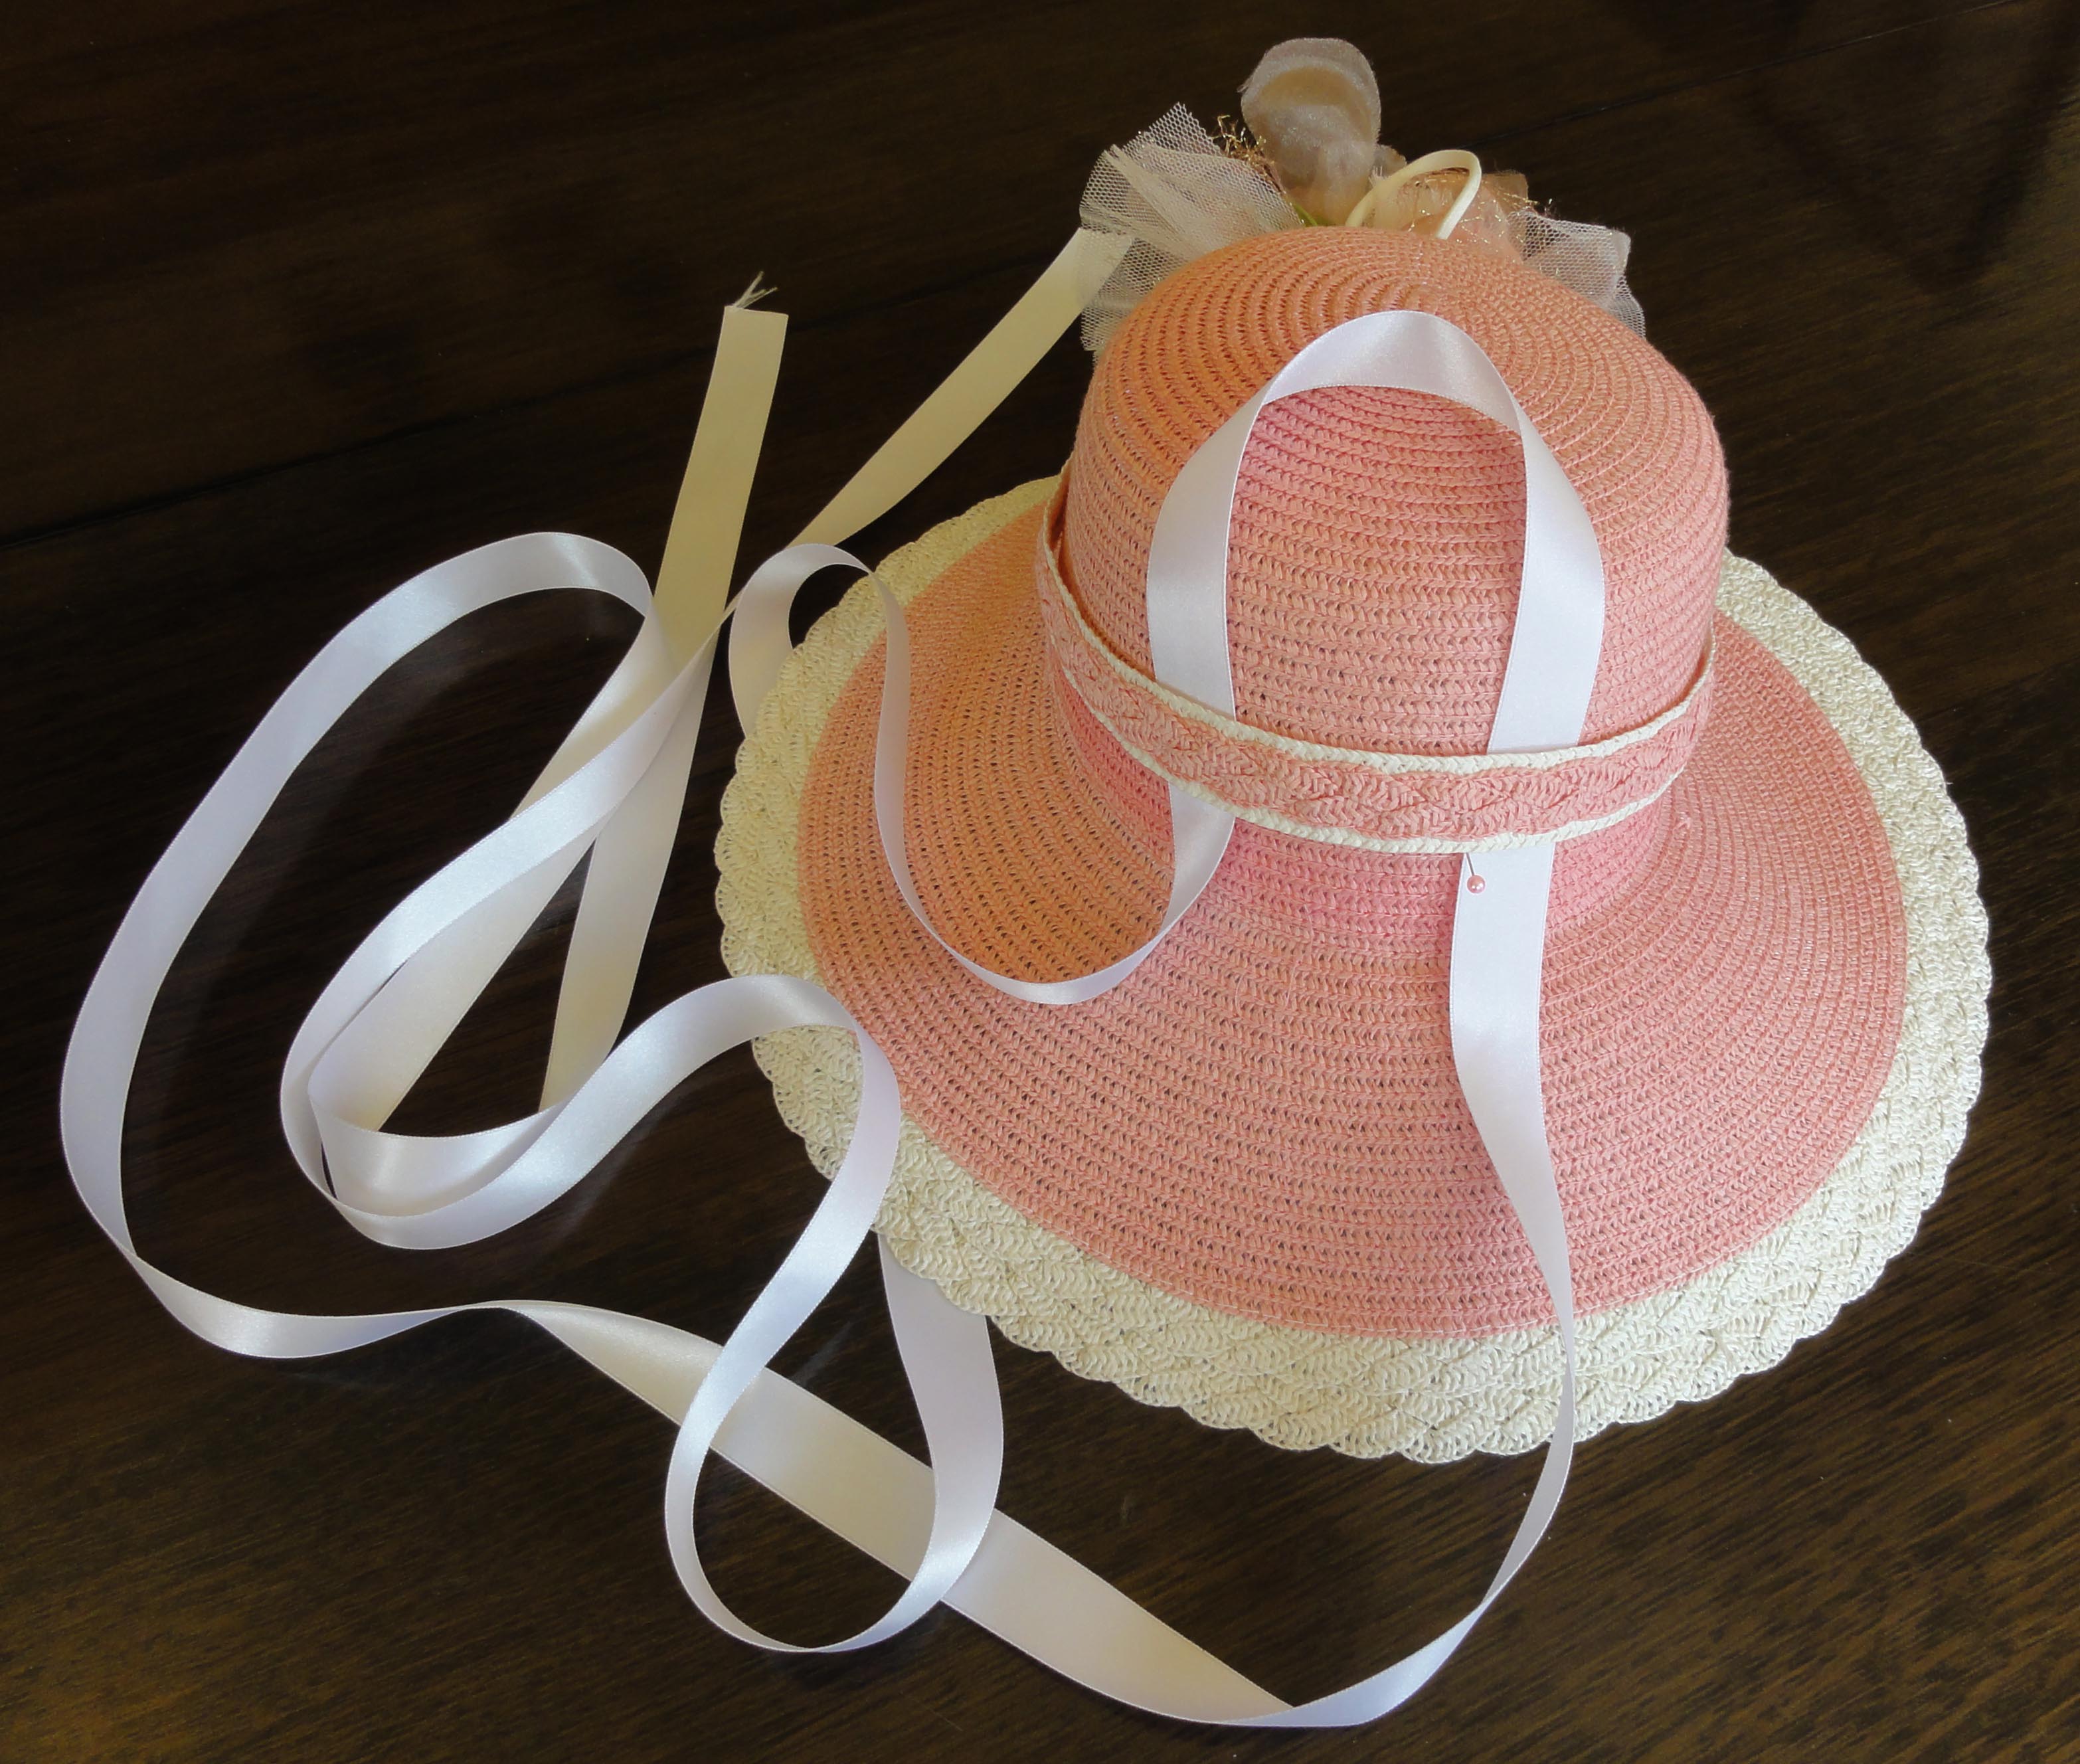
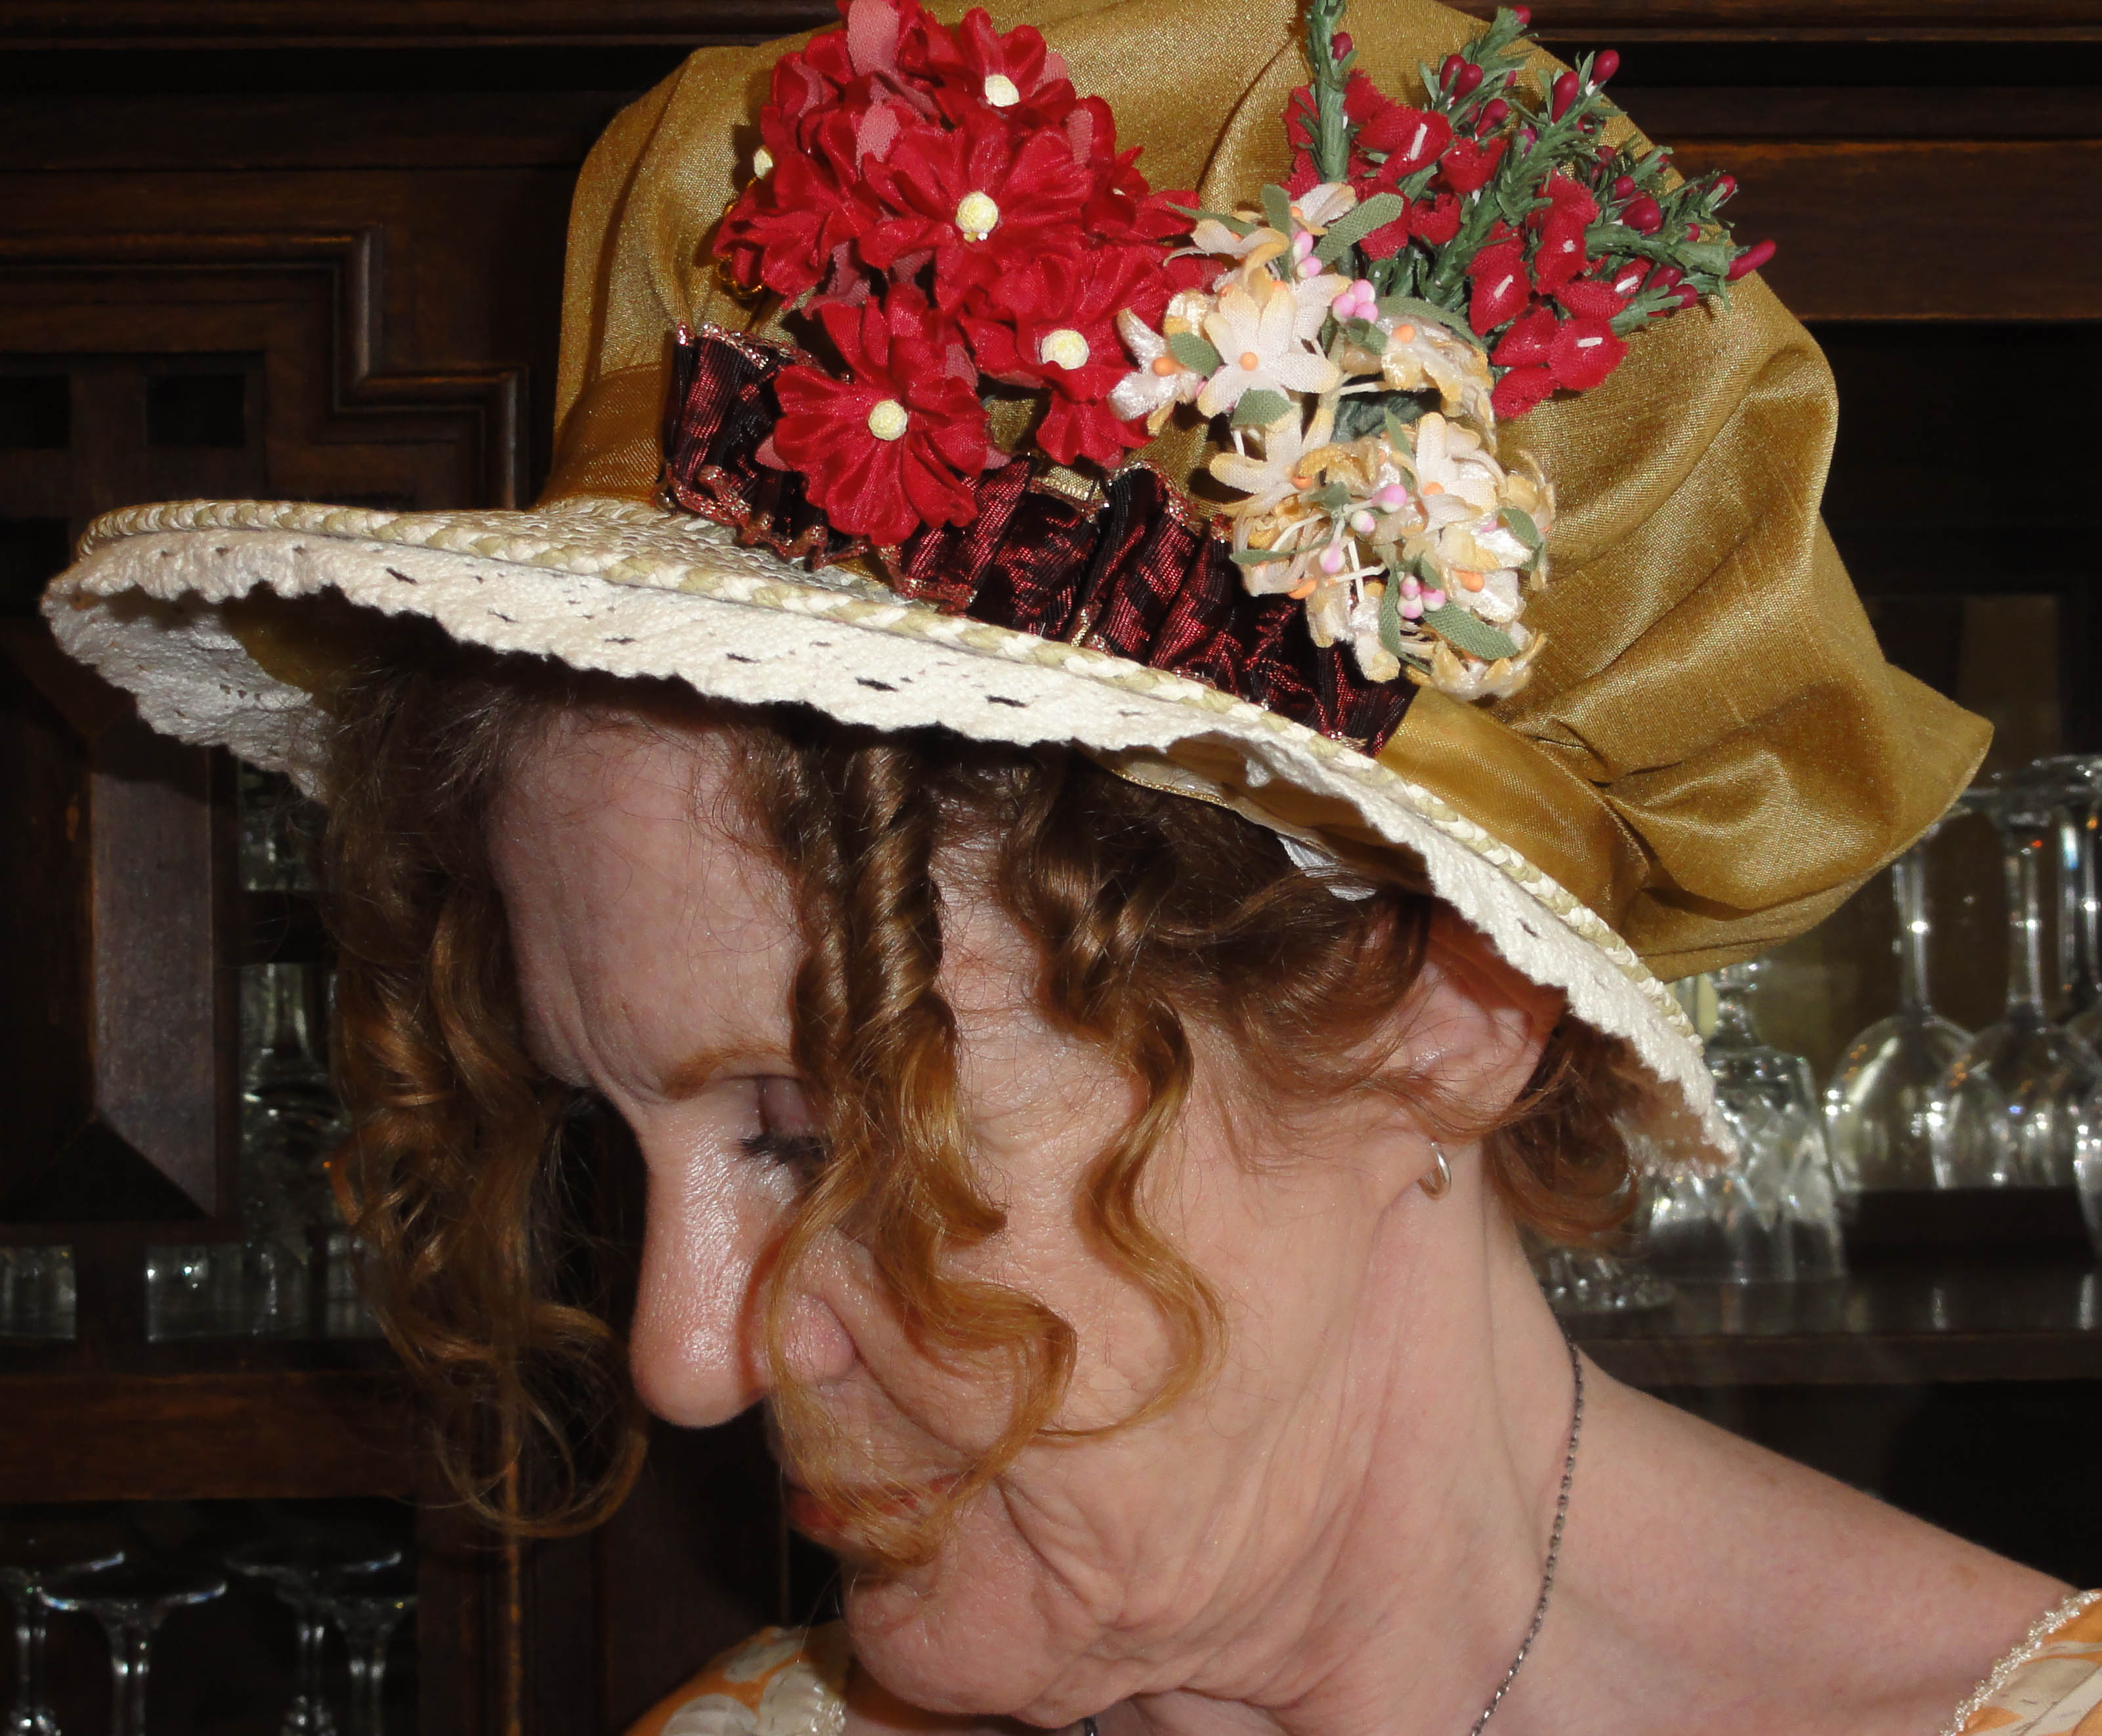
In addition, I saw things in the period examples that I liked but would not normally consider wearing. Just as I’m not one to wear a hat with feathers, they became desirable when thought of as part of a costume, an act. A sale purchase from Joe Fresh was added to the small group of costume items of my own: a “diamond and freshwater pearl” choker in a floral pattern, as seen at the top of the photo above.
Numerous perusals of discount and second-hand store costume jewelry racks did not offer a suitable pair of ear-bobs to go with it. Anything close was on studs, and in the Regency, stud-backed earrings didn’t exist; they were all hung on wire hooks. I knew a simple way to modify them, and even had the right earring parts—years ago, I made earrings, hence, my experience with cam-shaped circles of metal. But I couldn’t wear the ones in my stash, as they were cheap gold imitations. Like many, I have a nickel allergy, and most inexpensive jewelry contains nickel as a hardener. I can wear costume jewelry for short periods of time, but my skin becomes inflamed easily.
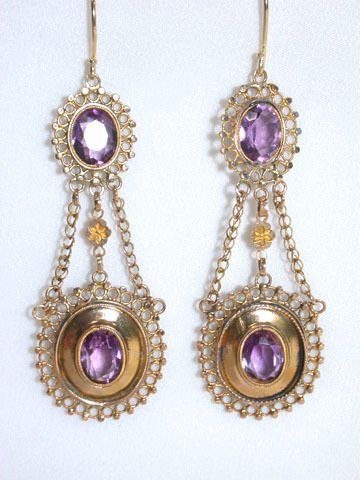
Earrings “The Three Graces” 1810
Last week, I found some lead and nickel free earring parts on a two-for-one sale at a fabric store. Two pairs of earrings I owned were modified using an earring snap hook and a very small split ring. The split ring is like a super-tiny version of a key ring, and similar to work with, but saves using needle-nose pliers and making a cam out of a loop, or accidentally leaving the tiniest gap and then losing the earring, both of which are my constant experience.
I clamped the earring to the split ring, using a plastic back in one case so it was less visible (I’ve left one loose so you can see the construction), and a large back in the other, due to the weight and shape of the earring. I also have a new pair of labradorite and aquamarine earrings on silver hooks, a gift from my husband that I hoped would be appropriate. However, I could not find any examples of a rough-cut stone, so they won’t be part of the Regency costume. No big deal, since they’ll get plenty of showtime on regular days.
There’s also a leaf-themed barrette and a purple-jewelled elephant that you’ve already seen with turban-making, and they’ve become brooches. The elephant came from a card holder, and is symbolic of the final scene in my latest story (though the blog has been taking my writing time!), Letter from Ramsgate, which will be posted at A Happy Assembly. (If you’ve never been there, it’s a Jane Austen fan site, full of Austen-inspired fiction and discussion threads. Registration is required, but membership is free. Many published authors post their stories there first, and free unedited versions often still remain, alongside many unpublished and often better stories.)
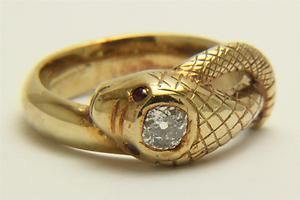
A Magnificent Georgian 0.75ct Old Cut Diamond Snake Ring In 18ct Gold Circa 1800
But what’s with the snake stuff in my collection? This was one of the things that I found amazing and fascinating when I started to pay attention to Regency jewelry. As mentioned before, floral patterns were popular, as were crosses made with elongated stones, astronomical symbolism like moon and star themes, and the serpent. Hands on bracelets were another theme that I found unusual. I’ve selected a few examples for you to compare.
My snakes were $1 for the ring at a thrift store and $12 for the bracelet on sale at a drugstore. I used to have a brooch with the moon and stars that I gave to charity years ago, so maybe you still have one lurking about!

Silver mesh snake bracelet with garnet eyes. French c1800. Tadema Gallery.

A ninenteenth-century carved coral bracelet, formed as a coiled serpent with gold-set emerald eyes; the snake biting its tail is a symbol of eternity.

A Georgian diamond crescent brooch, diameter 4.2cm, circa 1800
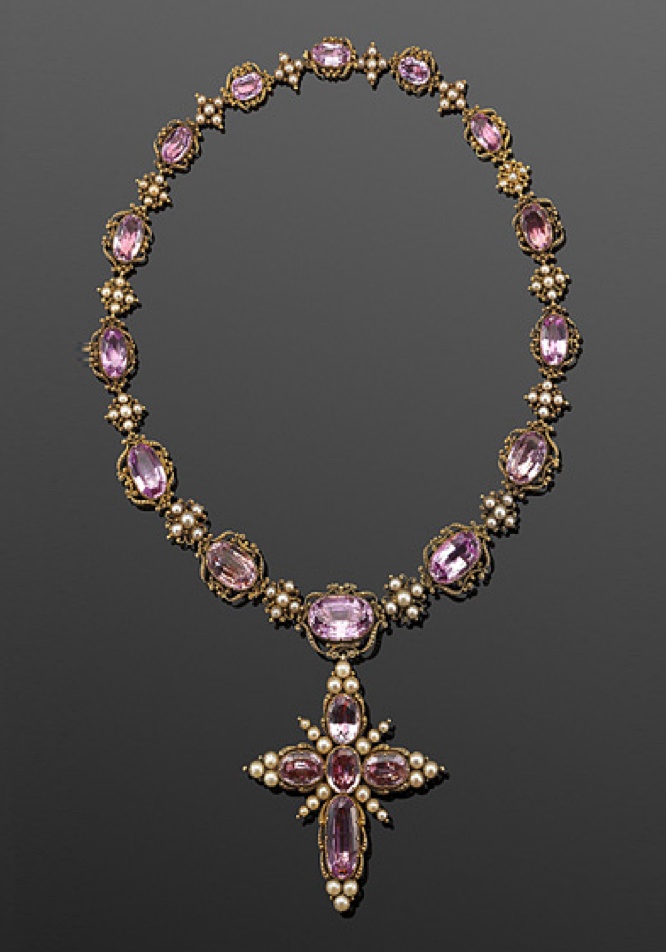
Georgian Foil-backed Pink Topaz and Pearl Riviere with Cross Pendant, circa 1820

Gold and coral bracelet, length 185mm, early 19th century.
The square-cut stone with its ring of “diamonds” came from a pair of gloves; one was lost, but this one will clamp over my own modest ring. It was not uncommon to wear costume jewelry. Paste and real stones were seen in many shapes, as were pearls of all types. Turquoise and red coral were also popular, the latter seen in one of the snakes and in many bead necklaces of the time. Multiple strands tied together with stones were an interesting design seen on several pieces.
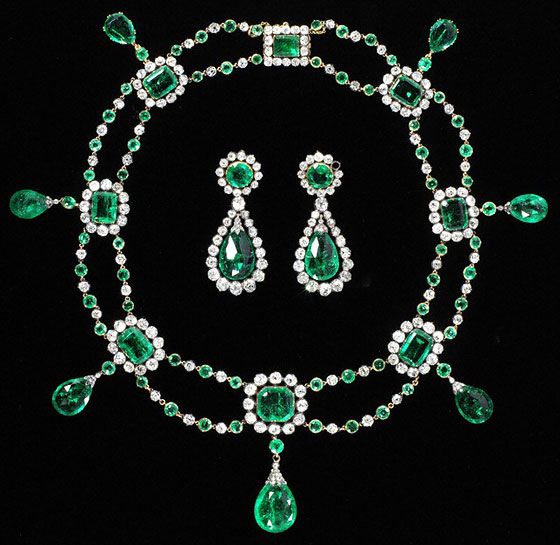
Faceted table-cut emeralds in borders of brilliant-cut diamonds; briolette emerald drops; open-set in gold and silver, 1806
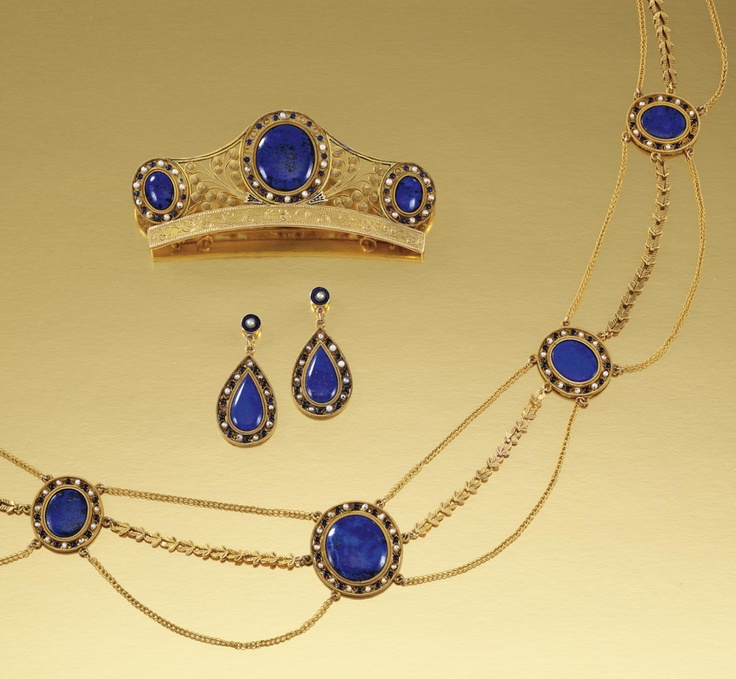
Gold, enamel, seed pearl, and lapis lazuli parure consisting of comb, three strand necklace, and ear-bobs, circa 1810.
Wealthy women wore more elaborate jewels, and people of more modest means may only wear a pendant on a chain, like the topaz crosses Jane and Cassandra Austen wore, a gift from their sailor brother Charles. In Mansfield Park, Austen included a plot point where Fanny Price is given a similar amber cross from her brother William, and Mary Crawford charms Fanny with a gift of a chain to wear it with. You can read more about it in the article “A Very Pretty Amber Cross.”
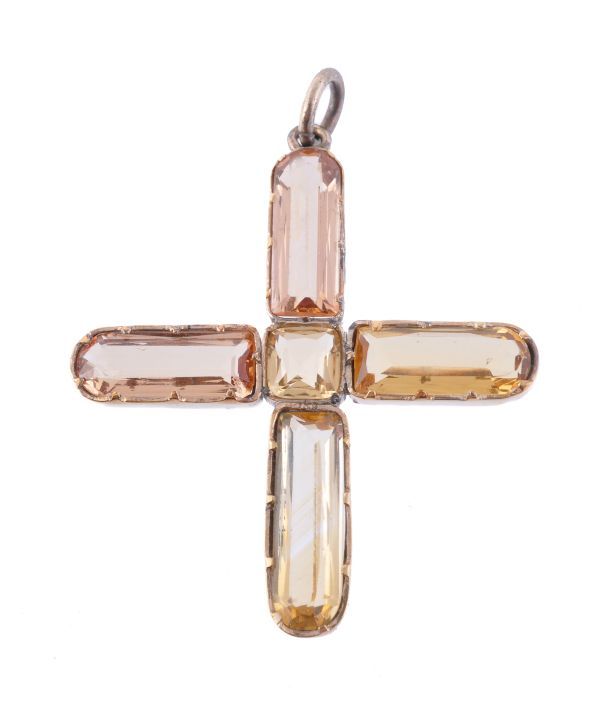
Topaz and citrine cross, circa 1820
The costumers for the A&E/BBC Pride and Prejudice series in 1995 had Elizabeth and Jane Bennet wearing crosses like Jane and Cassandra Austen’s, but with red stones that many viewers have imagined as garnet or ruby.
When deciding on your jewelry, make sure you’re not wearing a silk gown with no jewels, or a cotton one along with too many large stones.
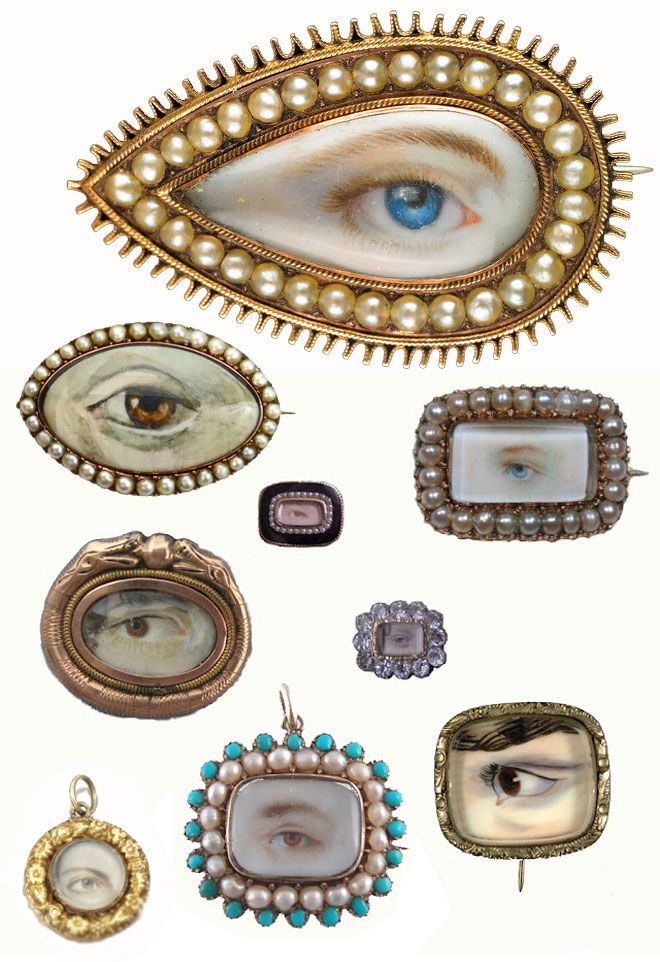
Various “lovers eye” pieces of jewelry.
Romantic themes were played out in the “lover’s eye,” a miniature painting set in a brooch, pendant, or ring. If you’re an artist, this would be a cool thing to reproduce on an old brooch, locket, compact, etc.
Pieces containing strands of hair were often worn as a sign of mourning.
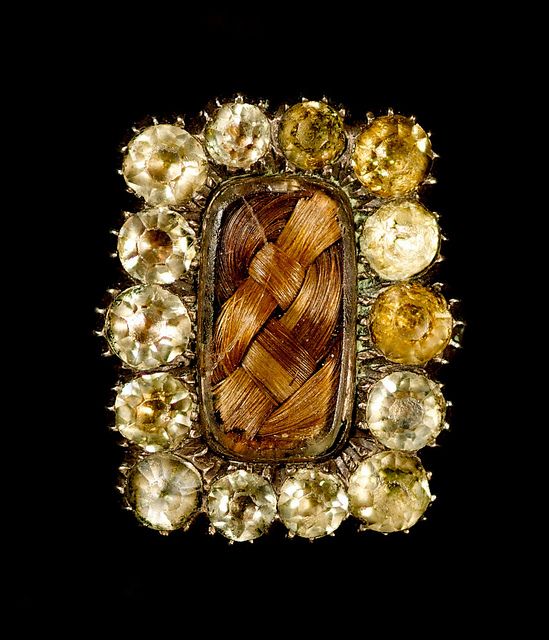
Mourning brooch with paste jewels, circa 1800

Georgian-era seed-pearl-surrounded locket with a lock of hair.
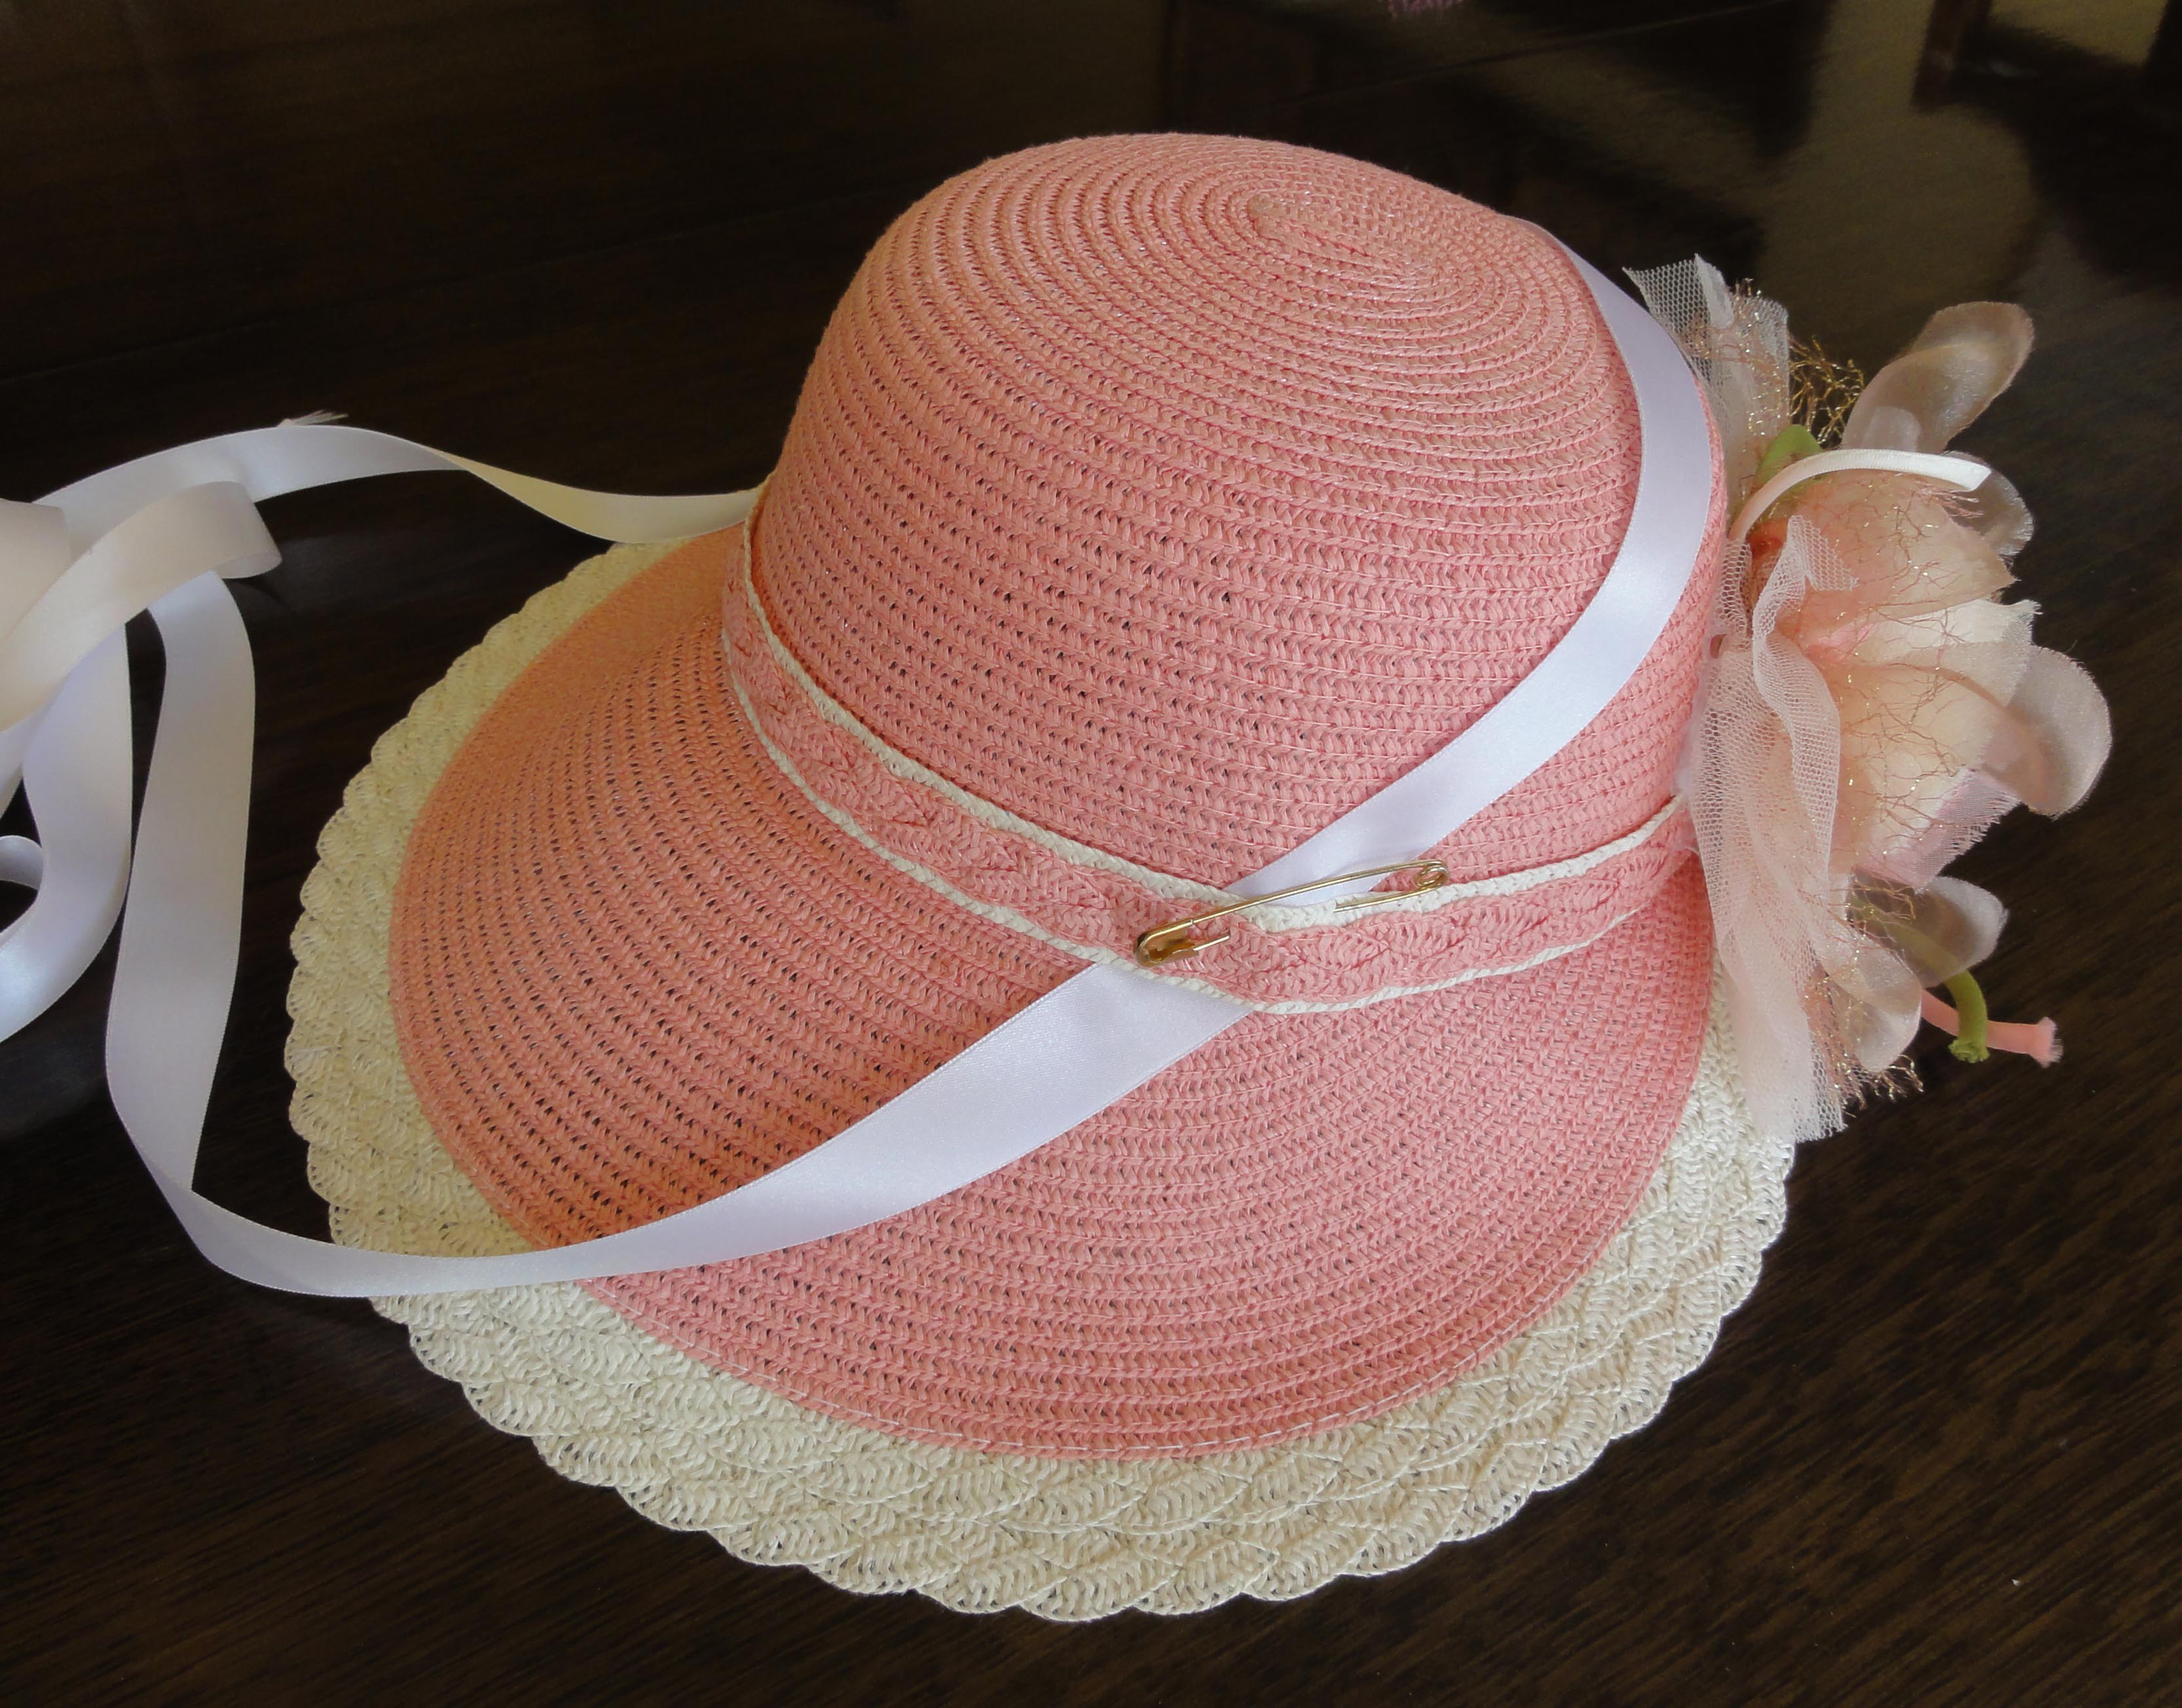
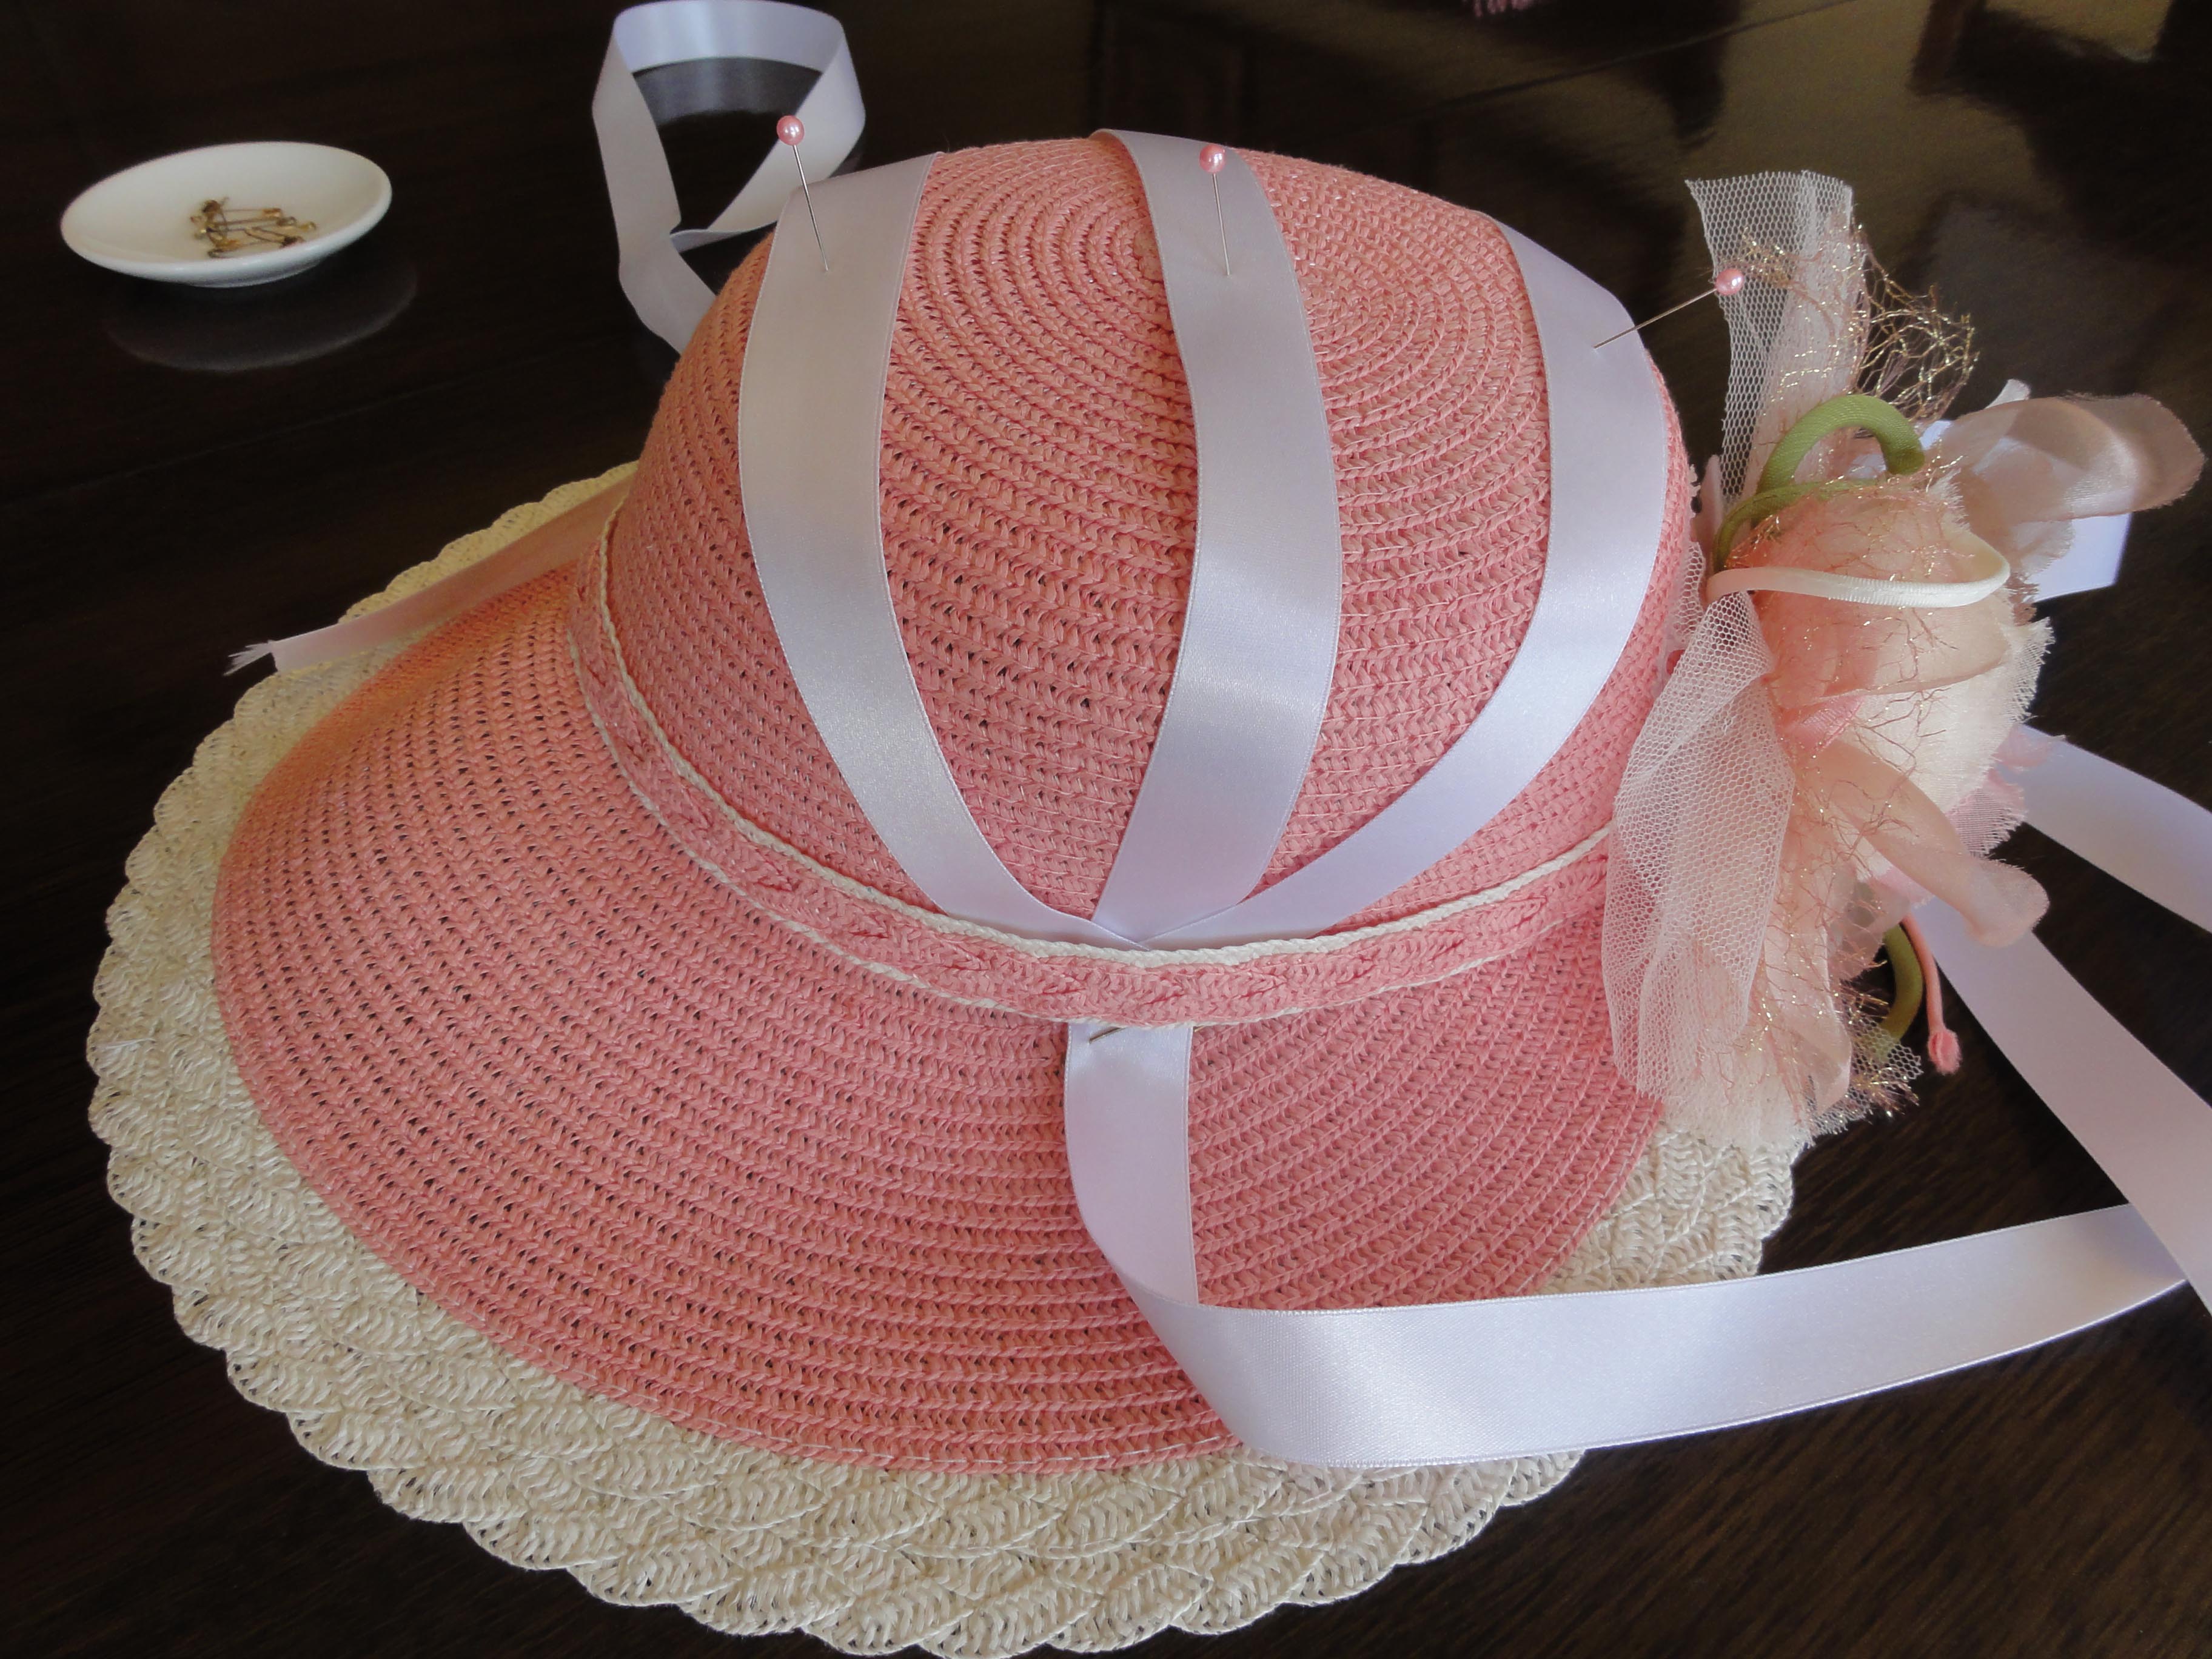
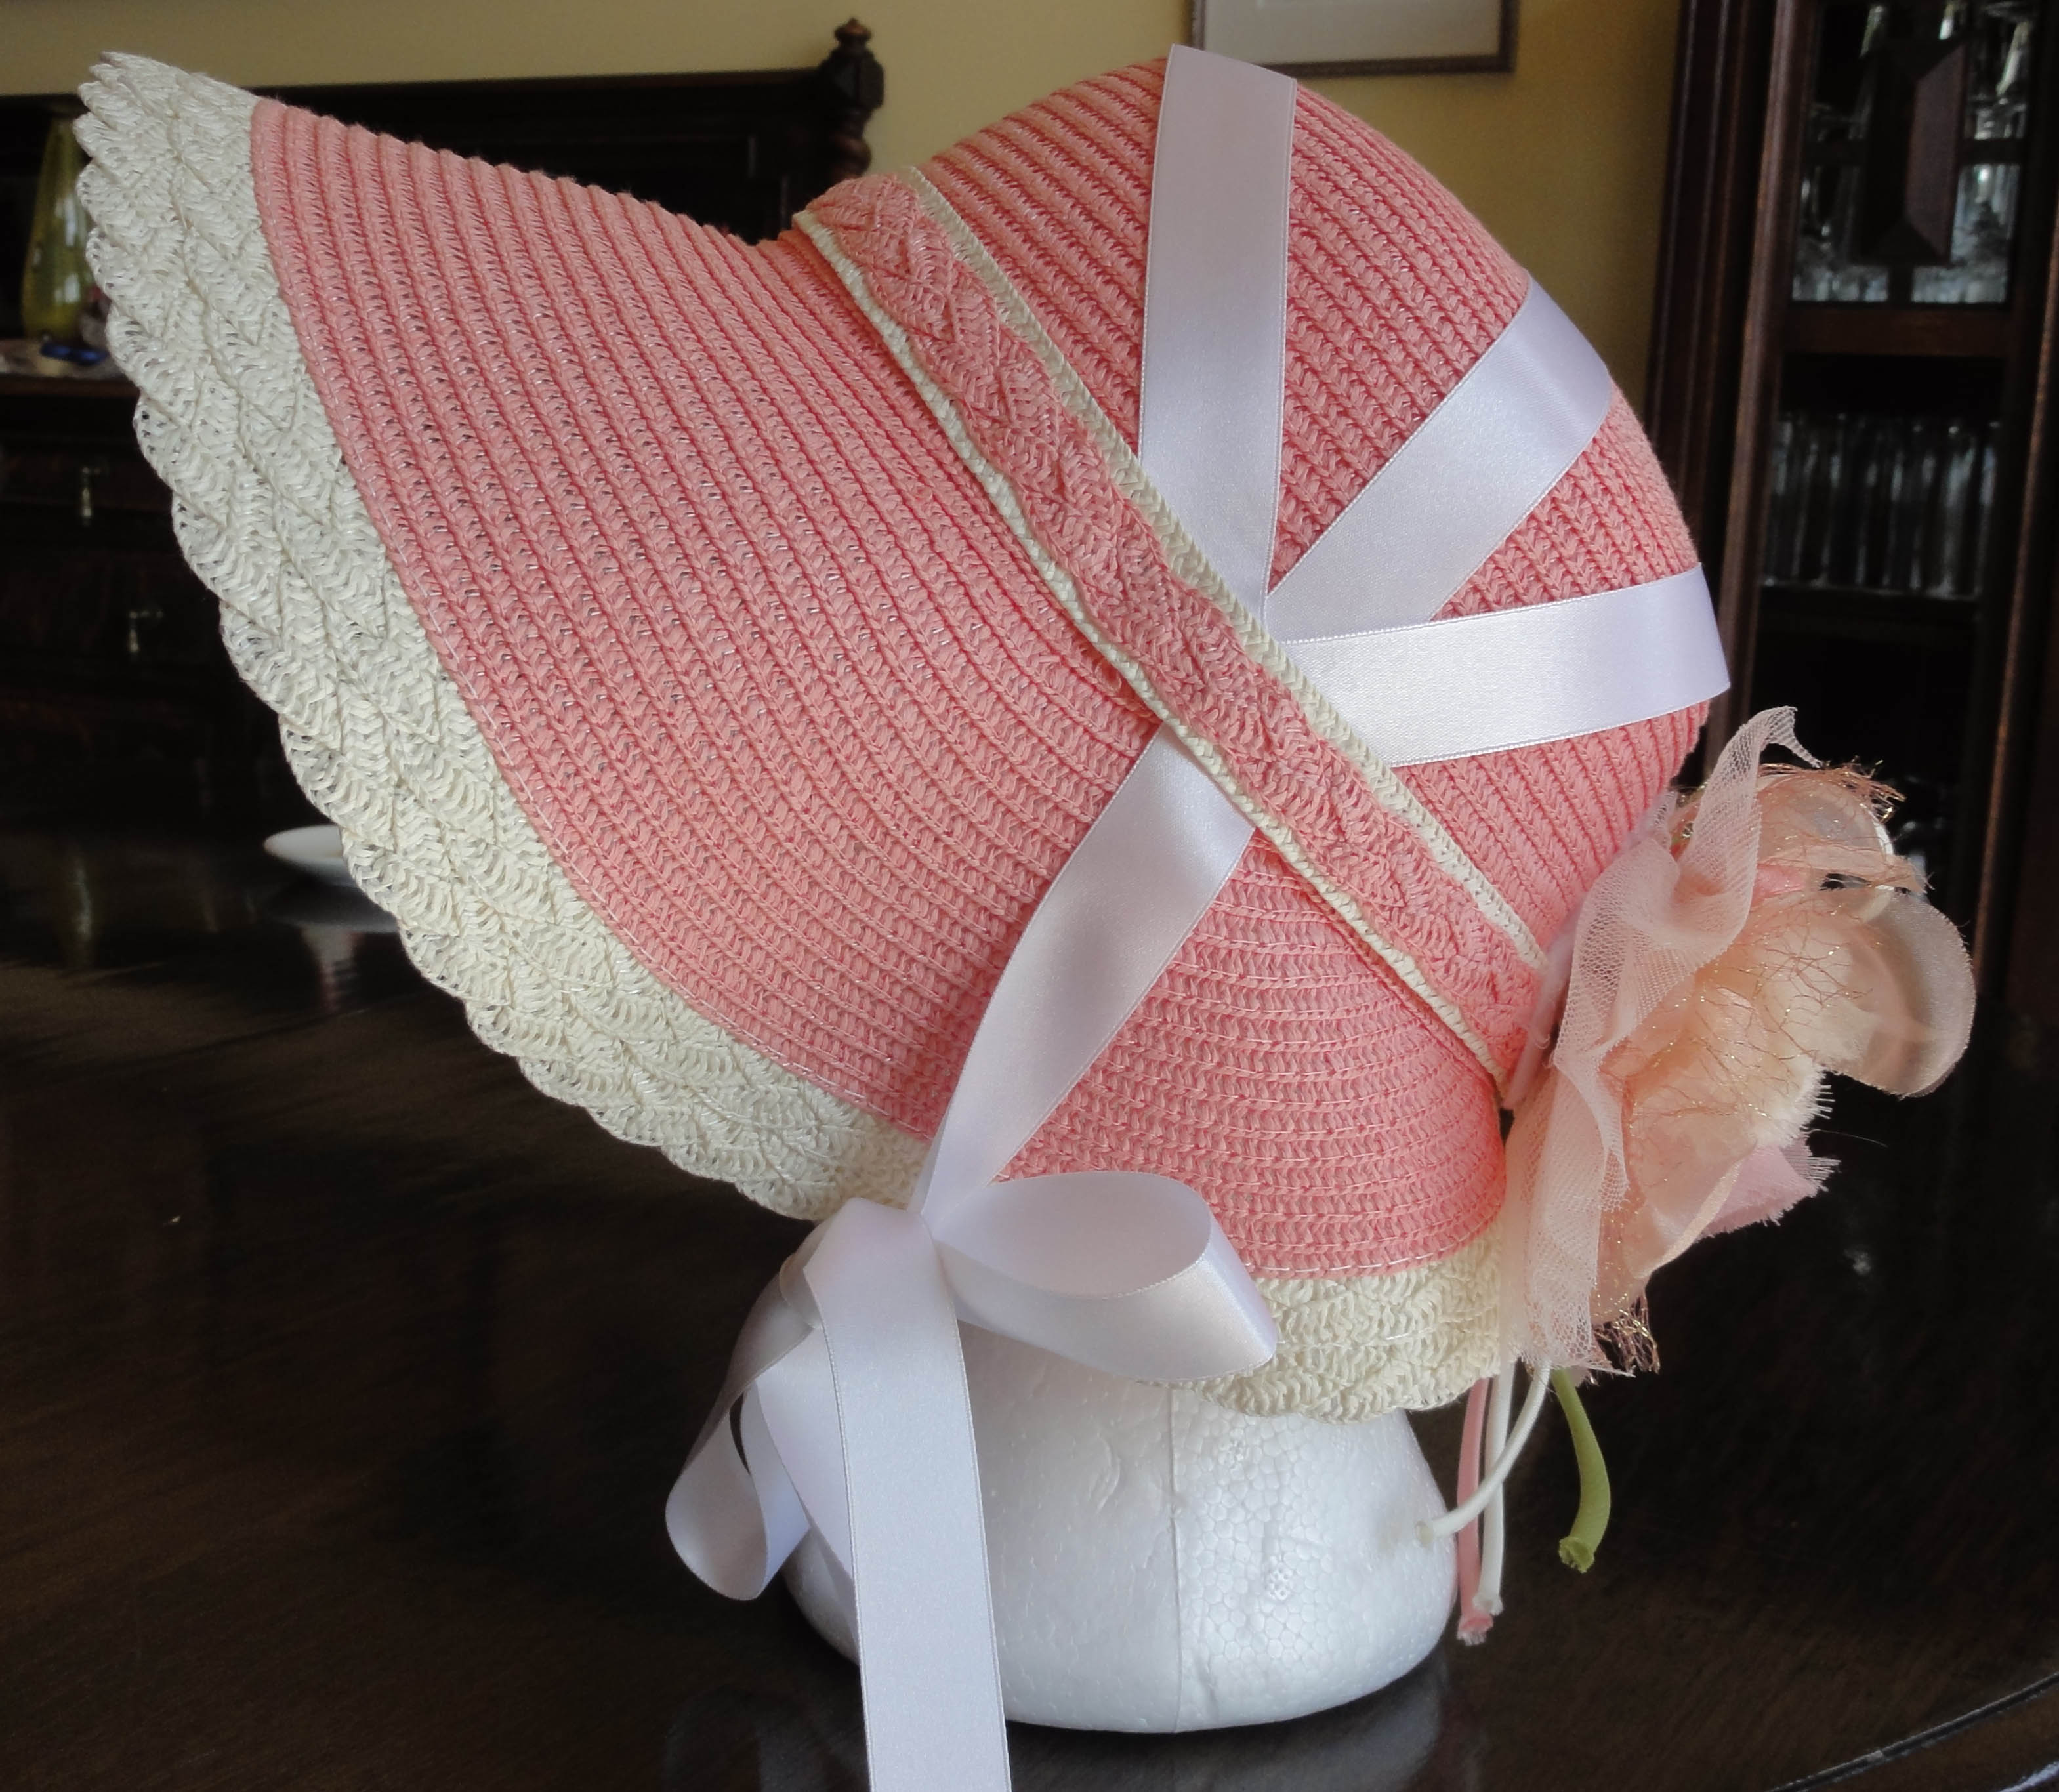
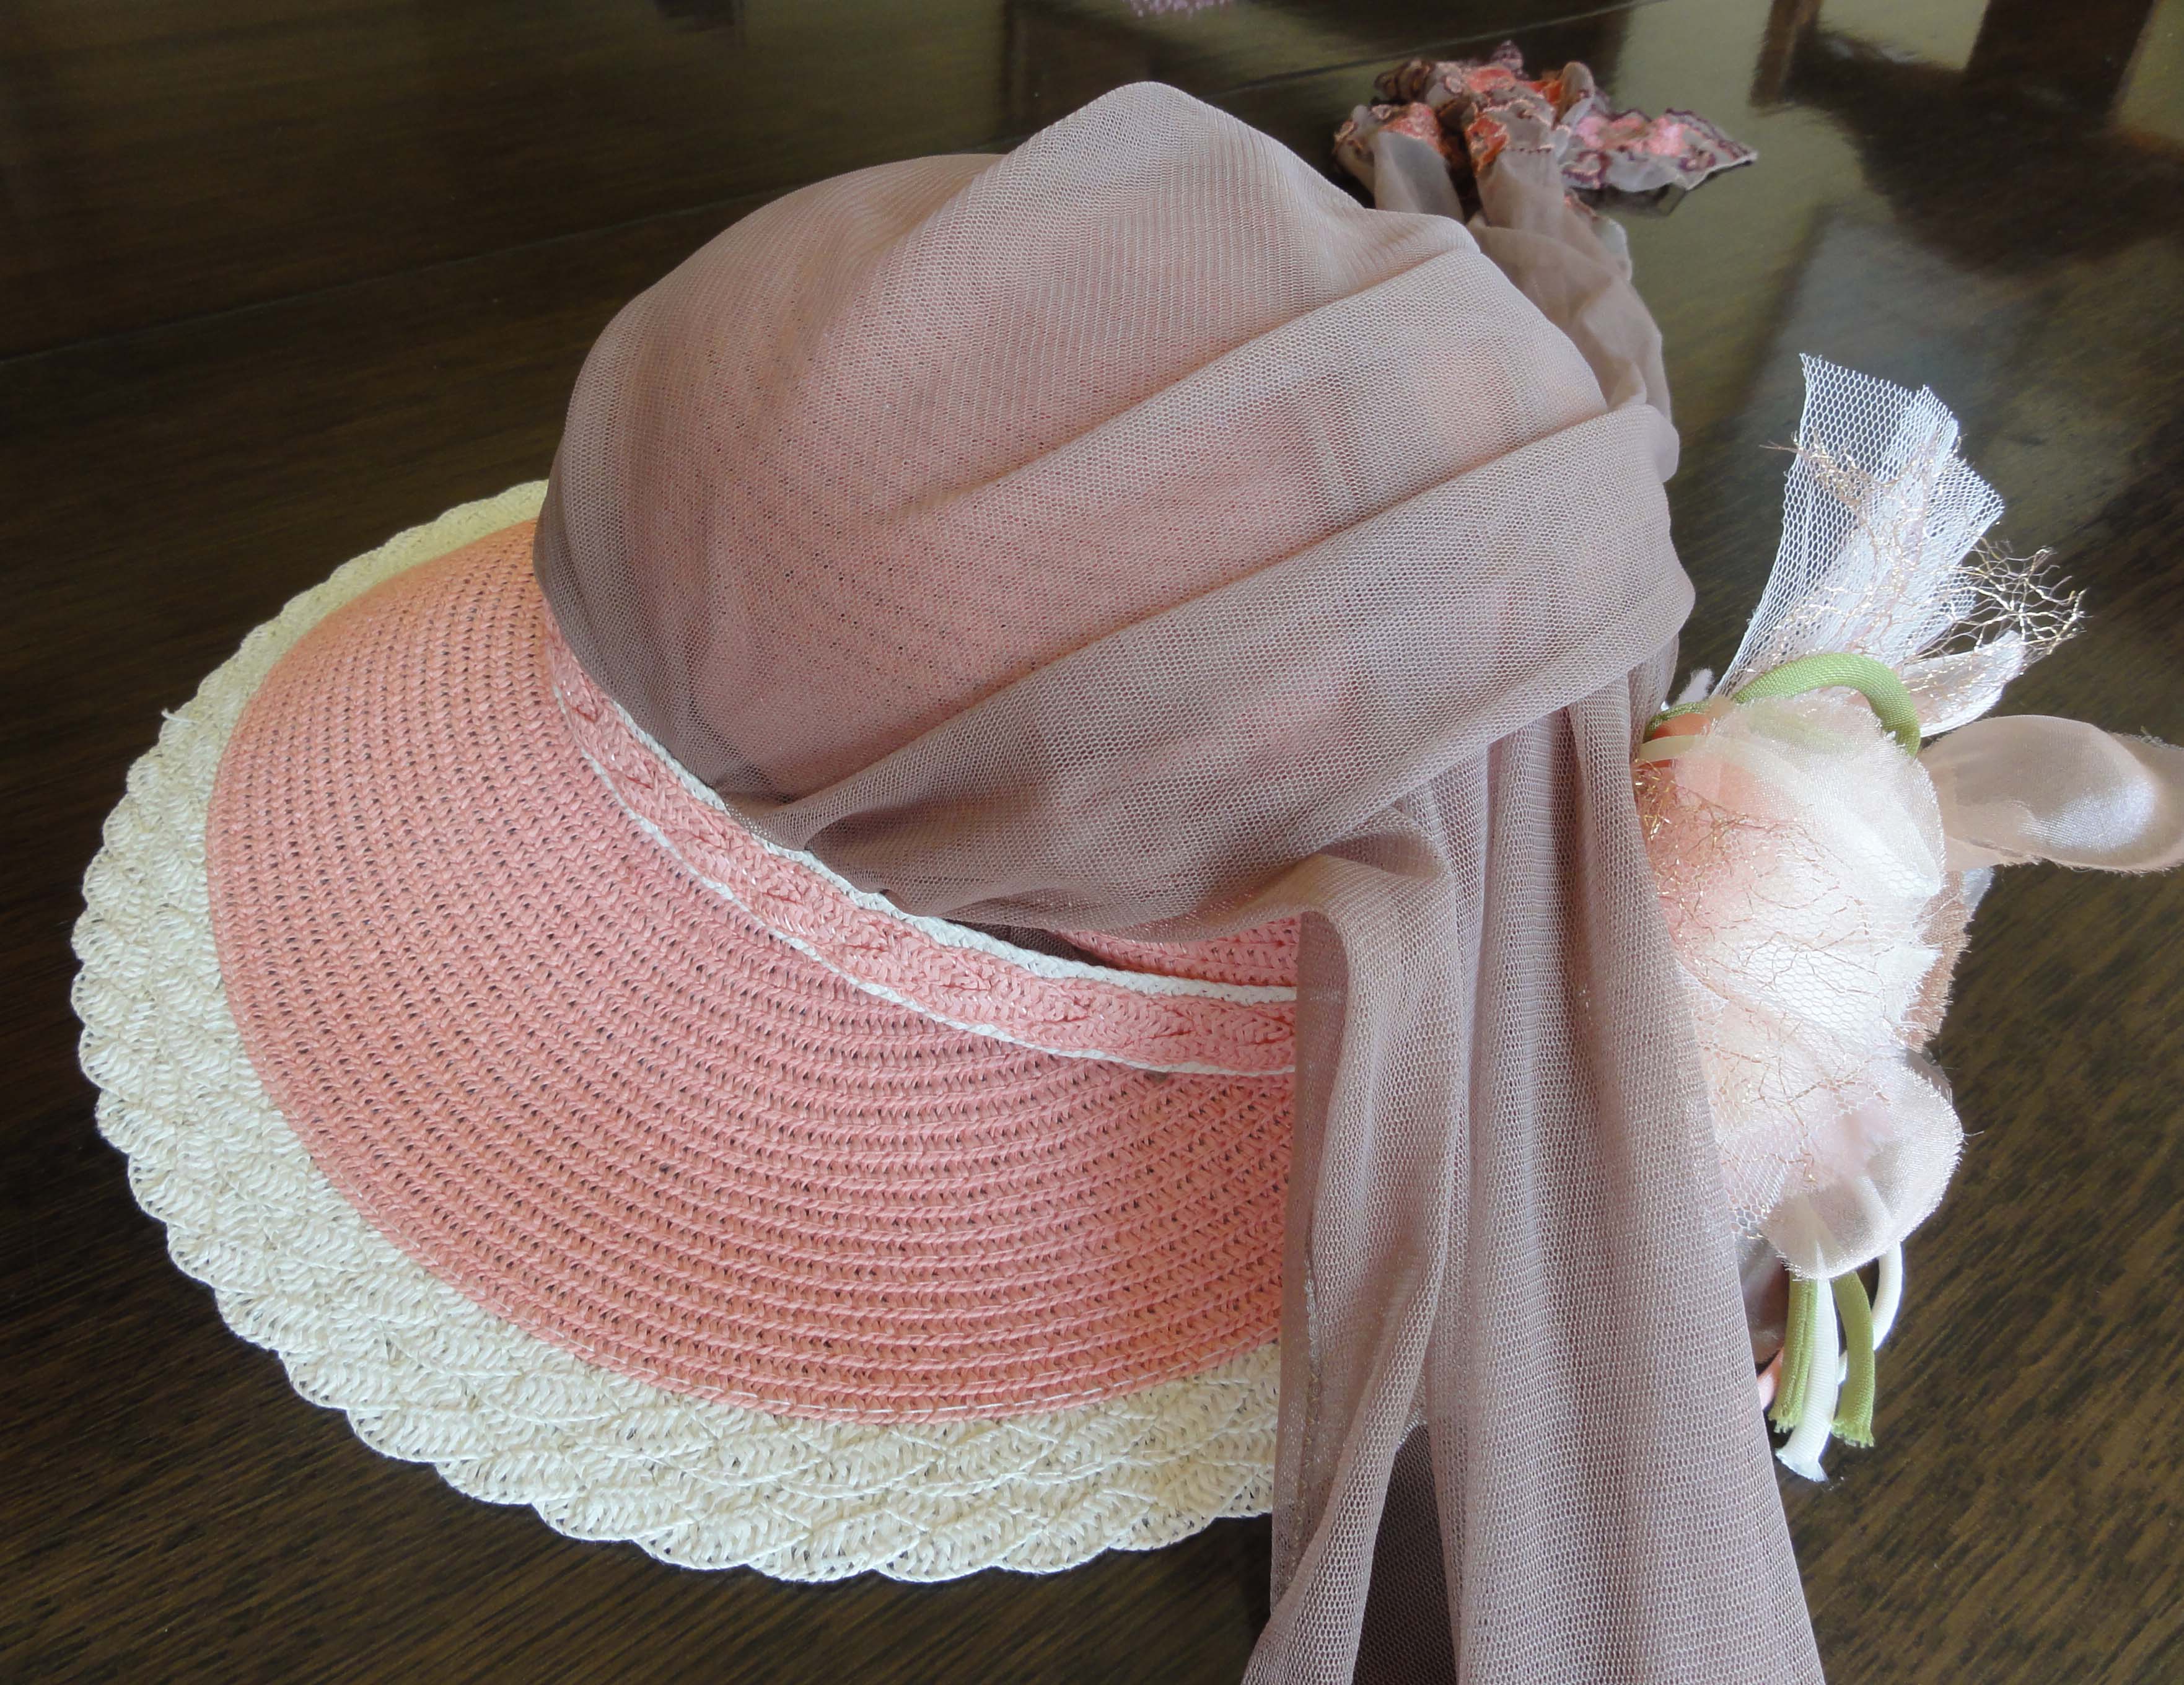
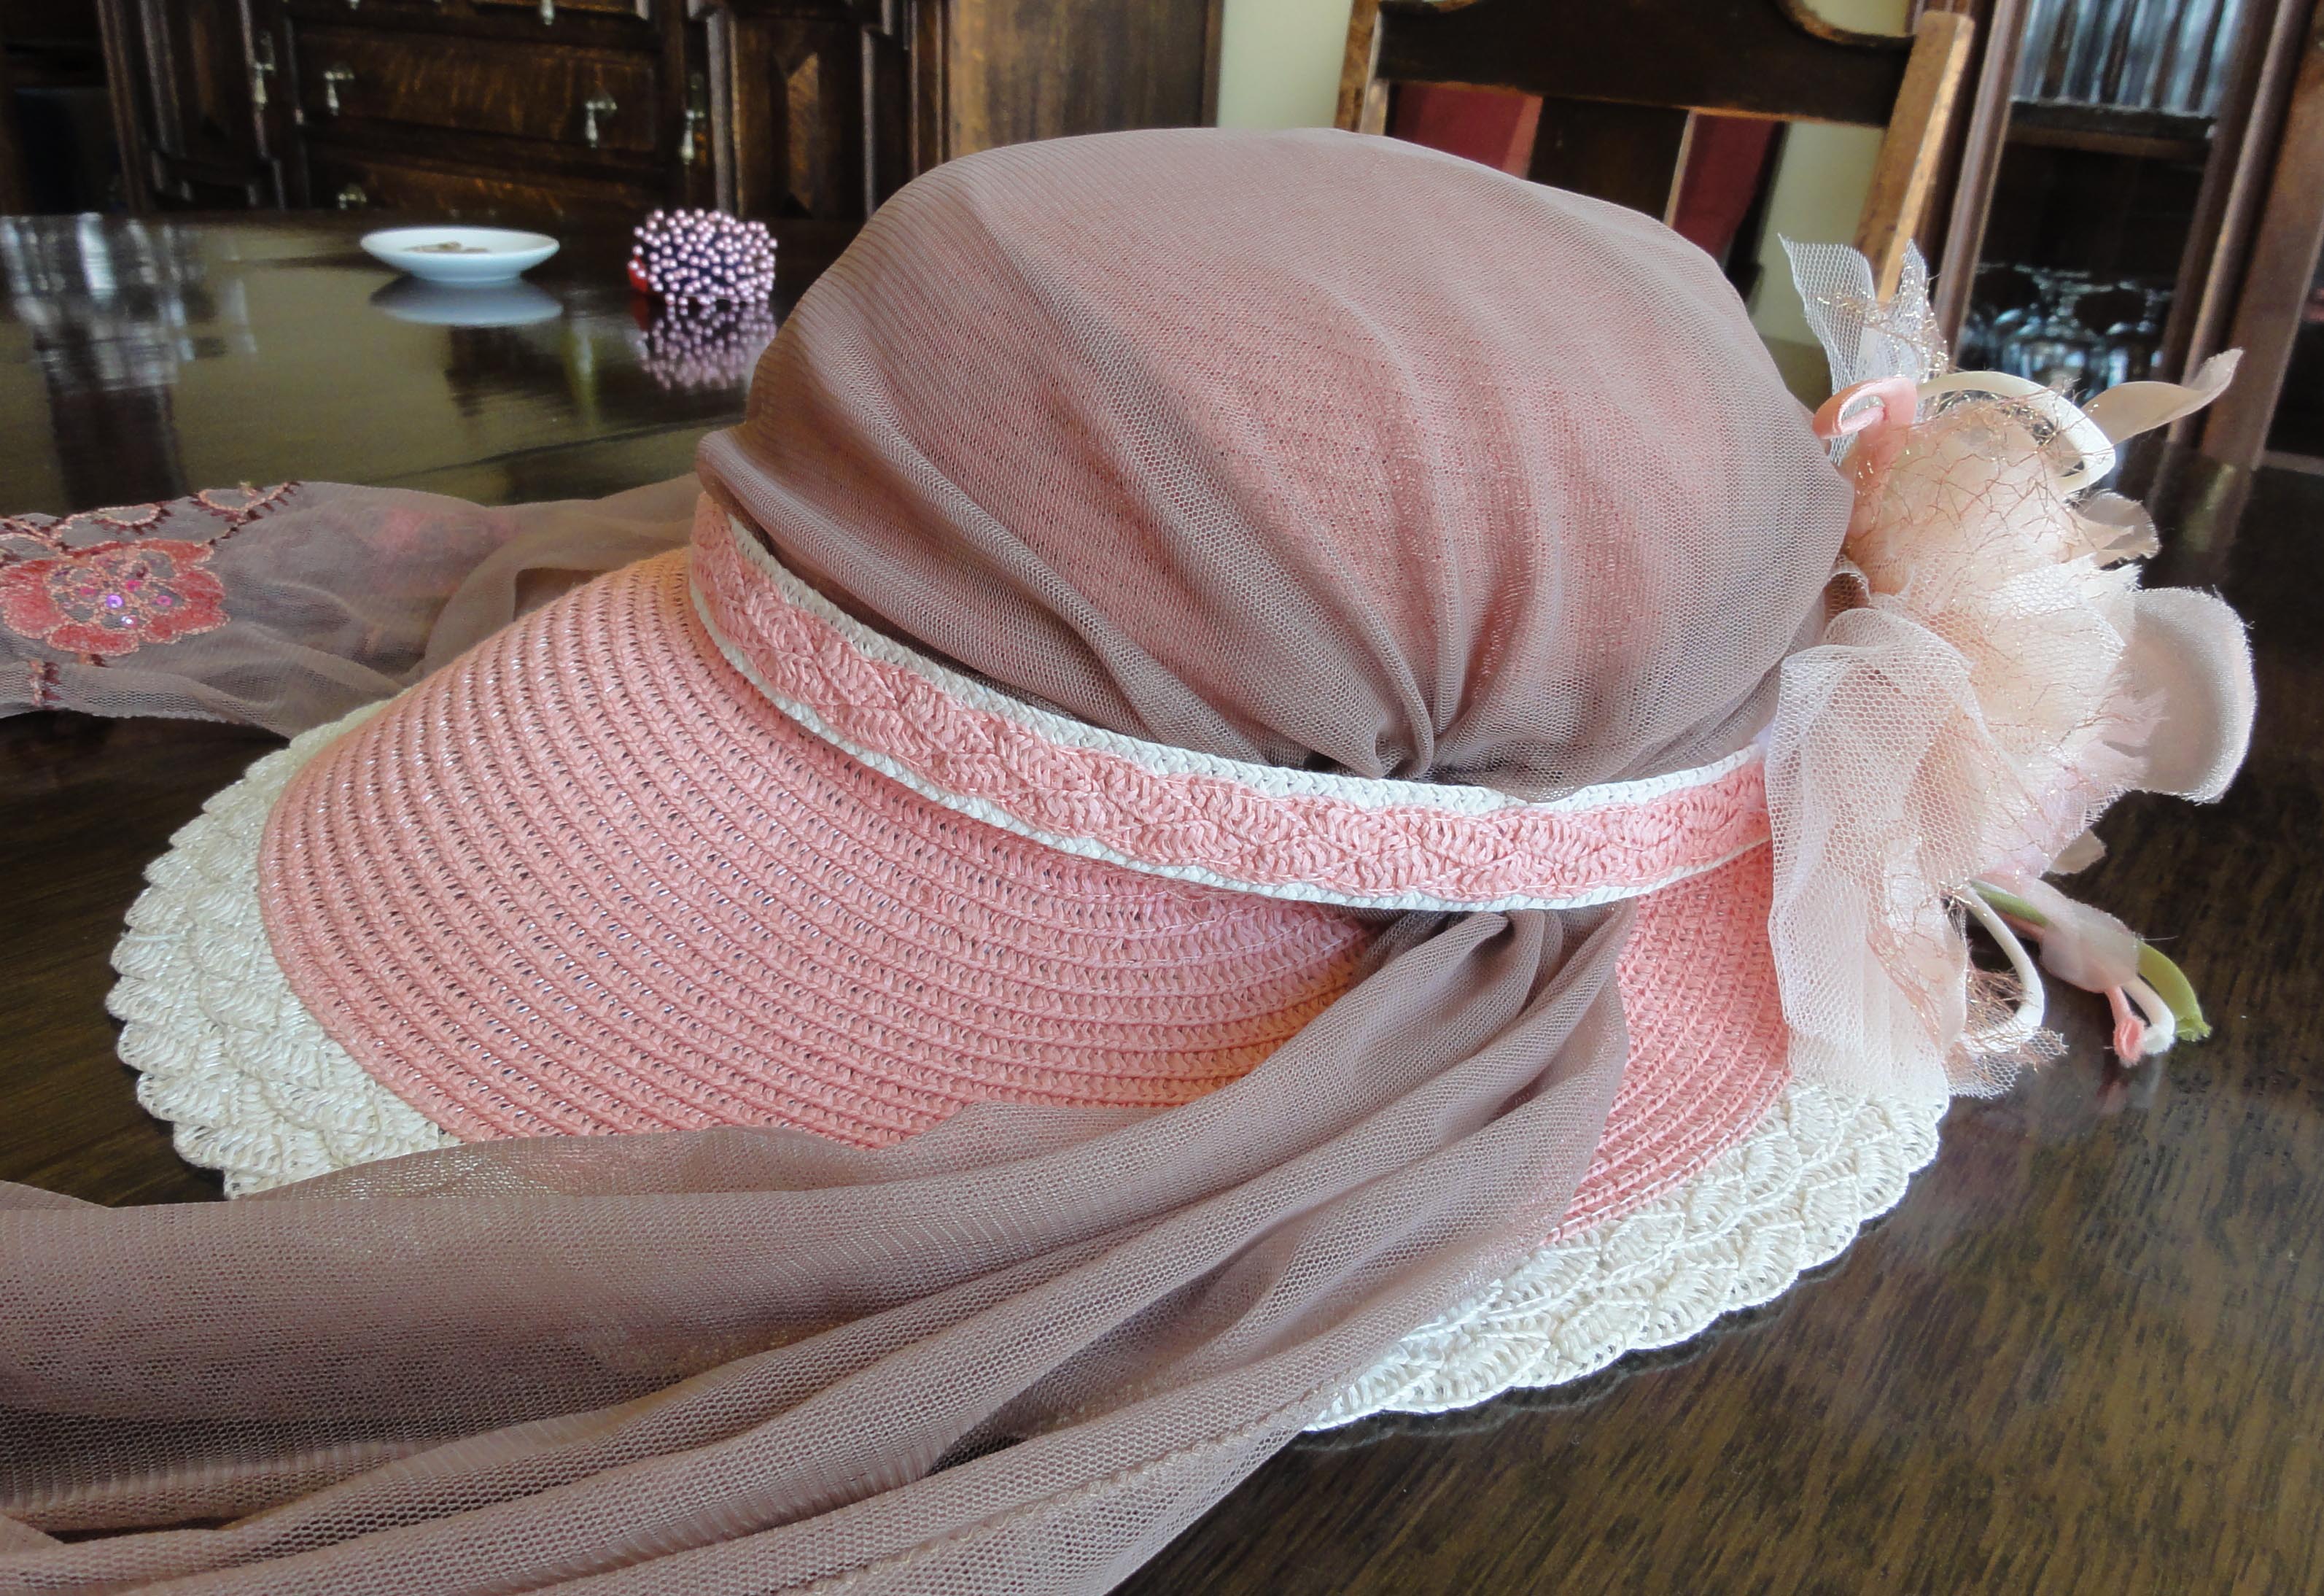
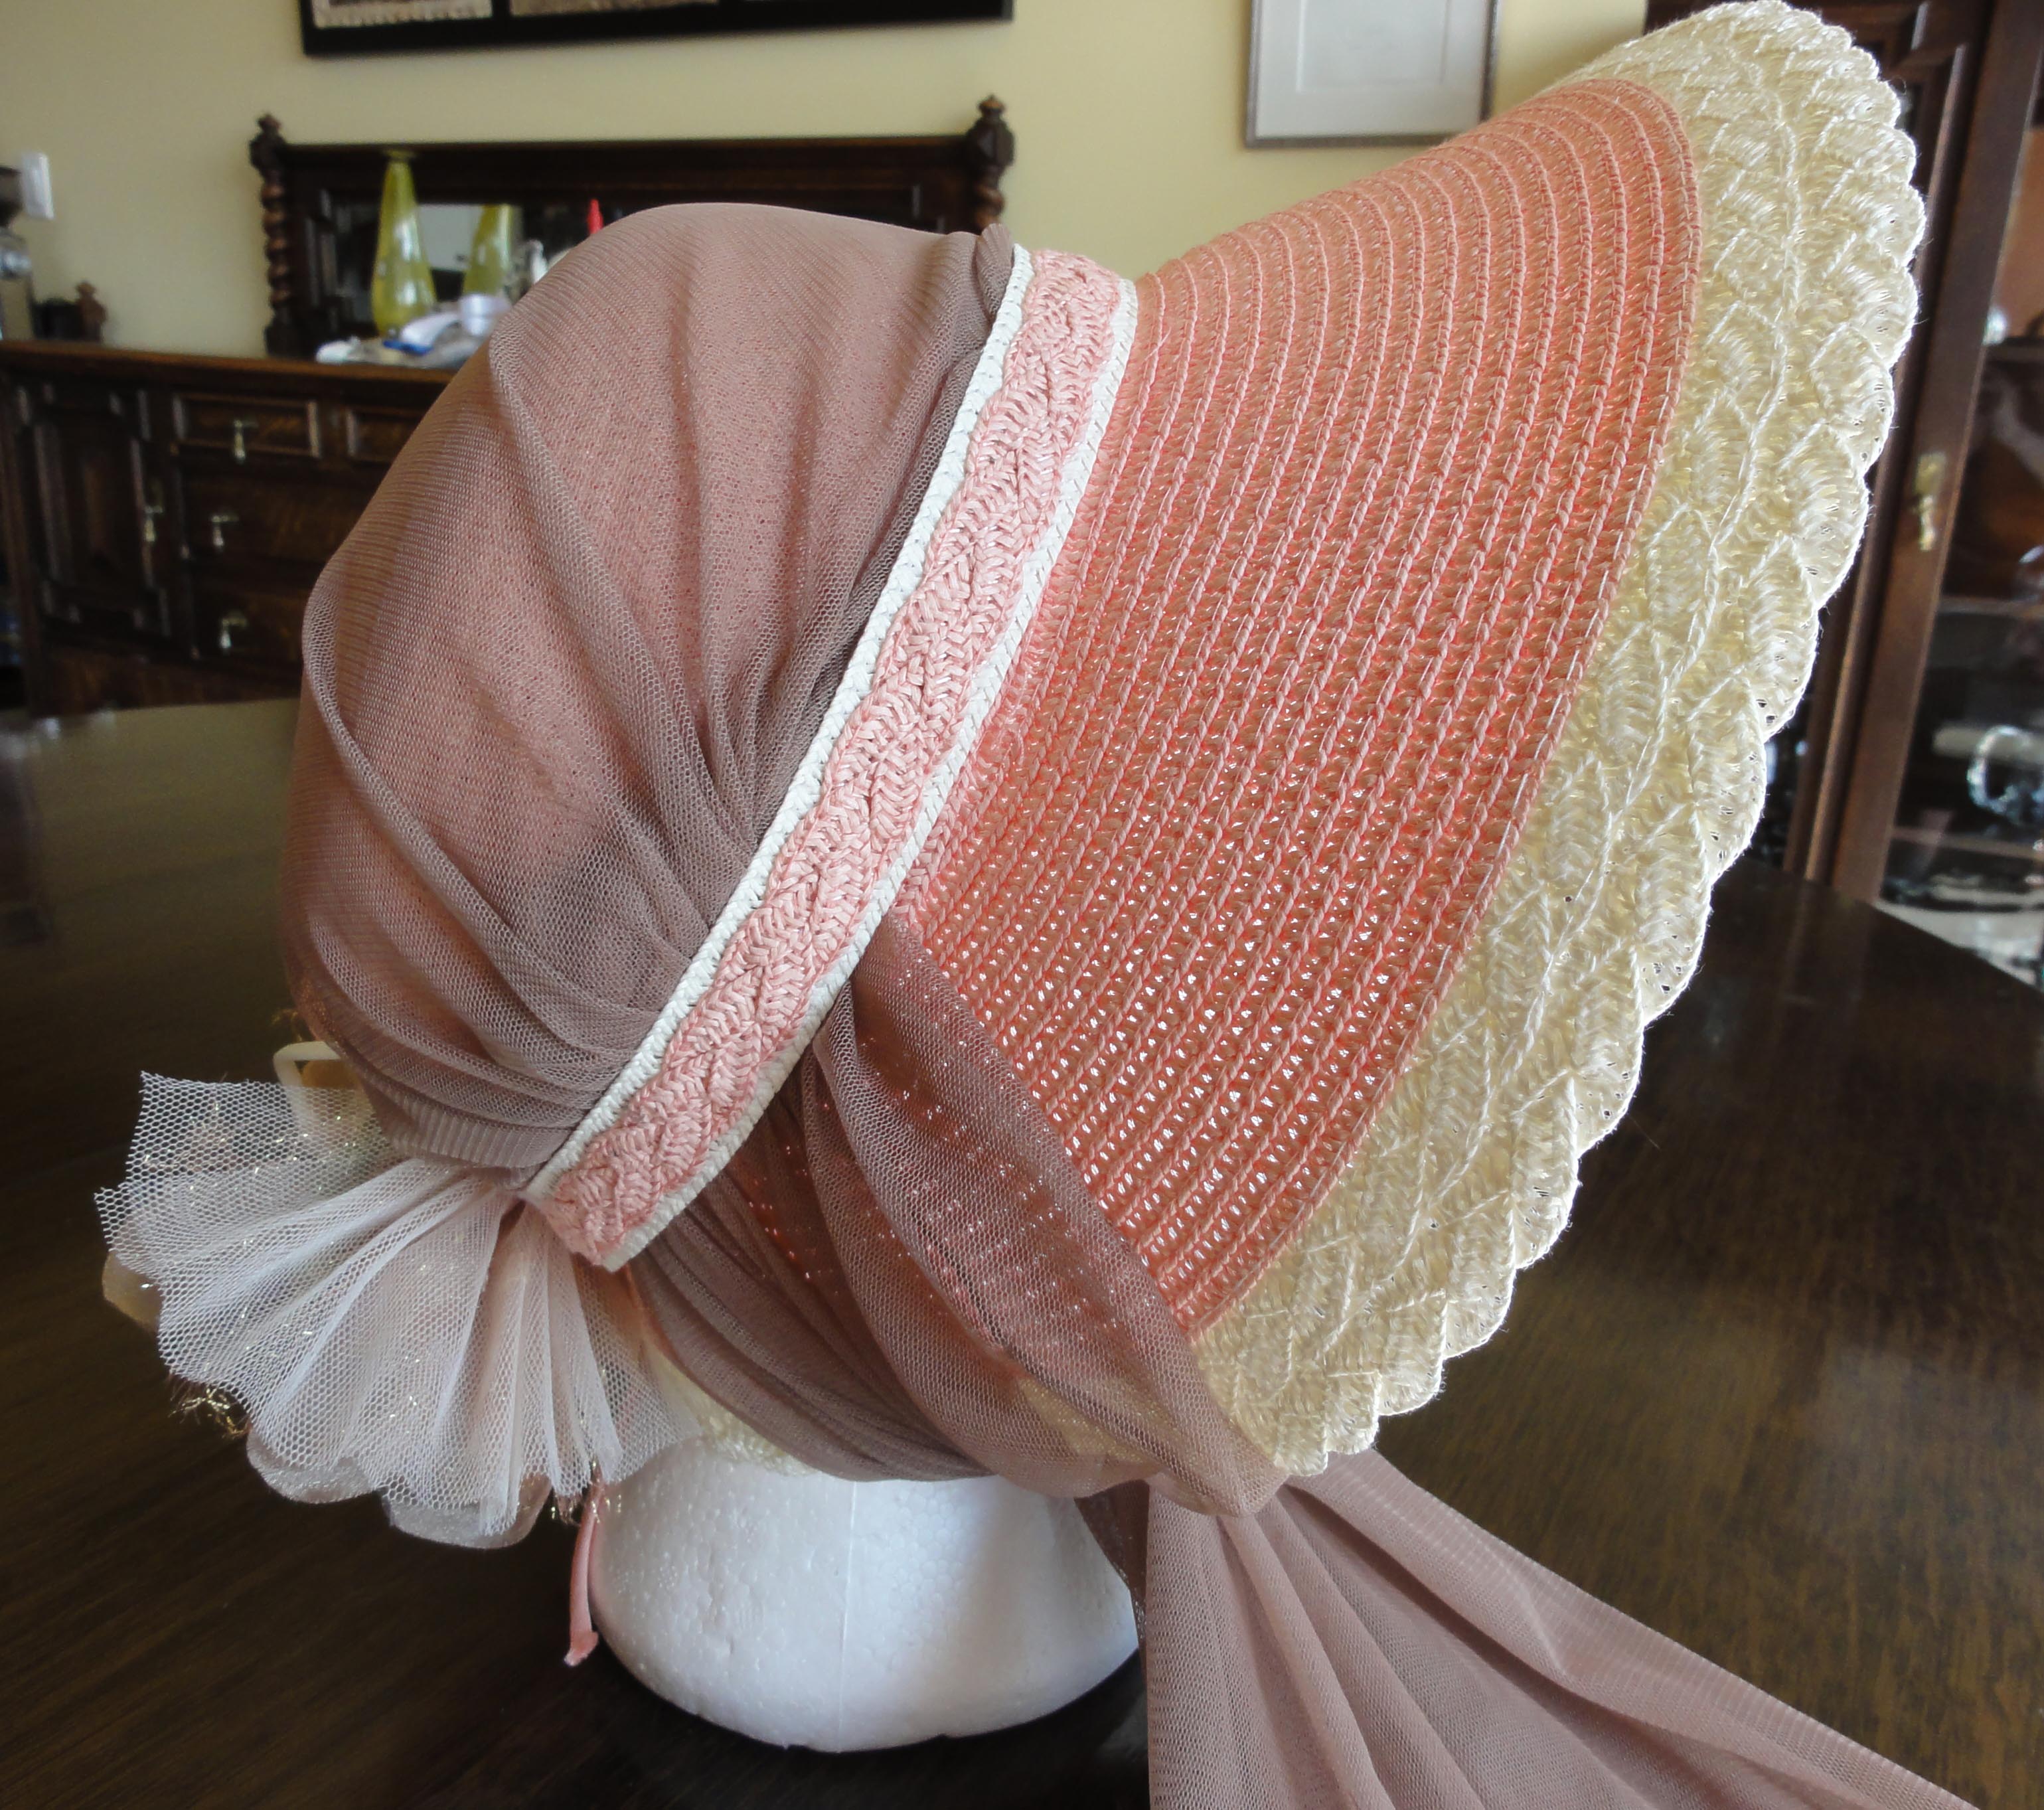
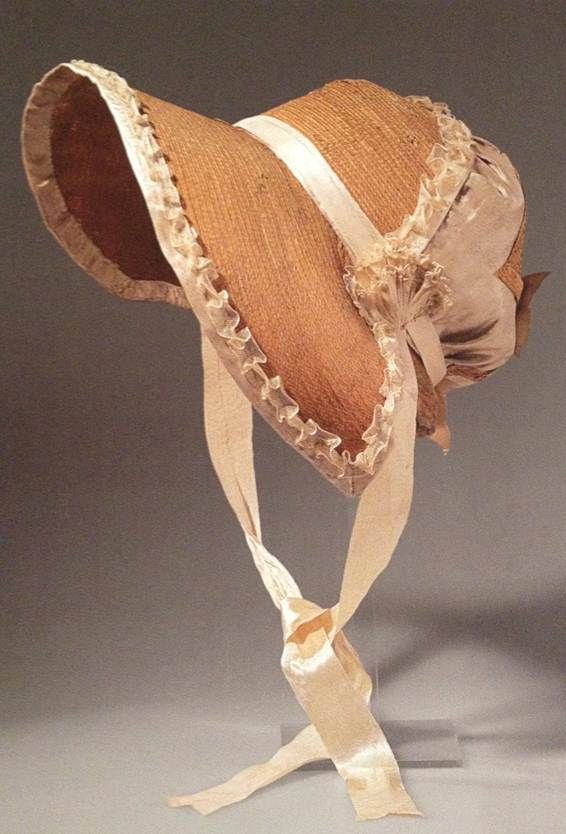
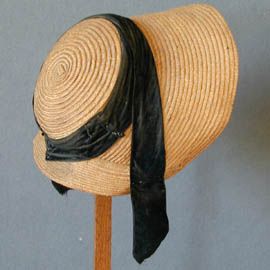
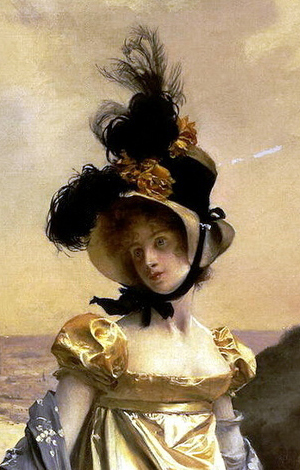
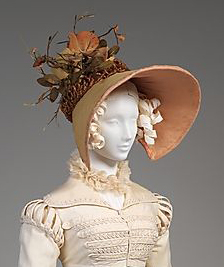
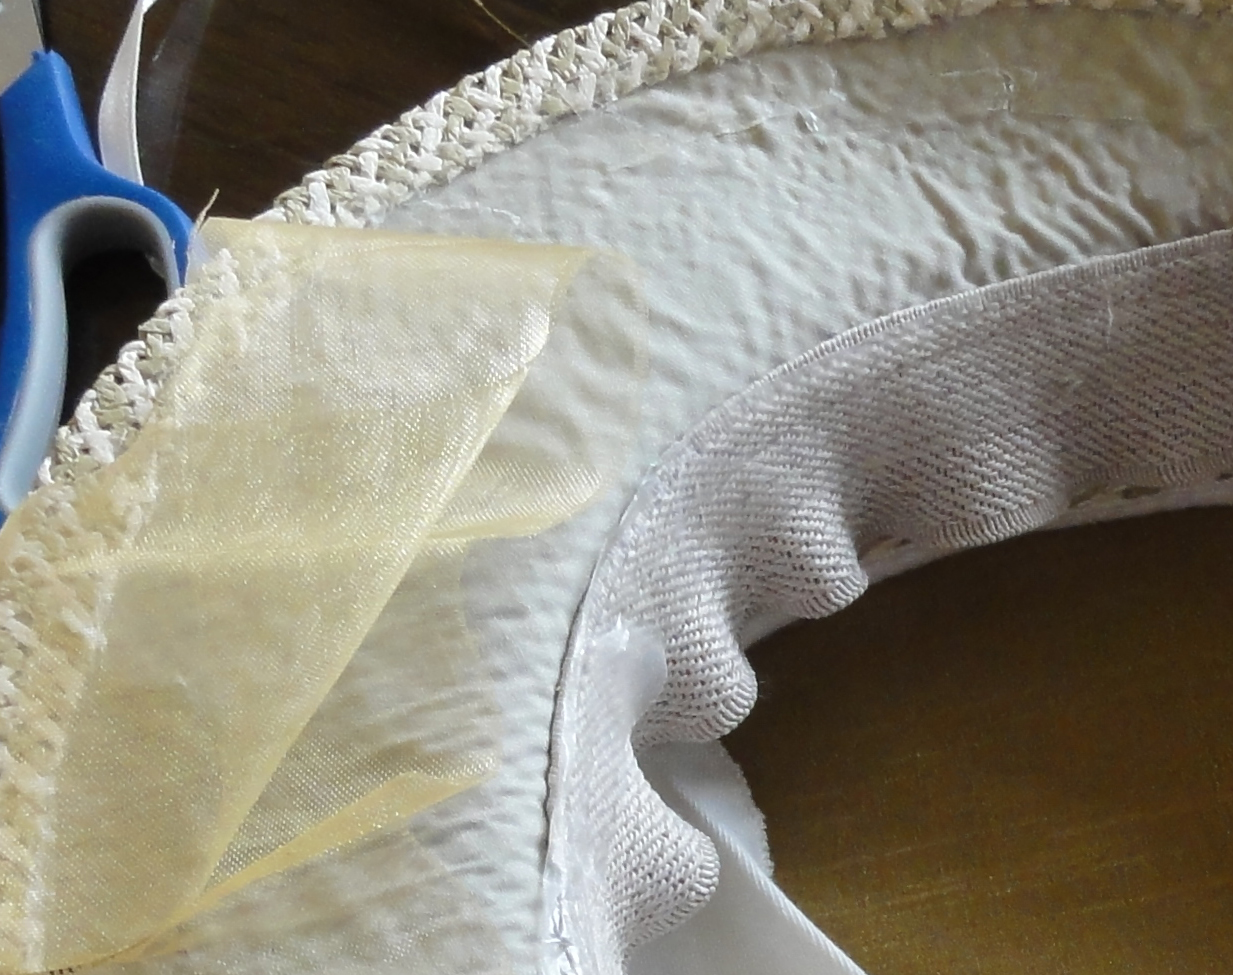
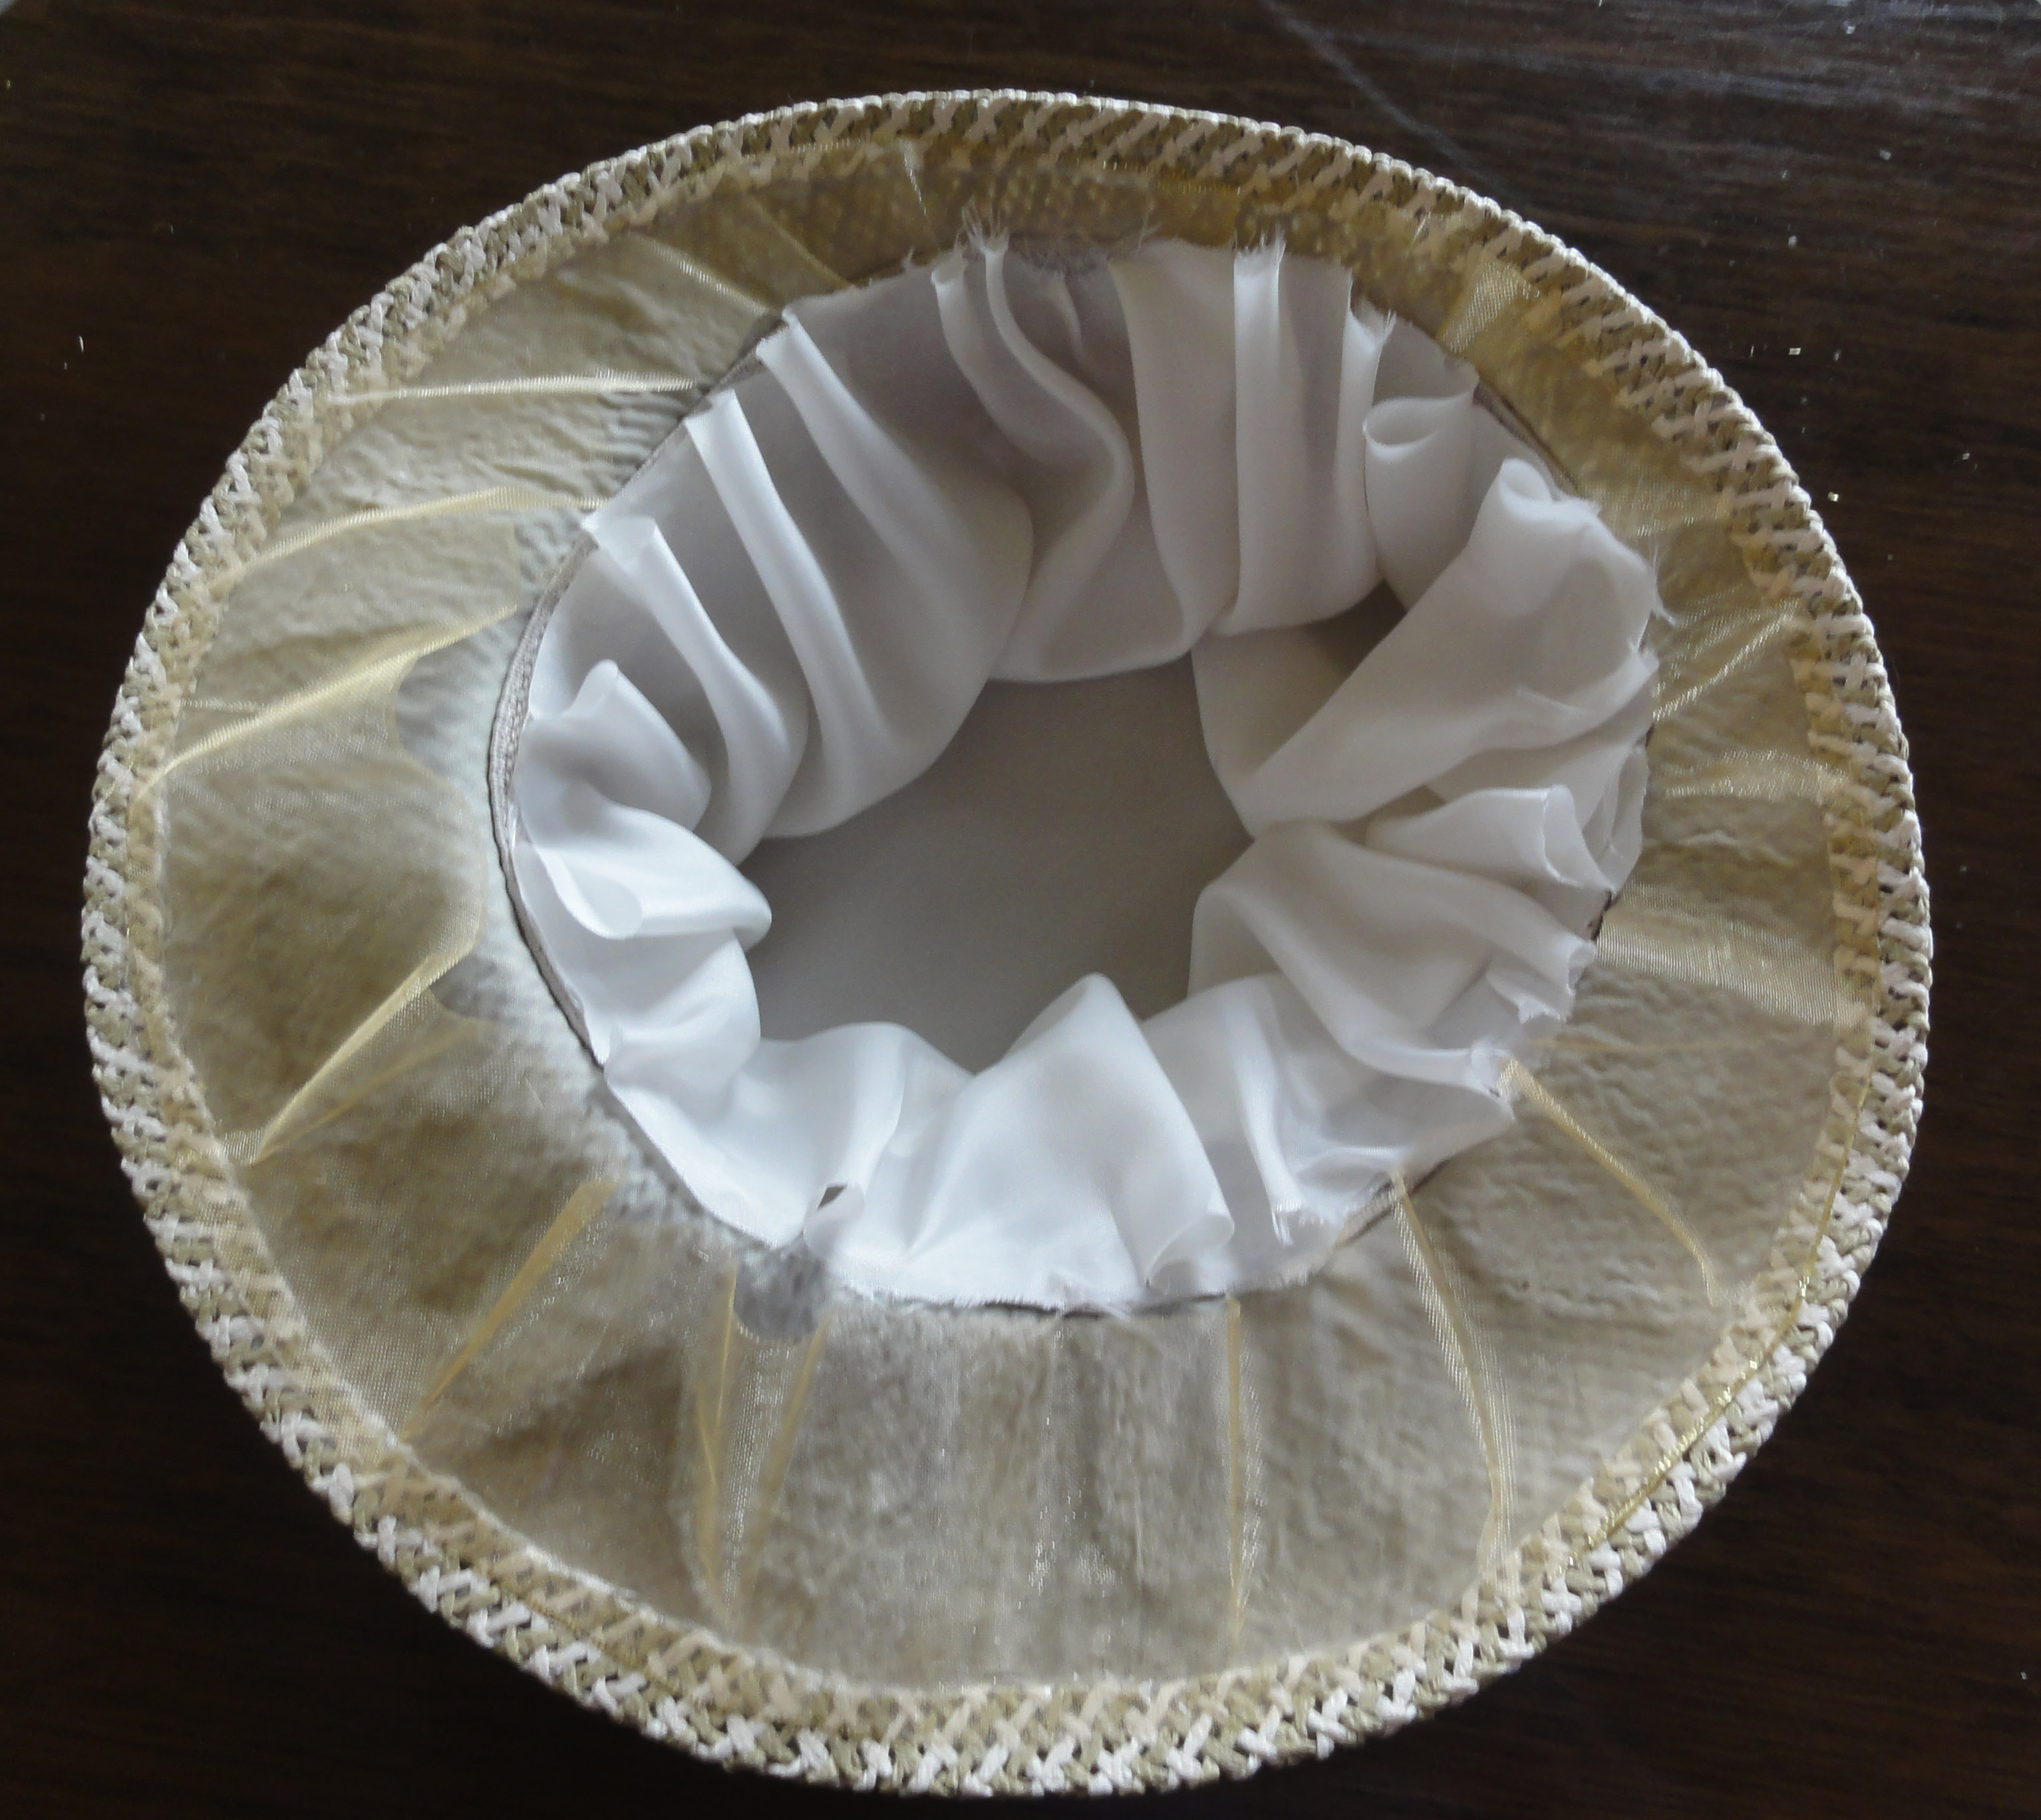
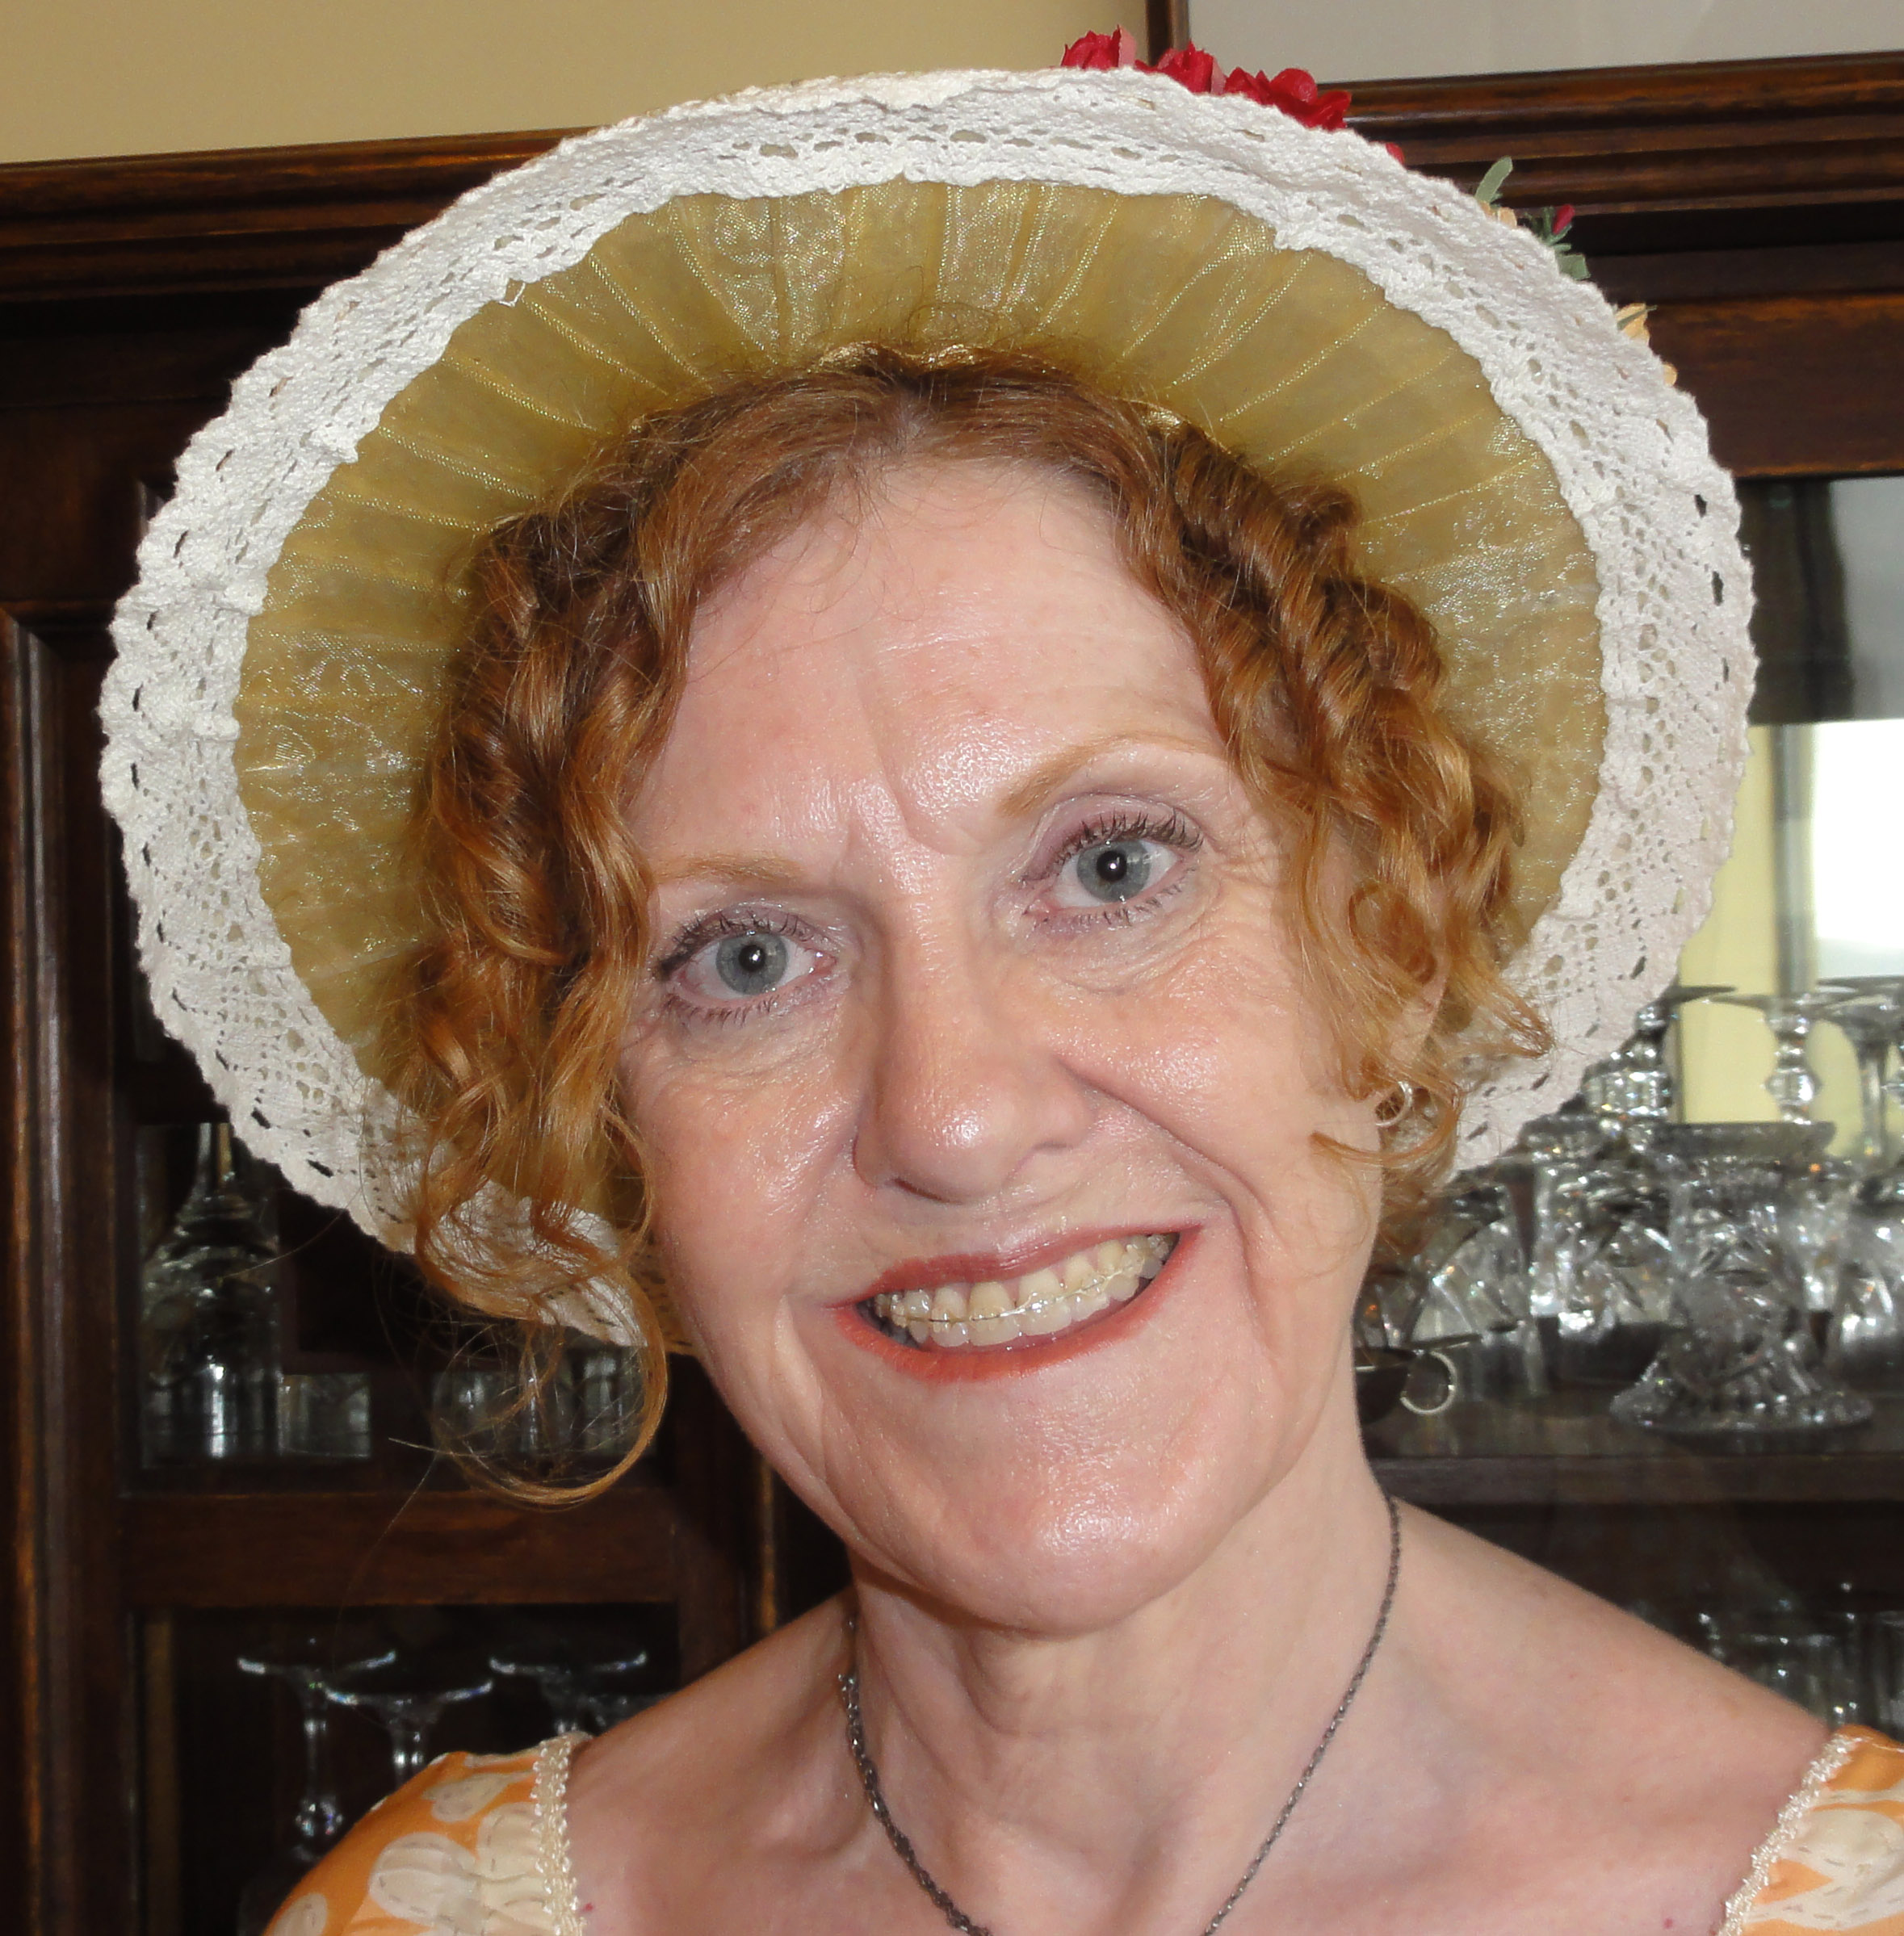
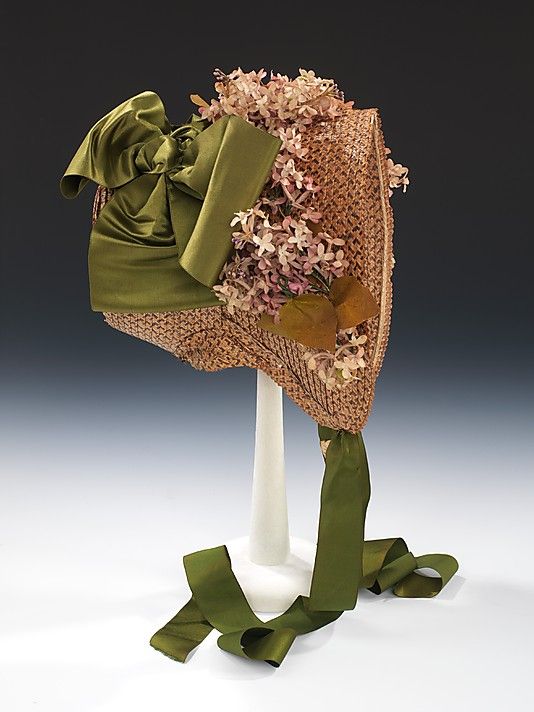
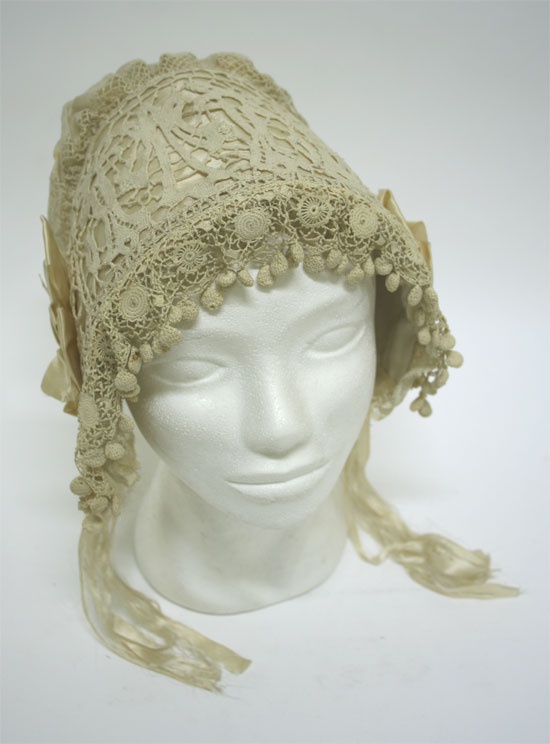
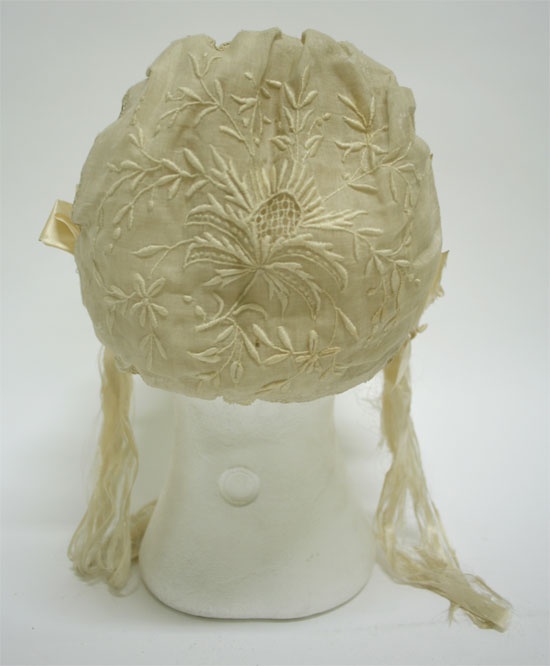
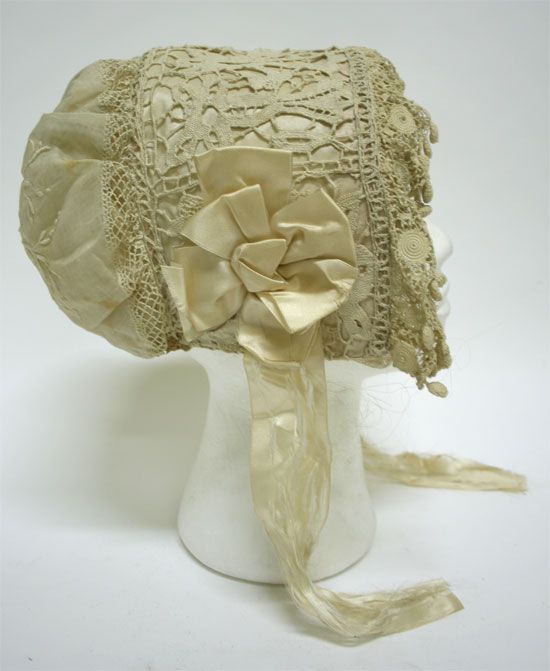
Pendants, chokers, bracelets, rings, arm-bands, ear-bobs, as well as hair jewelry like combs, tiaras, or diadems would be part of the essential accessories of the costume.
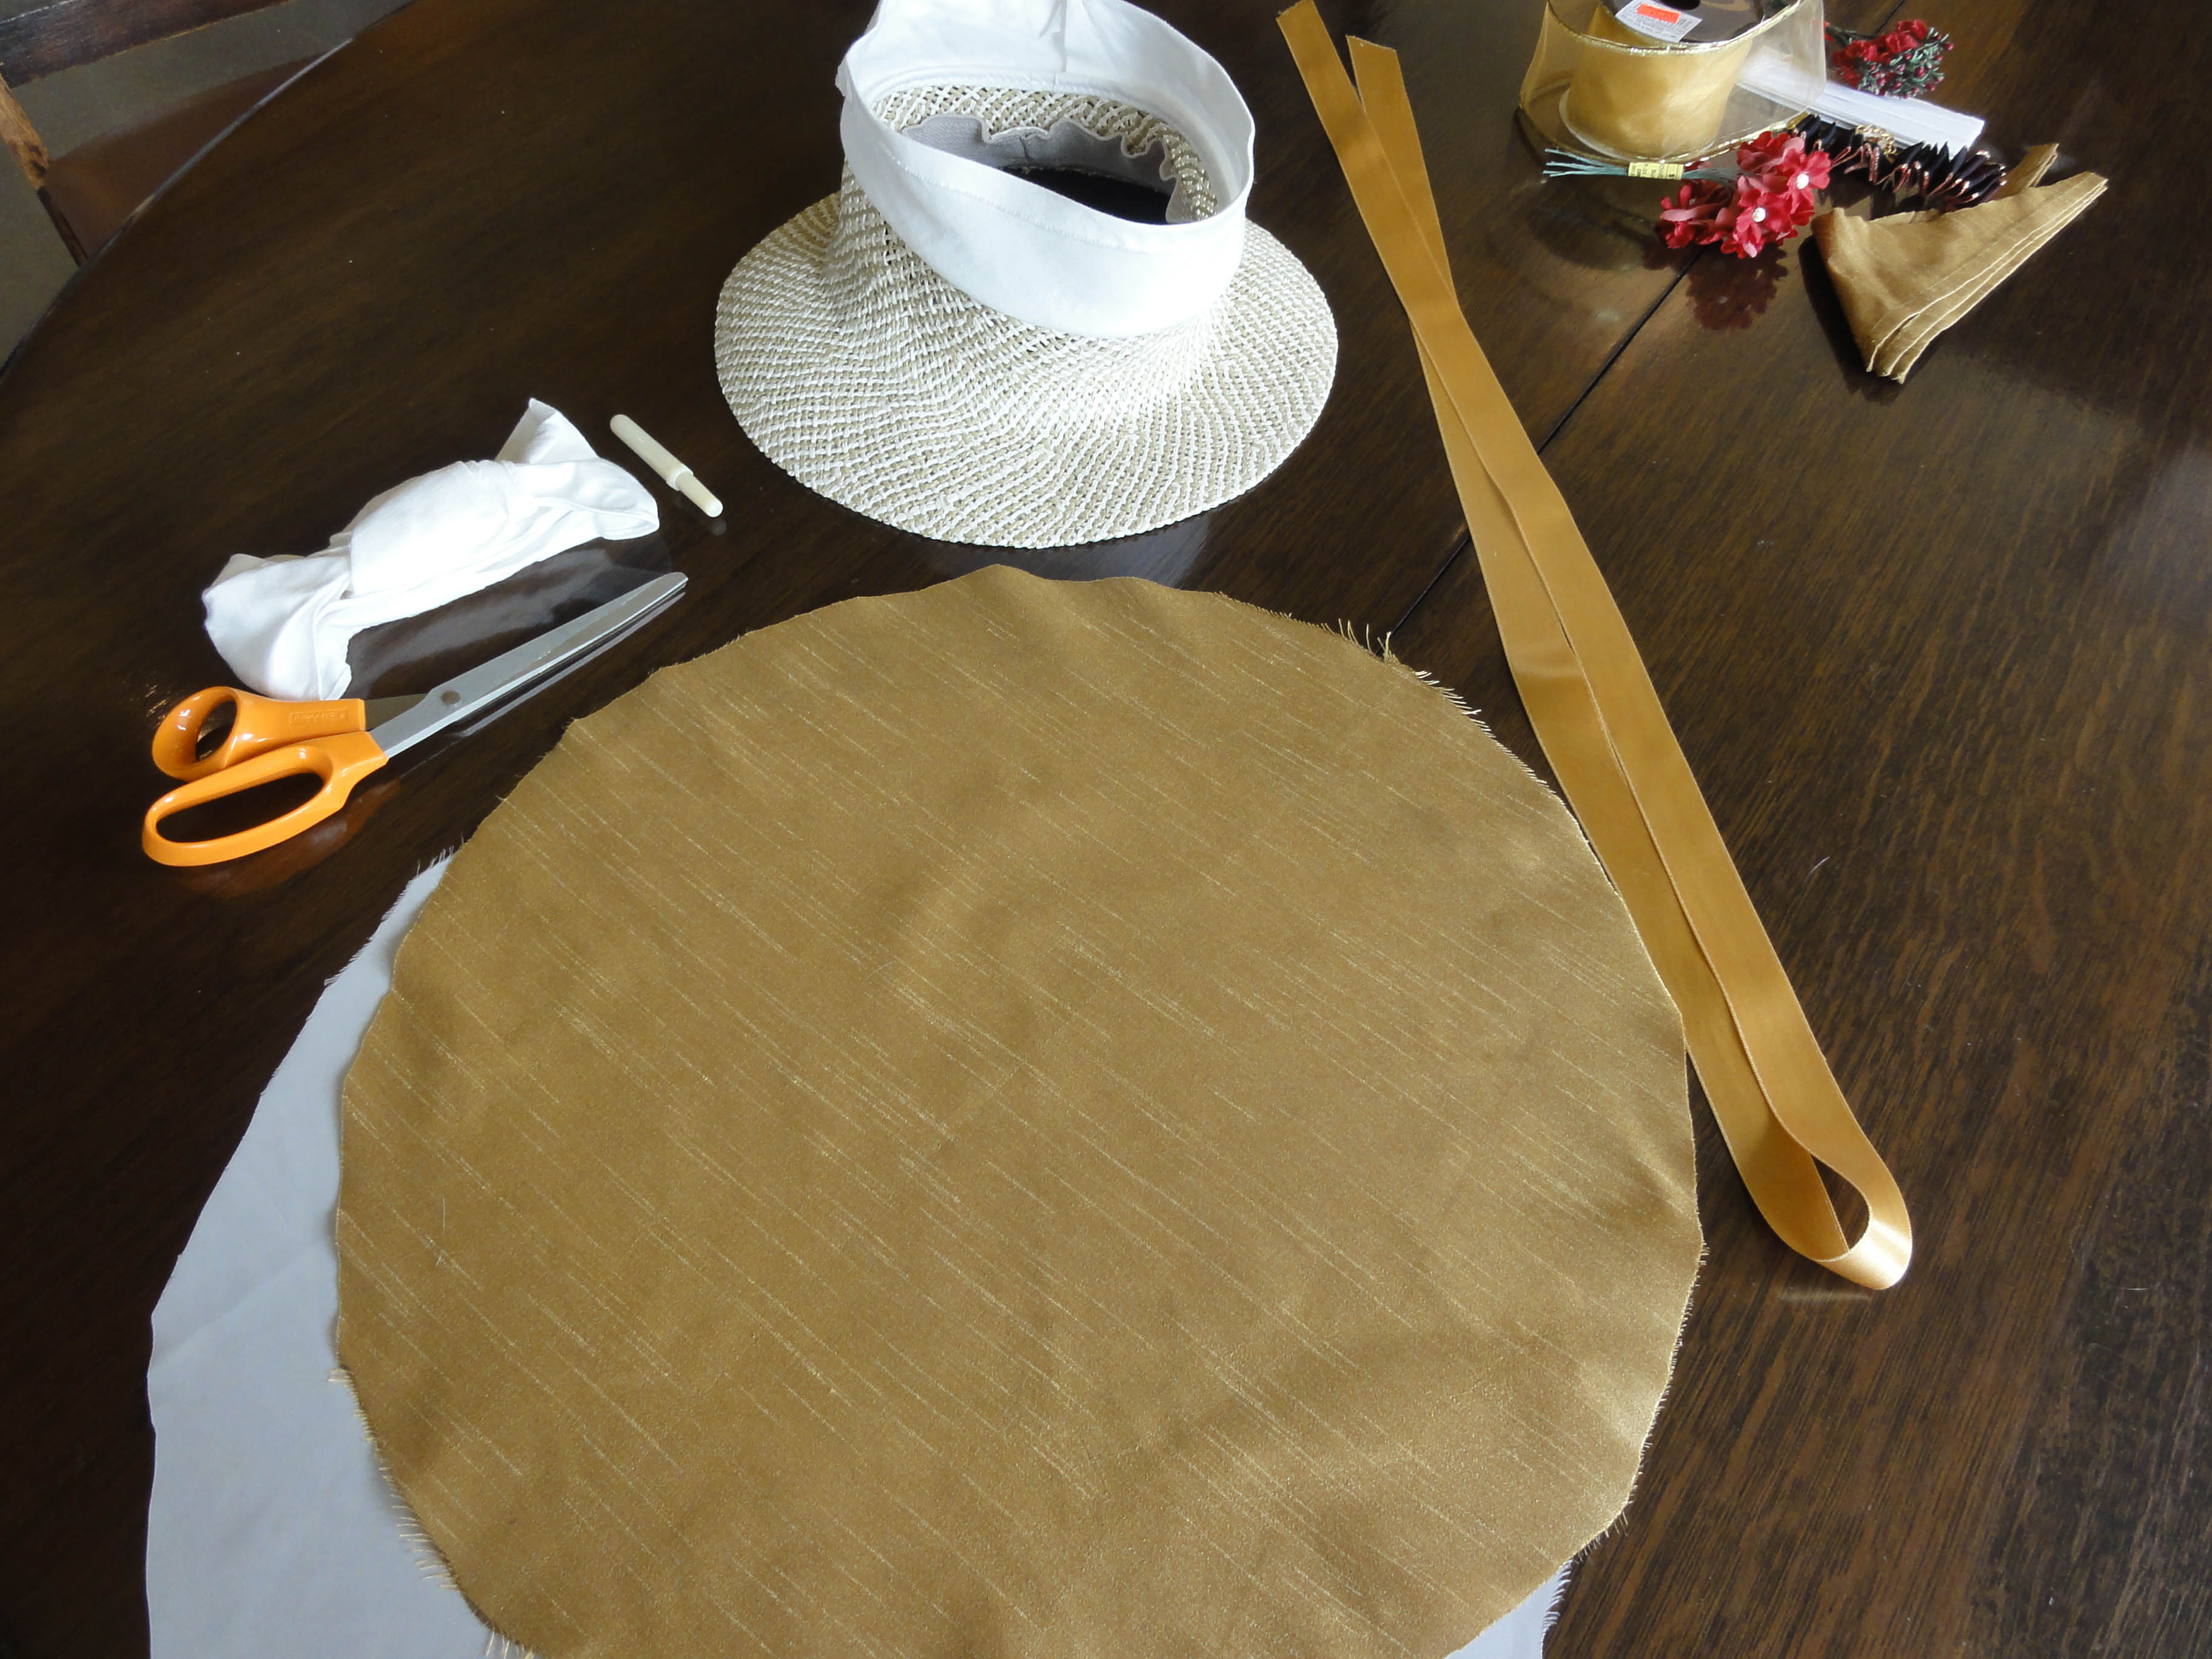
Not for the faint of heart crafter, the Mistress of Disguise shows how to make a Regency diadem from used lamp parts! No sewing necessary, but soldering or hot glue is part of the the process. I’ll pass, but I can look at all the pretty, shiny things!
~~~
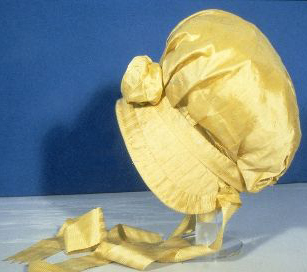
NEXT POST: Must-have Regency accessories are gloves, and most ladies want a fan for cooling in a candle- and ton-filled ballroom. To round out that post, because one of my signature expressions is “Parasol in a Ballroom,” I’m including the parasol I purchased, and I’ll try to make all three look Regency. These ones are much harder than some of the others!
~~~
While it has nothing to do with this blog series or the Regency, today I’m giving a shout out to an upcycler from Israel, Urban Raven, who makes jewelry from old phone tokens, computer chips, and many other items.
~~~
I’m looking (cross that out) begging for feedback. If anyone has seen any areas of improvement for this blog series, please forward them to me. As I’ve said on multiple occasions in the past, I’m new to this, and may have mistaken any aspect of the Regency costume based on clues that I misinterpreted. In addition, I may not have communicated something as well as you would have liked. Any help is appreciated!
~~~
I’m officially signed up for the JASNA AGM in Louisville, KY in October! There are still a limited number of registrations left. I’ll have some give-aways to hand out to followers of my blog while I’m there, so pay attention for clues!